Painting your plastic model is a delicate job that has a large impact on the finished result. If you paint your kit only with a paintbrush it's hard to get a good result (see more under "Blowing in the wind"). The best method according to me is to use an air brush. This however also needs good masking skills.
The tape
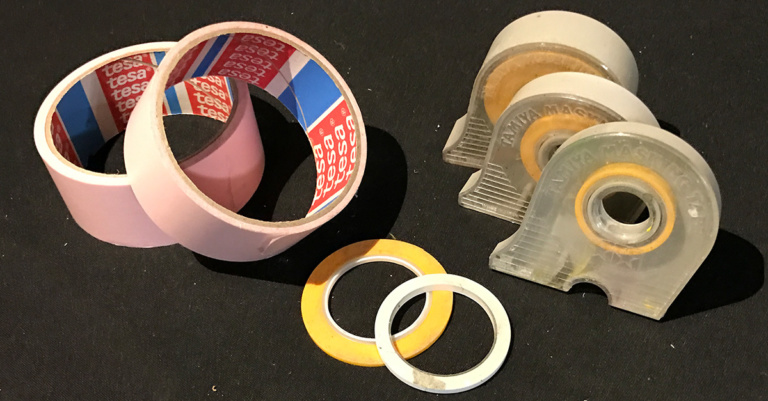
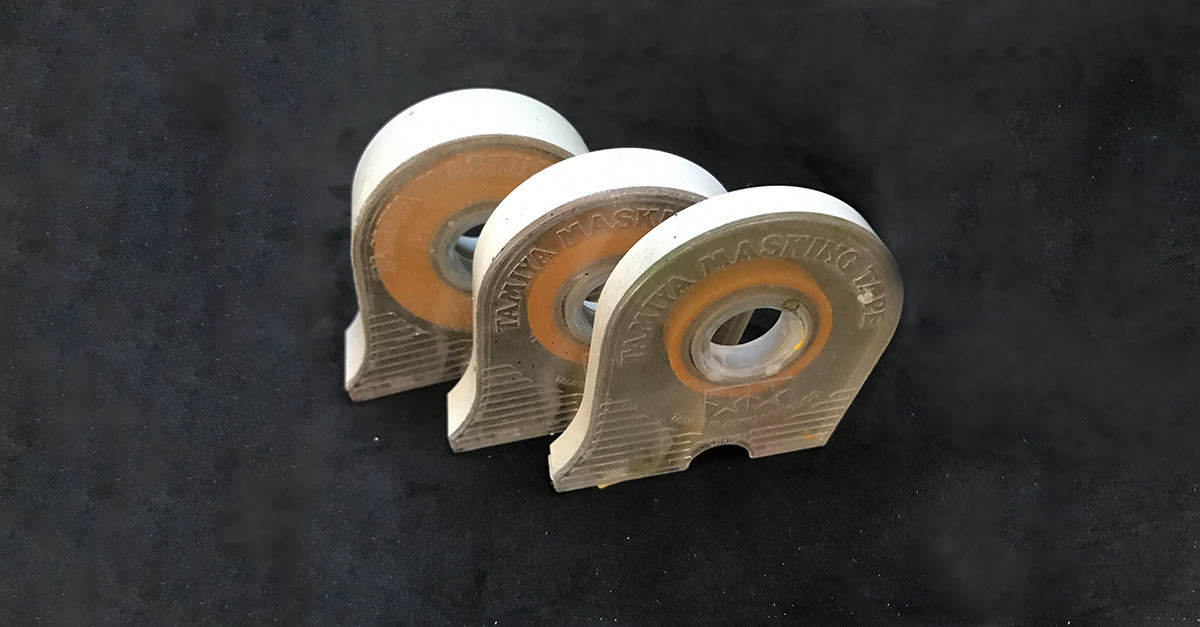
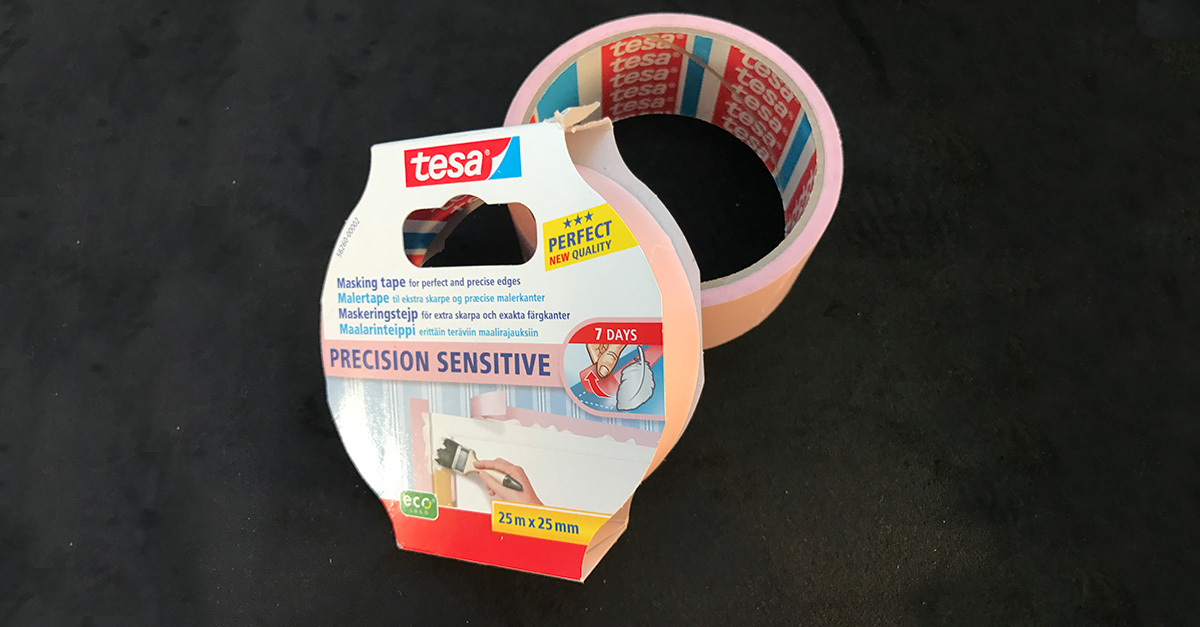
There is plenty of masking tapes for hobby purposes. There is also different kind of tapes. For basic needs I use Tamiyas masking tapes, these comes in different widths in a convenient holder. These are quite gentle on painted surfaces but be easy, specially if you use acrylic paint (see more under "Paint me down"). For larger areas I use ordinary masking tape bought in a hardware store. The kind I use is "precision sensitive" by Tesa, this comes on broader rolls and cover larger areas and is even more gentler on the paint.
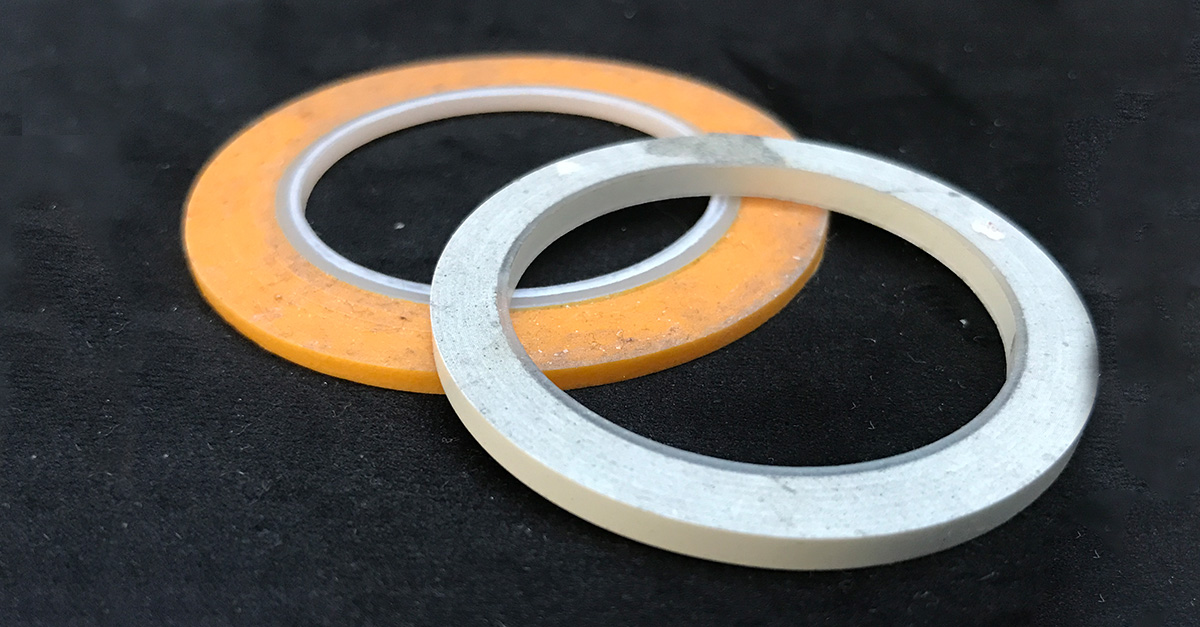
Then for the really small areas or if you want a curvy line then there is masking tapes for curves. The one I use is also from Tamiya. These have a short width of down to 2 mm and bends well (up to at least a reasonable curve) while still adhering to the surface. These are however somewhat thicker so if you're not careful you might end up with a paint ridge left when you remove it.
The liquid mask
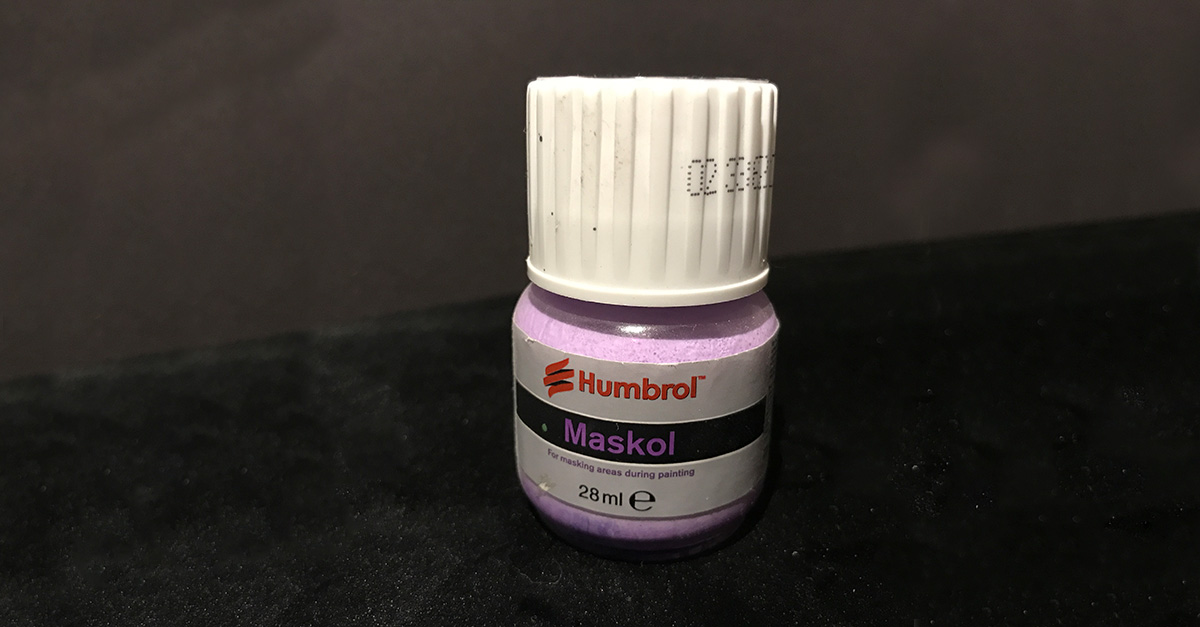
If you're to mask bulging areas where the tape is hard to get to adhere without having folds with risk of leakage then the liquid paint mask, as e.g. Humbrols Maskol, is the solution. It's often perfect to cover round canopies etc. You paint it on with a brush. It's a bit creepy to use as it dries to an invisible coat and it can be hard to be certain that the entire surface is properly covered. Still it works well as long as you do it correctly and it peels off easily after use.
The masking putty
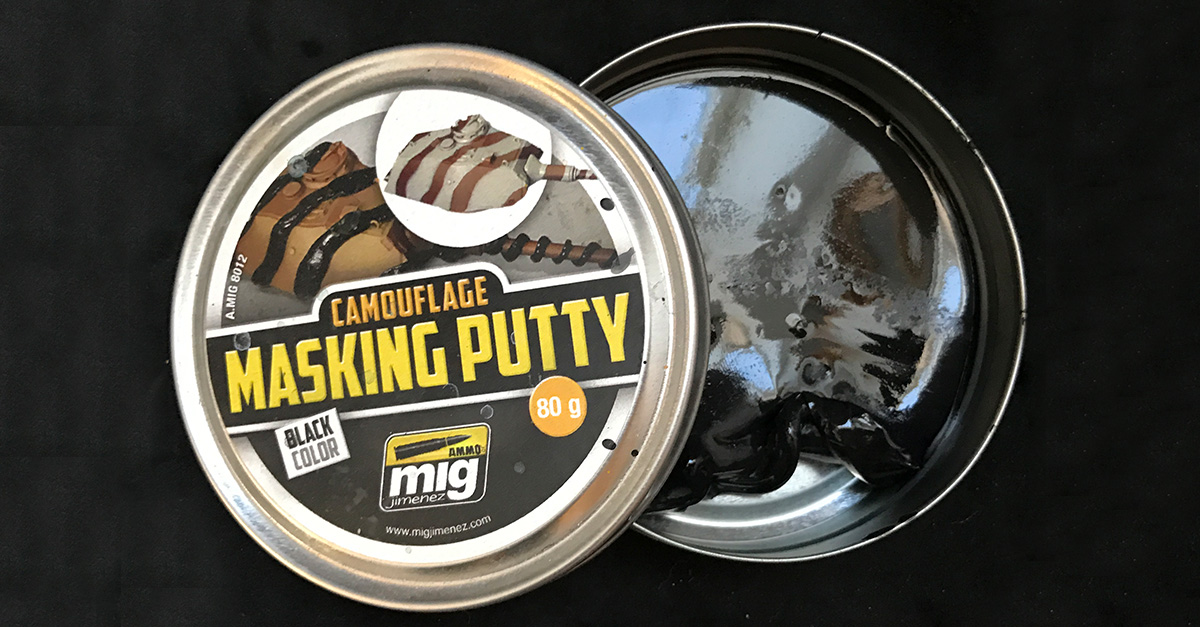
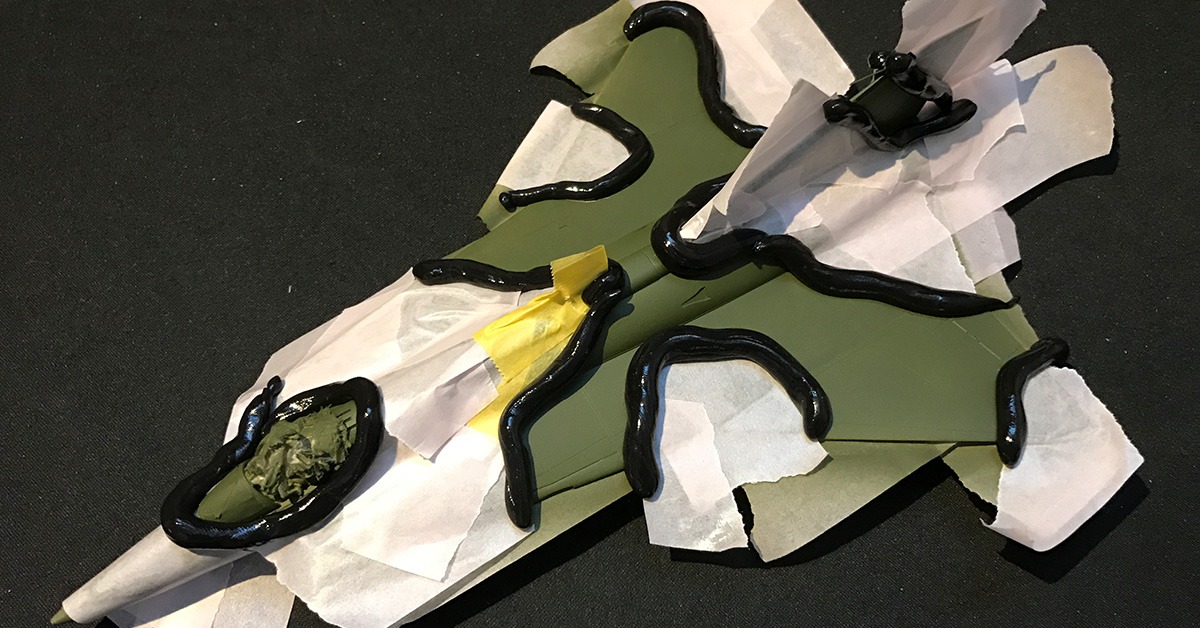
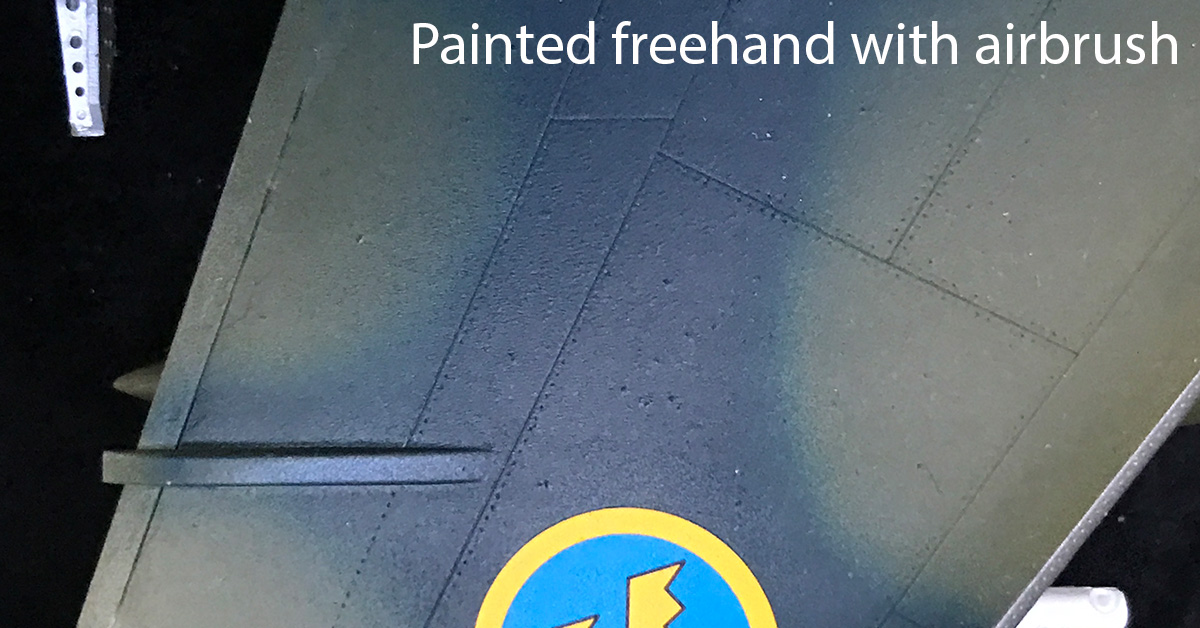
Some might find putty being an odd material for masking but there is a good use for it. Most camouflages on military aircraft and vehicles are painted with large air brushes leaving the edges between the colours indistinct. When using an air brush to get this camouflage effect it can be very hard to a) get the lines exactly where you want them and b) the edges indistinct enough but not too indistinct. This is where the putty comes into the picture. If you line the edges of your masking with strings of rolled putty and then paint from straight above you'll get the desired effect. This will of course not be the same putty as you need for filling gaps etc. but rather the putty used for setting up posters on a wall. You can buy cannisters of special masking putty from e.g. Mig. This is however a bit runny and tends to float out if left to long. I've switched over to ordinary poster tack.
The how
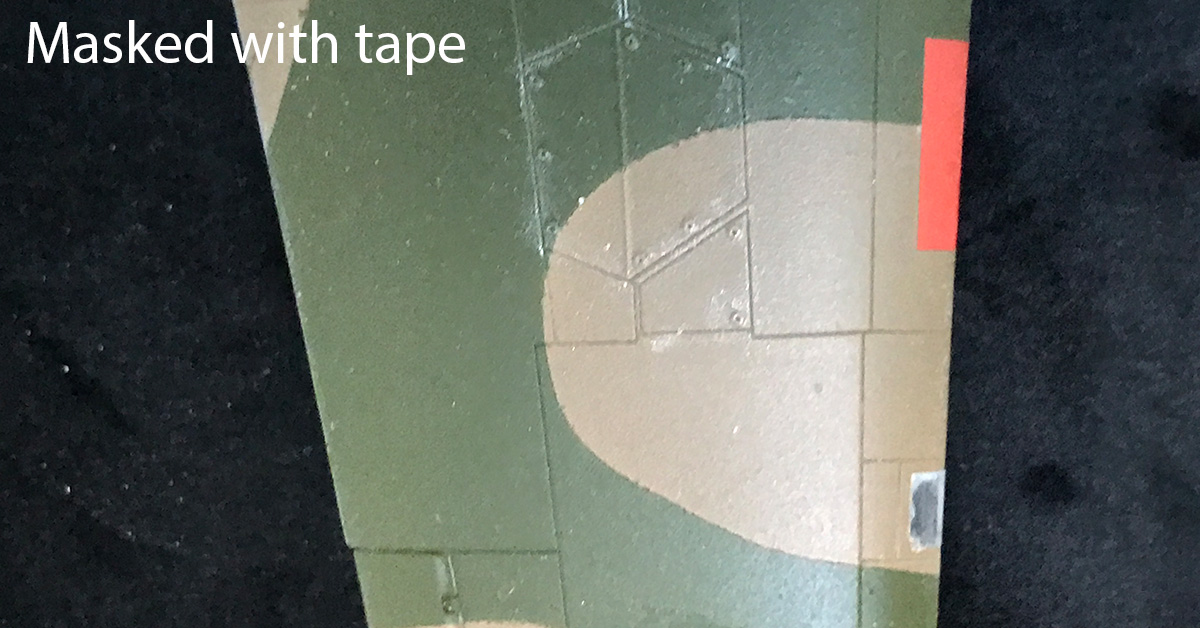
Some of the masking is really simple. Often enough there is a panel line to align to or at least between. When it comes to to camouflage it can get a bit harder. If you're particular enough you'll soon notice that the paint instructions are not always correct. Access to good reference pictures is often key here. Still you can ask you're self who is going to hold you responsible for an incorrect pattern as long as it looks good?
When using an airbrush masking is key. It's all to easy to point the nozzle in the wrong angle for a quarter of a second and the damage is done if you're not covered. I usually try to mask too much rather than too little. Be careful that the masking tape adhere properly all the way along the edges. Try do get it down in larger panel lines etc. There is nothing more irritating than unmasking the model and find that paint has crept under the tape.
It's a good practice to leave as much of the details as possible off until after painting. At least if they're to have another colour. Things like propellers, landing gears and pitot tubes are in the way and prone to break while masking and painting. You don't have to follow the instructions to the letter. Only make sure that they are easy to after mount. It's not fun to realize that it's impossible to get the landing gear in place without cutting things open.
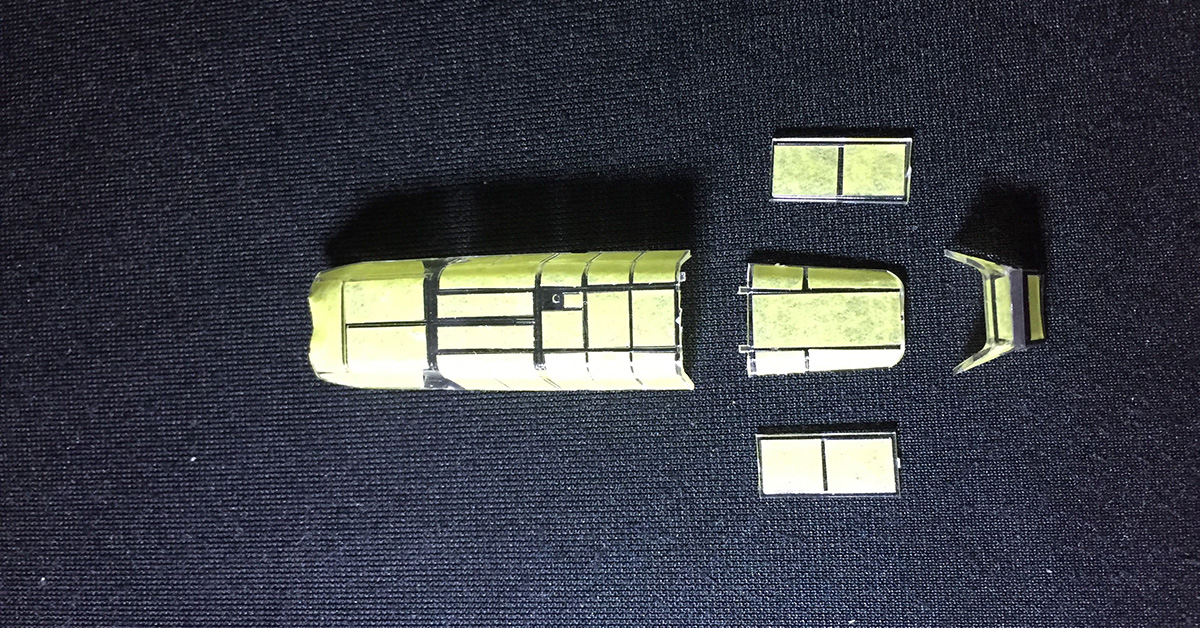
Canopies and windows are a special chapter. I prefer to cement these in place first as the joint is hard to get to look good otherwise. The trick here is to mask it well but leaving the window frames exposed to get the right colour. In some cases you might get hold of a specially made paint mask, in some luxury kits they might even be included. They can be hard to get in place, specially if it's canopies like the one on the Messerschmitt Bf 110 (picture). Using a tweezers and adjusting with a needle it can be done though. Many of the masks for the bulging canopies are just for the edges. Then you need to fill the rest of the "glass" with the afore mentioned liquid mask. Always put the tape mask on first and paint the liquid mask on after.
If you don't have a ready made mask I usually mask the canopy with tape and then carefully cut along the frames with a scalpel and carefully remove the cutaway stripes. Here it helps to light it from behind to see the lines through the masking tape.
When painting canopies and windows remember that it is see through. Always mask the inside if there's a risk that paint get on that side, like if you're painting a canopy separately. Also if you want the window frames to have another colour on the inside you put that colour on first and the paint the outside colour on last. Some die hards mask the the inside panes and paint the inside colour from that side. Personally I find that over doing things a bit.