
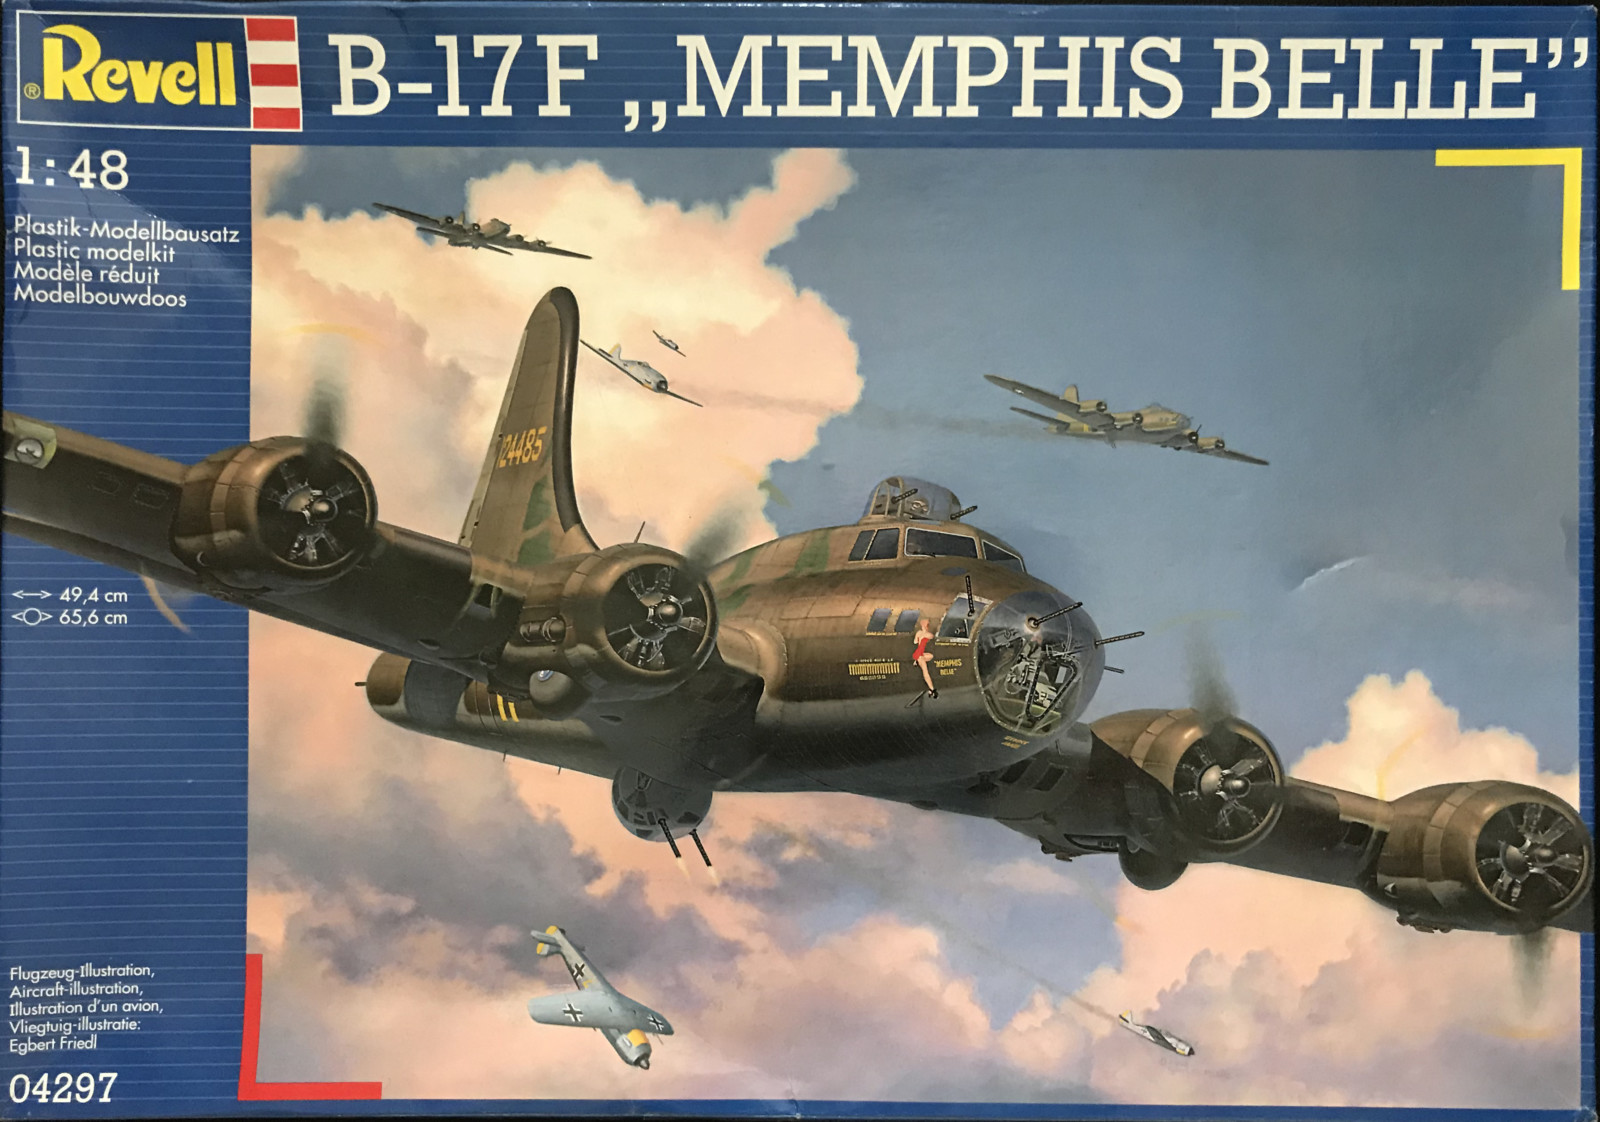
Boxart of the B-17F "Memphis Belle"
| Manufacturer | Revell |
|---|---|
| Scale | 1/48 |
| Scale Mates model info | https://www.scalemates.com/kits/111423-revell-04297-b-17f-memphis-belle |
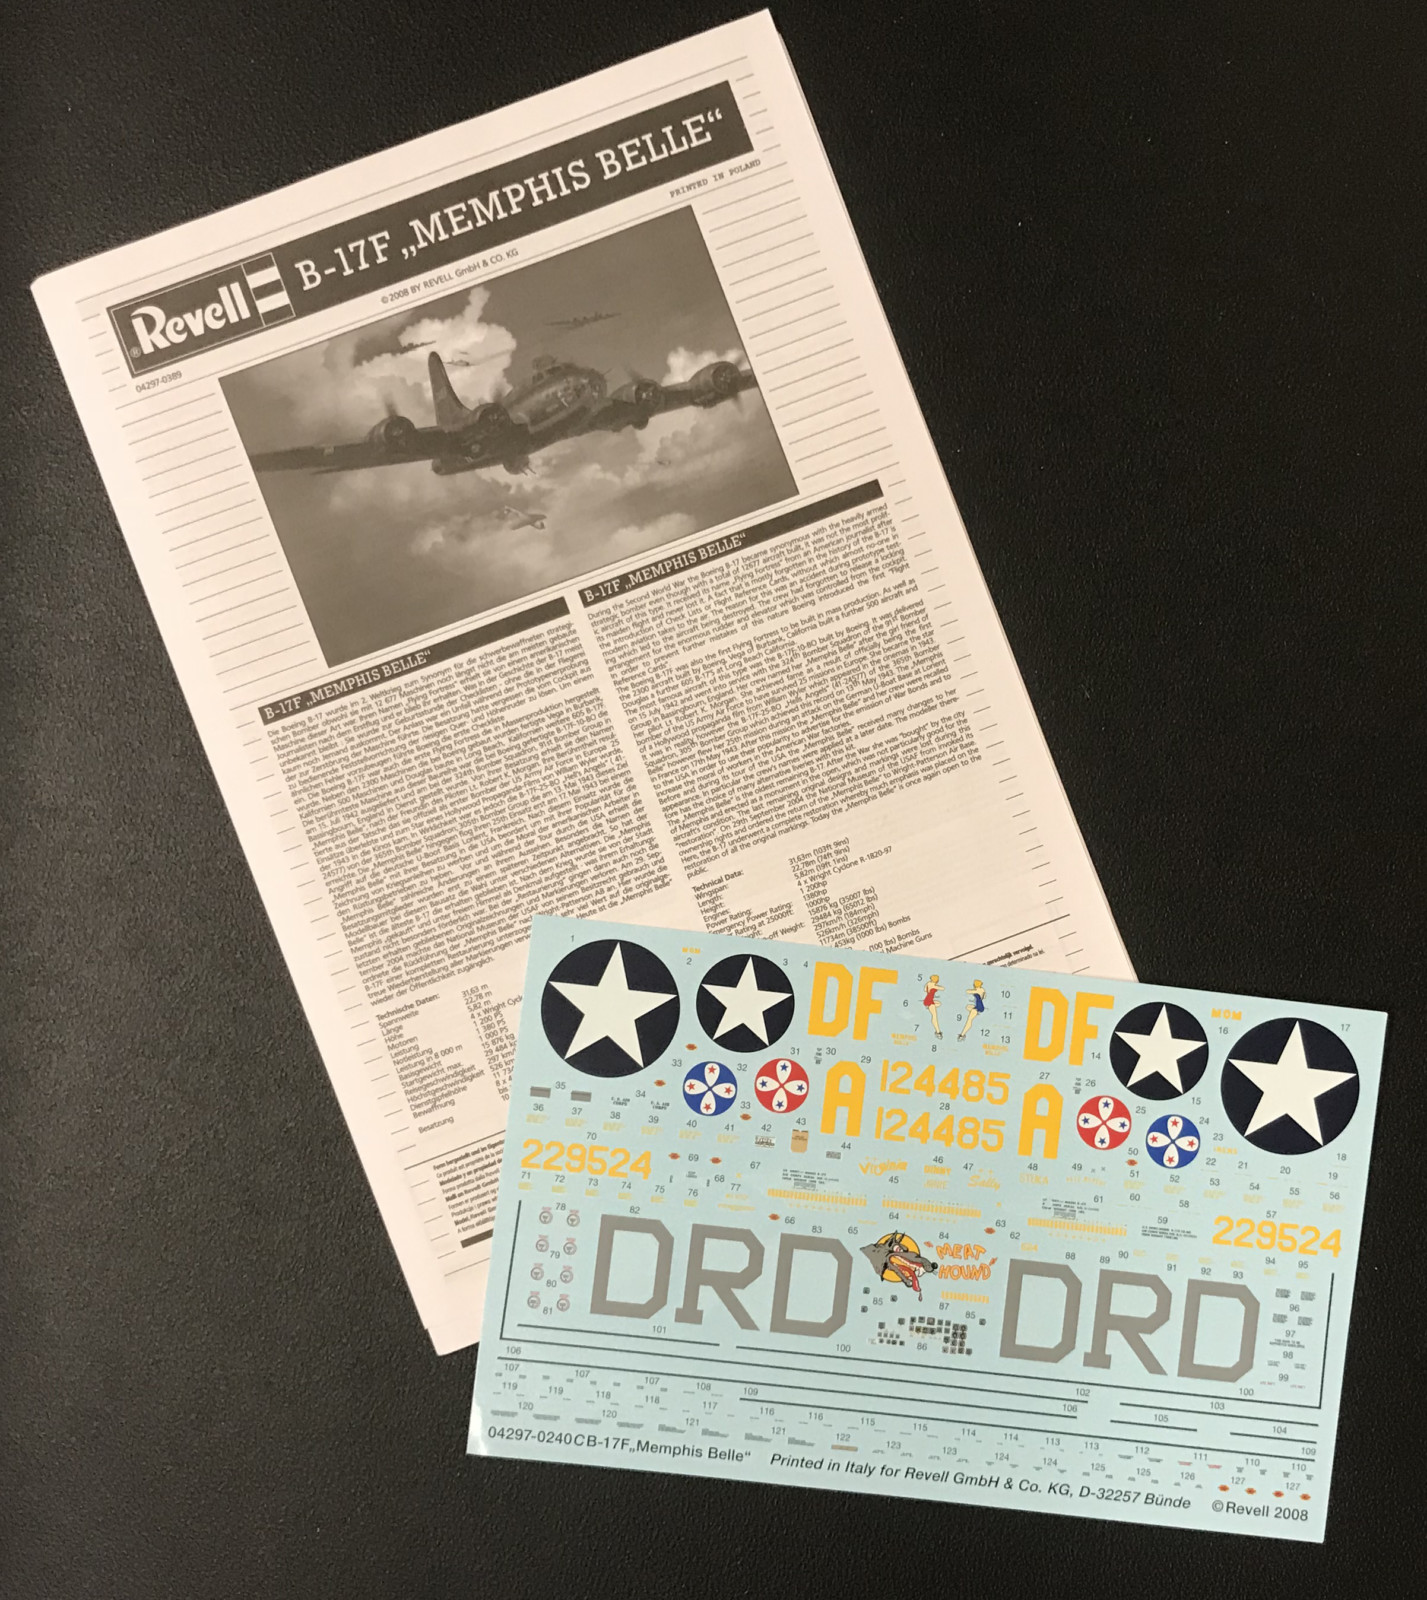
| Content in box | Instruction sheet, plastic kit and decals for two individuals |
In the mid 30's U.S. Army Air Corps tendered for a multi-engine bomber. While ultimately loosing the tender due to an unfortunate crash with the prototype the good performance was noted. Finding a legal loophole the air corps ordered 13 planes for evaluation. This works out fine and the B-17 becomes the mainstay in the US strategic bomber force. It became the third most produced bomber of all time, behind the B-24 Libarator and the Junkers Ju-88. It saw service in all main theatres of WWII.
The most famous of the B-17's must be the B-17F named "Memphis Belle" (which is one of the marking options in this kit) one of the first B-17's to complete 25 tours over war time Europe. It's last mission was filmed for a famous documentary and in 1990 a action/drama film was made. After the war it continued service for example in the US Coastal Guard. Several B-17 was converted for civil service, like the seven that saw service as passenger planes in Sweden after the war (planes that had made emergency landings there during the war). The B-17 saw service in some 24 countries.
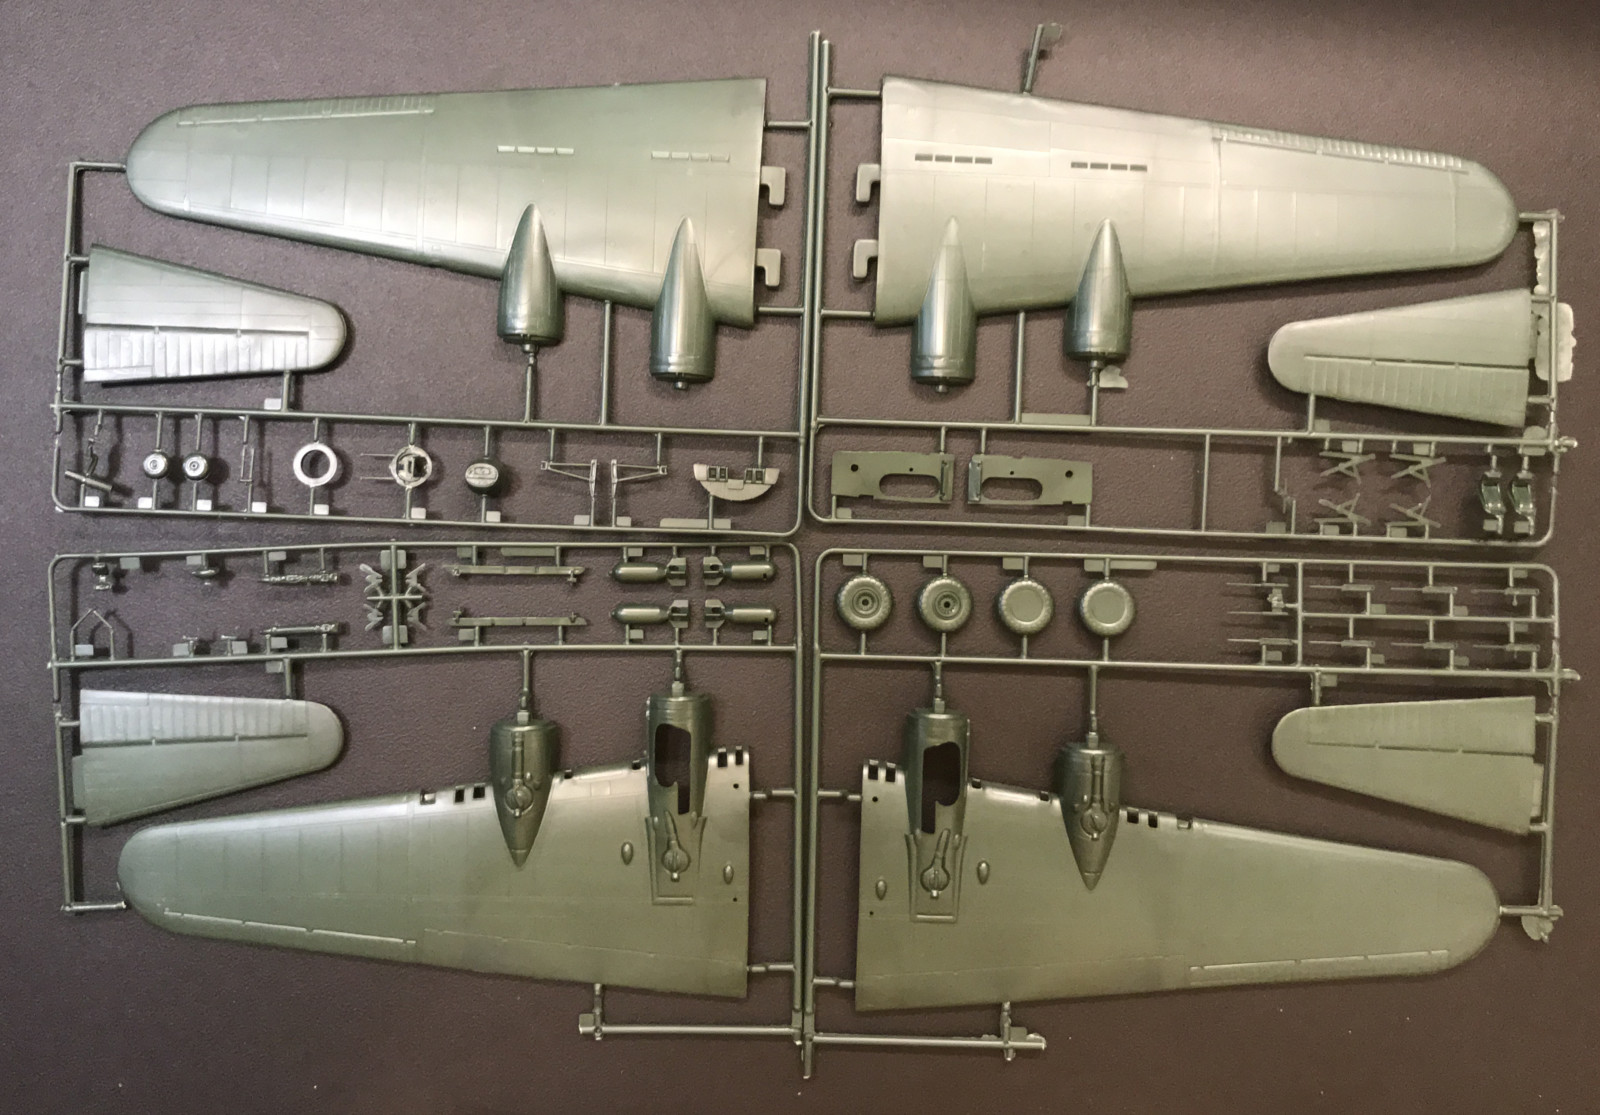
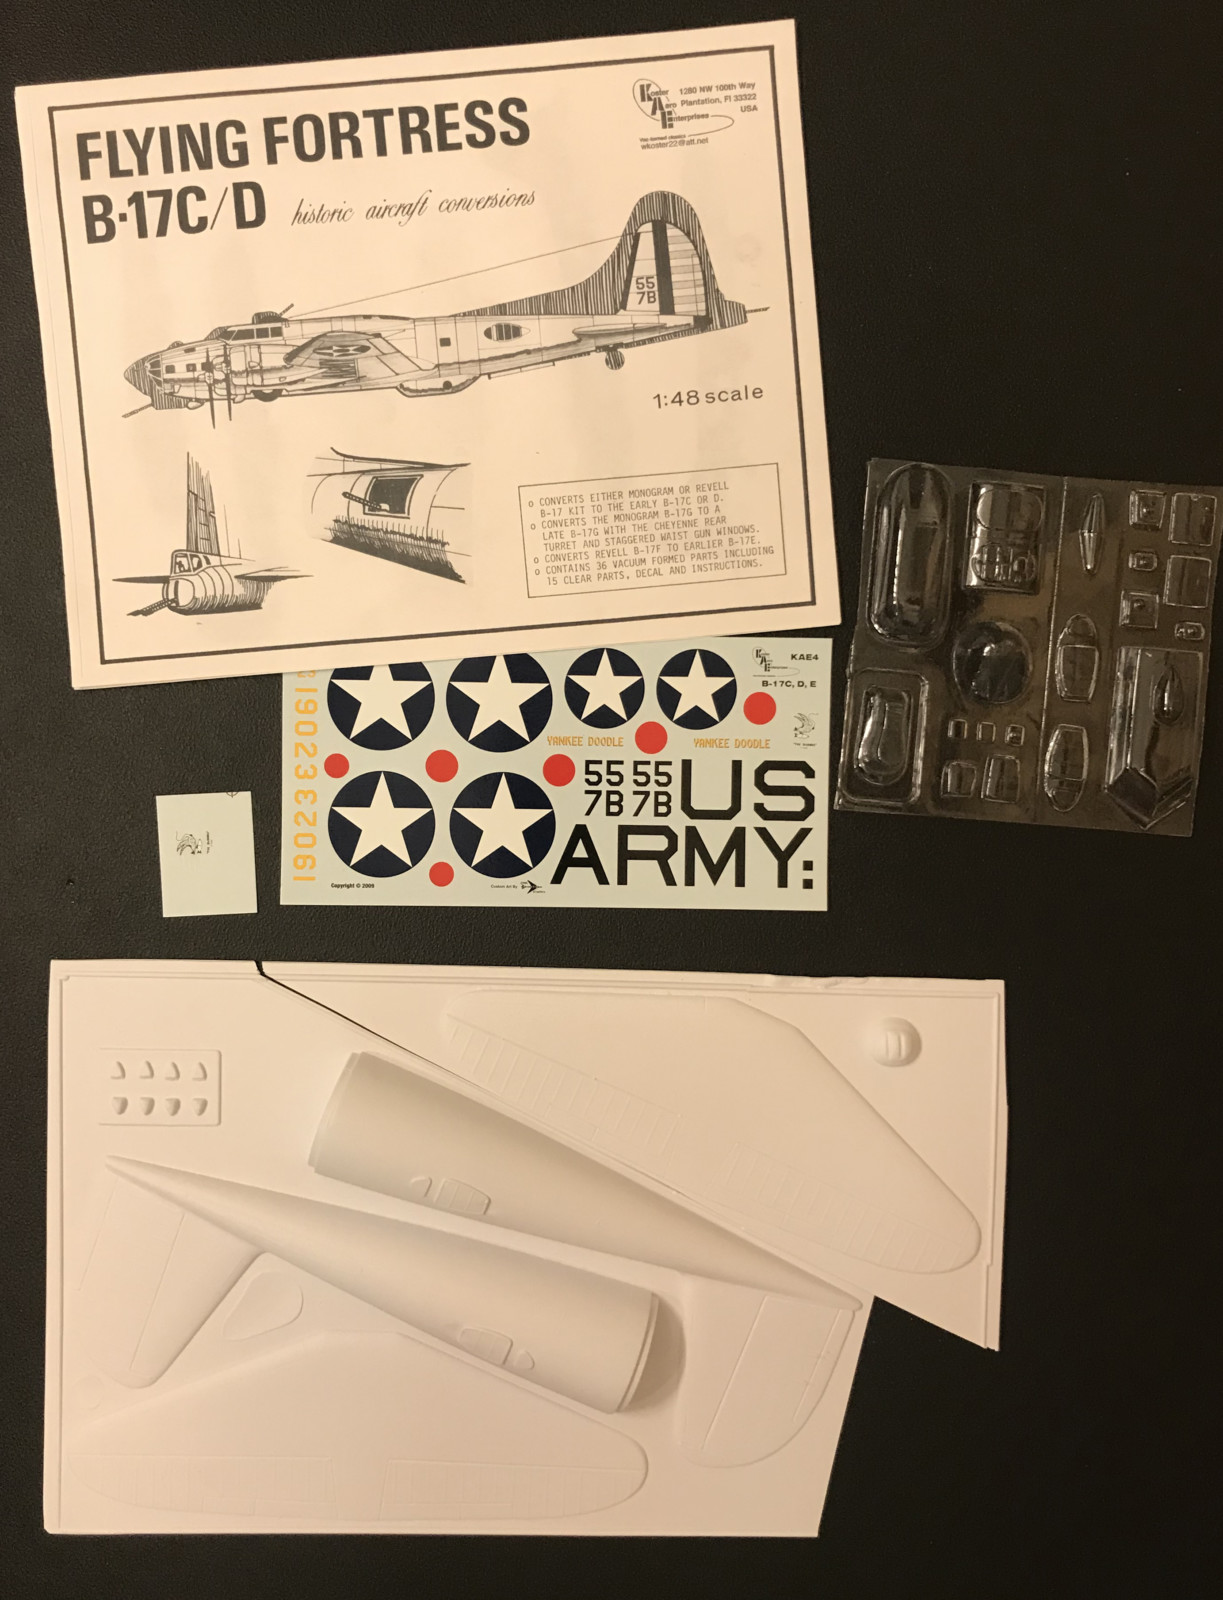
Now to the kit. It is originally an old kit and the mould dates back to 1978, 40 years when this review is written. This is also evident in the detailing, raised panel lines etc. To be honest there is really room for a new tooling of this kit. Monogram also did a B-17, a B-17G, but it's as old and now hard to get. To start I have to make it clear that this is a review of the kit but also some guides on how to convert it to an early B-17E. The end result will be a B-17E from the Battle Of Midway (which is not included in the box). To be able to do this (and to enhance the result) I bought the following extras:
 |
 |
 |
 |
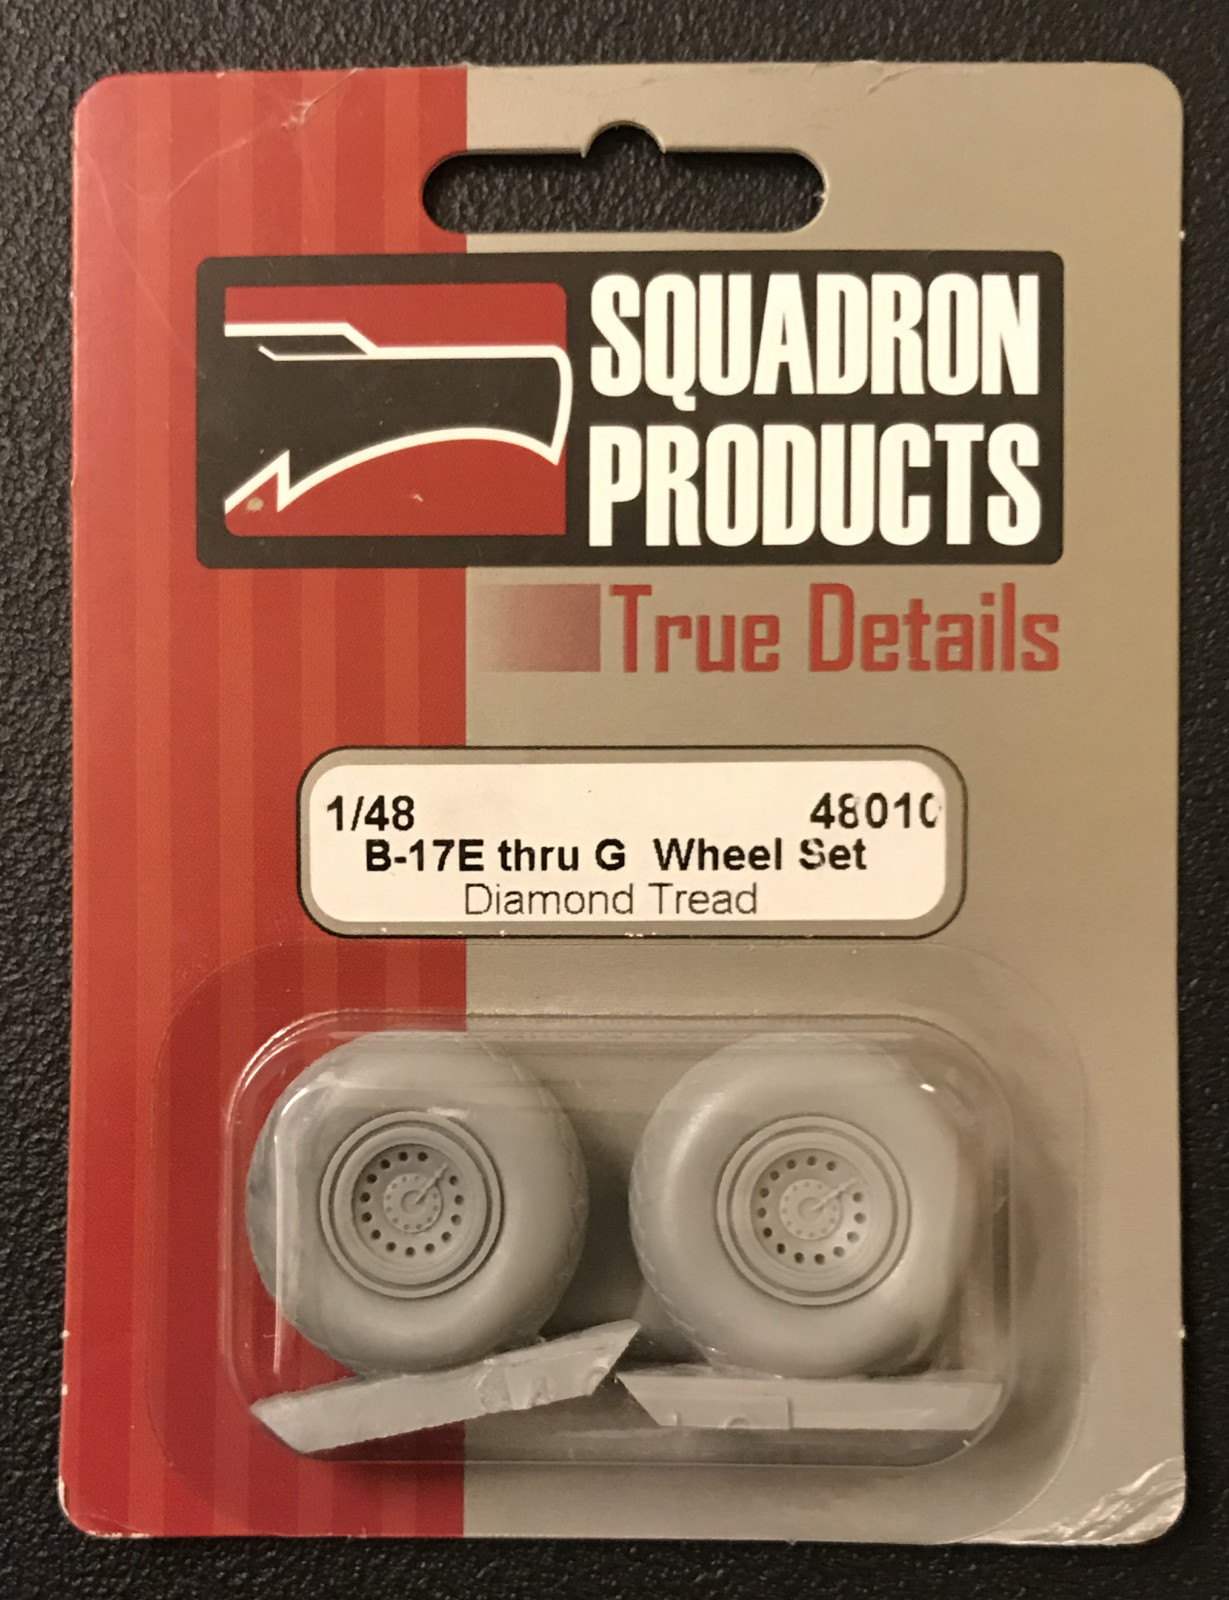 |
Now this is a kit that has fought me all the way. Mostly due to the conversion to be honest. Just to get hold of the conversion kit was hard (finally Ebay was the saviour at a steep price). Turns out that the main part of the conversion kit is parts for the C and D version (a future challenge?). The only part I really needed was the nose dome as the B-17E was more snub nosed than the B-17F. Also the decals was of use, but that was about it.
The inside of the fuselage like the cockpit, bombardier compartment, mid gunners emplacement etc. are scarcely detailed. The flight deck is practically two chairs, two control sticks and a dashboard. But the only really visible part once the fuselage is closed is the bombardiers place in the front nose dome. The ball turret is just the glass ball with two guns an then empty. Now I'm not using the ball turret because the plane I build has a Bendix-turret.
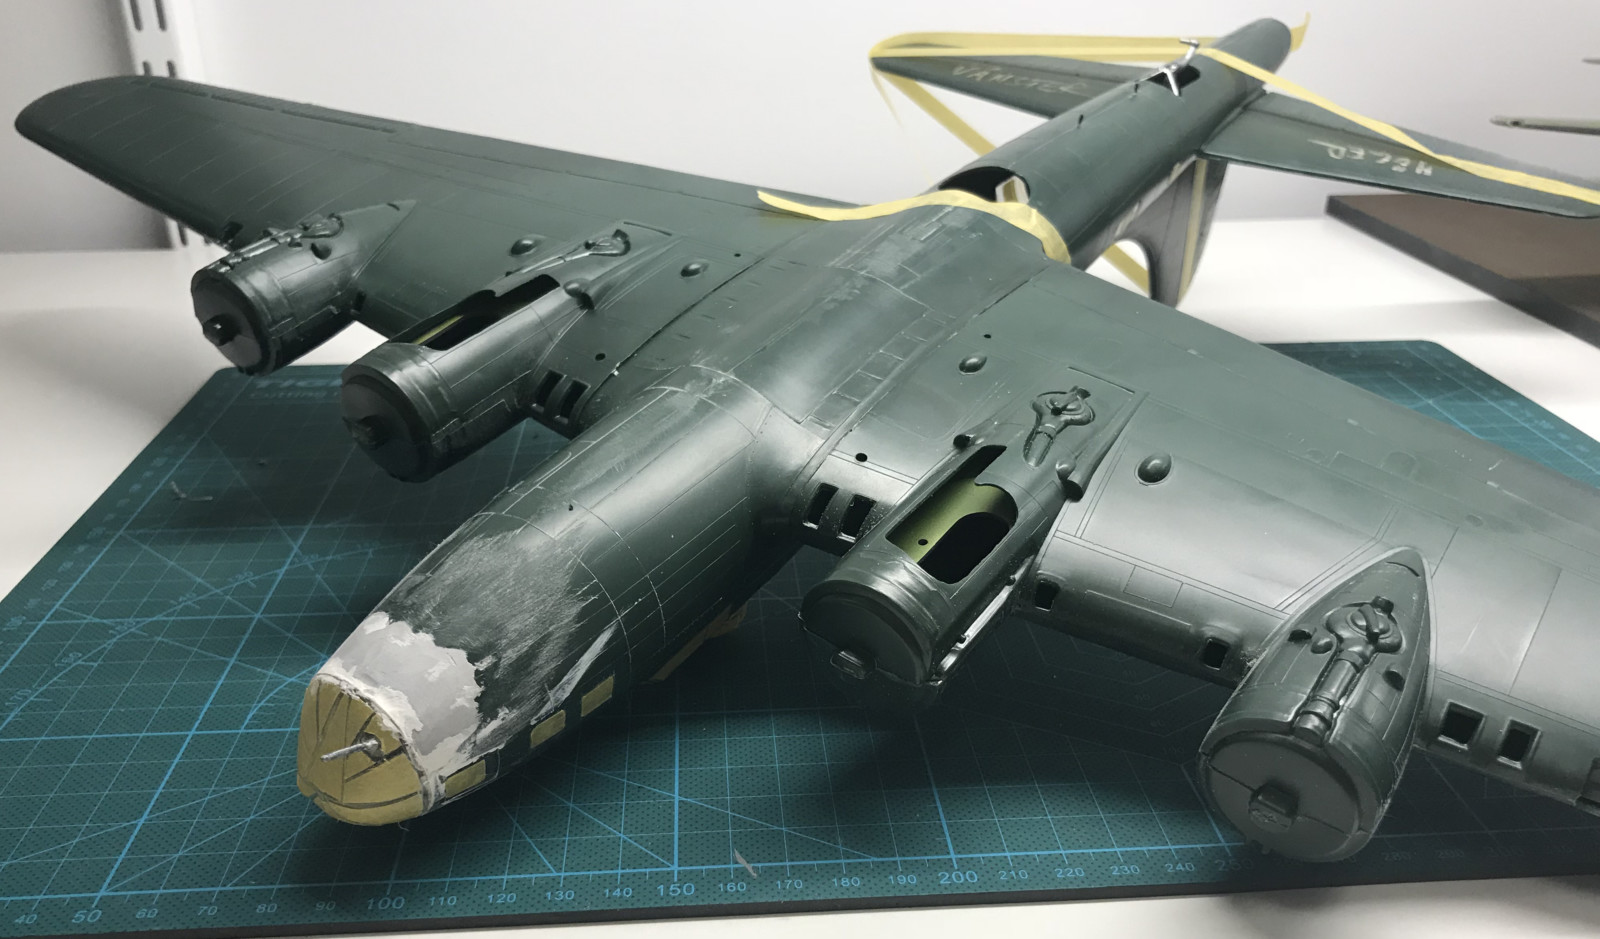
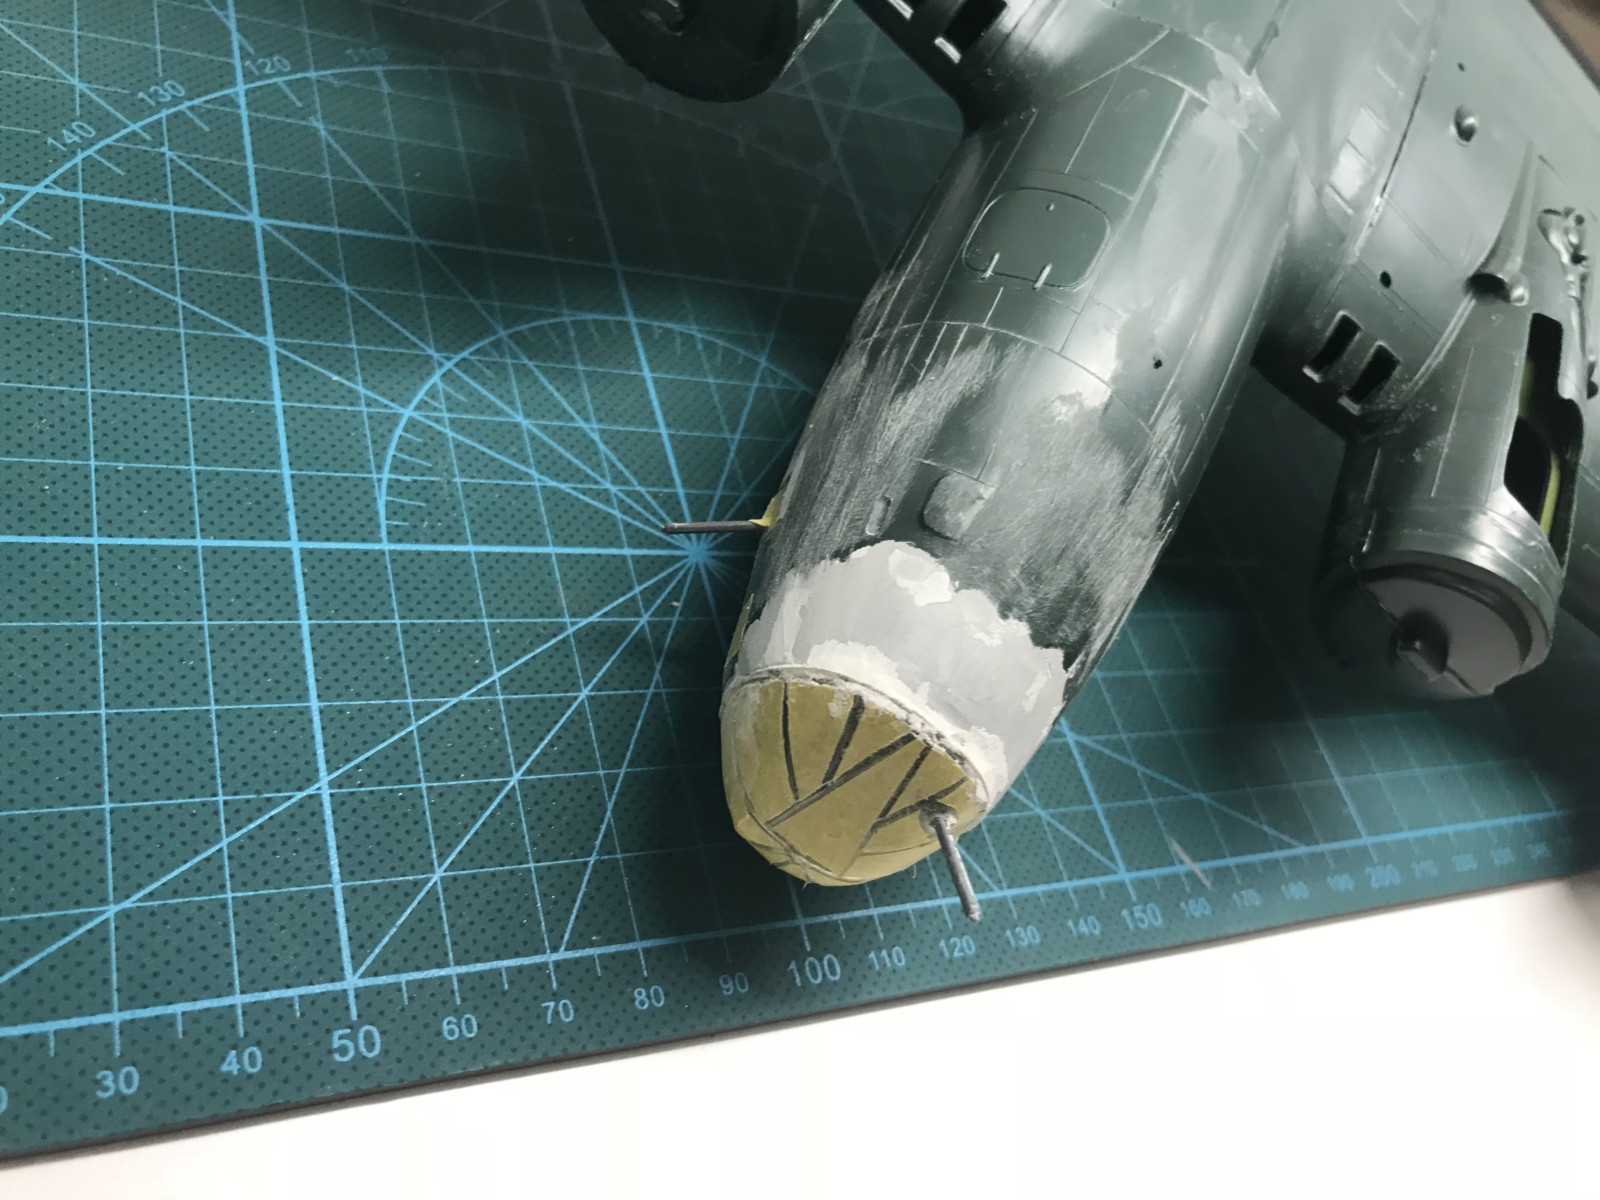
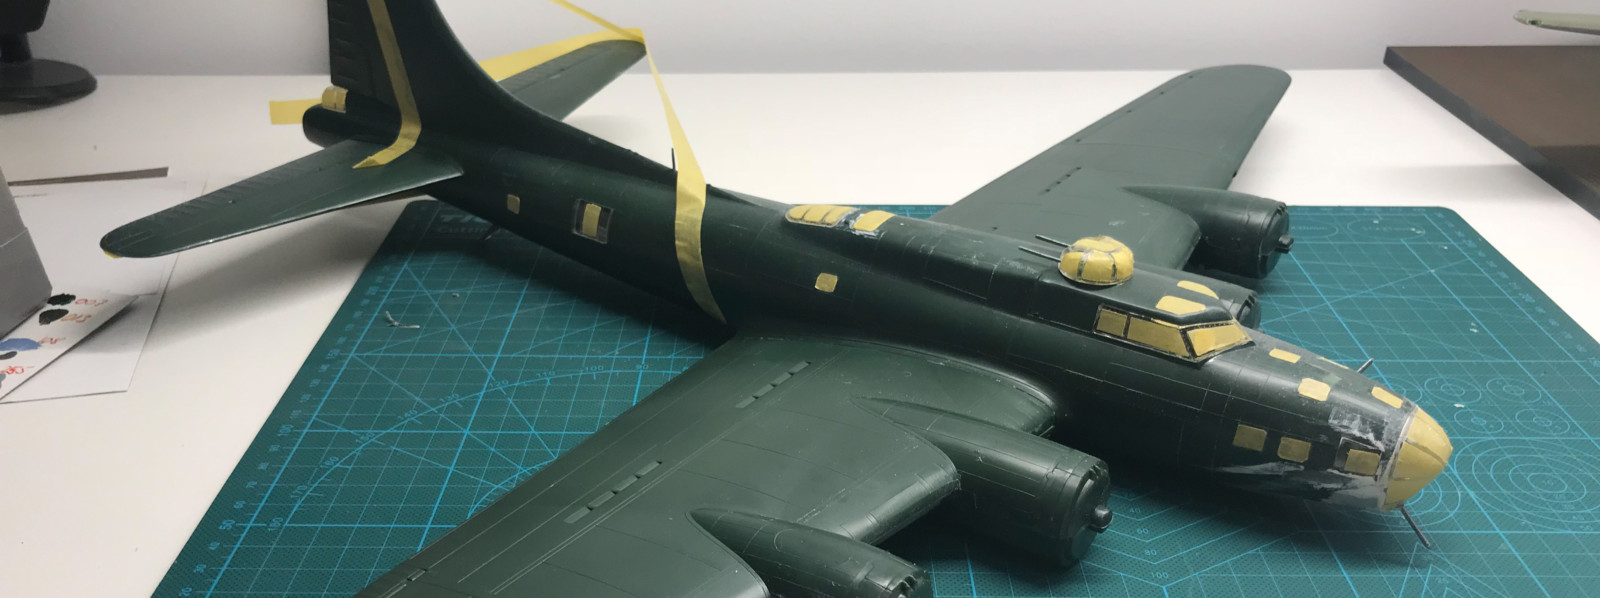
Converting the B-17F into a B-17E is not that hard if you manage to get hold of a shorter nose dome. And it was only the earlier B-17E's that had the Bendix turret, most E's had the ball turret. Now the shorter nose dome that comes with the Koster conversion kit must be done for Monograms B-17G kit because it does not quite fit Revells B-17F. The diameter is 1-2 mm wider than the diameter of the front end of the fuselage. The only solution I found to this was to build up the fuselage underneath to fit the dome. A painstaking work that is hard to get to look good.
 |
 |
The gun windows on each side of the bombardiers seat are larger on the F than on the E. To be meticulous you should change these as the gun holes were centred in the windows. I chose to just make them the right size (fill and paint). Now the real challenge turned out to be the Bendix belly turret. The conversion kit didn't contain any, so no help there. Then I found out that the B-25B also had a Bendix-turret. I found a kit of the B-25B and tried it out but neither the shape or the size looked right. Simultaneously I had started to experiment with doing a scratch version in wood. It was not perfect but better than nothing. The one thing the B-25B gave me though was the small window dome used to control the Bendix-turret placed just behind the turret beneath the fuselage.
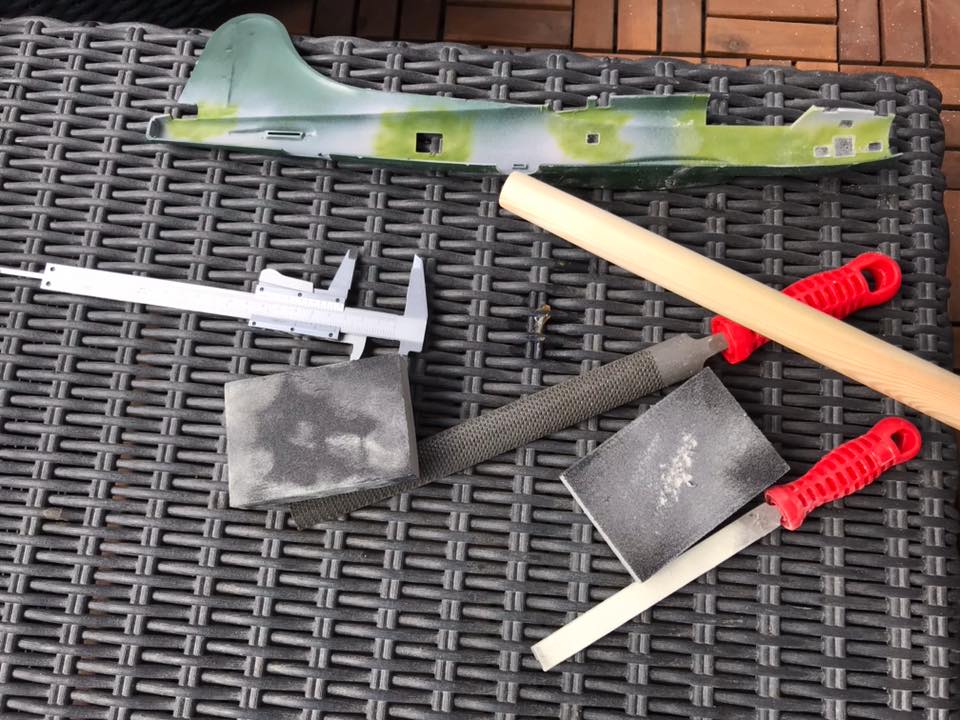
Getting the wings and stabilizer together and in place was not that hard but they need some tape to keep them in place while the cement set. This is a large kit and to apply enough cement without over doing it is not easy. I had to fix several joints while working on the kit later on.
Now the next challenge turned out to be to paint. There are no reliable record of exactly what colours the Hawaii depot used when they improvised a camouflage on the B-17's after the start of the war. Nor were the camouflage pattern exactly the same on two individuals. The only reliable reference material I could find was John Ford's documentary film from the Battle Of Midway. Well I did the best I could. These are the colours I used (Vallejo's Model Air):
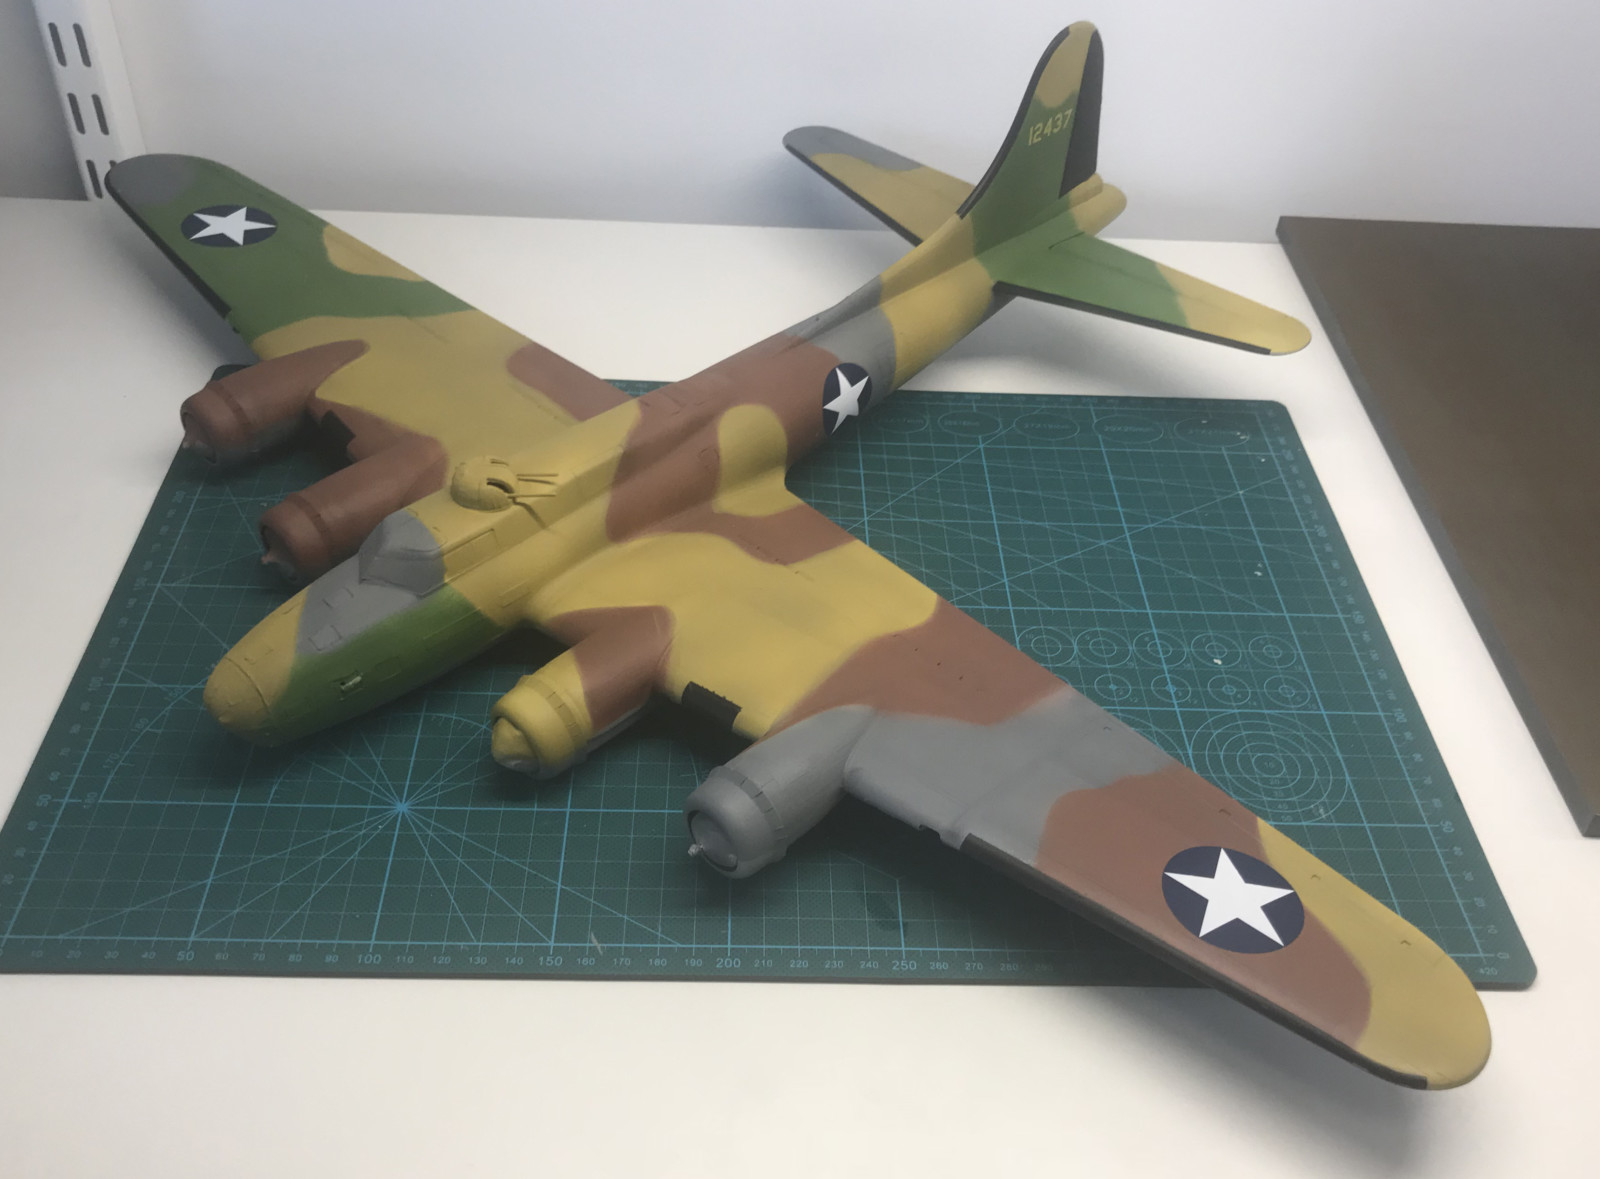
Luckily the decals provided with the conversion kit was perfect including the "U.S. Army" letters under the wings. Even the serial number on the tail fin was correct except for the last digit (or two digits on the decals). I cut up a '4' and converted into a '7'.
Here's the next snag. As I always to I left out the undercarriage till after the paint job. The instructions tells us that the undercarriage should be fixed before you close the wings. But it looked like it would be possible to install them later. Well in theory yes. The angle to get the main carriage in turns out to be a tad steep. I managed to dislocate both plates within the motor gondolas to which the landing gear should be set in. Inside the closed motor gondola. I can tell you is was not an easy task to get them back in place.
The propellers on the 'E' had another shape than on the 'F'. Fortunately the 'F' propellers in the kit is larger at the base than the 'E' propellers should be. So its just a matter of re-sculpturing with a knife.
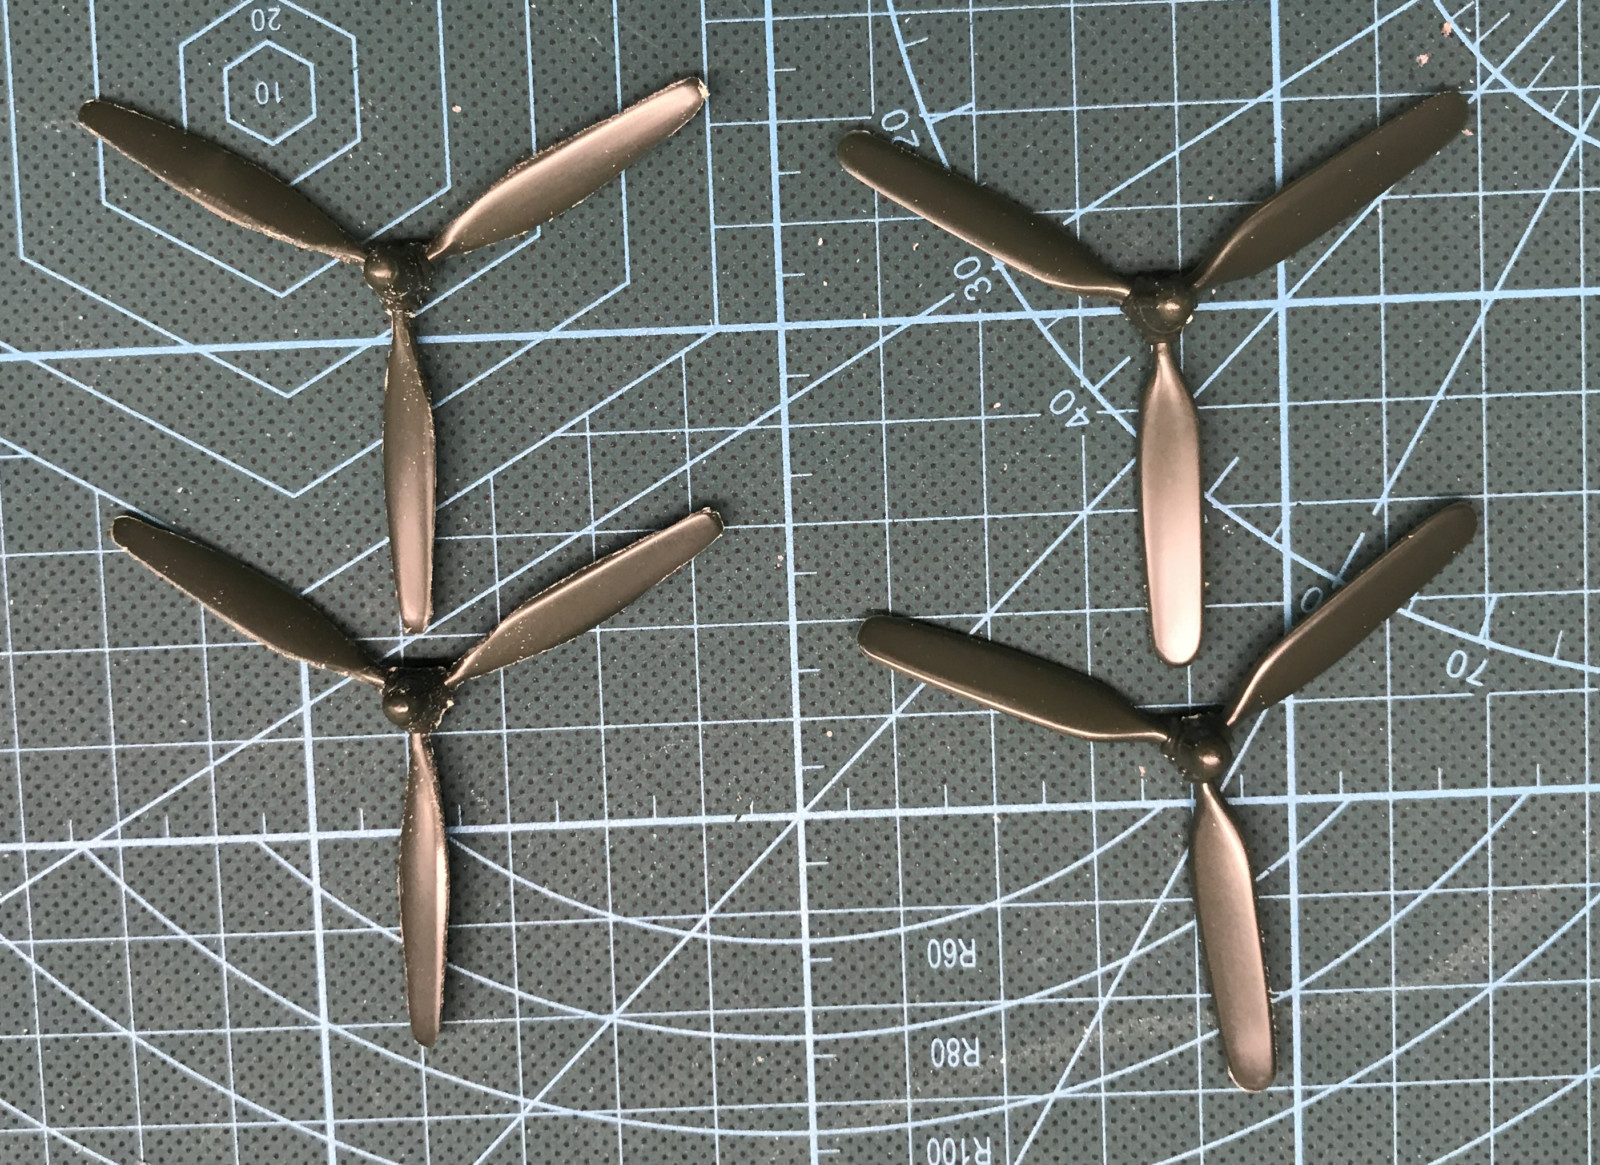
Kit original to the right, re-sculptured to the left.
This is an old kit and it shows. Poor detailing on the inside and raised panel lines are tell tales. In general if you only look to the outside it an okay kit when done. Should be an easy build to the experienced modeller. Should I do it again I would buy a big load of after market detailing.
| Difficulty* | 2 (without the conversion) |
|---|---|
| The good | It looks mighty when done. |
| The bad | Poor detailing on the inside. Old construction. |
*) On a scale 1-5 where 1 is easy and 5 is really hard.
 Flying Fortress finished 001")
 Flying Fortress finished 003")
 Flying Fortress finished 004")
 Flying Fortress finished 005")
 Flying Fortress finished 006")
 Flying Fortress finished 007")
 Flying Fortress finished 008")
 Flying Fortress finished 009")
 Flying Fortress finished 010")
 Flying Fortress finished 011")