| Manufacturer | Revell |
|---|---|
| Scale | 1/48 |
| Manufacturers page | https://www.revell.de/en/products/model-building/aircraft/world-war-ii/id/04507.html |
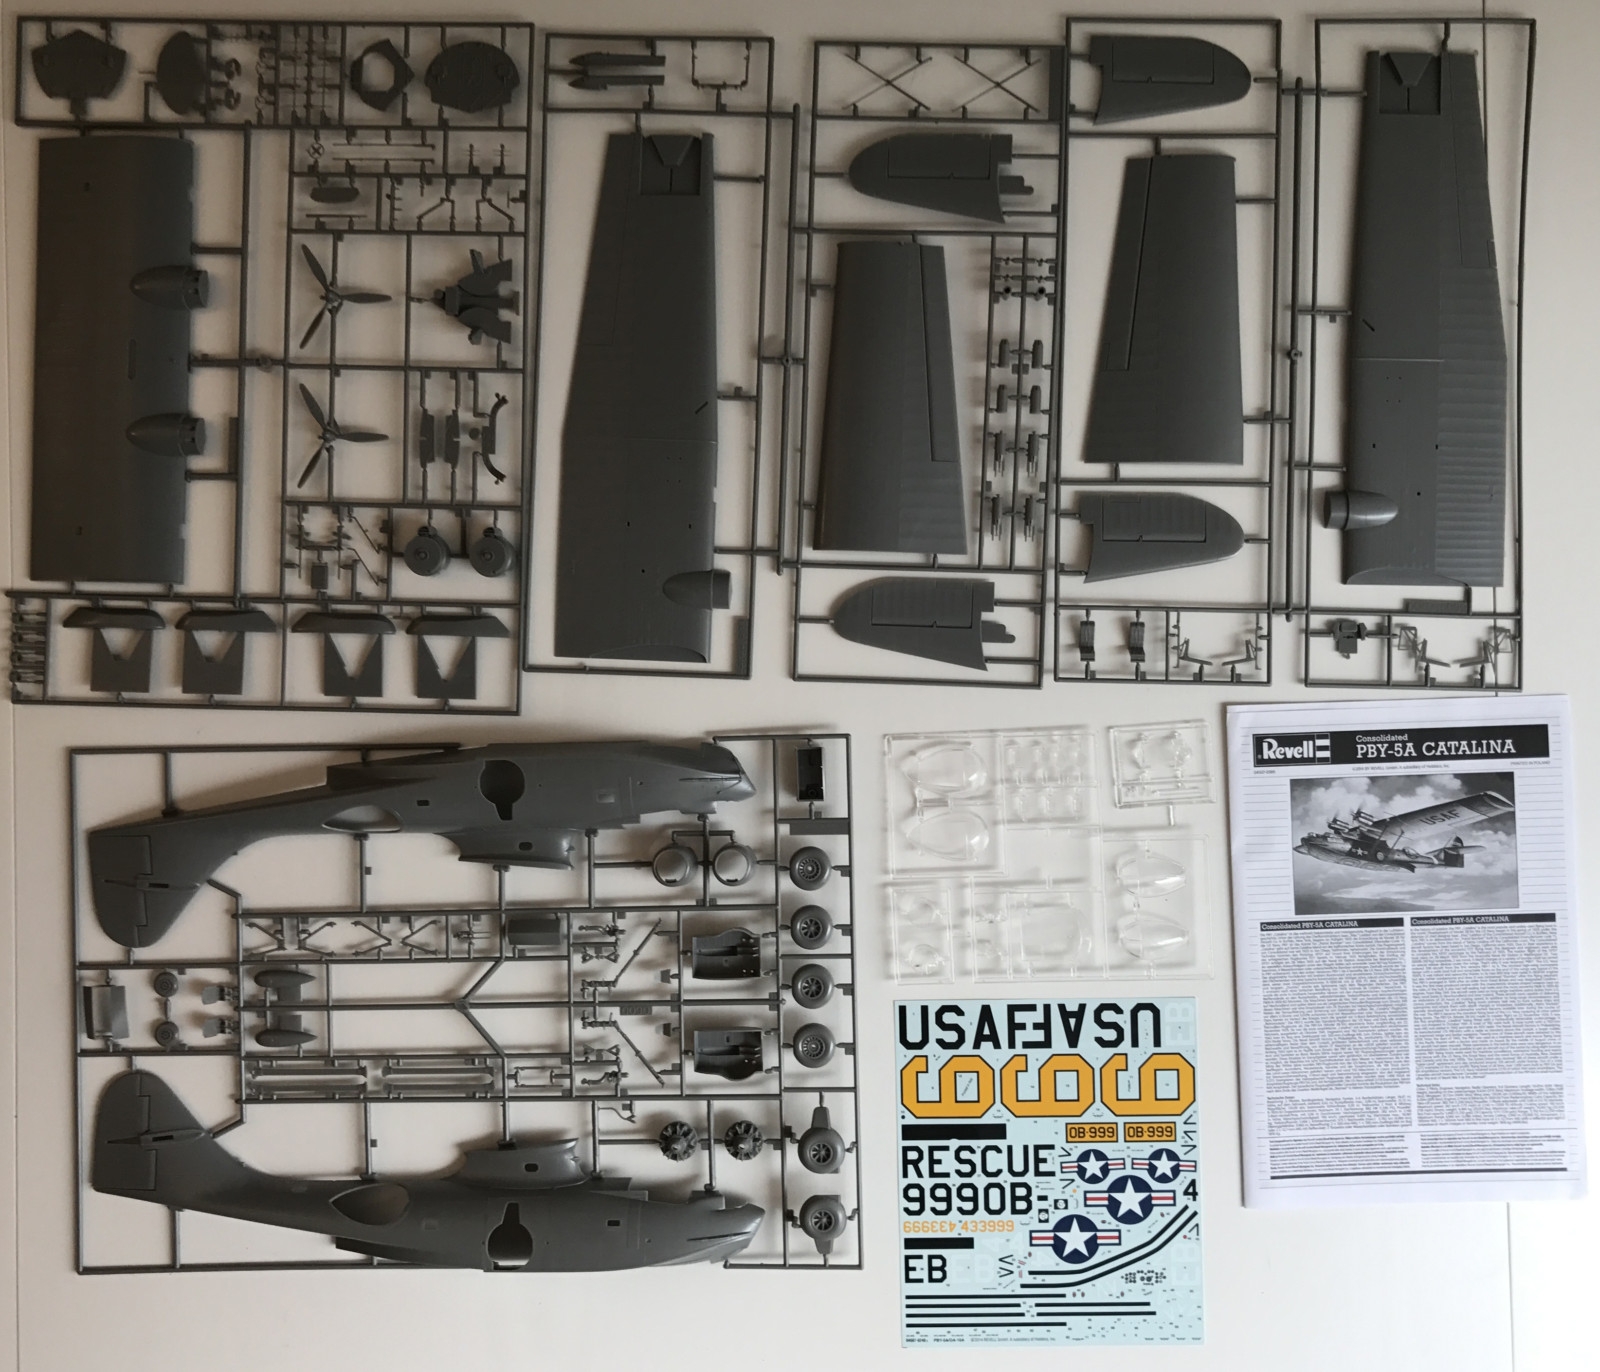
| Content in box | Instruction sheet, plastic kit and decals for two individuals |
The Consolidated PBY-5 Catalina, was (or is) a versatile sea plane that saw daylight in the mid 30s. It was built as a patrol bomber (PB) but saw many uses during it's long life. During WWII it was used for reconnaissance, rescue missions, submarine hunting, cargo transport etc. It's ability as an amphibious aircraft made it perfect for service in the Pacific and the Atlantic. It saw service in most allied air forces such as the U.S., Great Britain, Australia, Canada, France and even in one version the Soviet Union. It saw military service well into the 1980s and was used in fire fighting roles as late as in 2014, almost 80 years since it first was conceived.
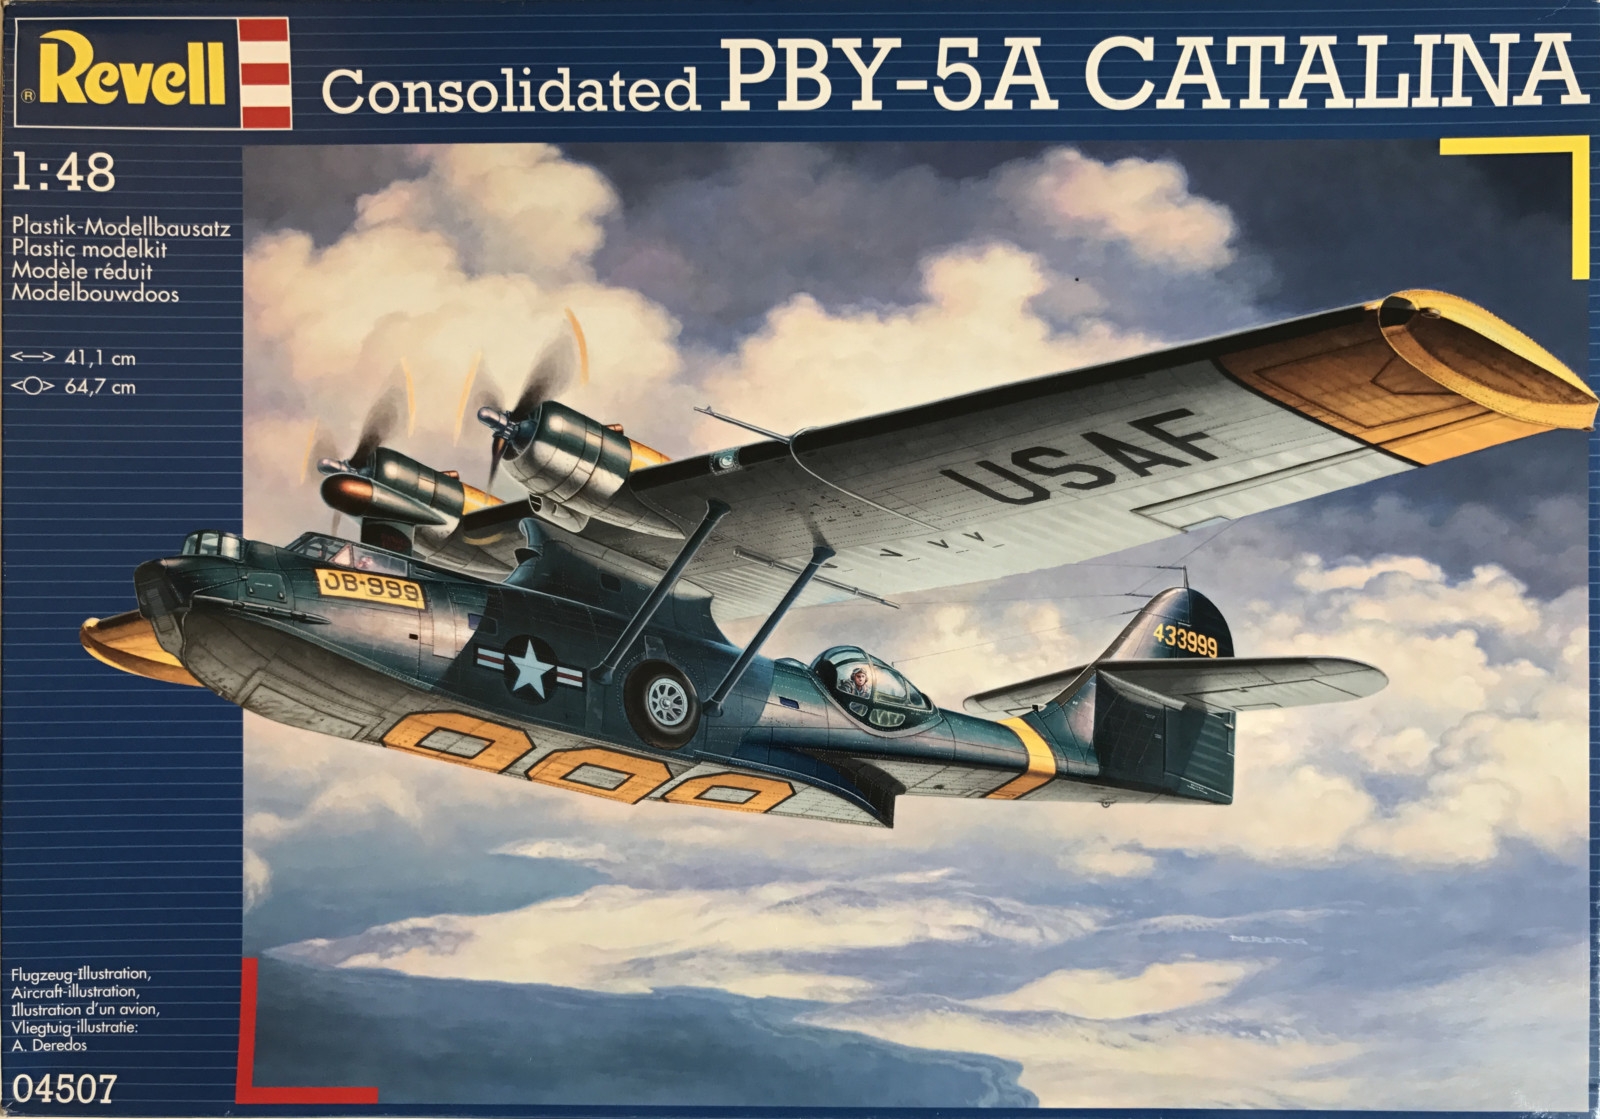
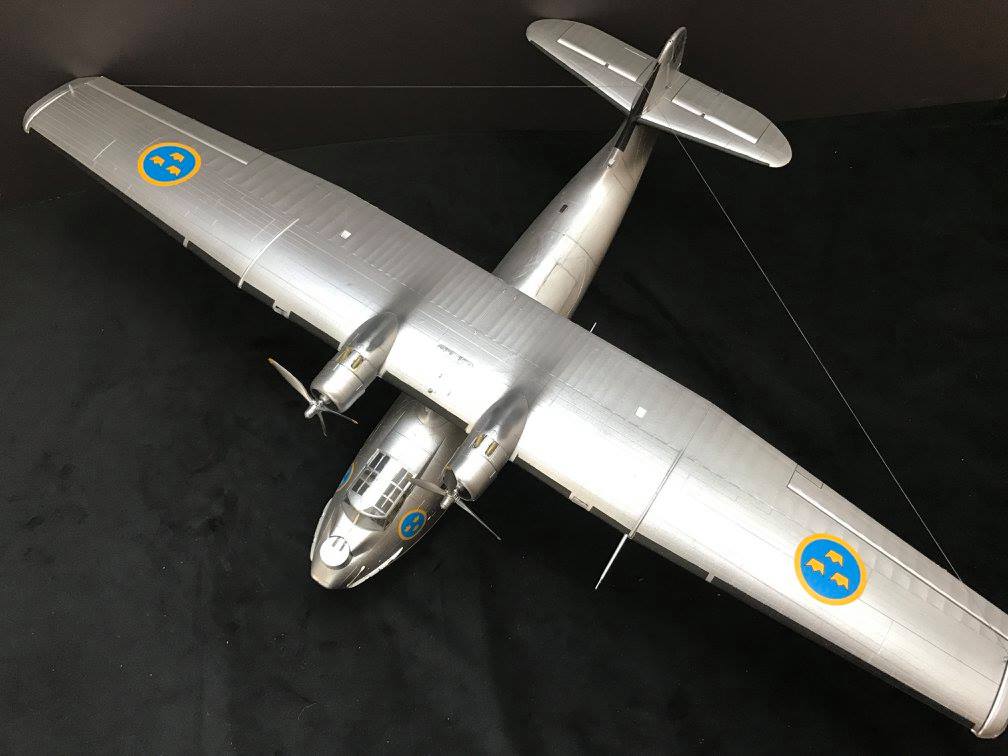
Revell's kit in scale 1/48 is the only one available. It was originally released by Monogram and has been released in different versions. I have an older release (unbuilt) by Monogram as the flying boat version before the Catalina became amphibious. Even if the kit is old I'd say it has a fair standard when it comes to detailing etc. It is quite large in this scale, it has a wingspan of 647 mm. This is the second of these kits I build. Previously I've done a conversion to one of the Catalinas that saw service in the Swedish Air Force (see pictures at the end). This time around I'm building the Catalina that found the Japanese fleet during the Battle Of Midway during WWII.
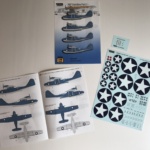
This means that I'd need some extra decals so I ordered these:
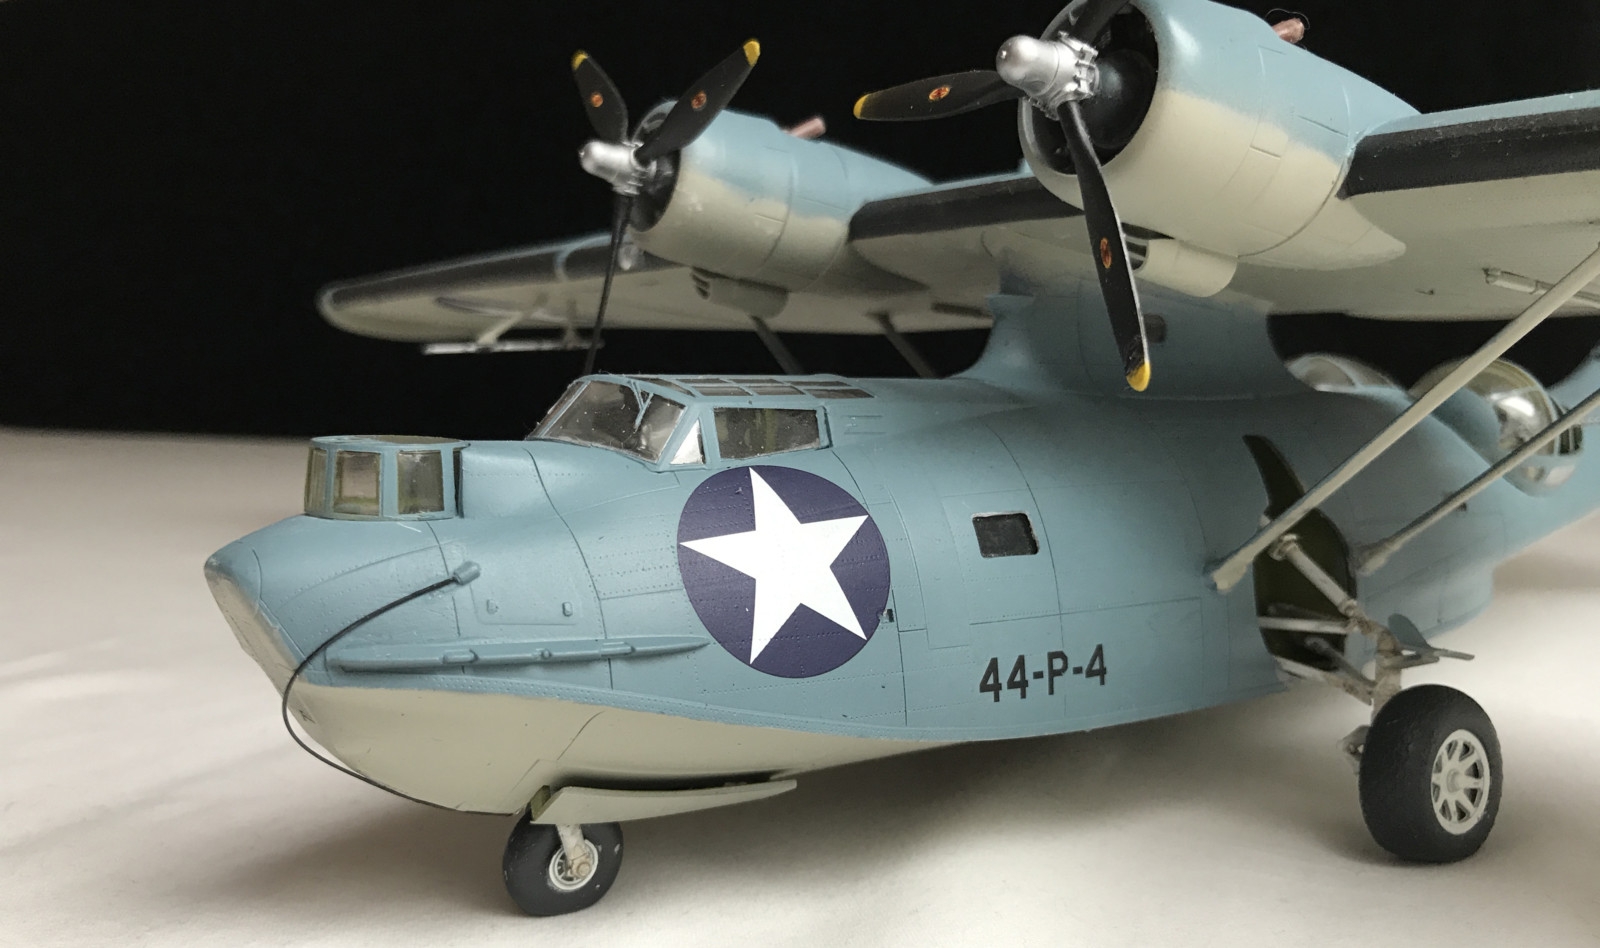
It's interesting to note is that Wolf Pack has chosen machine 44-P-6 from squadron VP-44, not the 44-P-4 which was the actual machine that found the Japanese fleet on the 4 June 1942 in the prelude to the battle. Well this is easily fixed by using other available fours on the decal sheet.
I also added two extras in the form of:
 |
 |
 |
 |
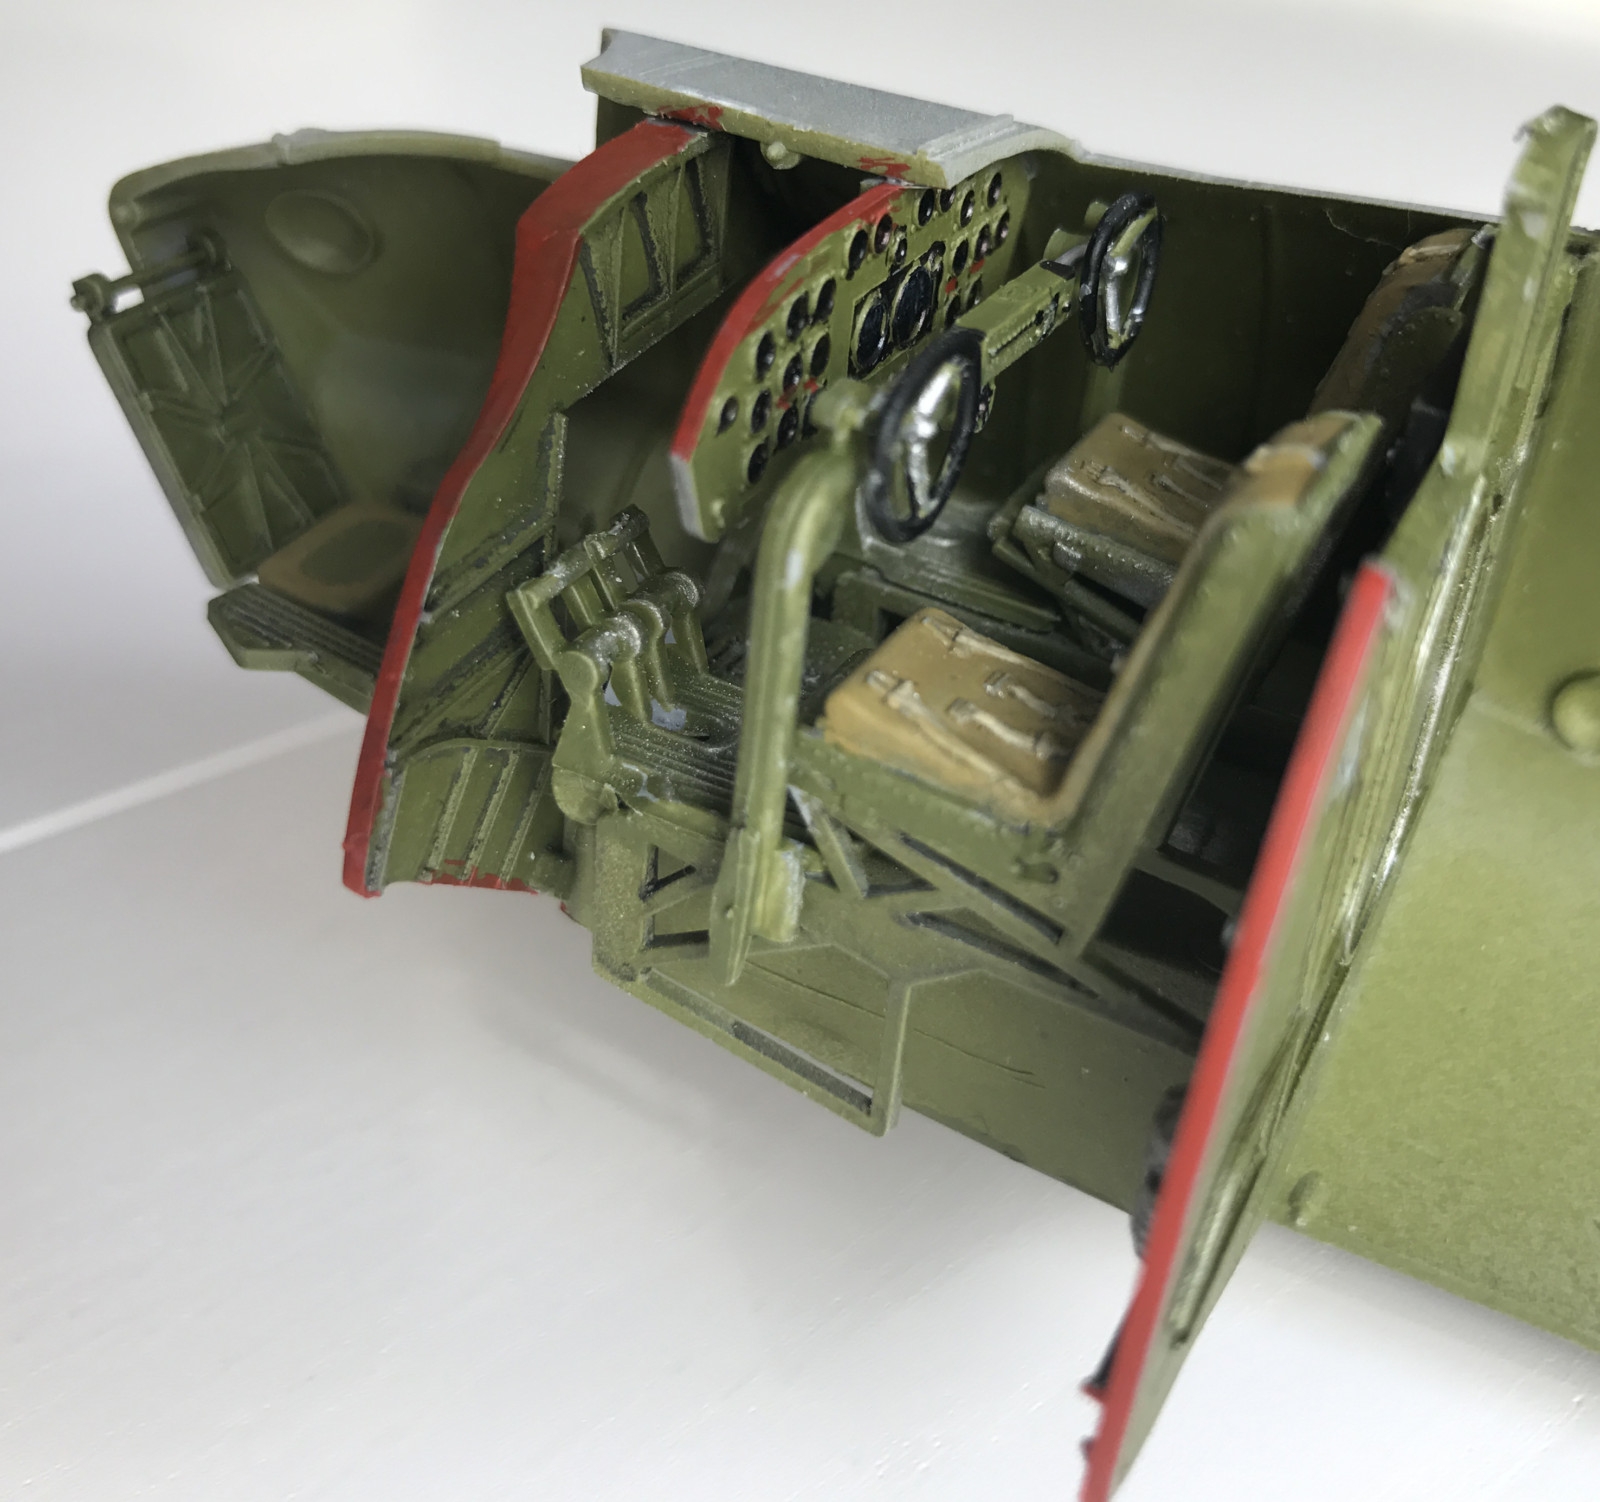
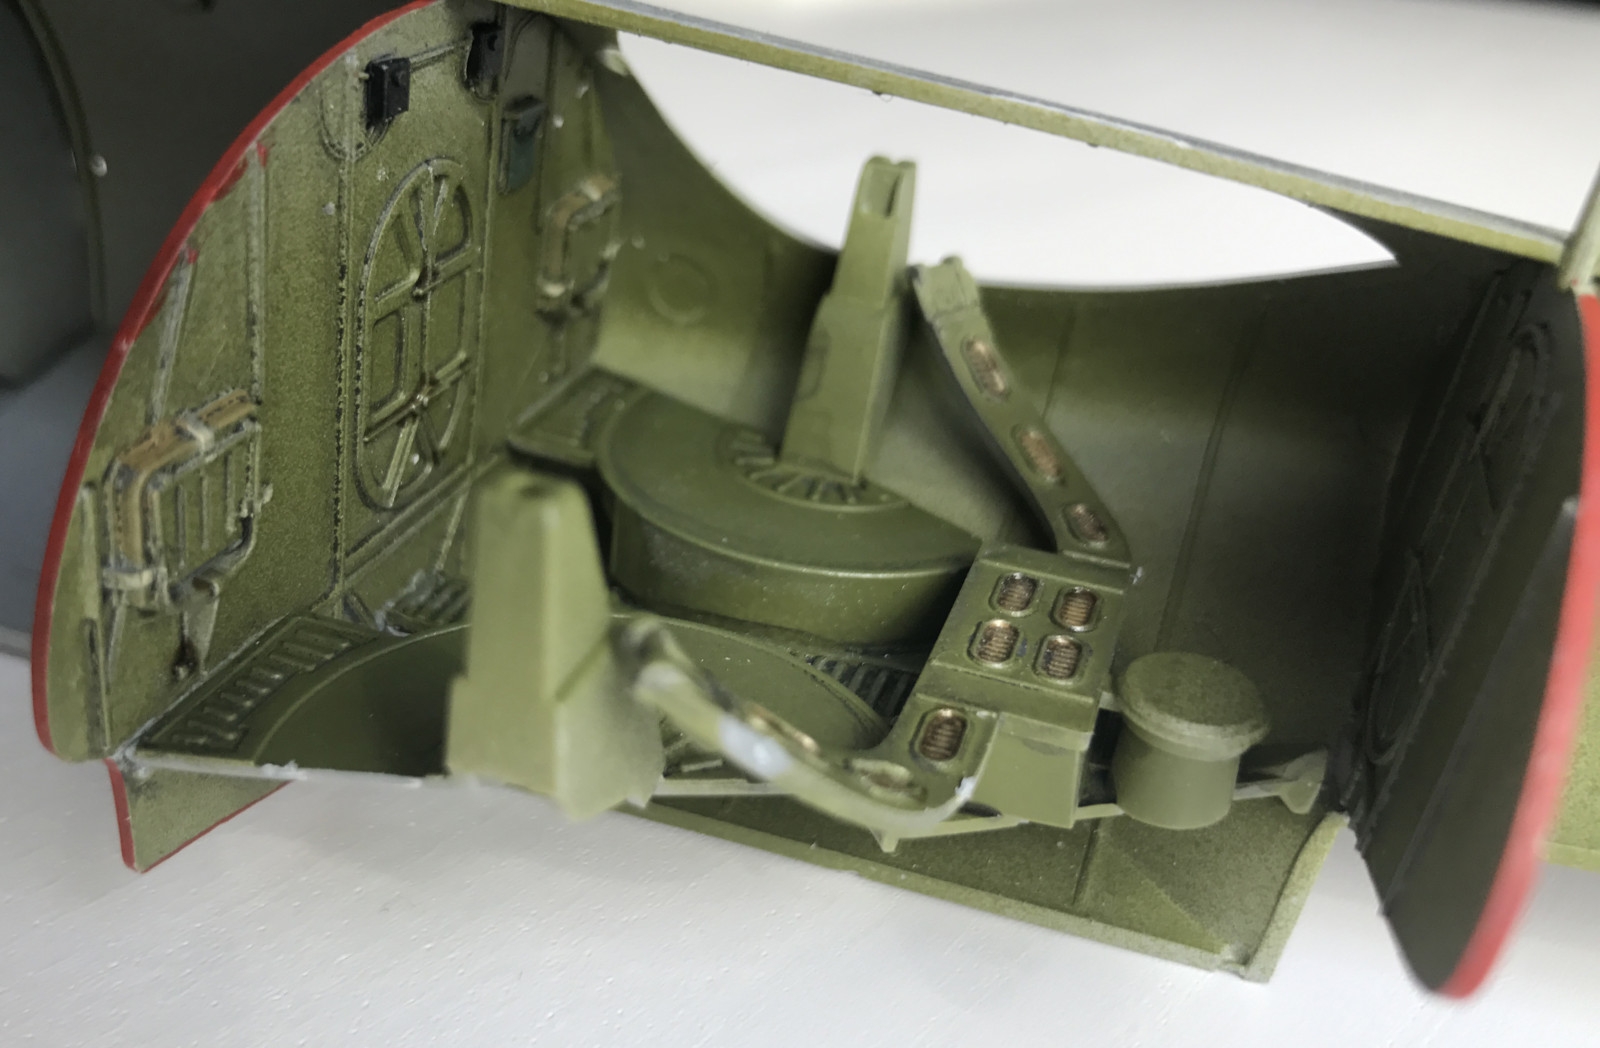
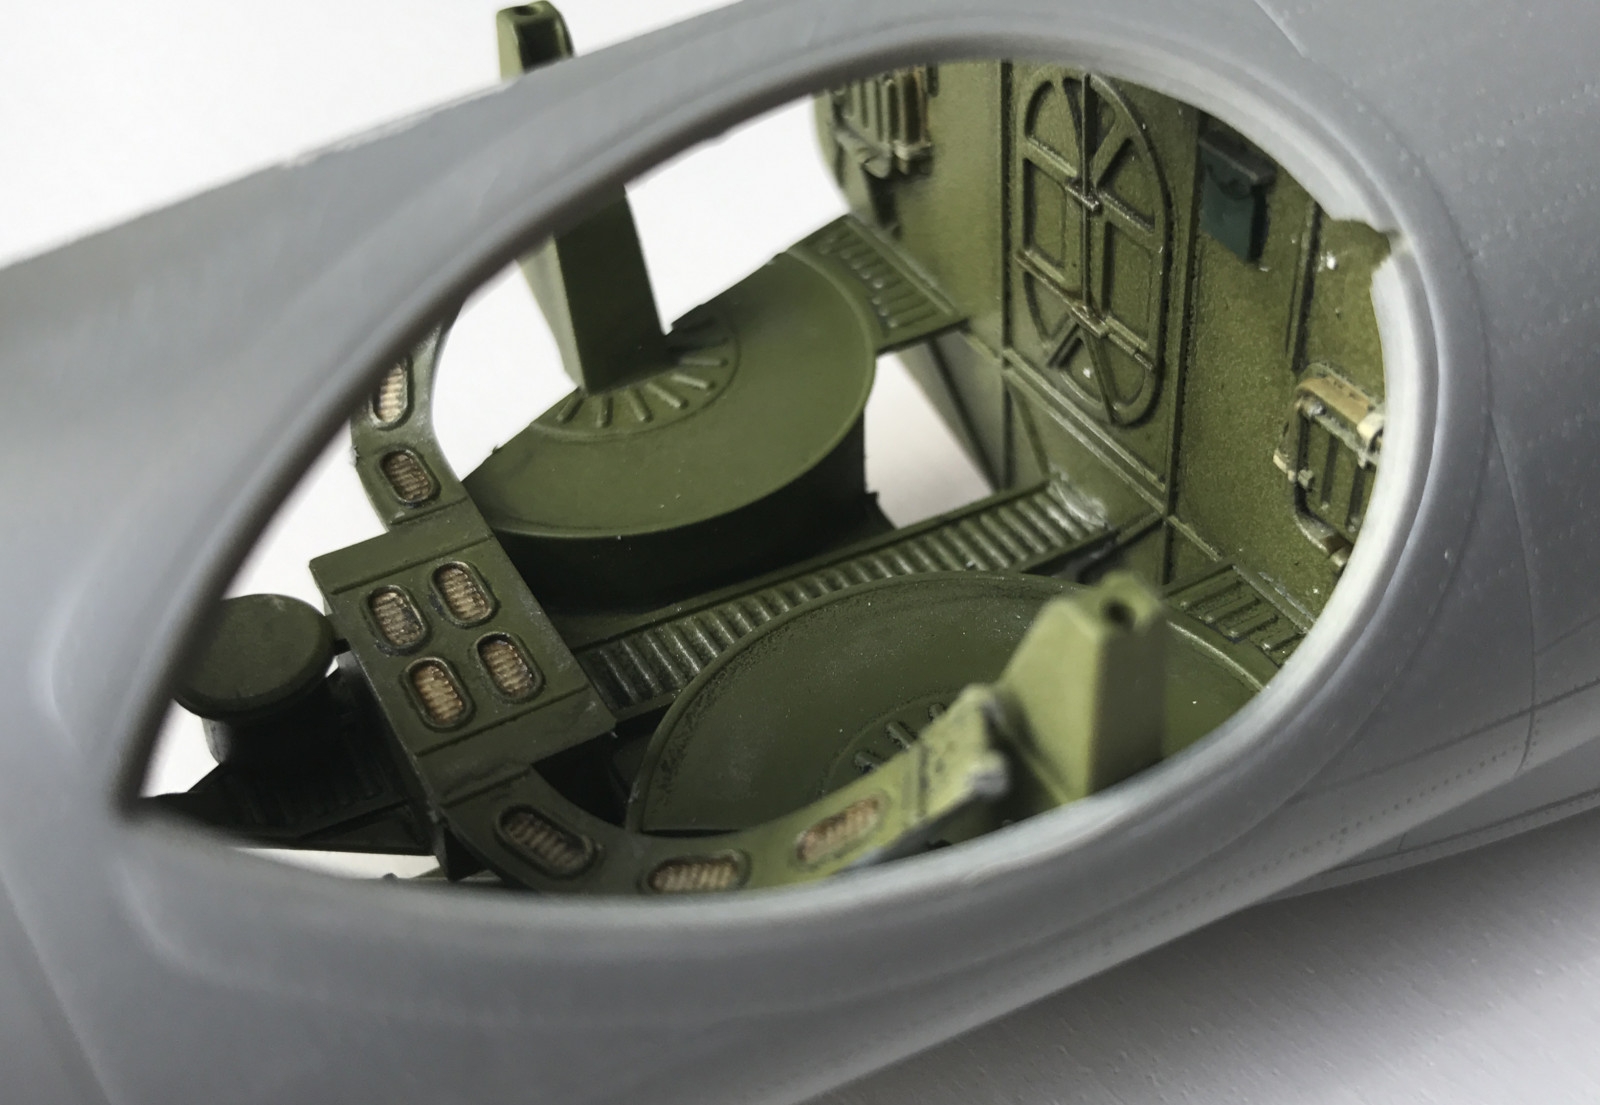
The details are moulded to the parts rather than separate parts, a sign of the age of the kit. But with some paint and a fine brush you can still enhance the impression. In the rear compartment there's two fold up seats moulded in the folded position. A shame as it would have been fun to be able to have them out.The interior is OK in detail considering the age of the kit.
When it comes to the cockpit it doesn't really matter that much because you'll need very good eyesight to spot anything inside once the kit is done. Midships on the other hand, where the cupolas are placed, is more in view so that's fine. Still that doesn't stop me from trying to do a good looking cockpit. It is a bit fiddly as there is no real floor but the seats 'hang' on a console in the middle. You have to be very careful to get everything at right angles.
 |
 |
 |
 |
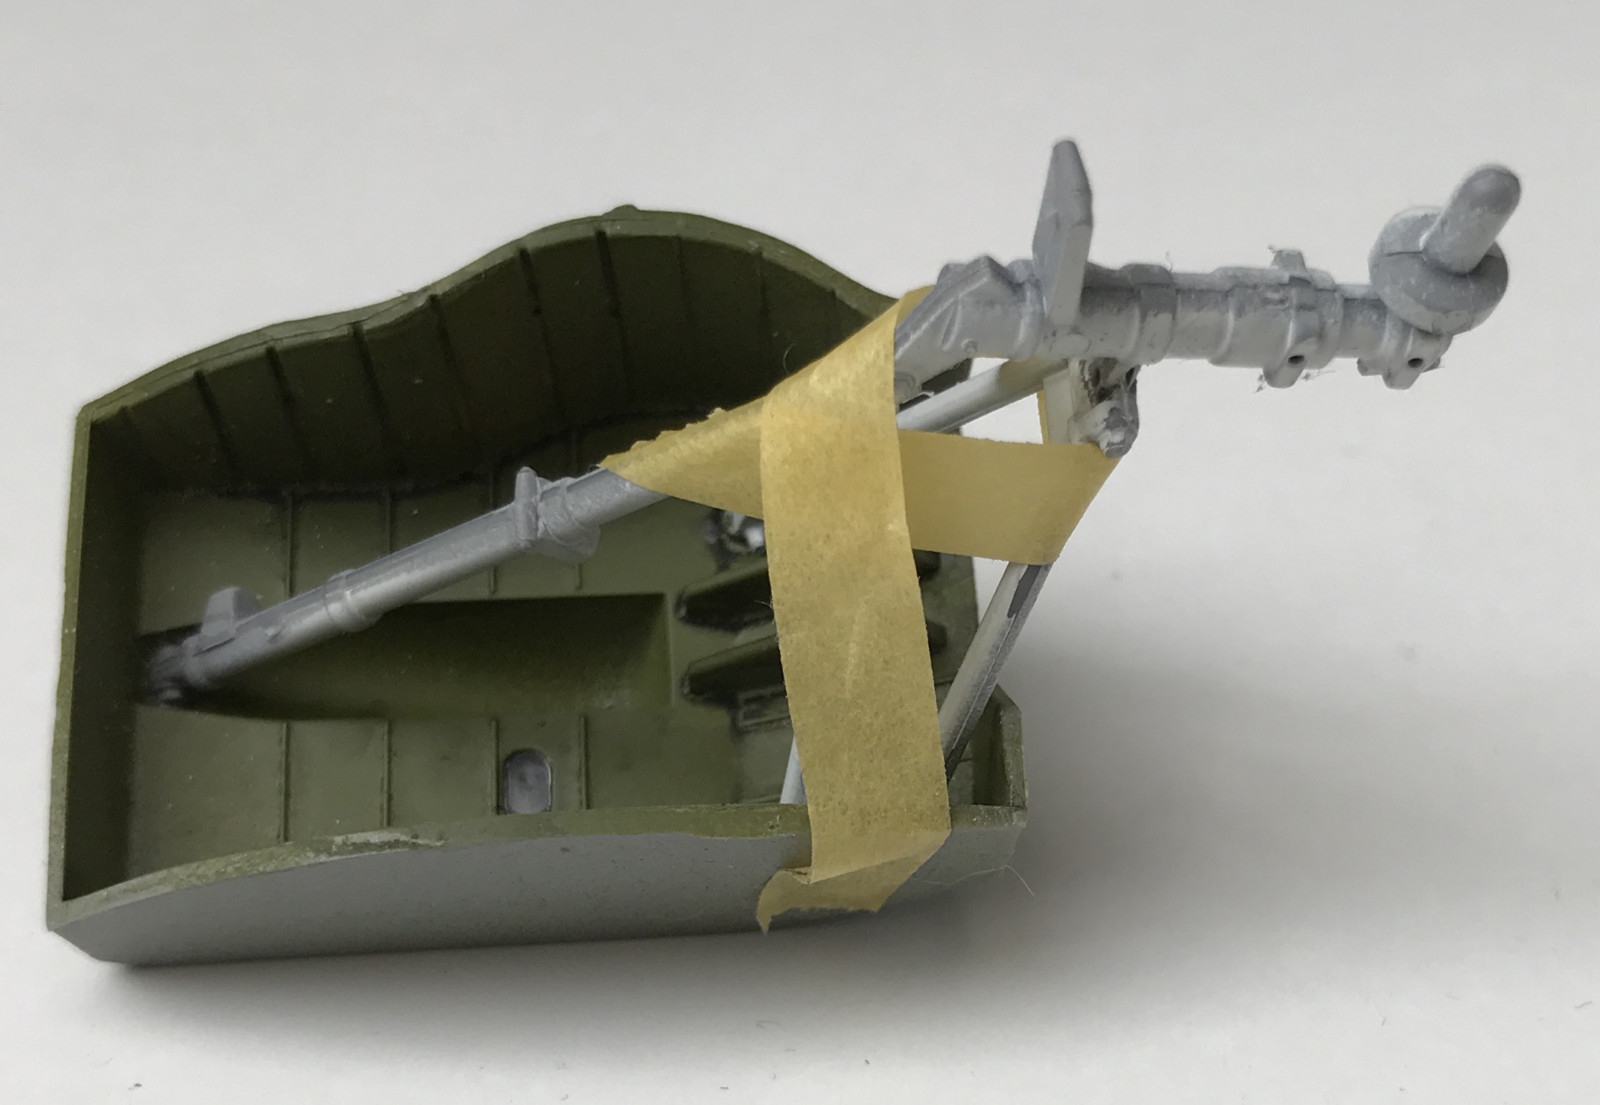
Now comes the really large parts starting with the fuselage. It comes in two halves as per standard. First thing is to fix all small windows and the large wheel housings on the sides. You need fit the undercarriage to the wheelhouse first. This is a fiddly affair and the instruction does not help much. You have to have good reference pictures or a good imagination to understand exactly how the parts should fit. Also take care when gluing the wheel houses to the fuselage. The fit is not perfect and if they're not fixated properly they risk to dislodge after you've glued the fuselage together and that spells trouble.
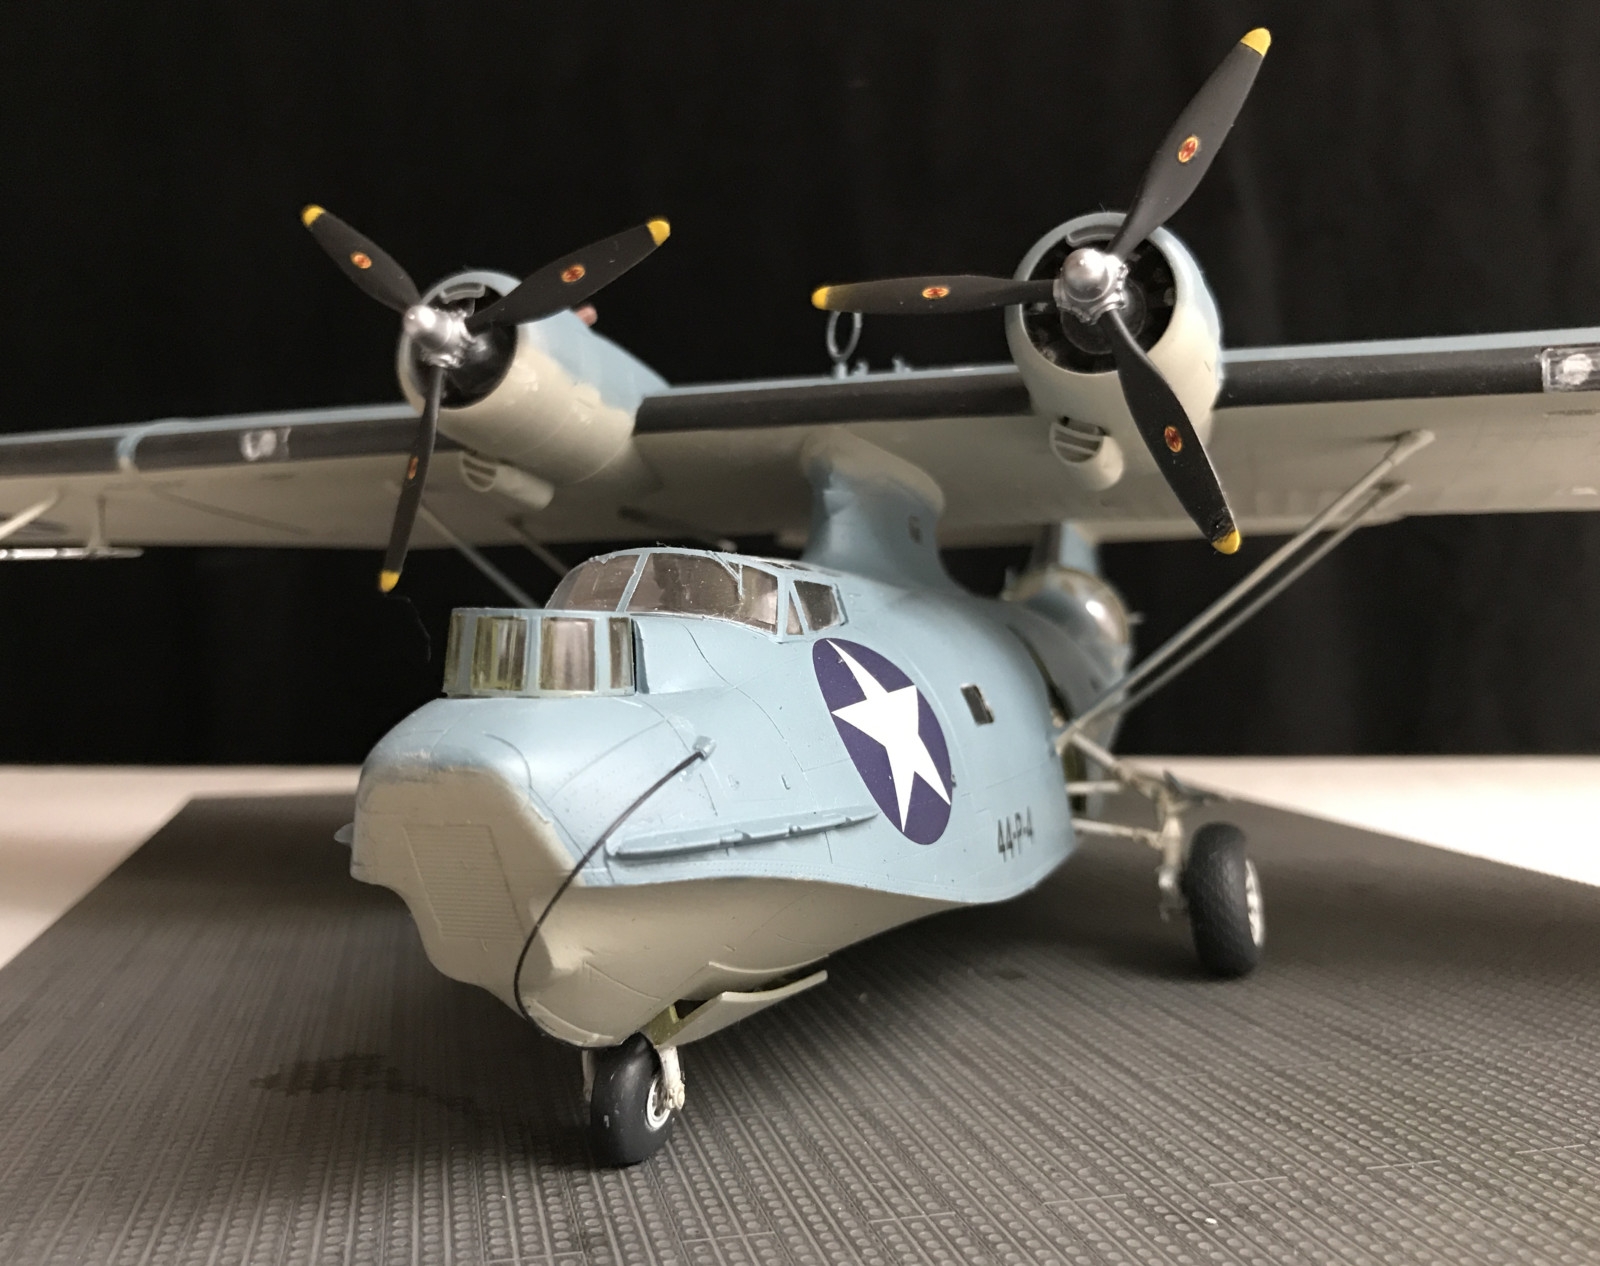
Now here's an issue: Weighing down the nose to have the plane rest on it's nose wheel! The instructions recommends you to place a 50g weight in the front part of the fuselage. Having built this kit before I knew this was not enough. I placed 108g into the area behind the cockpit. This was not enough. I continued to fill the wheel house with lead pellets. Still no nose wheel rest. I then added loose air gun pellets through the cockpit into the fuselage before adding the cockpit window until it rested on the nose wheel, just barely. I estimate that I used more than 200g in weights.
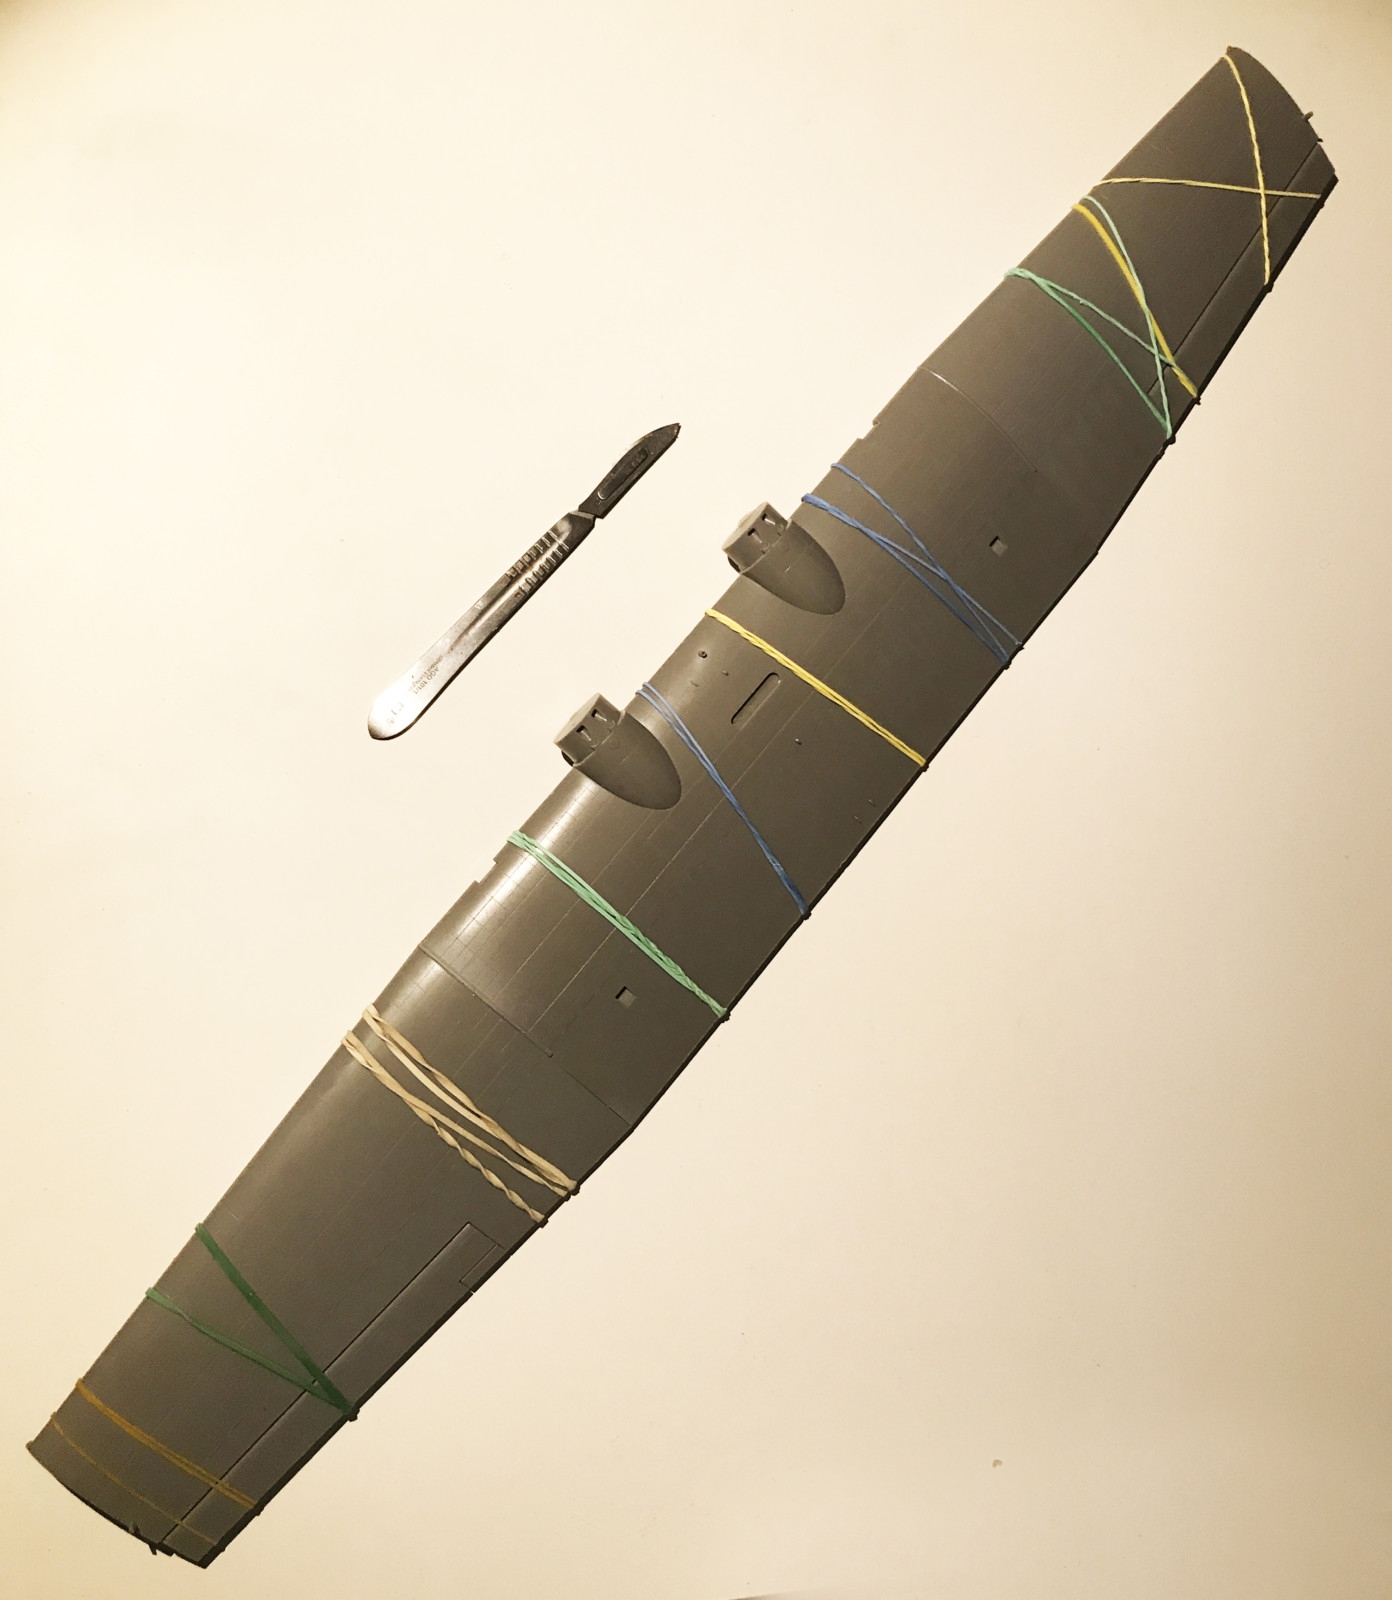
Having done this it's time to close up the fuselage. This needs some good rubber bands but fits OK. Onwards to the wing. This is the really large part of the kit. The wing halves also needs plenty of rubber bands. Some easy sanding on both the fuselage and the wings and time to put them together.
 |
 |
 |
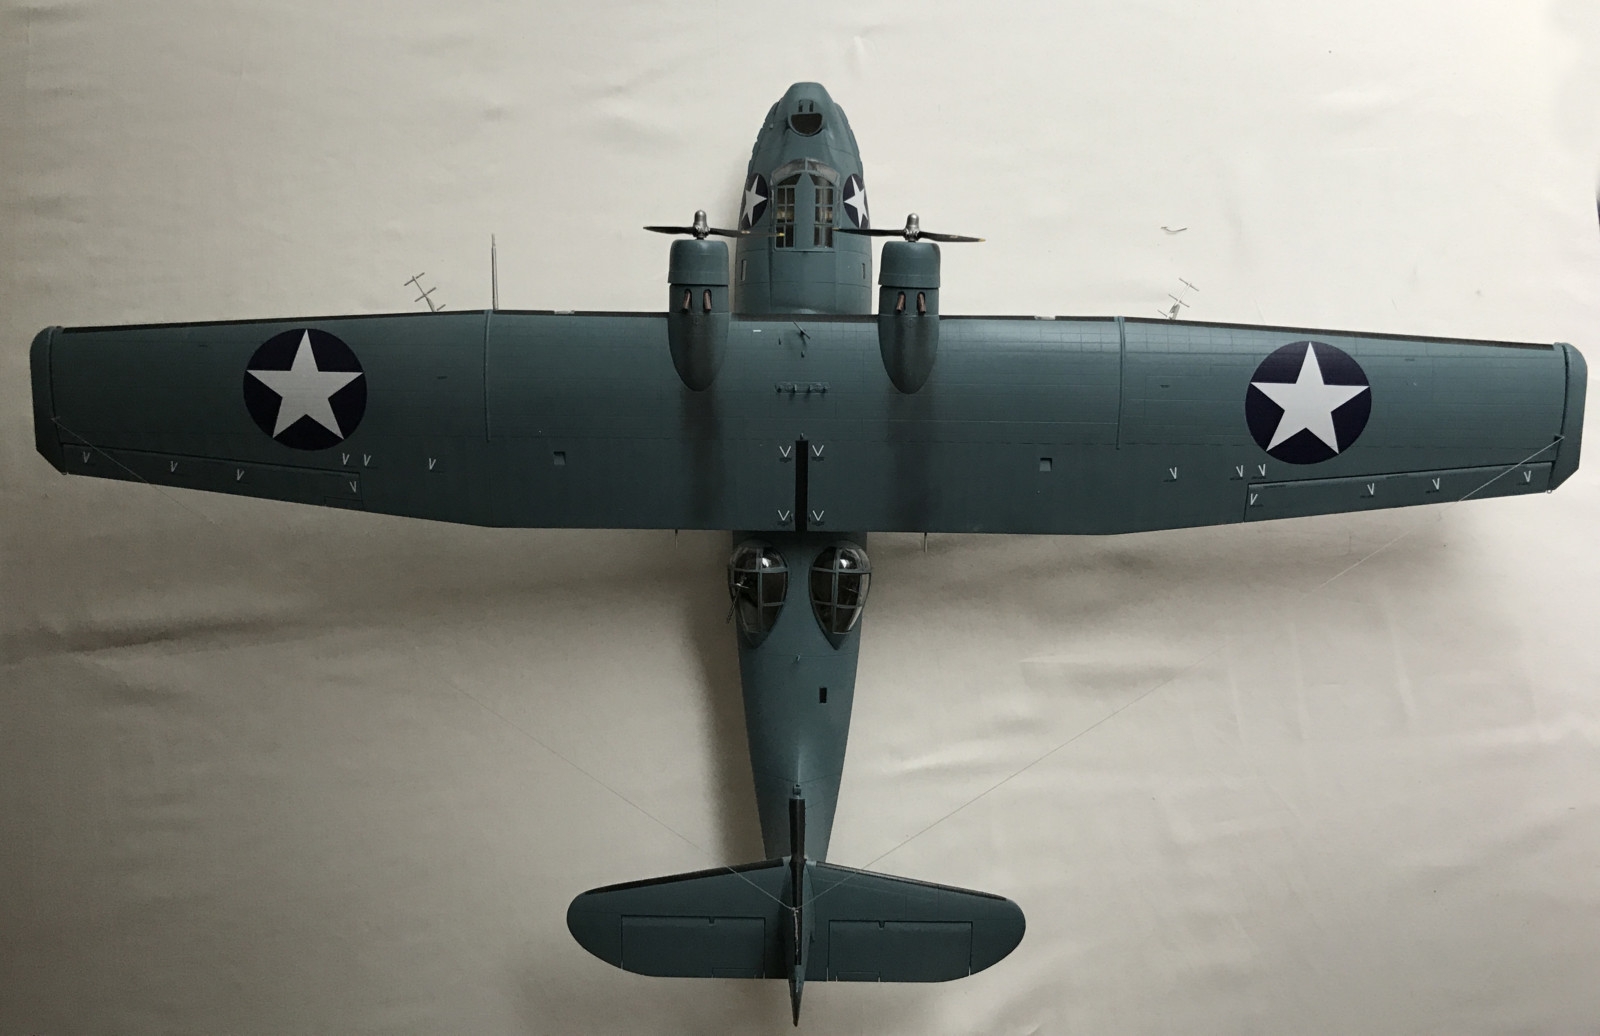
Doing the tail is a quite simple affair as is fitting the engines. Leaving all the details till later we're ready to paint. Doing the 44-P-4 I needed the standard U.S. Navy colours of 1942 so I used the following colours from Vallejo's Model Air series:
After a layer of gloss varnish it's decals time. The decals I bought from Wolfpack Design worked like a breeze. They came loose almost directly after you've dipped them in water, slide nicely on to the surface, are easily adjusted into place and slick nicely to the surface with a little Micro Sol and light pressure from Topz.
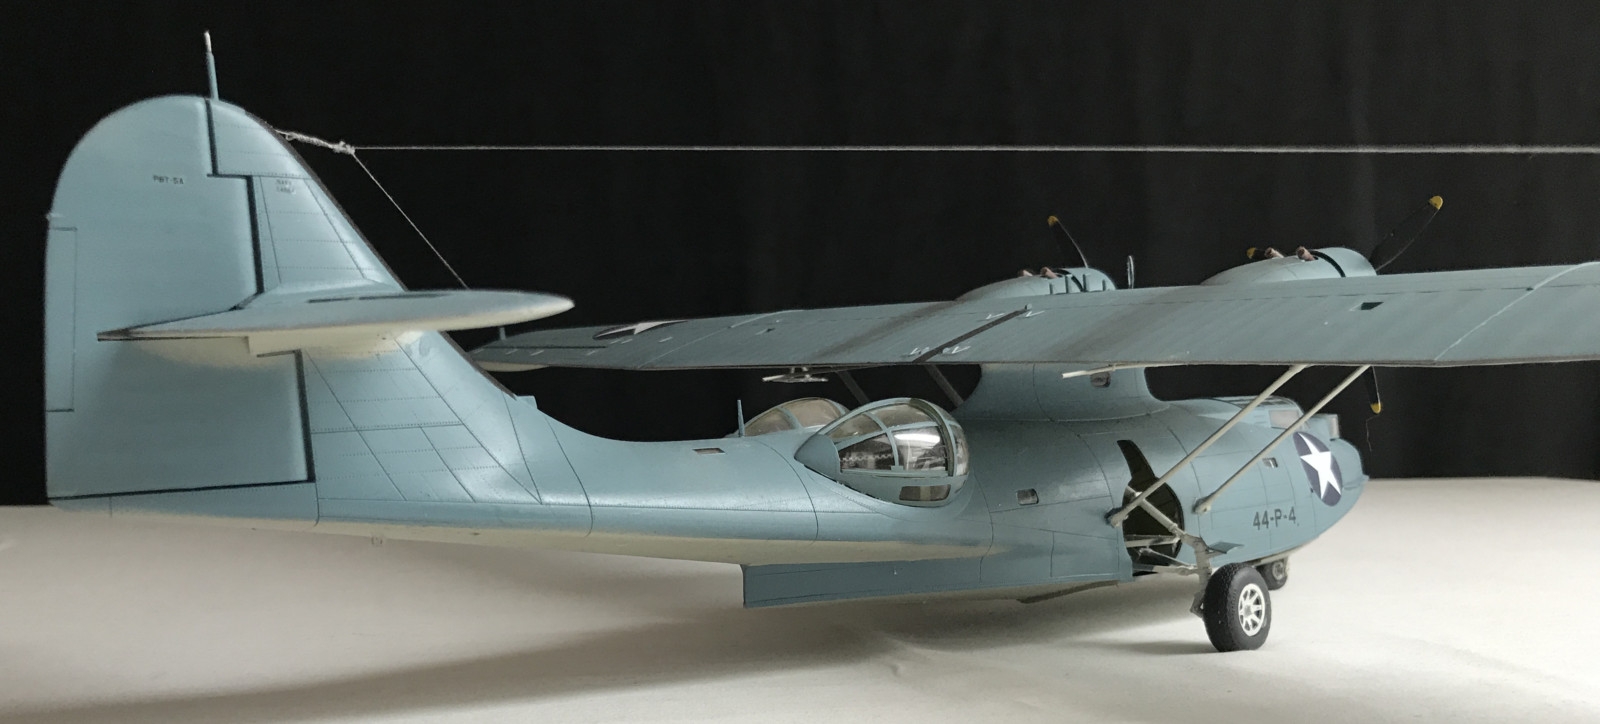
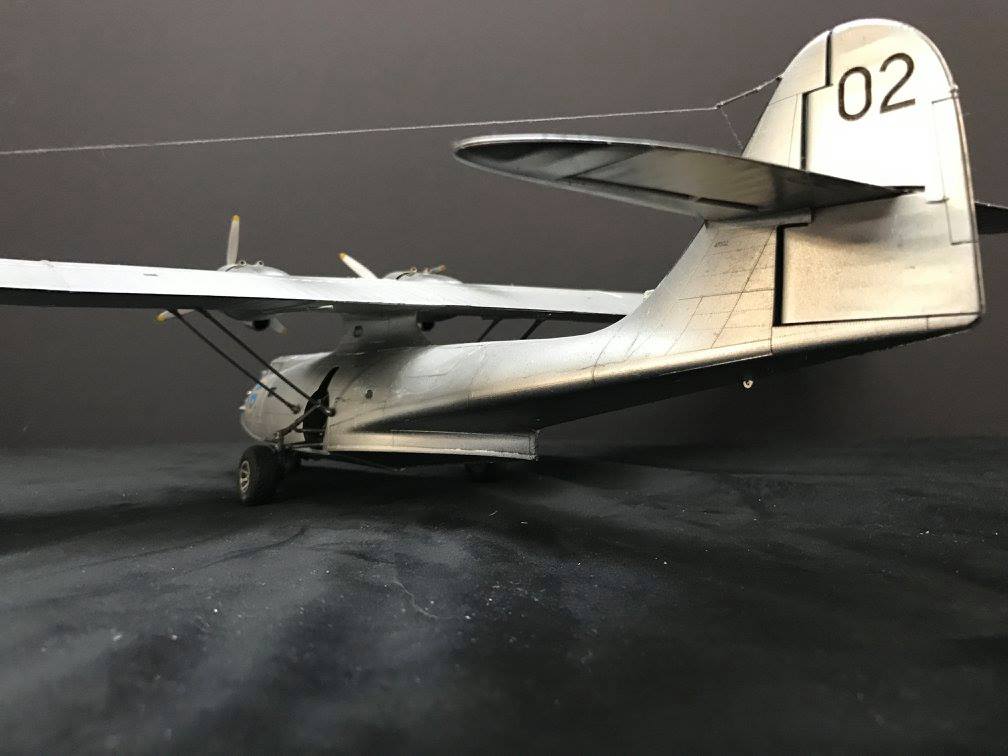
I waited to fix the glass bubbles on the sides until after painting as they needs to be painted separately because of the 'doors'. And the front turret also needs paint and de masking before fixing it. The wheels and propellers next and finish with the antennas and other details. Most Catalinas had antenna cables from the fin to pins on both ends of the wing. I use thread for this. The kit also have a thick mooring rope moulded to the left hand front of the fuselage. After studying reference photographs I decided to file this of (at an early stage) and replace it with a smaller and separate wire.
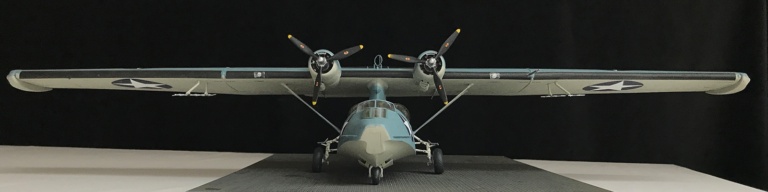
So here is the end reslut:
 |
 |
 |
 |
 |
Here are also some pictures of the Swedish Catalina I've done some time ago (see The Catalina affair). Note that the Swedish Catalina did not feature the glass bubbles on the side of the fuselage (that took some time to fix).
 |
 |
 |
Revells Consolidated PBY-5A Catalina in scale 1:48 is an elder kit but it's also the only available in this scale. Considering it's age I think it's a good kit. Would it remade today it would probably contain more separate details but it's fairly OK as it is.
| Difficulty* | 3 |
|---|---|
| The good | The only available kit in this Scale. Considering the moulds age it's good. |
| The bad | The instructions are not always obvious and some guess work is needed (or good reference pics). Very hard to get it so rest on the nose wheel. |
*) On a scale 1-5 where 1 is easy and 5 is really hard.