
| Brand | Eduard |
|---|---|
| Scale | 1/48 |
| Manufacturers page | http://www.eduard.com/store/aircraft-and-helicopters/1-48/ultimate-sabre-1-48.html?lang=1&cur=1 |
| Content in box | Instruction sheet, plastic kit from Hasegawa, resin ejection seat, etched cockpit details, decals for five different individuals |
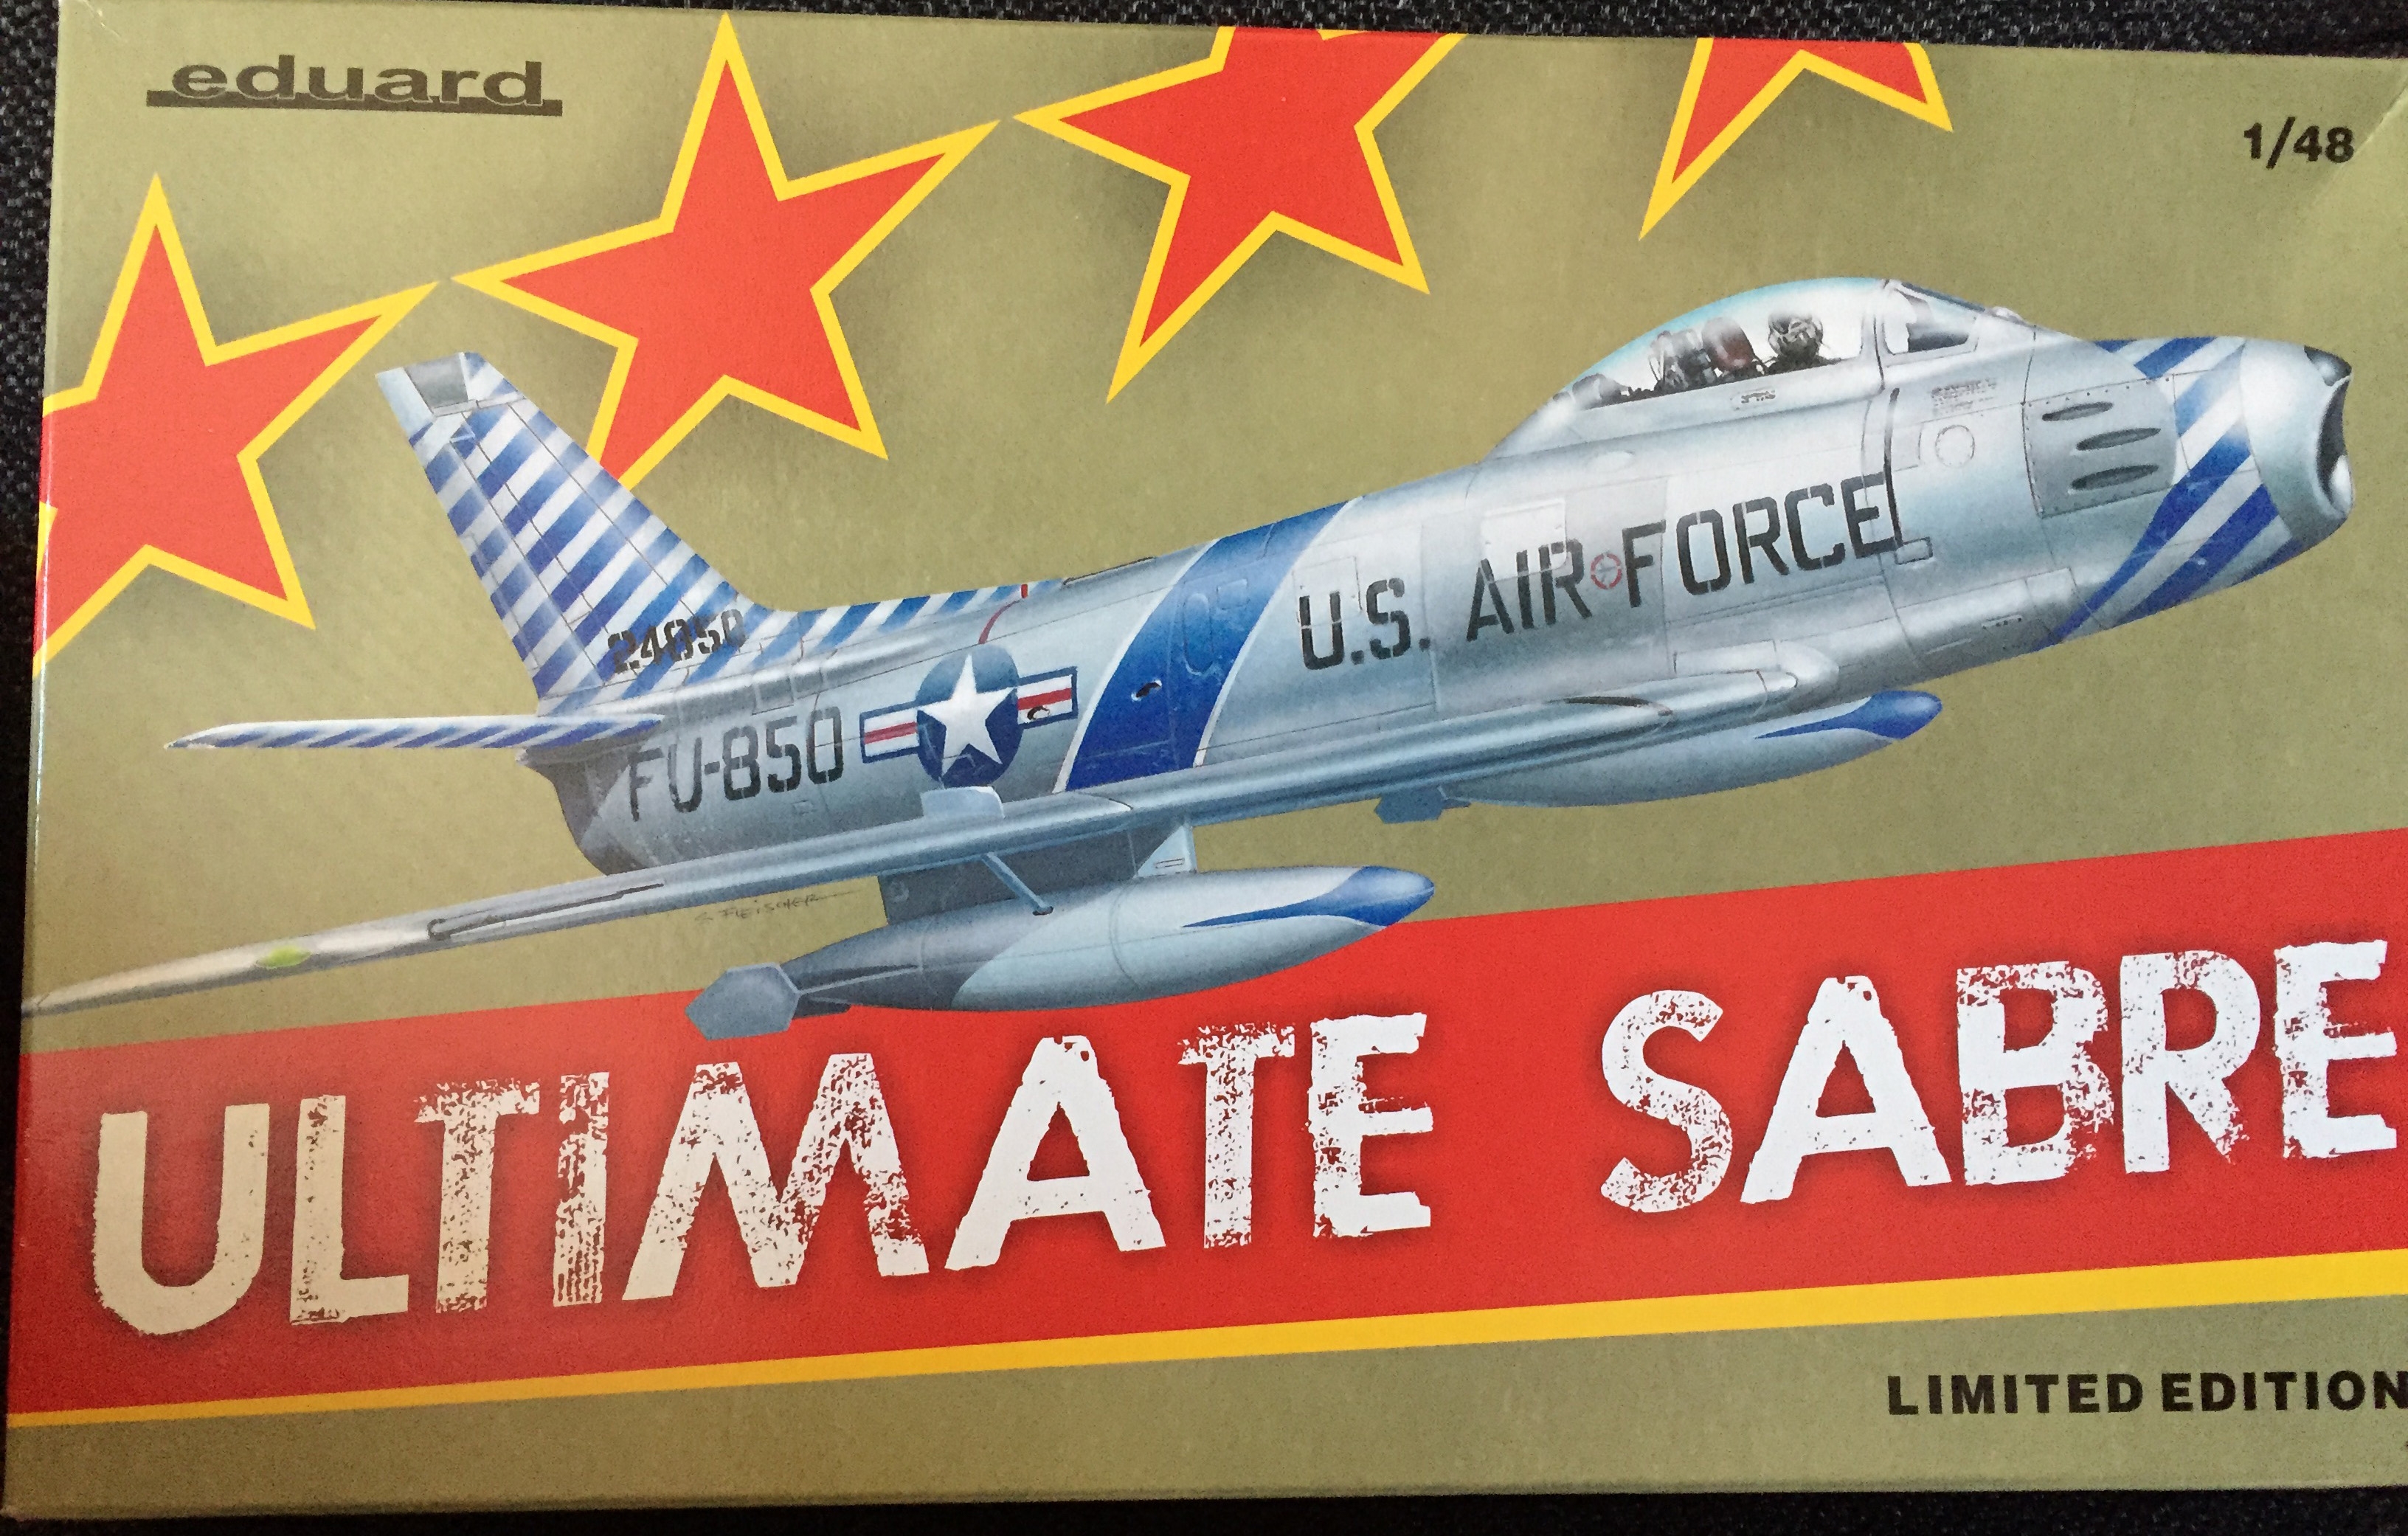
Bought this on Ebay since I was looking for a good kit of the Sabre after I've built both the SAAB J29 Tunnan and the Mig 15. Now, this is a kit with a lot of "Ultimate" and "Limited Edition" on the box so does it live up to this?
In the box we find a plastic kit manufactured by Hasegawa (reissued by Eduard) and in addition to that we have two metal sheets with etched detailing, resin parts for a replacement ejection seat, paint mask for the wheels and hood and a decal sheet with decals for five different aircraft individuals. A good start for an ultimate kit I'd say. More pictures and information can be found at Eduards page.
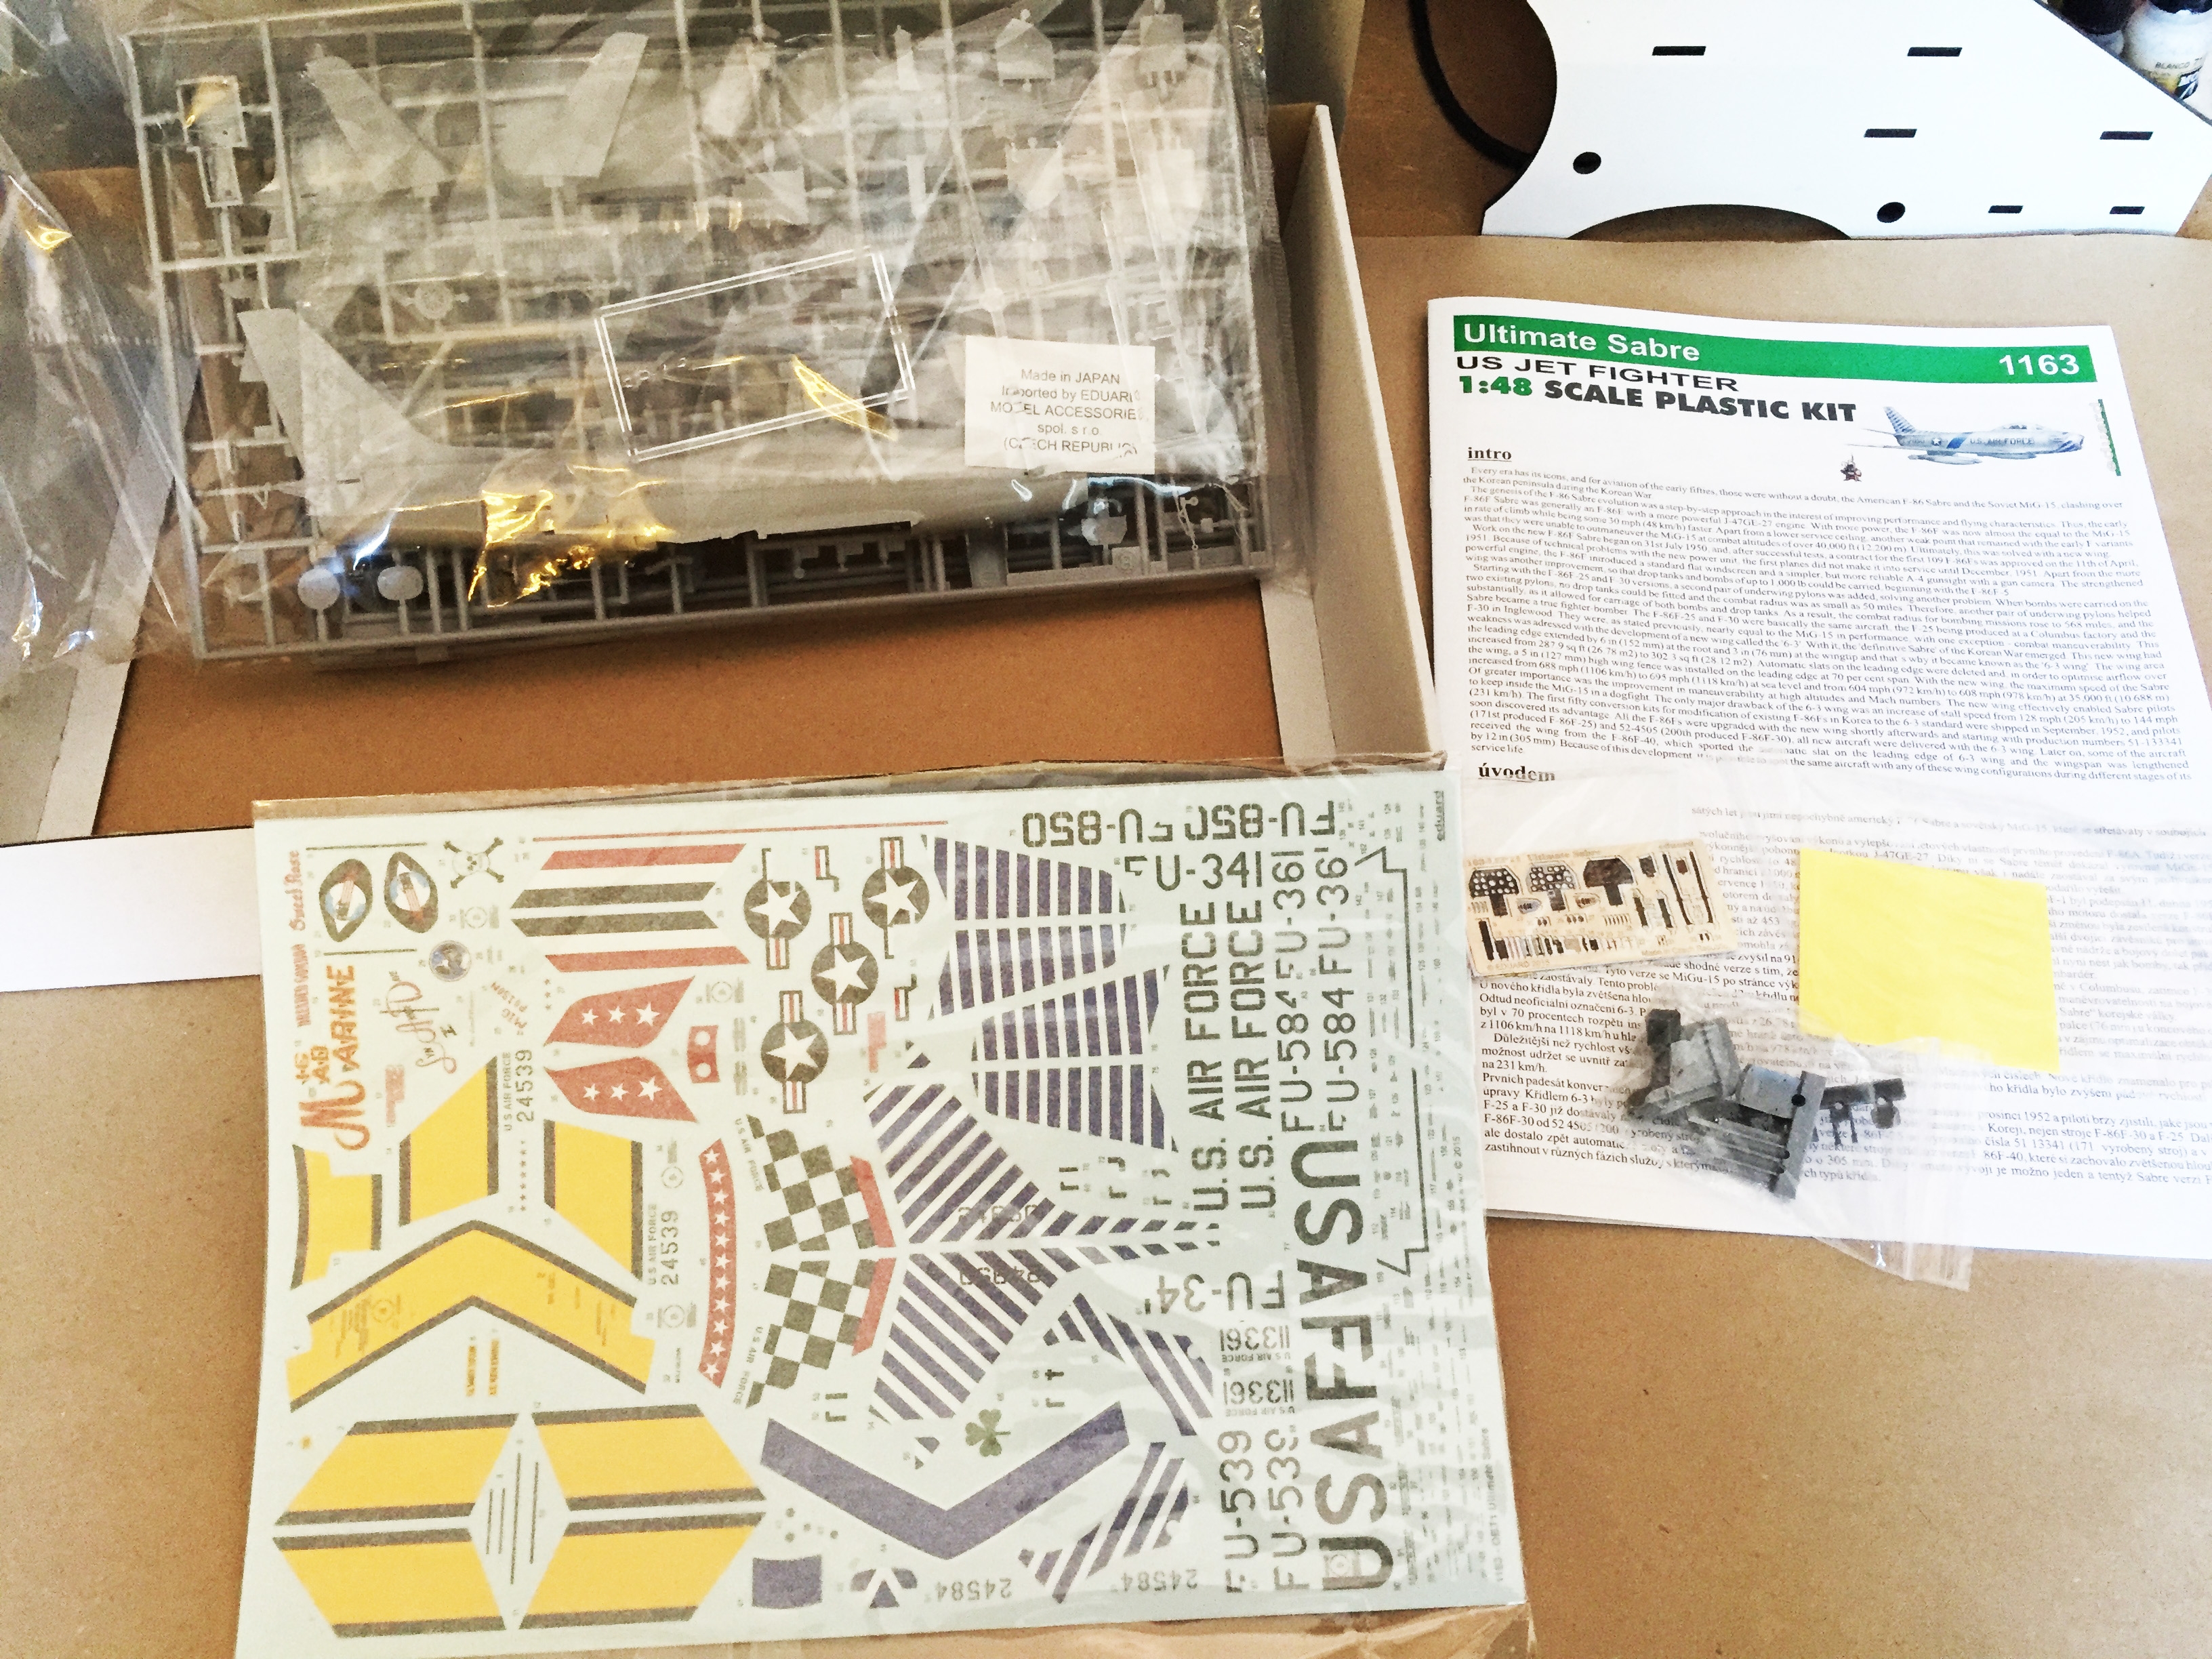
The instructions are OK. The paint chart only refers to Gunze paint (Aqueous and Mr.Hobby) so if your using another brand you need to consult a reference chart of some sort (check out the links on Useful internet resources). You do best in studying the instructions thoroughly before applying glue because there are squares with detailing that should be done before assembling larger parts so mind in which order you do things (there are pointers in the instructions but you have to pay attention).
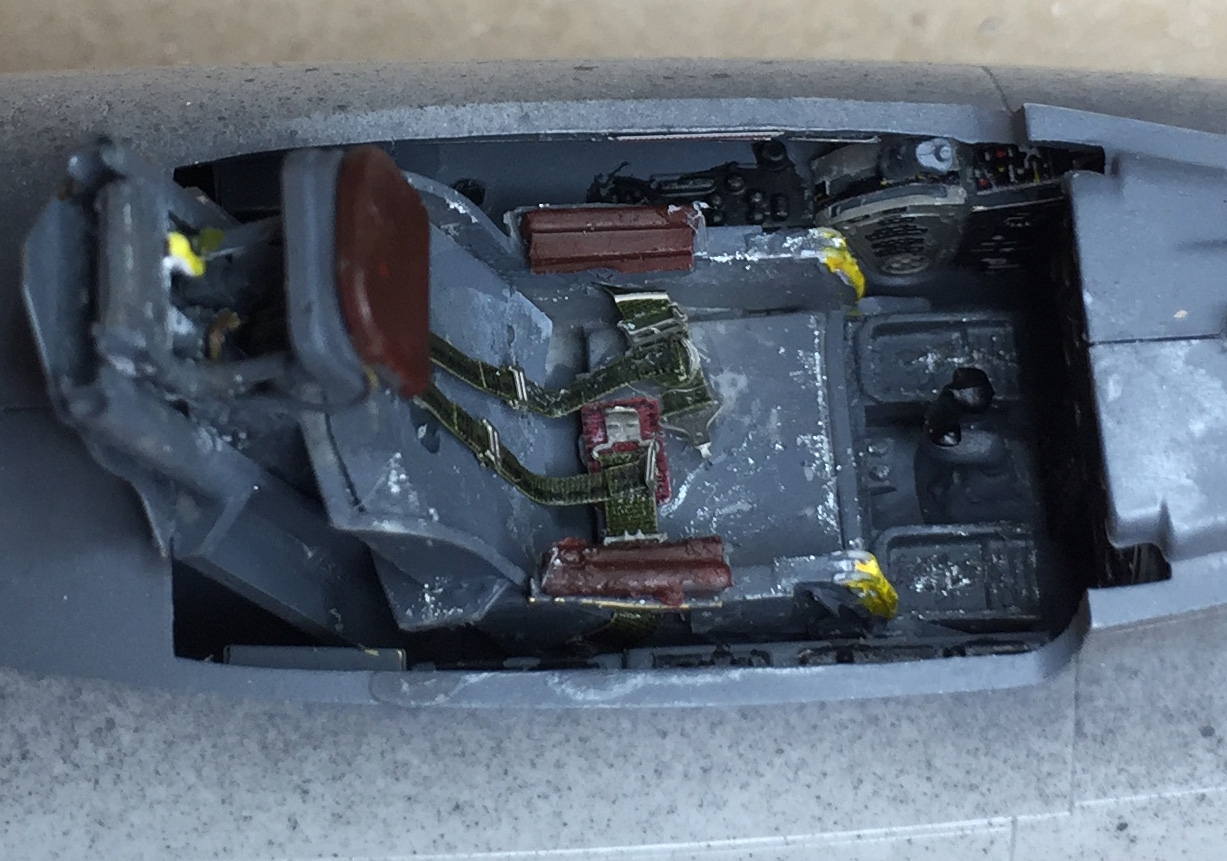
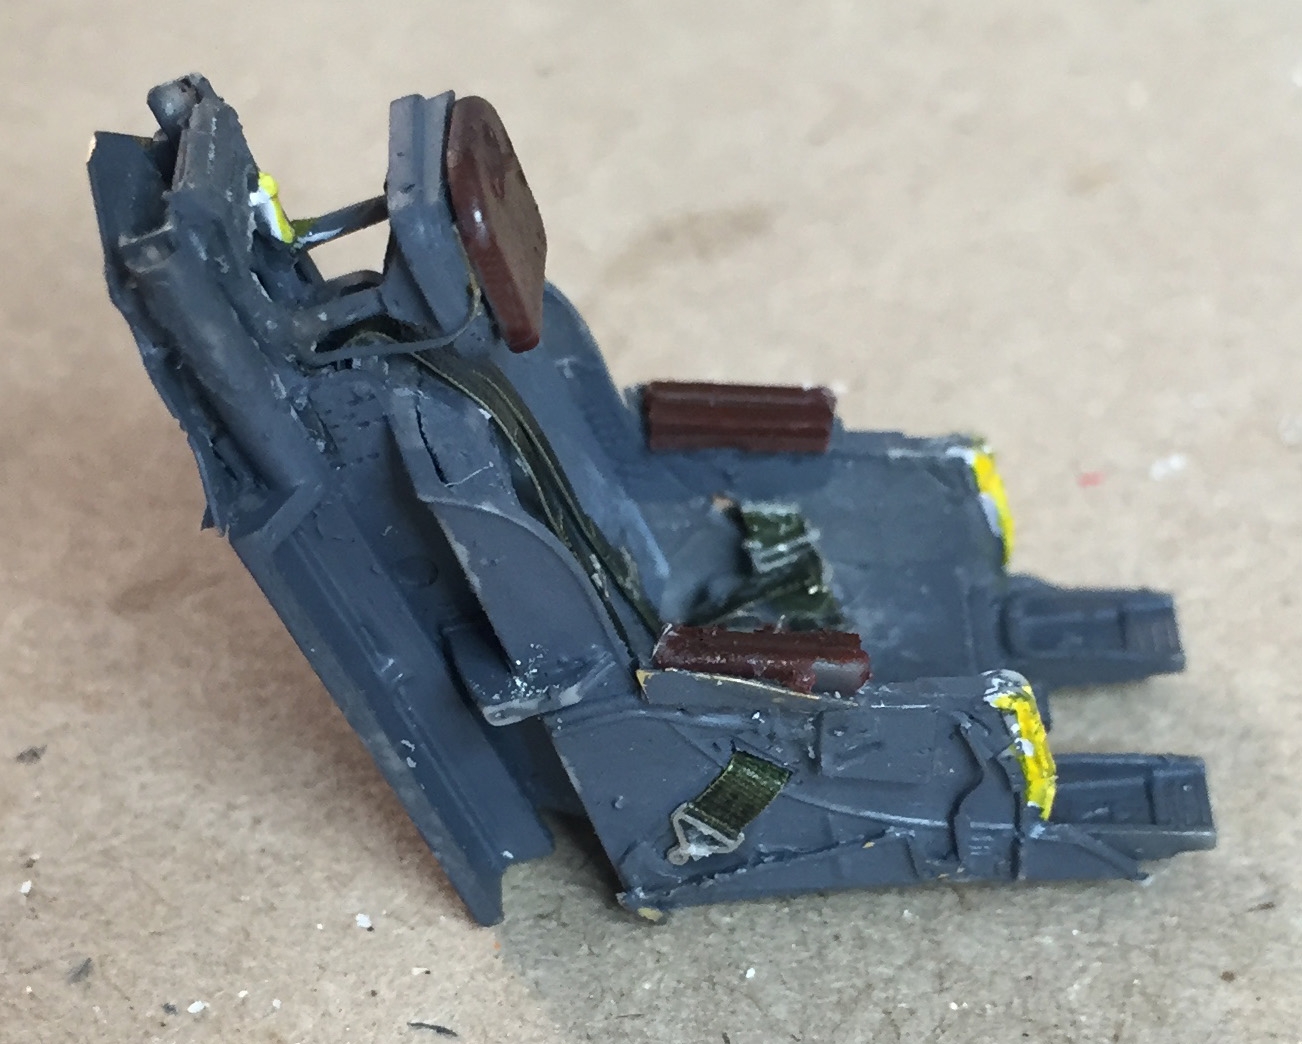
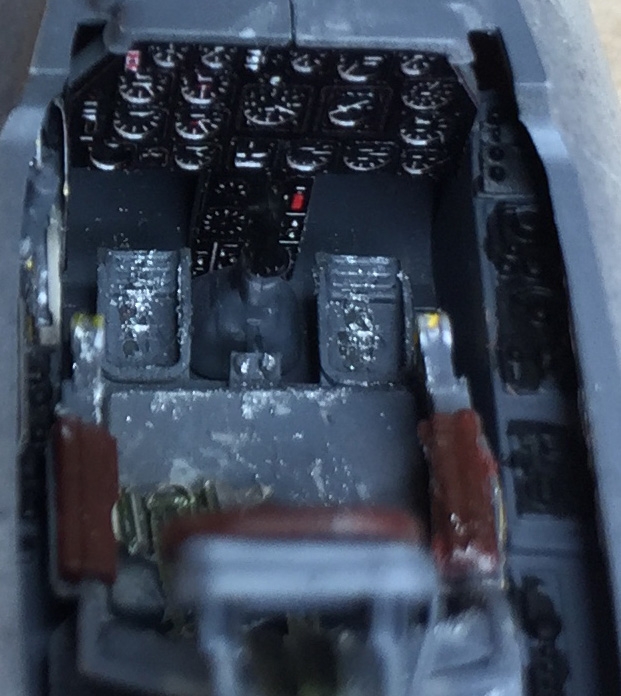
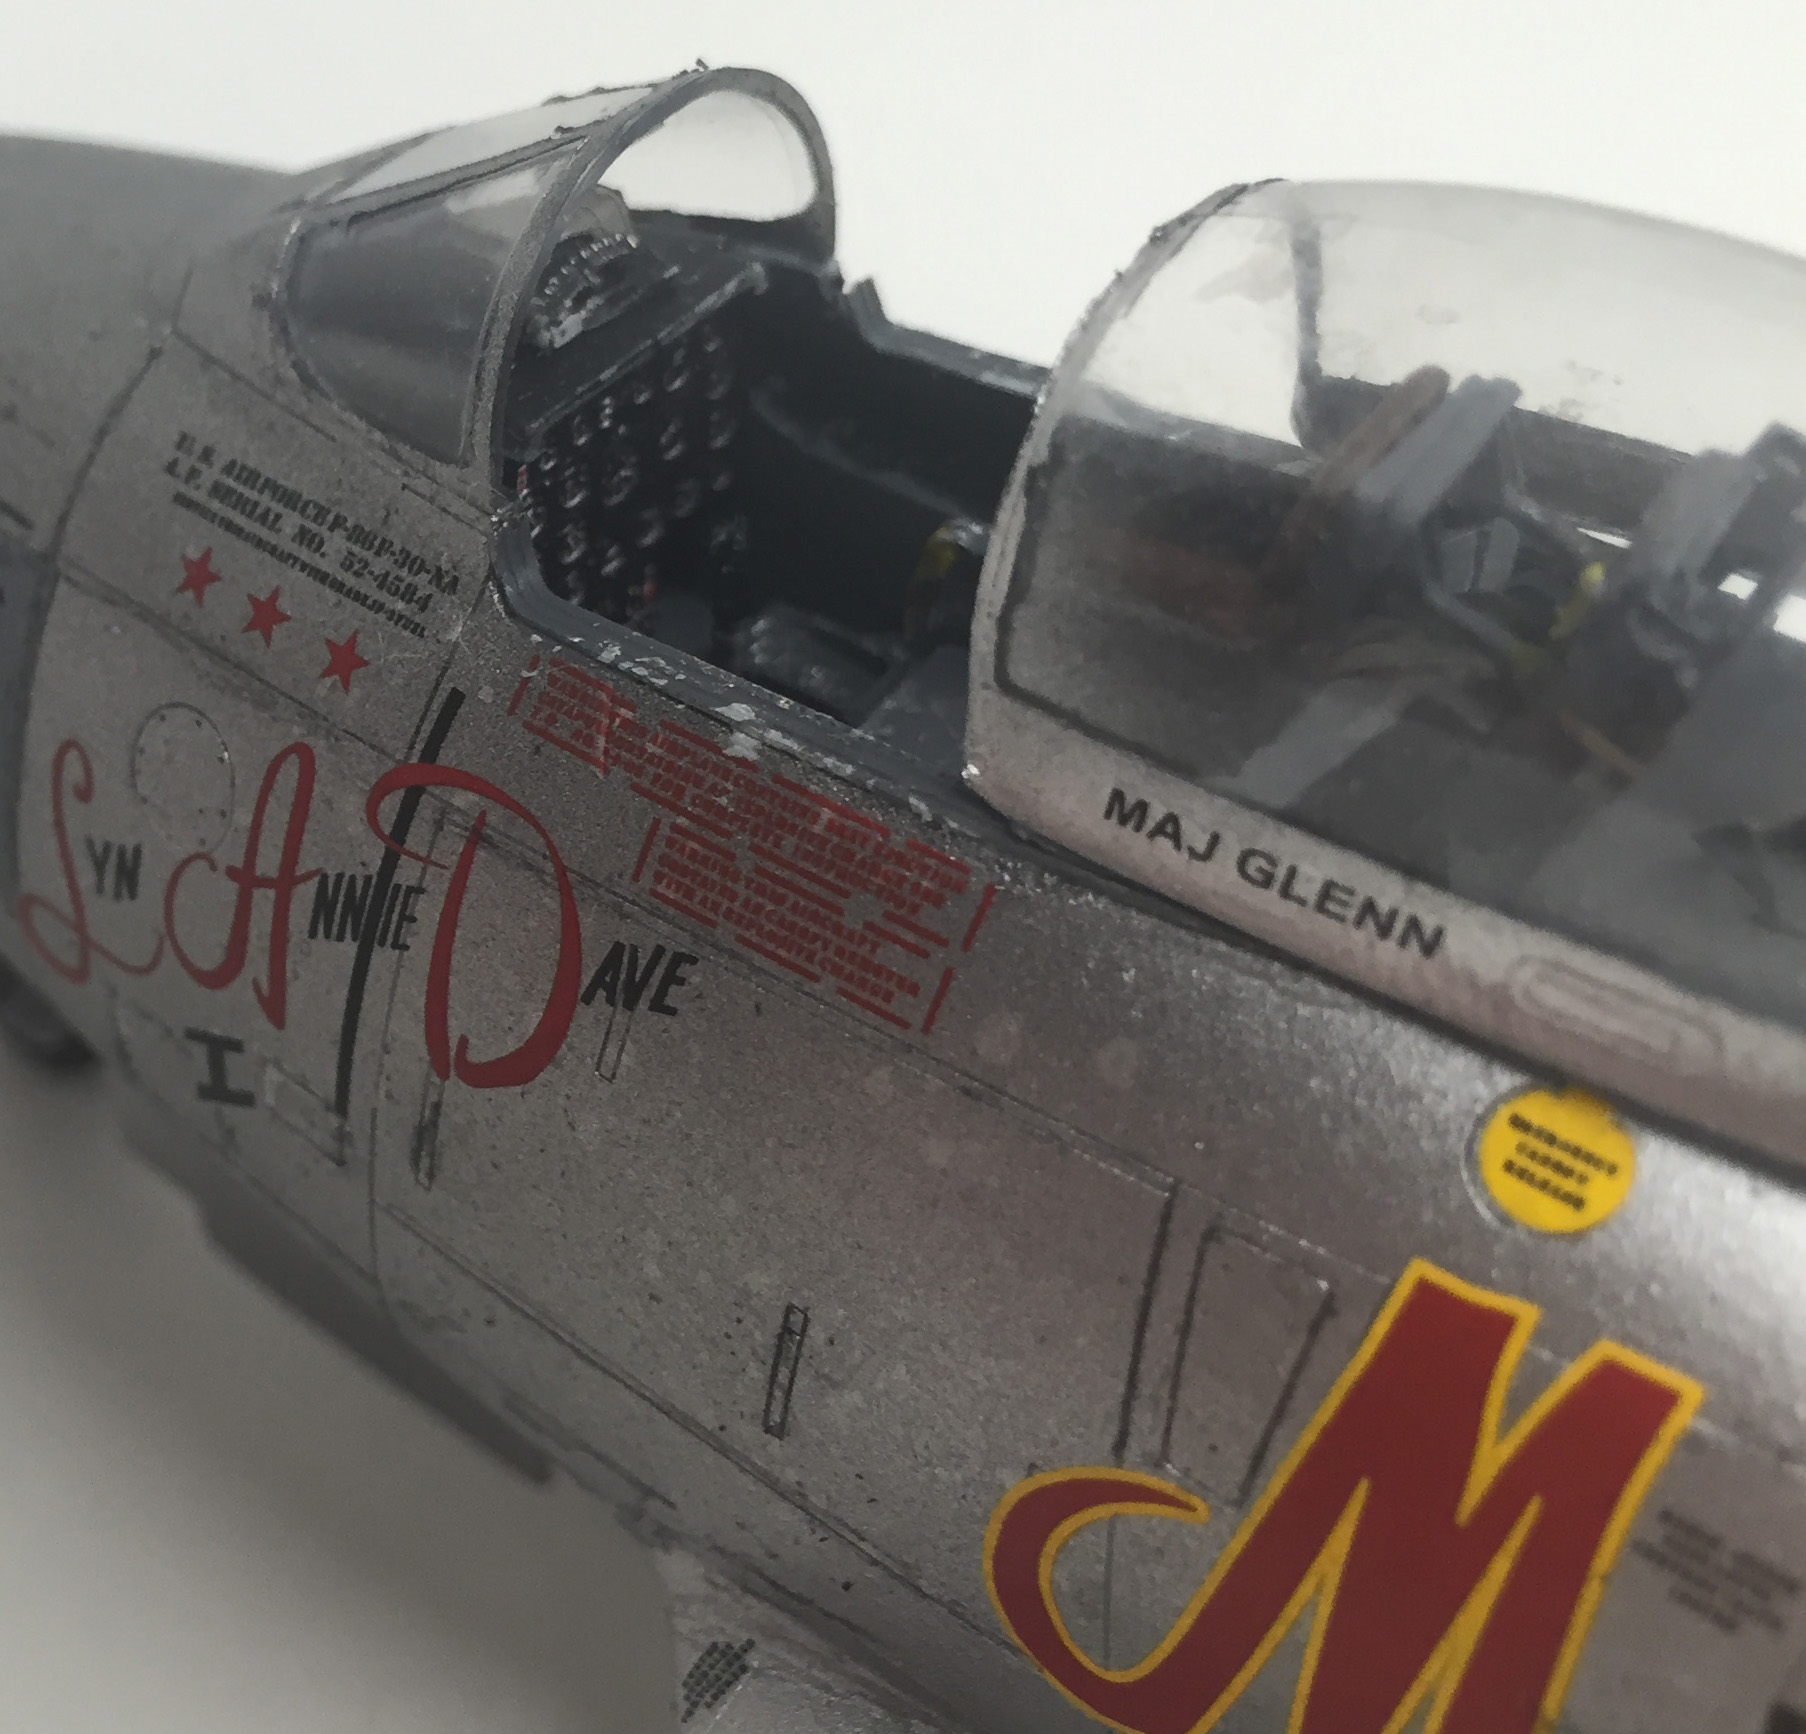
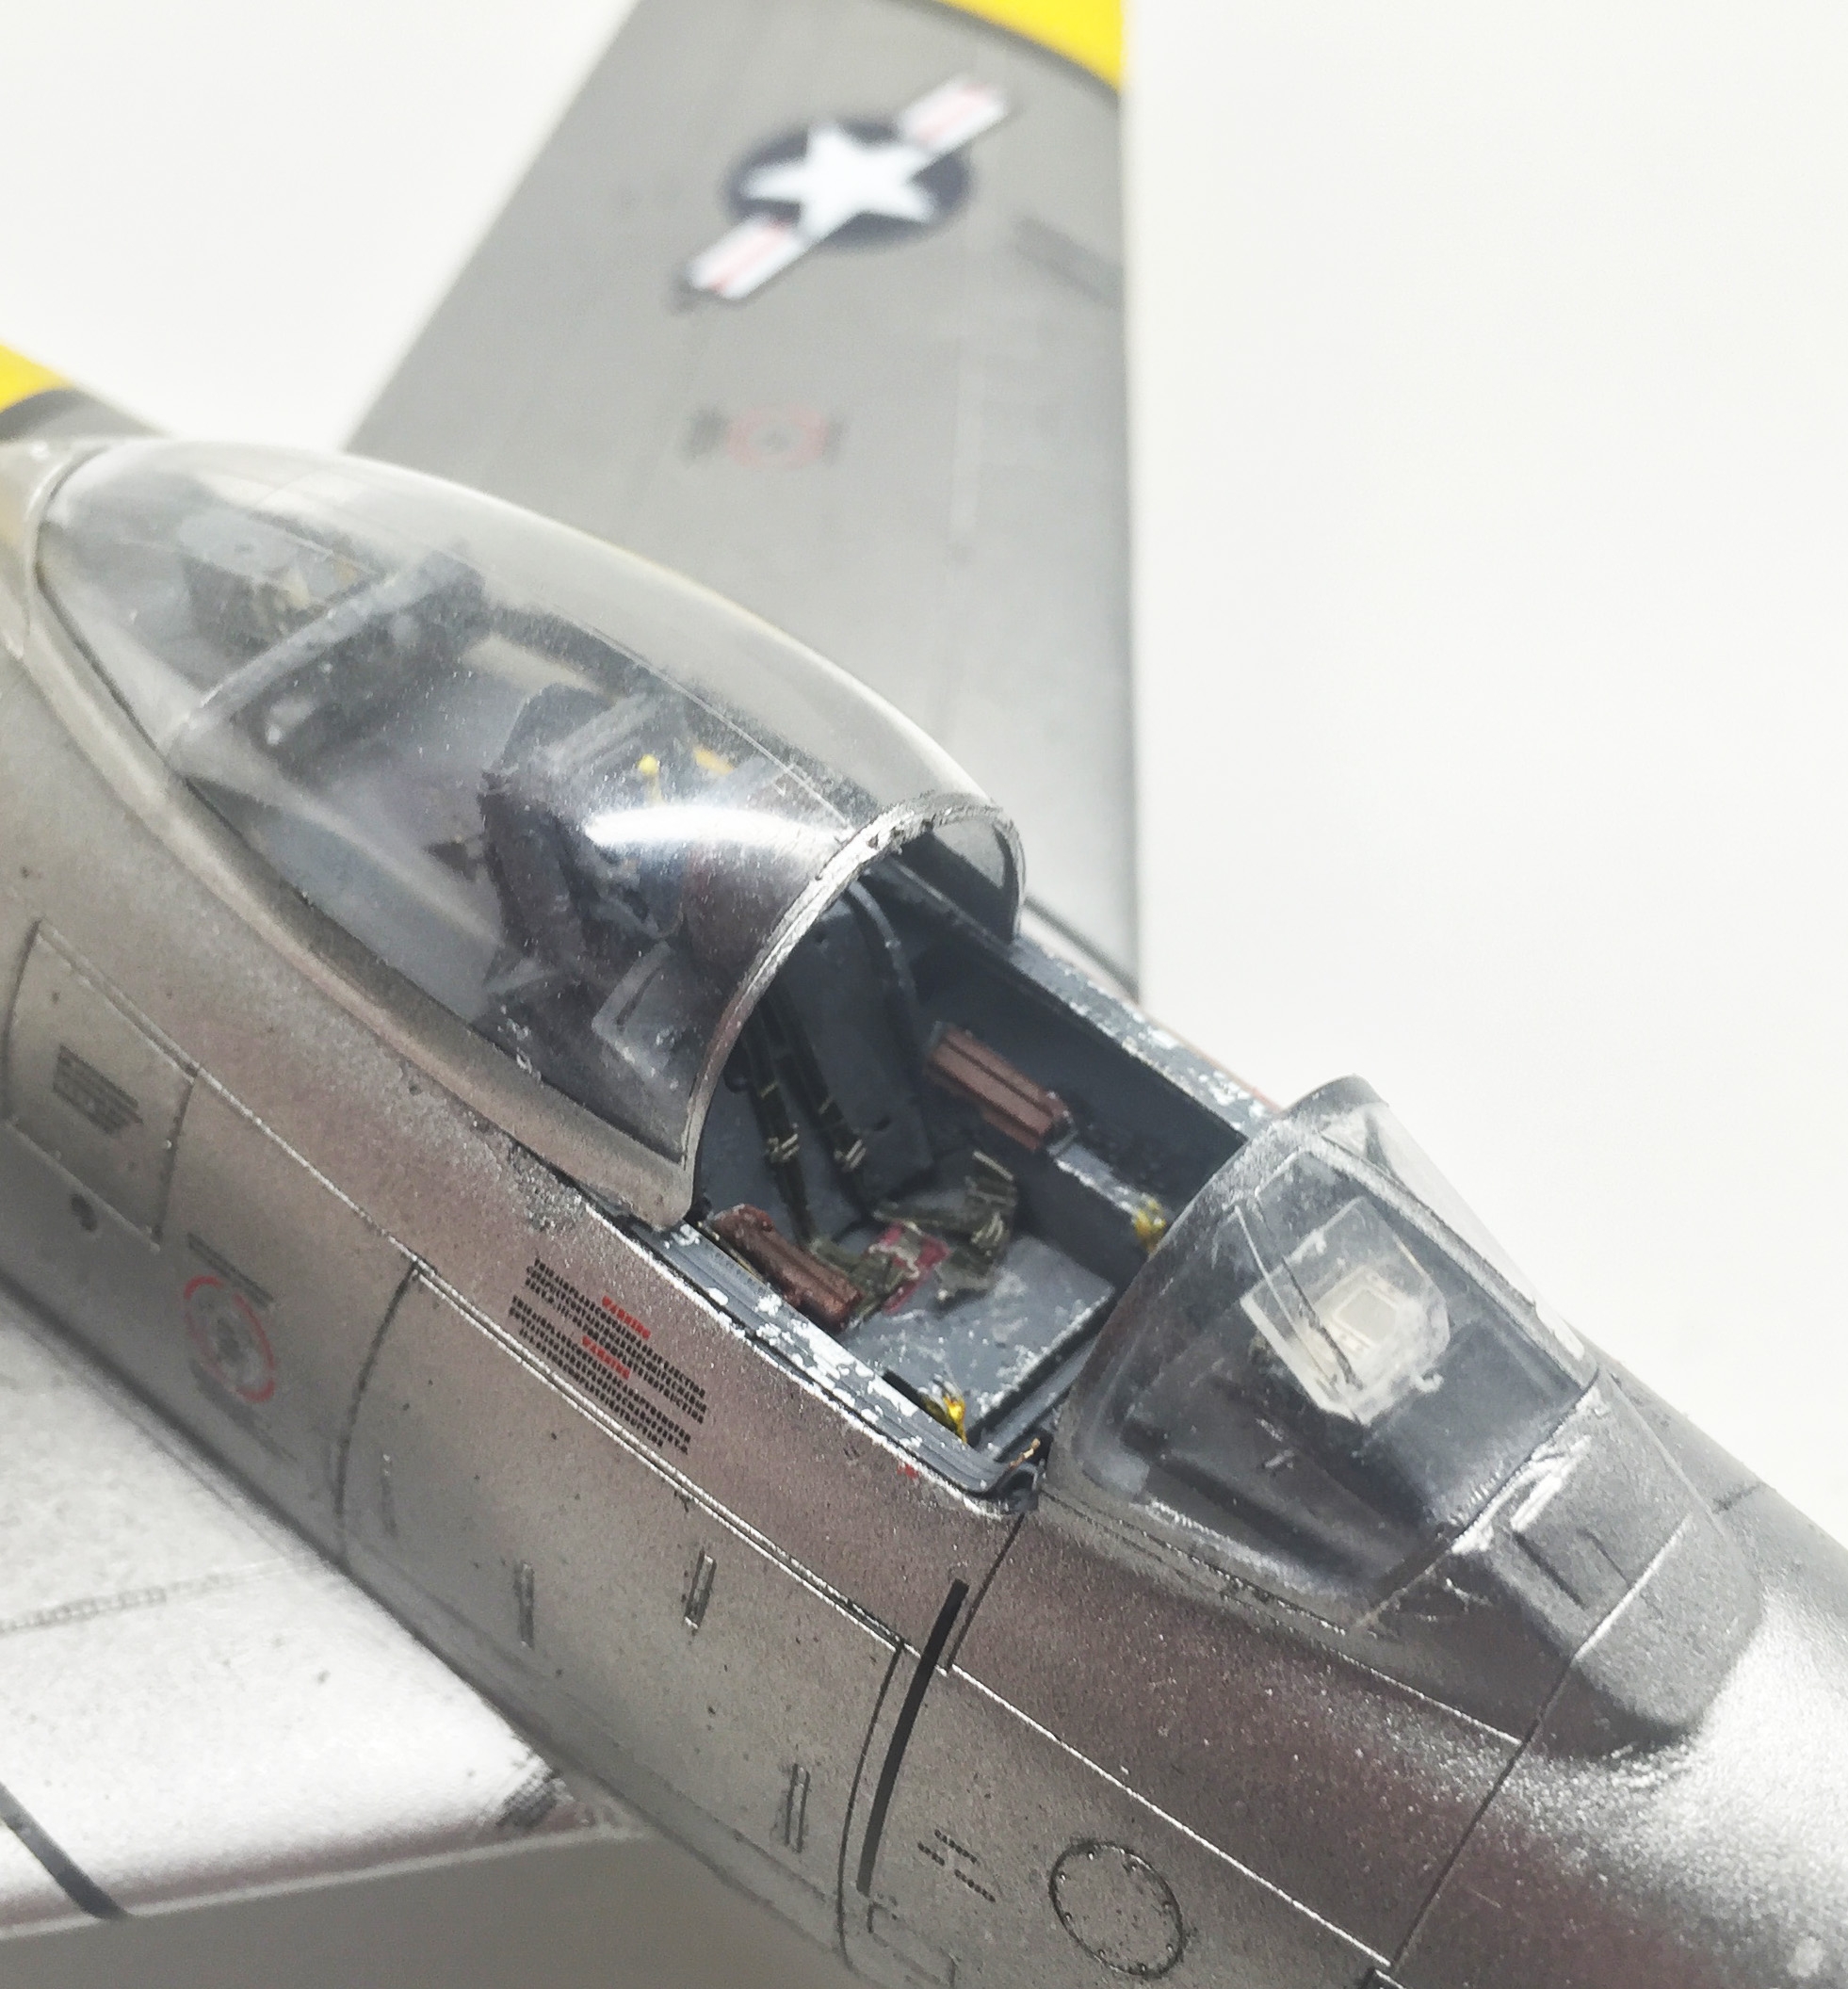
The cockpit is the main focus for the detailing extras. To be honest I'm still learning when it comes to using the etched metal parts and some of them are so small that you really need a microscope or at least a good magnifying glass to handle them and if you drop them you'd better have a clinically clean desk if you want to find them again. Personally I don't use the really small parts, the larger parts is enough to achieve a great result. Thing like the instrument panel looks great with the etched parts.
 |
 |
 |
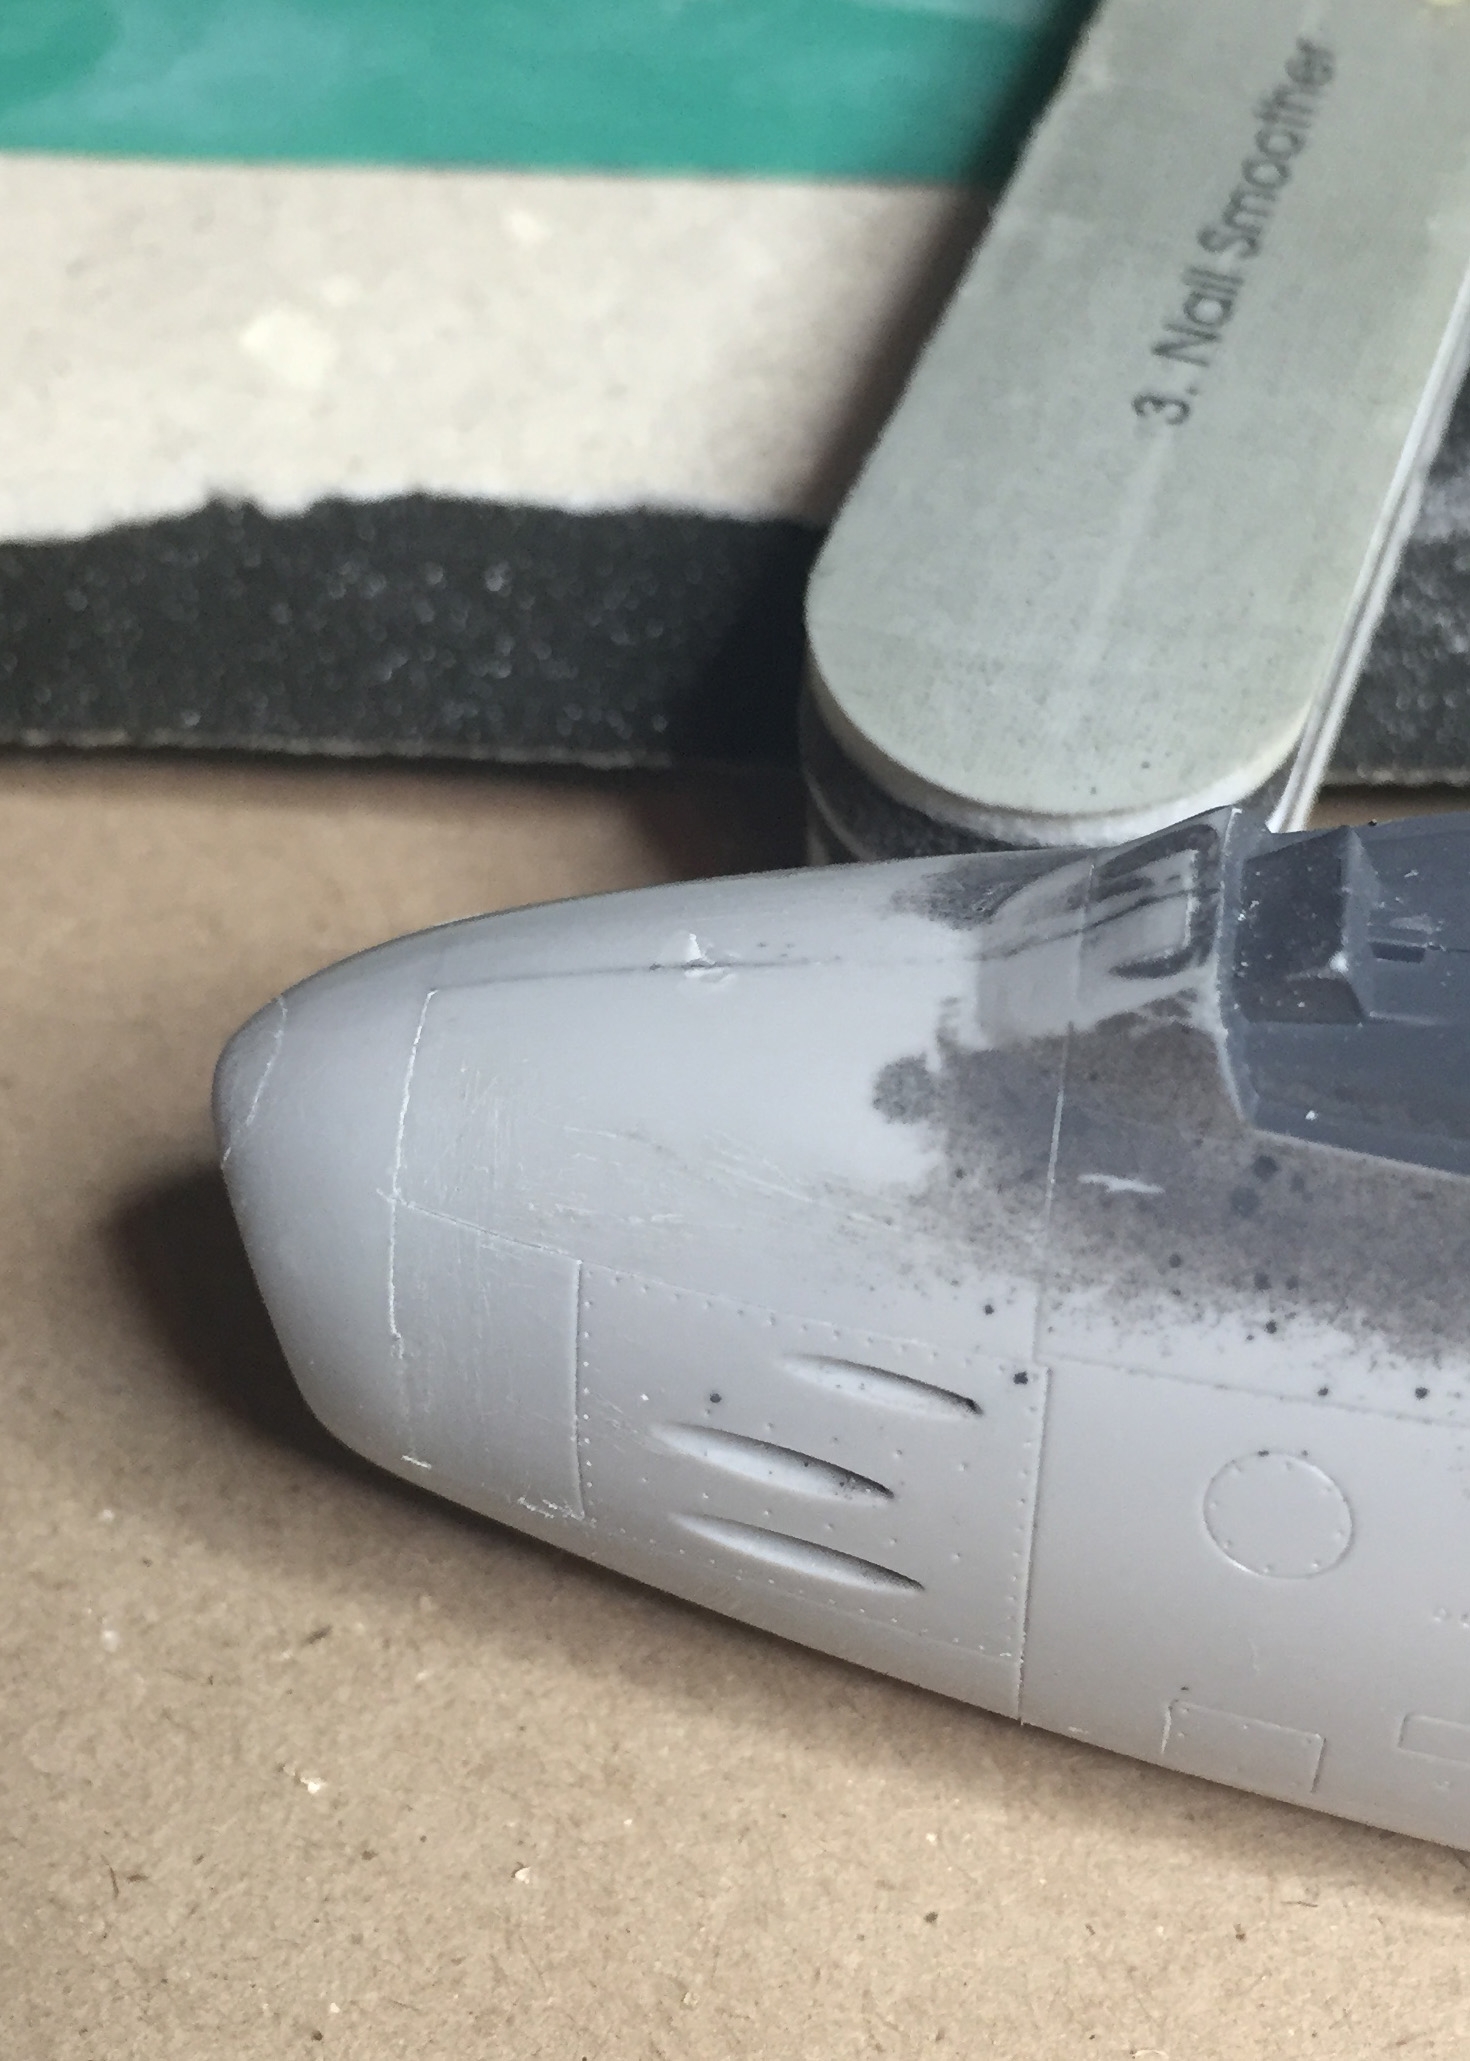
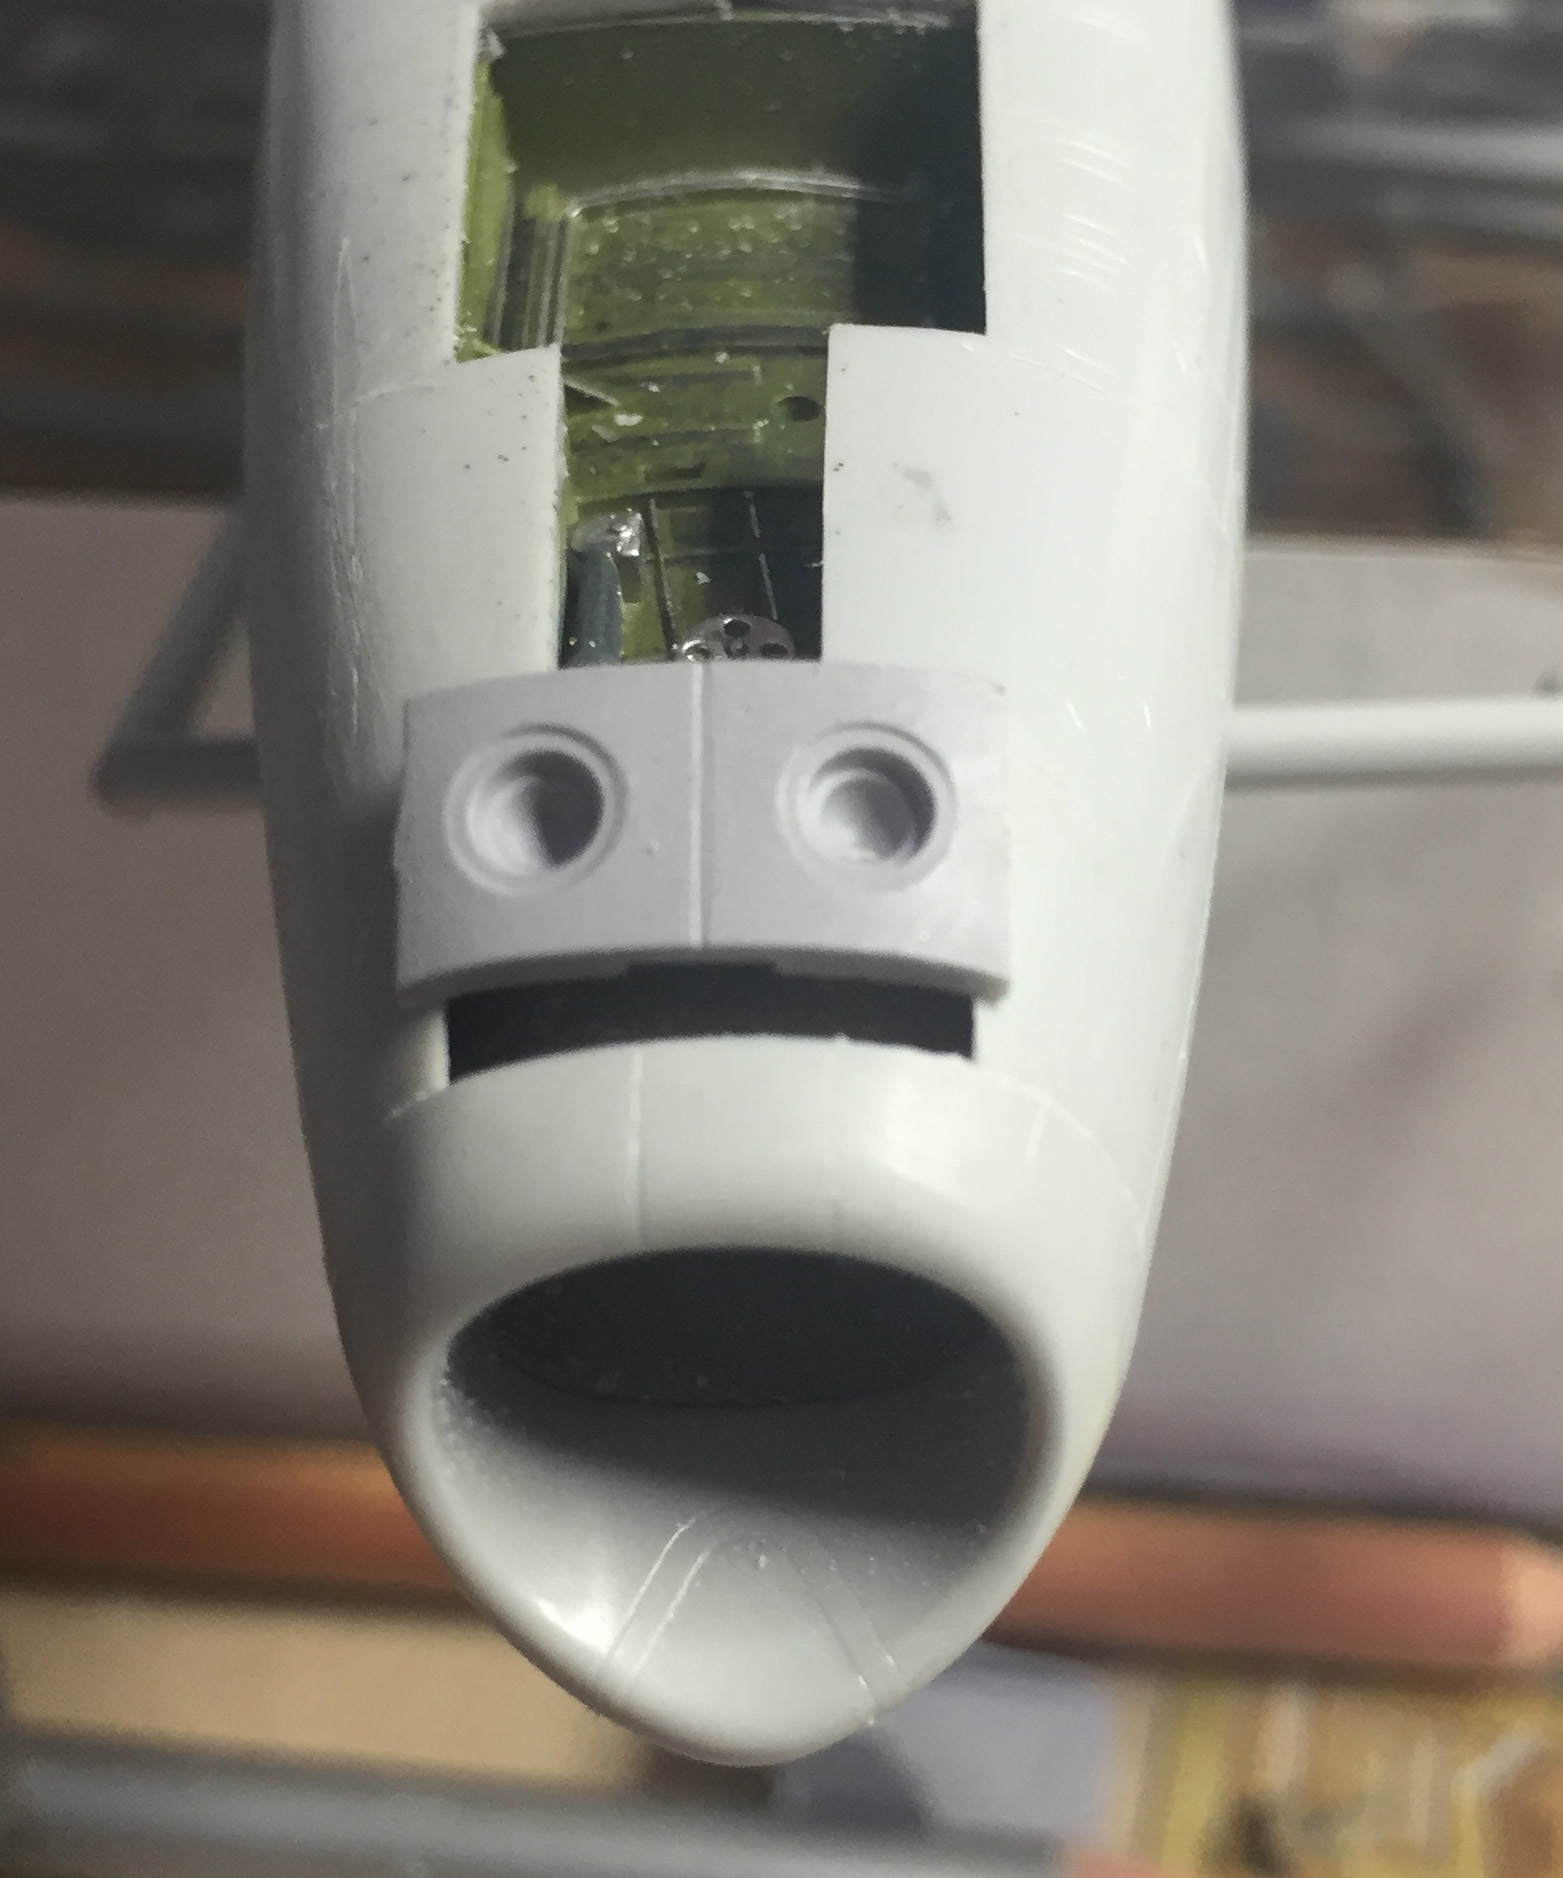
When it comes to fitting the parts it's a mixed message. The main parts fit really well and if your meticulous enough a minimum of filling an sanding is needed with one exception and that is the nose. When fitting the nose cowl it protruded millimeters on both sides. The same for the plate with the landing lights beneath that also was a couple of millimeters to wide. Sanding, cutting and filling was needed until I managed to make it look good. Don't forget to put some weight in the nose to have your kit stand on it's nose wheel when done. I use air gun pellets to weigh down my kits, easily available and easy to vary the weight.
 |
 |
 |
 |
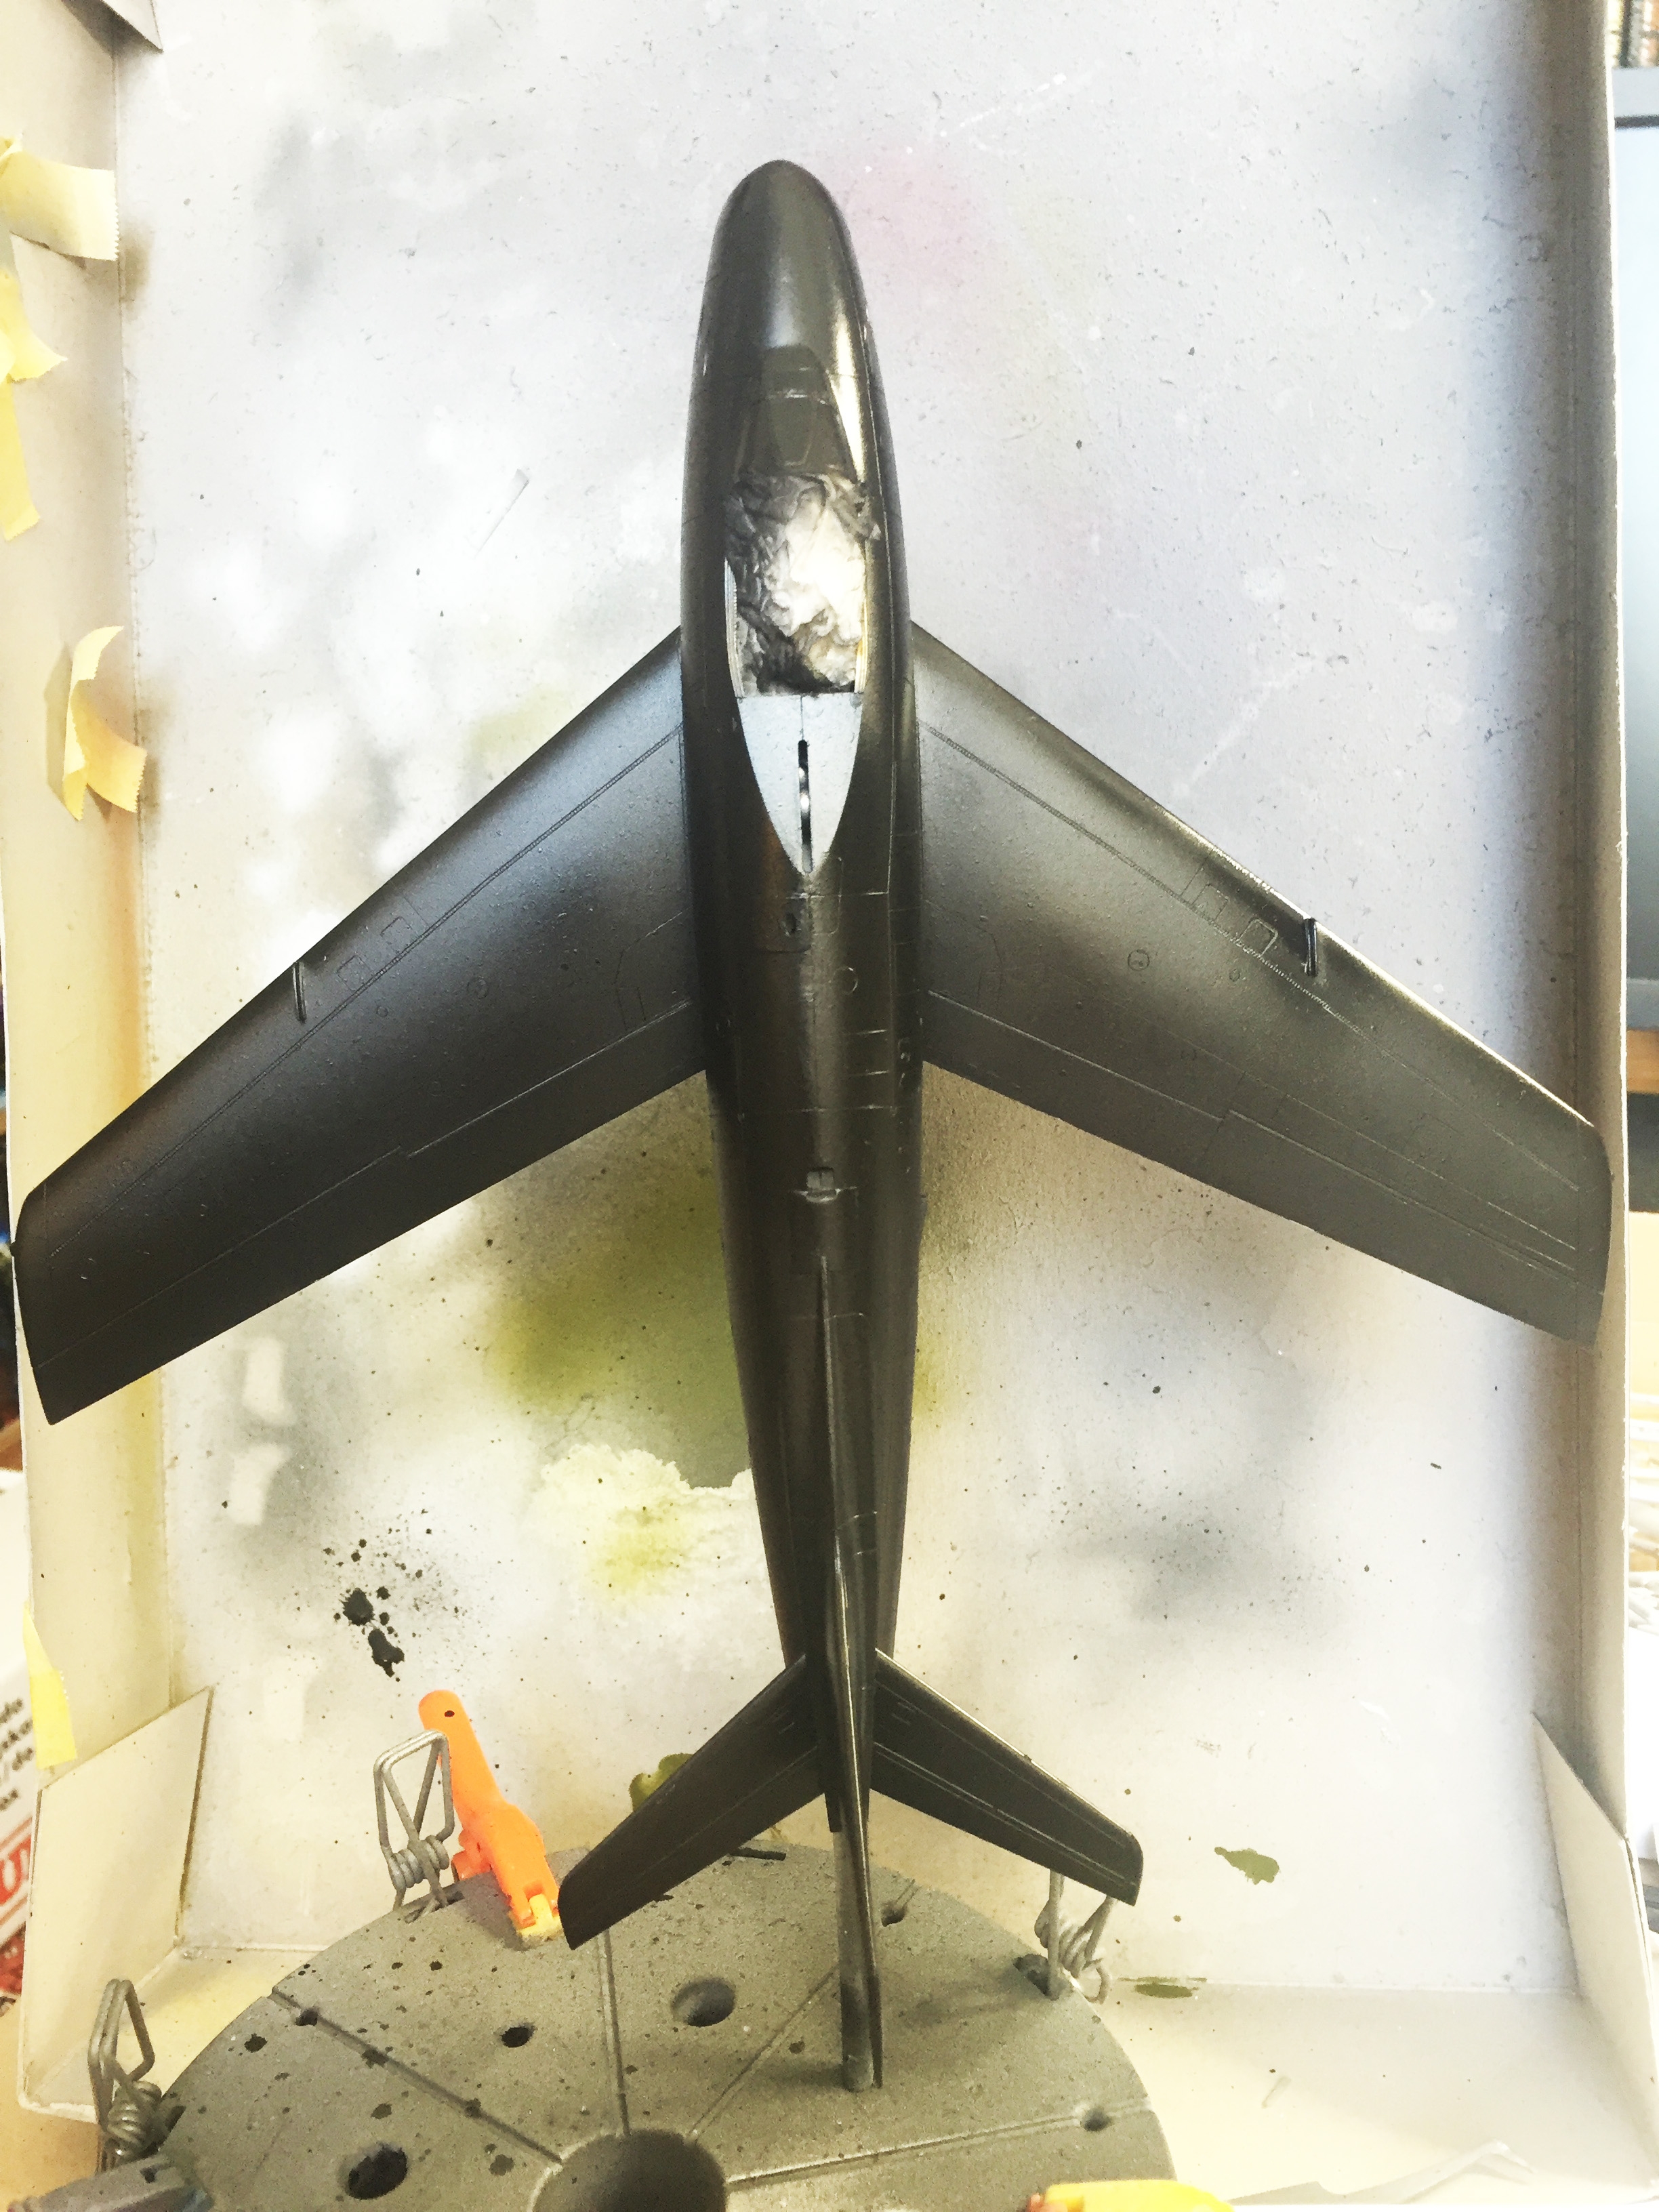
With all the main parts in place it was time to prime. All versions are bare metal so I used a coat of Vallejo's Gloss Black Primer (77.660). When using metal colours I prefer Vallejo's Metal Color for airbrush and I planned to use Aluminium (77.701) but I was out and as I'm an impatient guy I went for the Silver (77.724) instead. The plates at the gun ports and around the exhaust was specified as "steel" in the instructions but after studying colour photos on the internet I selected Gunmetal Grey (77.720) instead. Also after studying the photos I chose not to paint the top of the tail fin grey because to me it looks bare metal. Sealing this with a coat of Humbrols Gloss varnish in preparation for the decals. I find that for this layer is better to use a paint brush than an airbrush as it gives a smoother surface if done carefully.
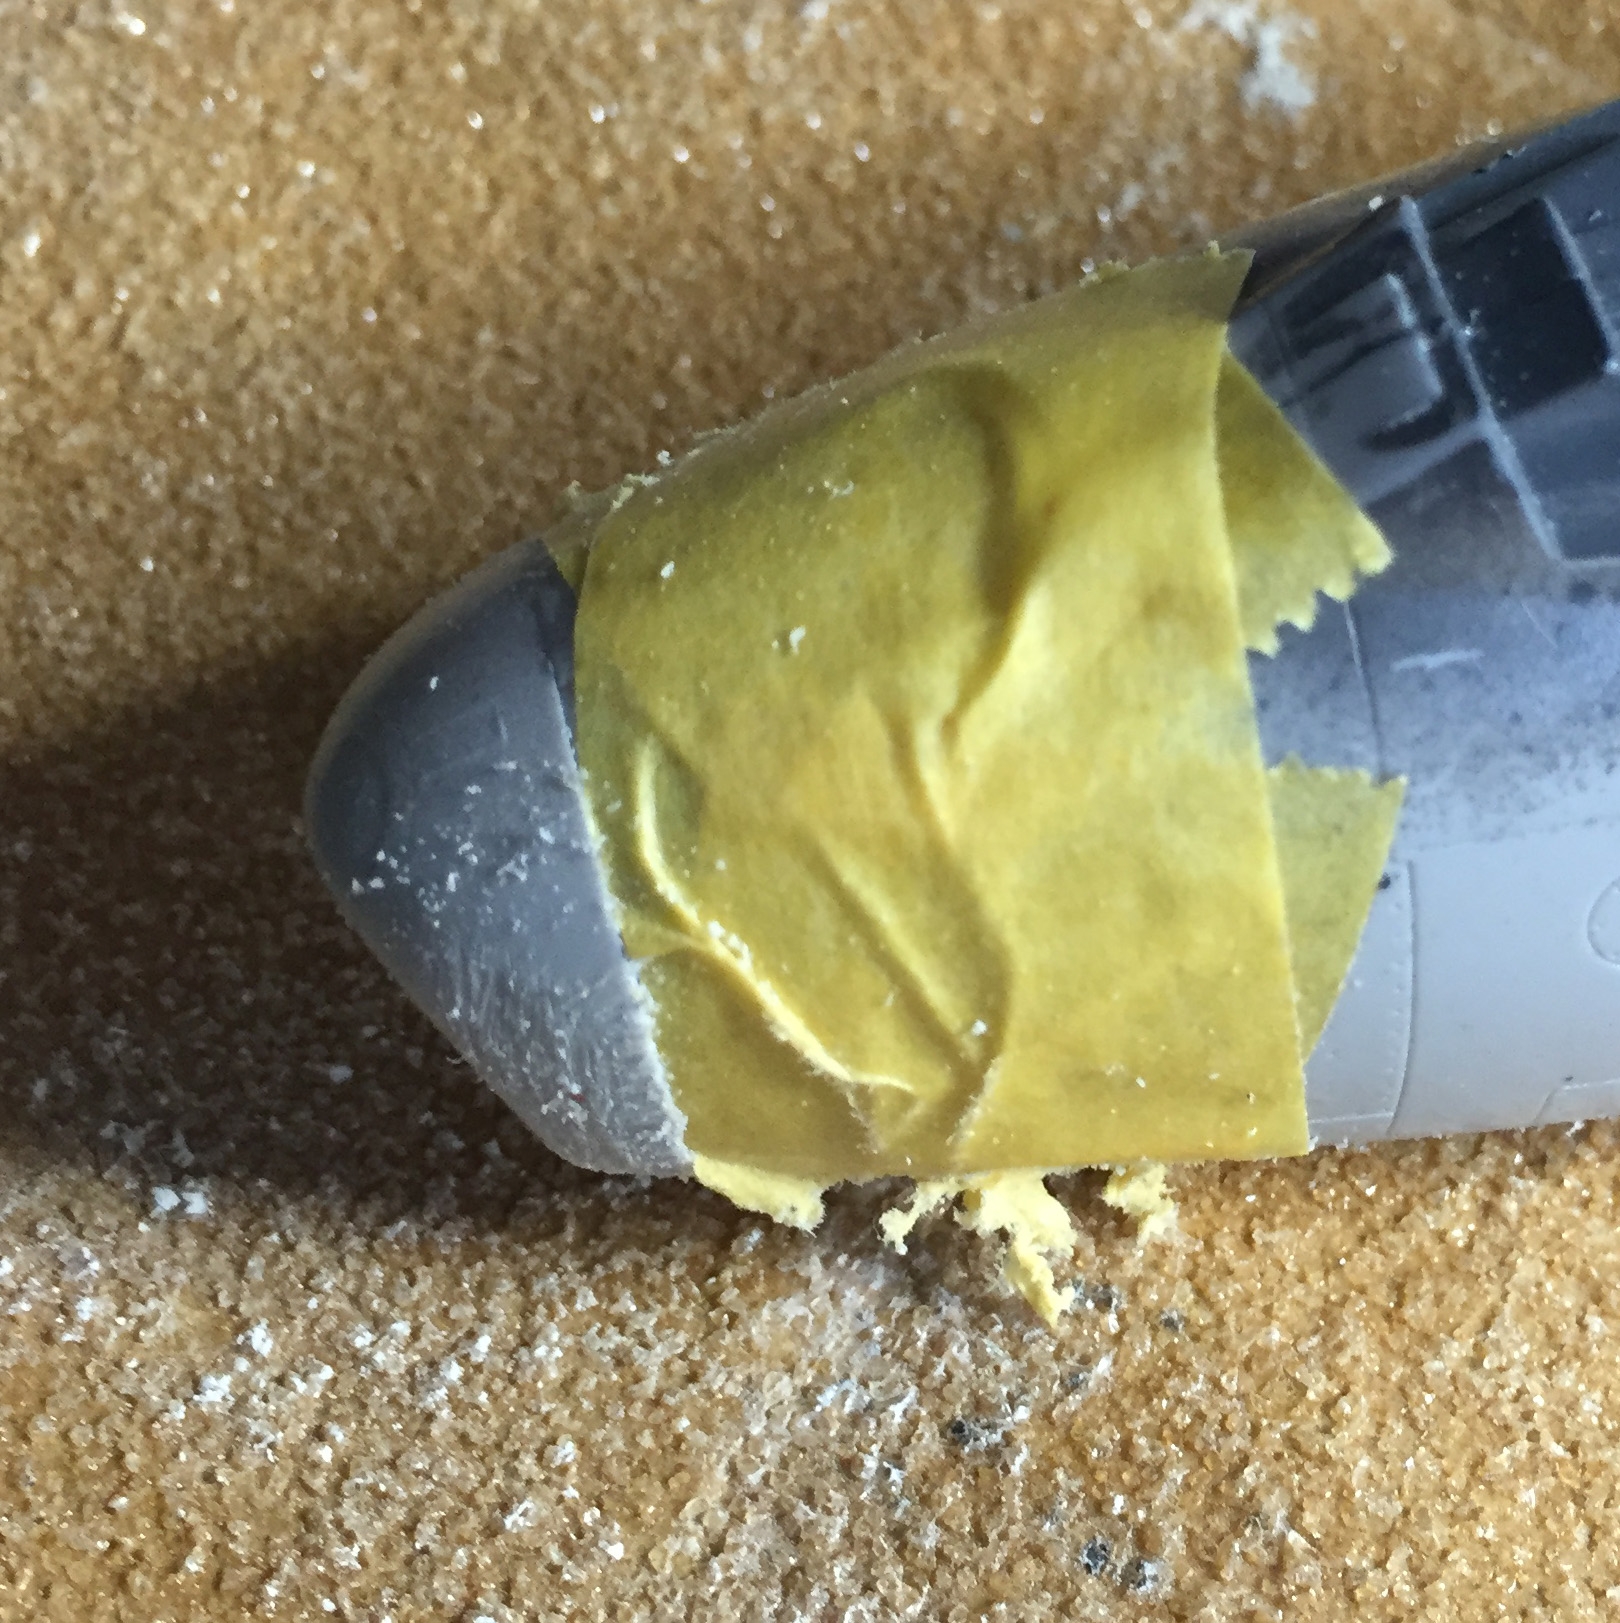
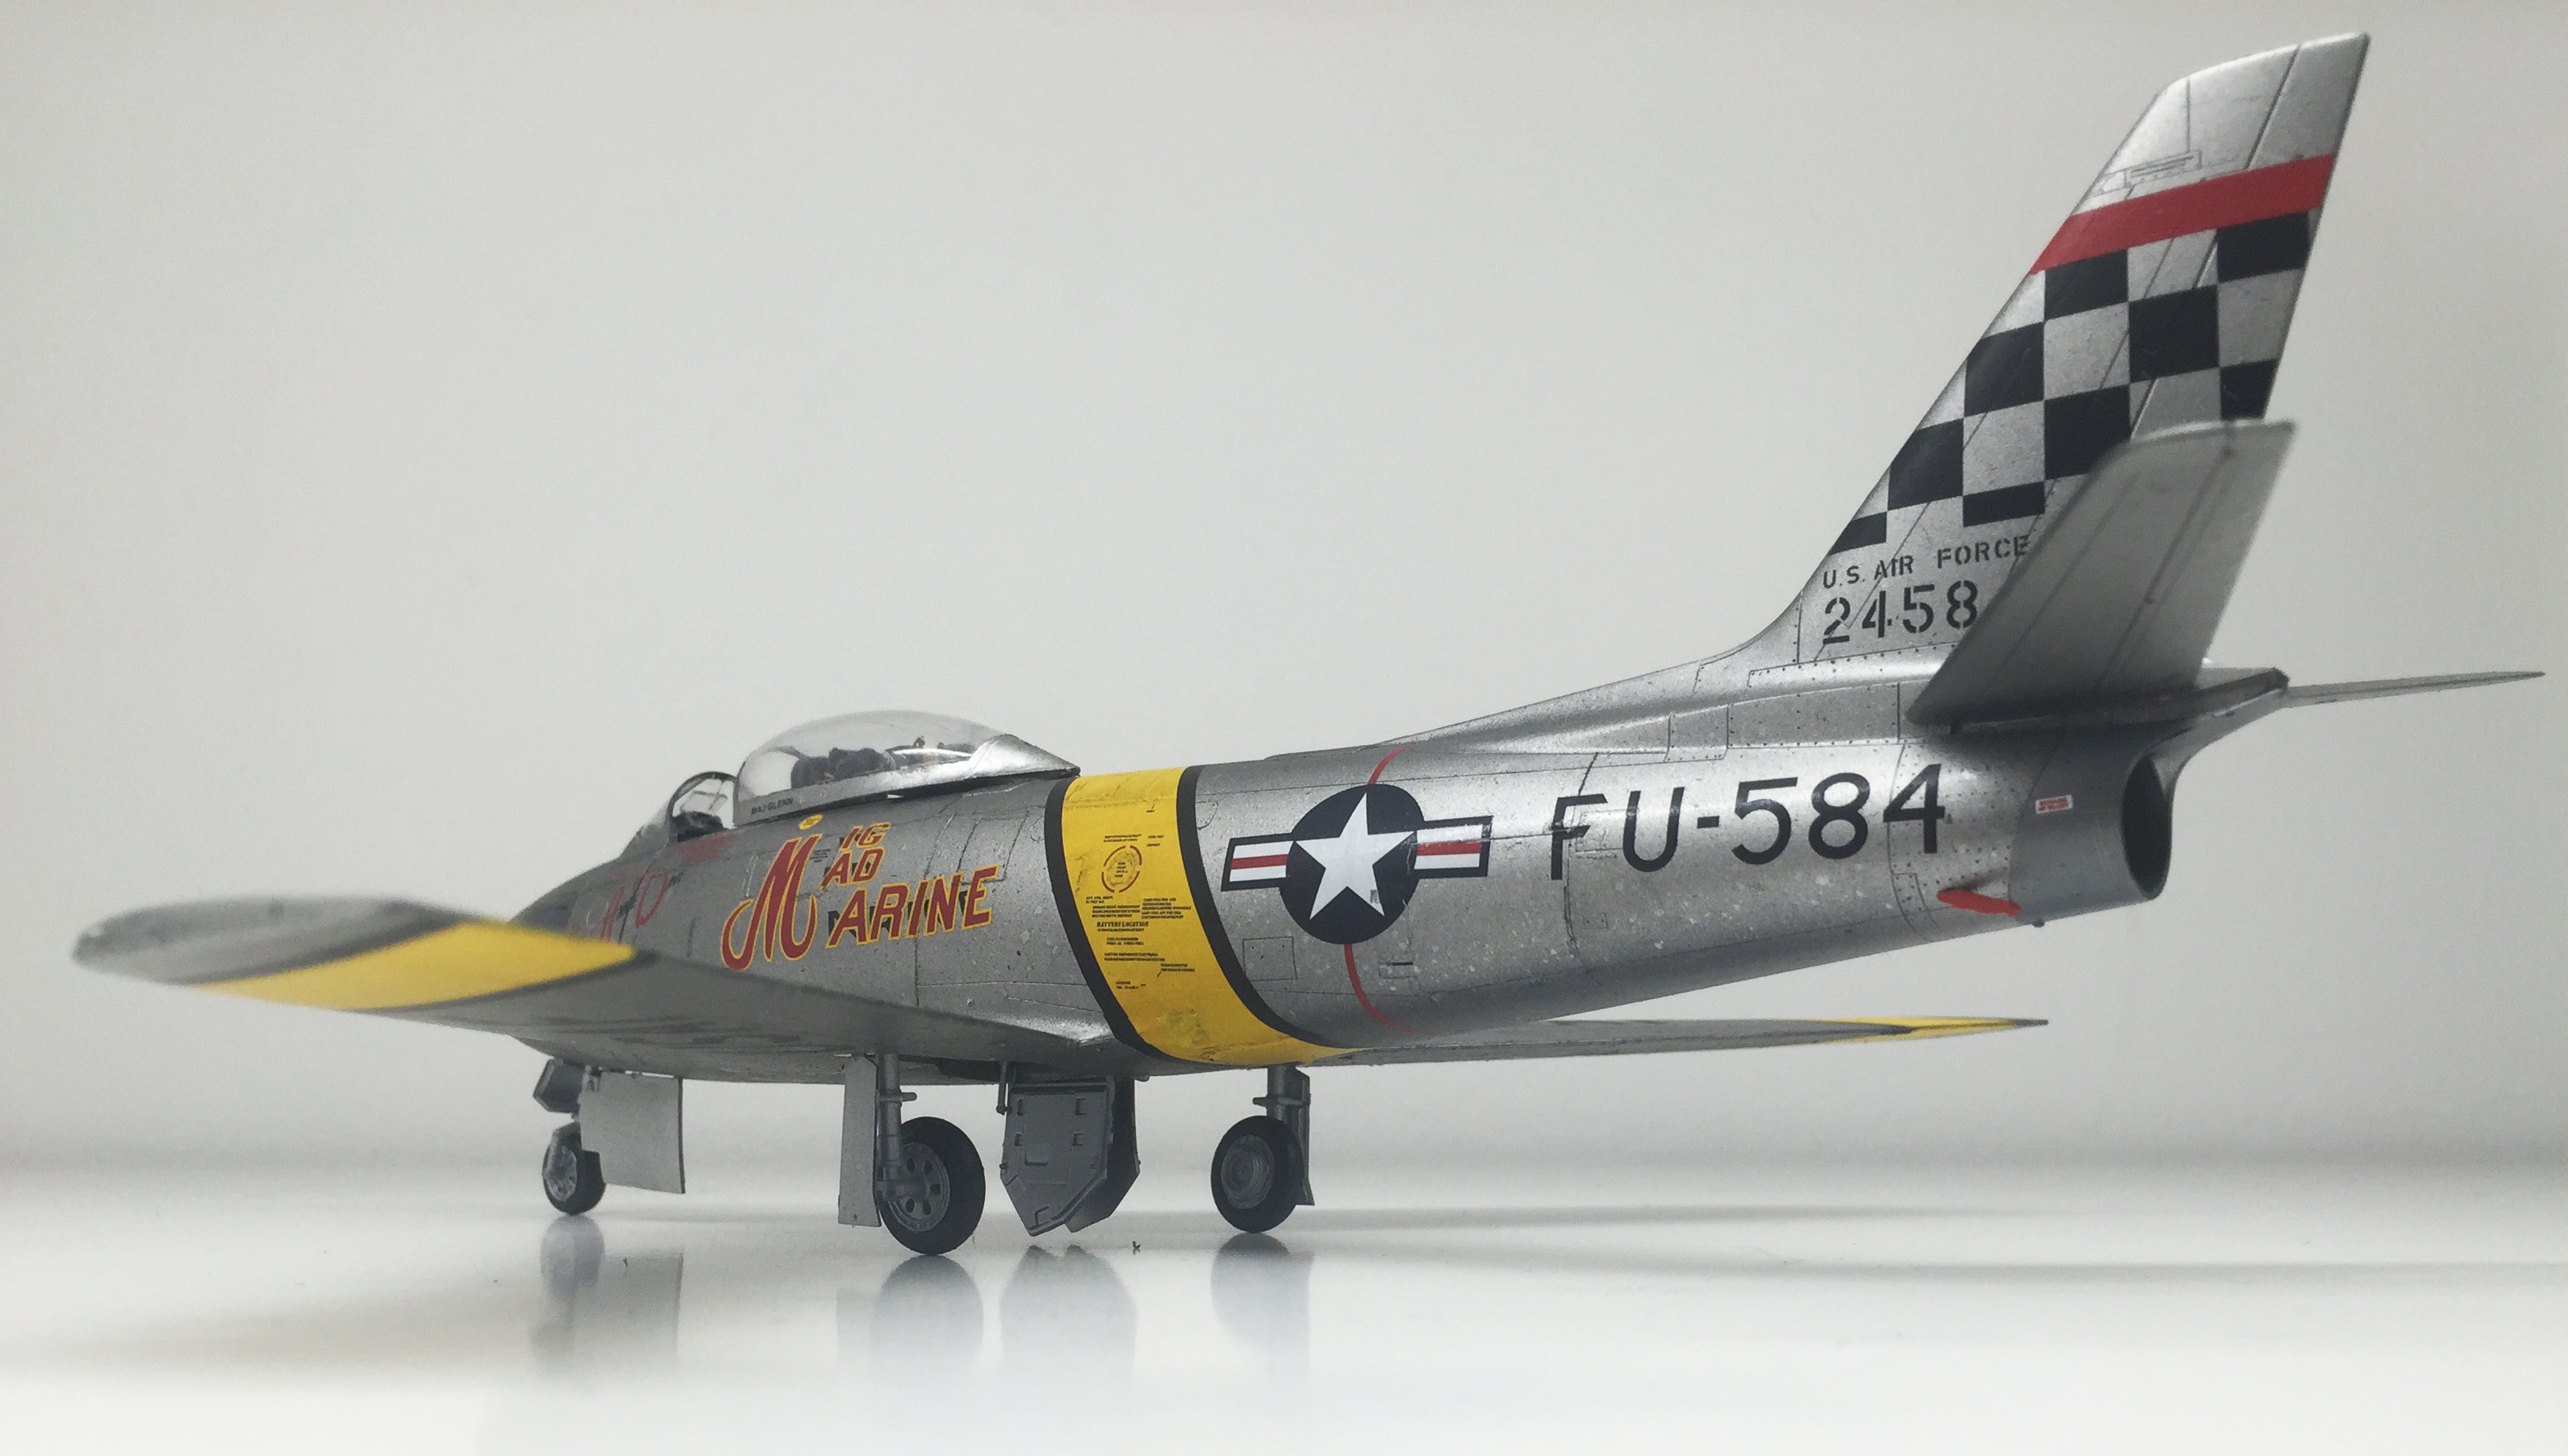
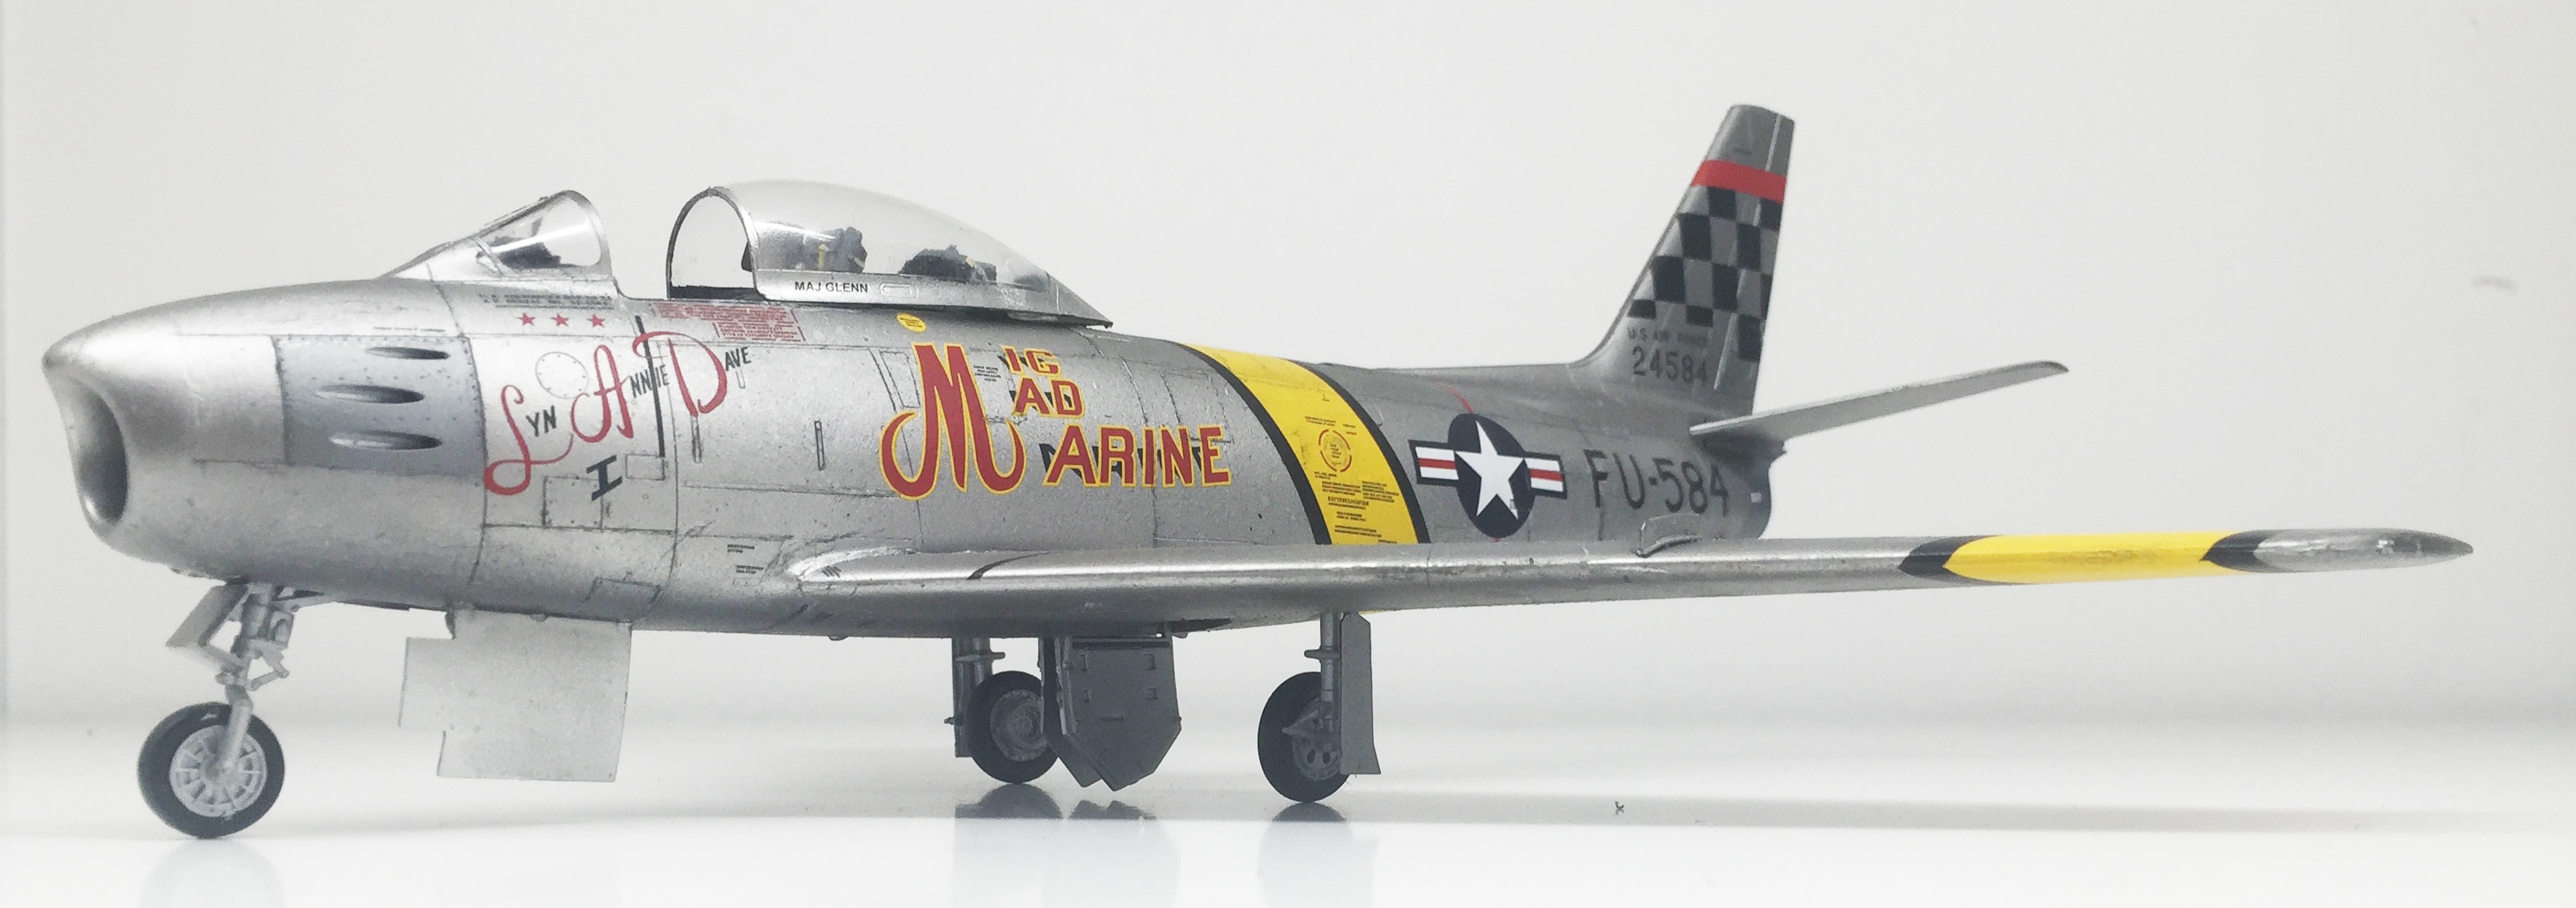
Now it was decals time. I went for the first option which is that of astronaut Maj. John H. Glenn. Now there's an option to either paint the yellow and black stripes or use the supplied decals. It's always a challenge with large decal parts that's supposed to fit over a large, bent, area and in this case some details in it but I deemed that masking and painting these stripes, specially over the fuselage, would be a even an even larger challenge (to get it straight) so I used the decals. They fitted surprisingly well and using tops smoothing out any air bubbles they settled on the surface well enough to see the lines underneath, even without using decal solvents. There is a great deal of small text decals to be applied, well over 50. If you use the yellow and black stripe decals some of them are integrated in these but still there is a large number to use. Some times I omit the really small ones, but this time I applied most of them and it really took some time.
Next step was sealing the kit with a layer of Vallejo's Satin Varnish (70.522) dampen the gloss surface and to have the decals look painted rather than like, well, decals.
I always, at least when possible, wait to mount all protruding details as landing gears and antennas, until after painting and putting on the decals. Partly because it's easier to paint and partly because you don't run the risk of damaging them when handling the kit. So next step was to put these in place.
At last some finishing touches. I wanted this plane to look like a well maintained plane so not much weathering, but to gently fill out the joint lines and fueling caps with a pastel pen adds a great deal to the finished model.
 |
 |
 |
 |
 |
 |
This is a good kit no mistake. A bit disappointing was the bad fit around the nose cowl but it was correctable with some work. Also for a kit that claim to be the Ultimate it is also a bit disappointing to find advertising for resin wheels in the instruction folder that was not included, to me that's not "ultimate". But with that in mind, if you like to take on a F-86 Sabre in scale 1/48, I'd recommend this kit.
| Difficulty* | 4 |
|---|---|
| The good | Box is filled with extra detailing and the kit quality is good. |
| The bad | Couple of parts in the nose fit really bad and there could be even more detailing parts for a kit that claims to be the Ultimate. |
*) On a scale 1-5 where 1 is easy and 5 is really hard.