| Manufacturer | Hasegawa |
|---|---|
| Product # | 09949 |
| Scale | 1/48 |
| Scale Mates model info | https://www.scalemates.com/es/kits/hasegawa-09949-p-38g-lightning-bougainville--101244 |
| Content in box |
|
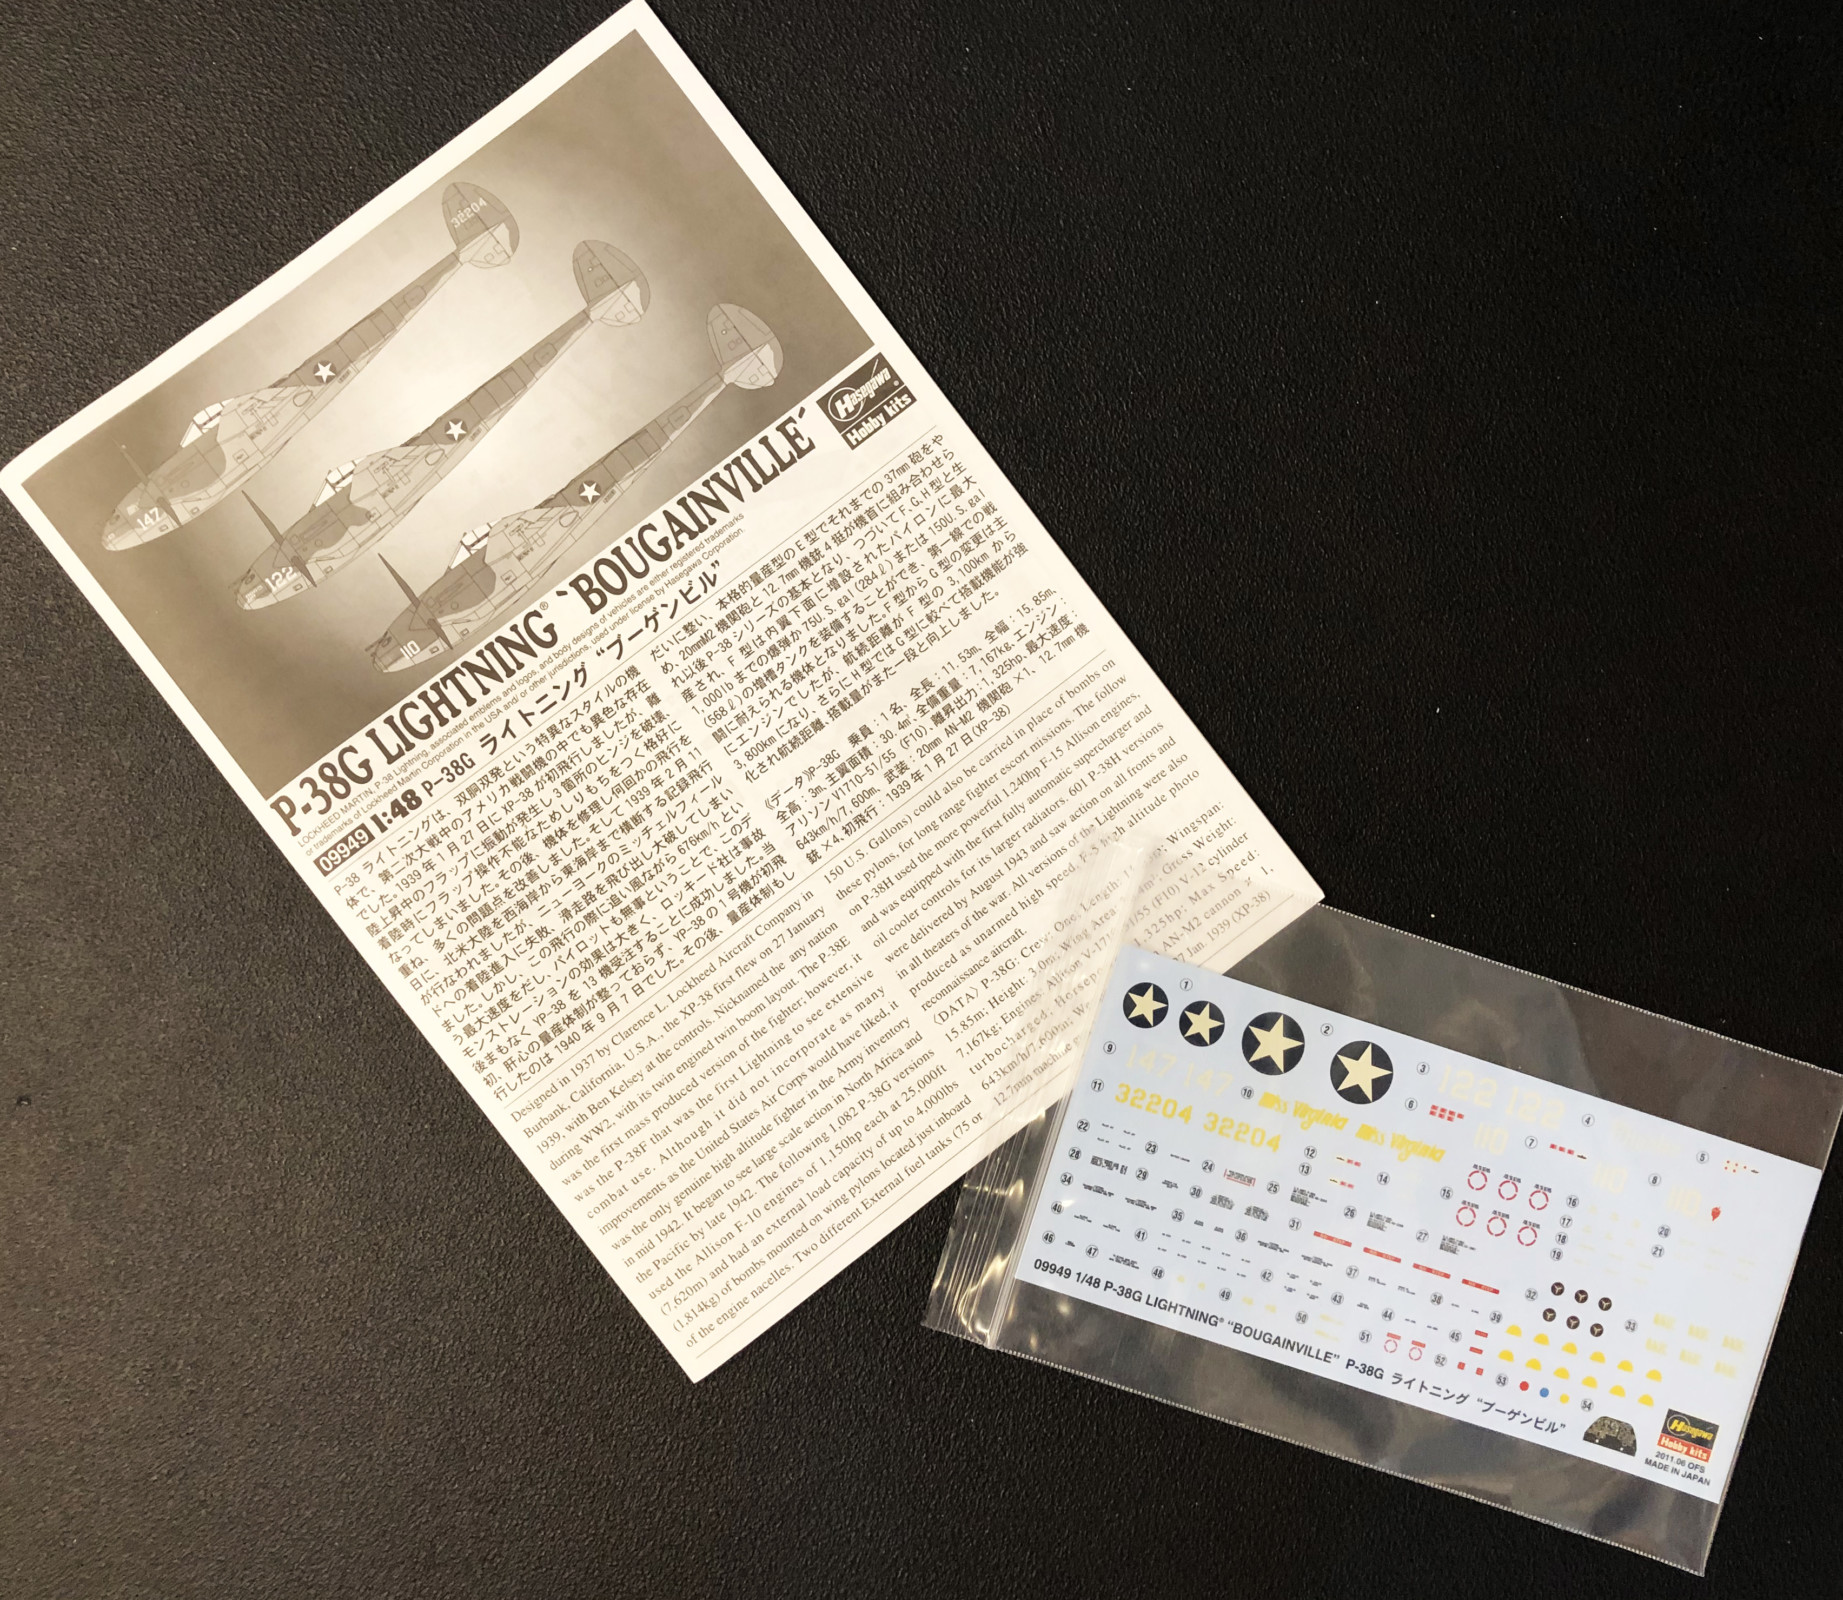
This kit was first released in 1993 and has since been released several times in different versions. The version I review here is a re-release done in 2012 with new decals.
Personally I find this kit a little bit better than the kit from Academy released the same year. Both are reasonable kits for their age but this kit has some finer detailing. Both share the strange error in the cockpit (see below under The build).
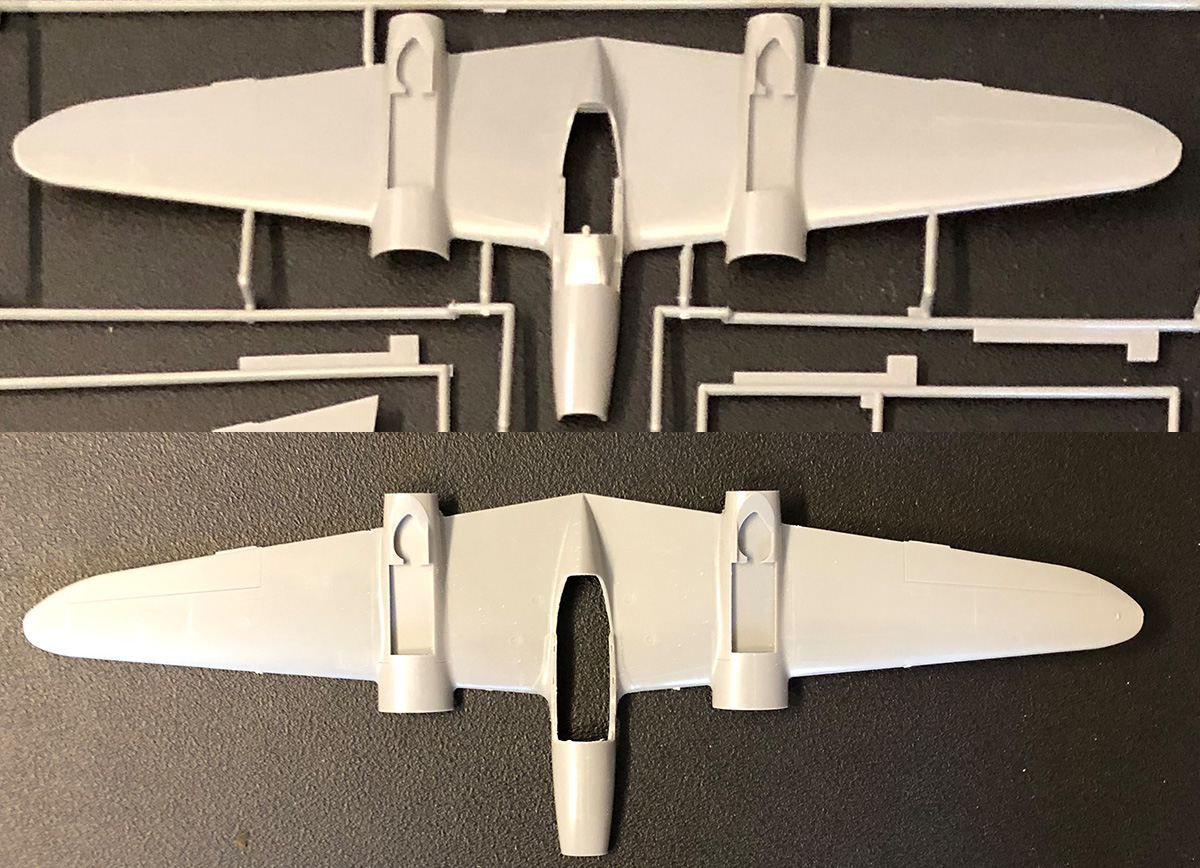
The surfaces has finely modelled panel lines and the fit is generally good. The instructions are clear and contains explanatory texts. You can also by the design of spruces and parts see that this kit is meant to be released in different version. This is way the air intakes by the engines are separate for example.
The decal sheet has decals for three different markings:


This kit took me back an arm and a leg. I searched for it for a long time until I found it for a silly price at Ebay. I had a P-38F which I could have converted but I was really after the decals in this kit as I was building planes from Operation Vengeance.
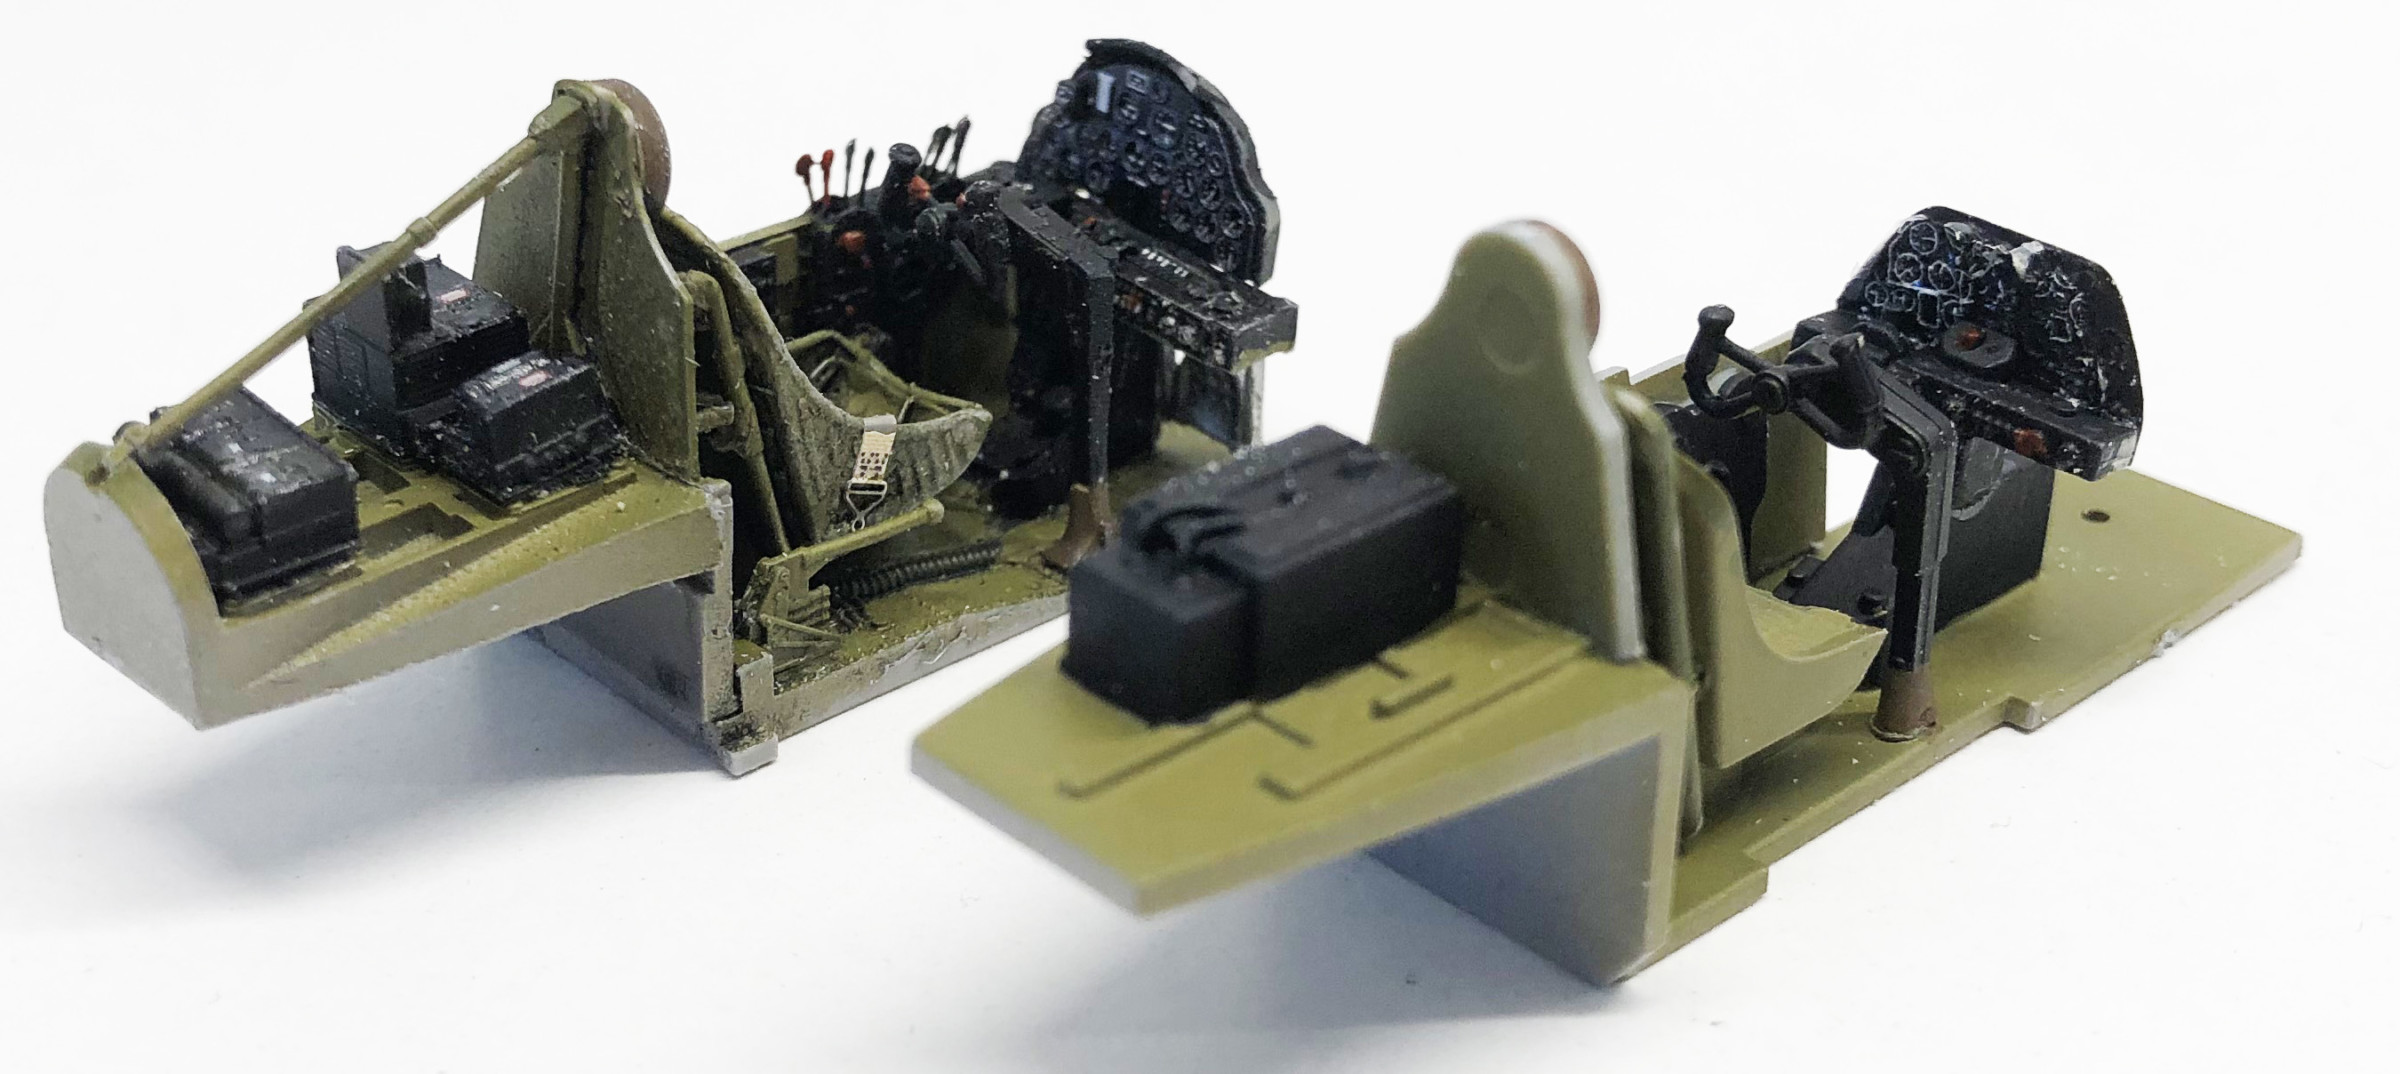
I had earlier bought a cockpit detailing kit from Eduard originally intended for the Academy kit but I decided to risk it and use for this kit. This led me to some extra work but it was totally worth it as I found some inaccuracies in the kit this way. The difference between the kits cockpit and the after market cockpit from Eduard can be seen here to the left (Eduard's is on the left). When I was going to fit the new cockpit into the fuselage I ran into problems. I started to study reference material to see how the real thing looked like (specially Jane's Publishings "P-38 Lightning" by Jeffrey L. Ethell and illustrated by Rikyu Watanabe) and I soon found that the hood over the instrument panel in the kit did not exist, at least not to the extent it was represented. When I cut this away (see the picture on the left) things fell into place and it looked good. The strange thing is that the same hood is on the Acedemy kit too, even though all cockpit pictures I've found does not have this hood extend this far!
This kit has the draw back that so many kits of this age have. You have to assemble the main gear before you can paint the kit. They go into the booms on either side. Fortunately you can leave the landing gear doors off for the time being. All parts fits well and little after work is needed to get rid of visible seems. The twin booms went on quite well and no adjustments was needed. There is also ample place for nose weights in the front. I used BB gun ammunition and weighed in the recommended 35 grams which worked fine.
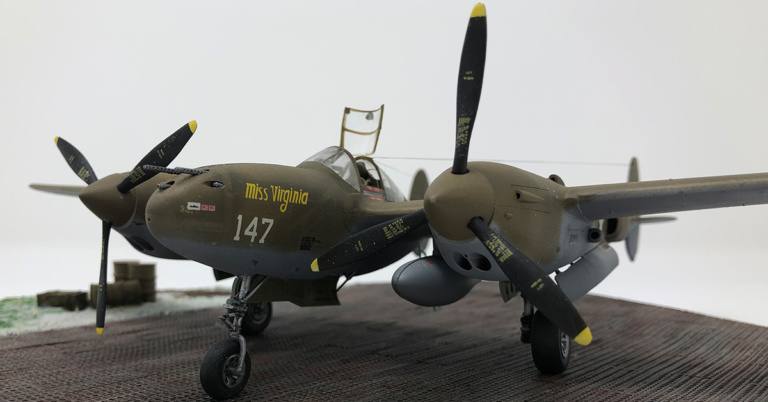
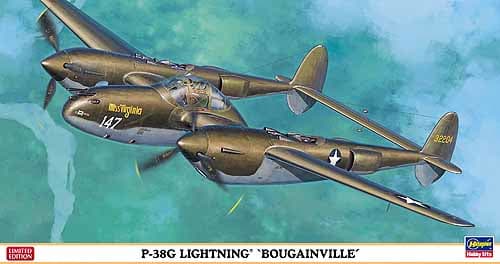
For the paint job I wanted to get close to the original which you can see here on the left. This meant that I had to do some serious pre-shading. After I laid the light grey primer I masked some structure before I air brushed the shades in black. As usual I'm using Vallejo's Model Air and I tried to find the best U.S. Army Air Force colours:
Giving this a glossy coat it was time for the decals. The decals held good quality and adhered to the surface nicely. They even include the number on the nose that was painted over on the plane. However I later noticed that Hasegawa got the identification number on the tail wrong. "Miss Virginia" had number 32264, not 32204 as on the decal sheet. A bit sloppy from Hasegawa I think.
Adding the details as landing gear doors, propellers, antennas etc. and then a few finishing touches and the kit was done.
It's the better of the two P-38 kits available in this scale. Clear instructions, well moulded parts and good fitting parts.
Parts are well done and it comes together nicely.
The instrument panel cover that isn't really there on the real plane and an erroneous identification number on the tail.


