
| Brand | Eduard |
|---|---|
| Scale | 1/48 |
| Manufacturers page | http://www.eduard.com/ |
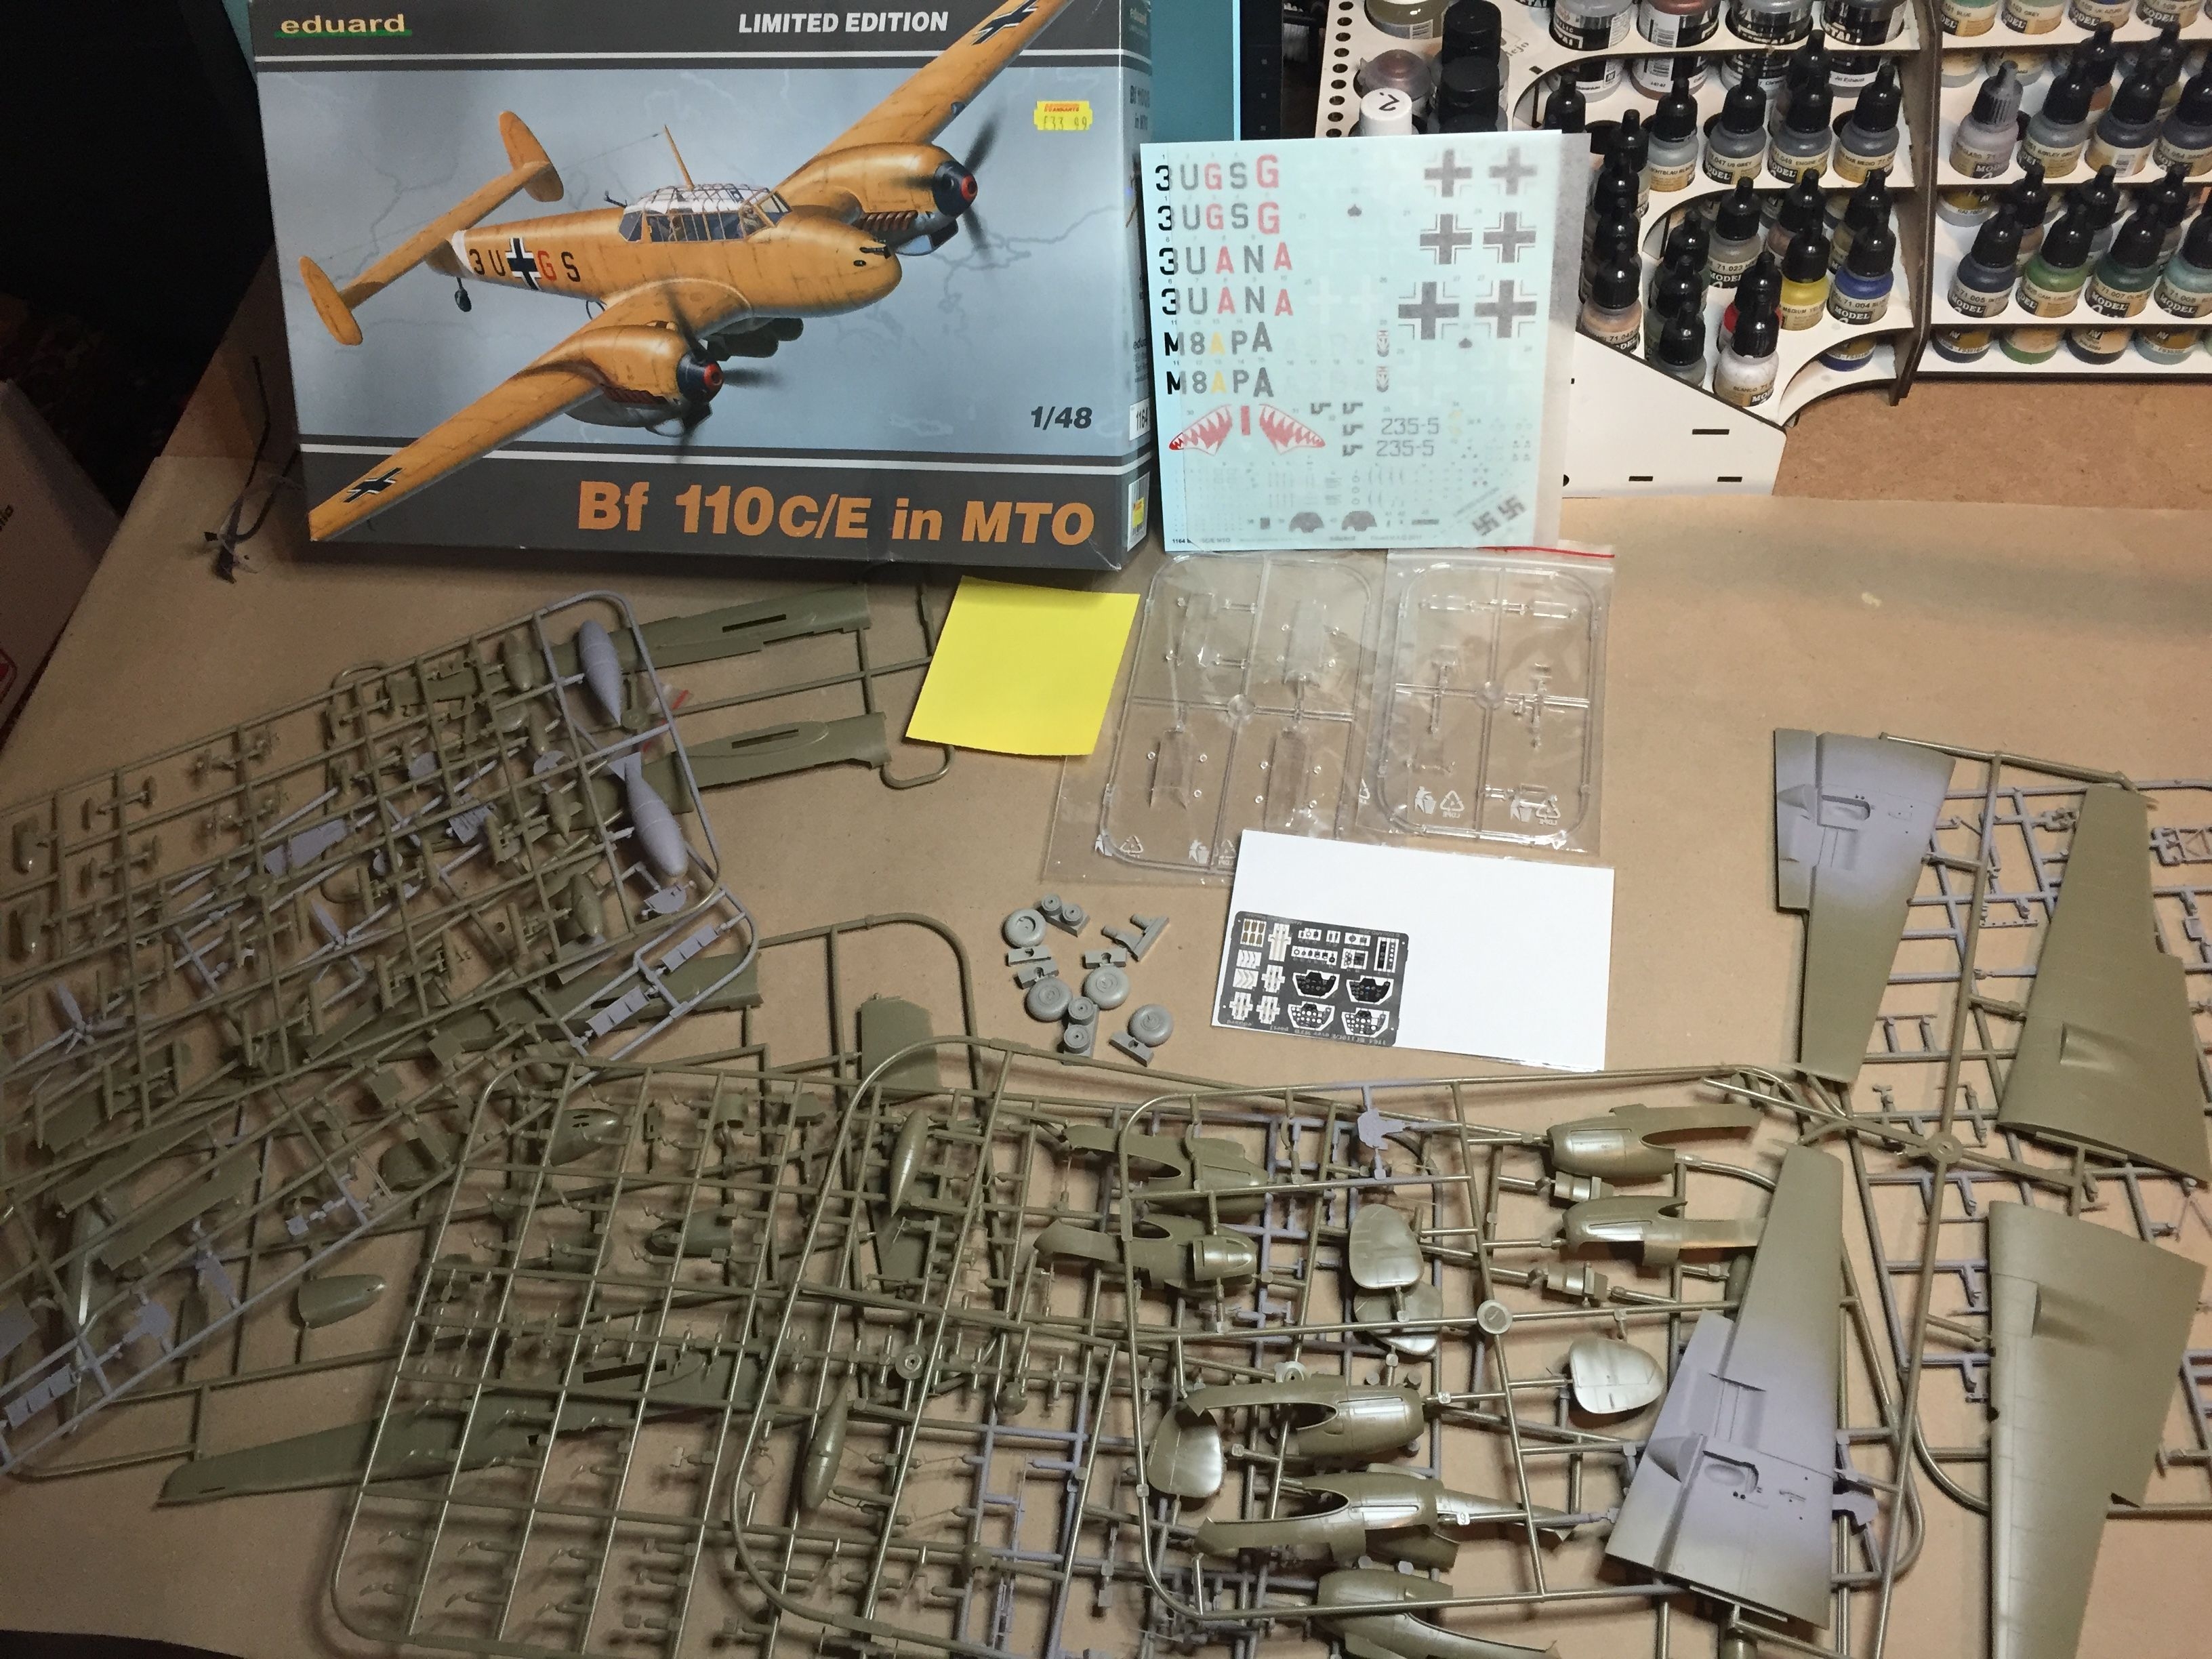
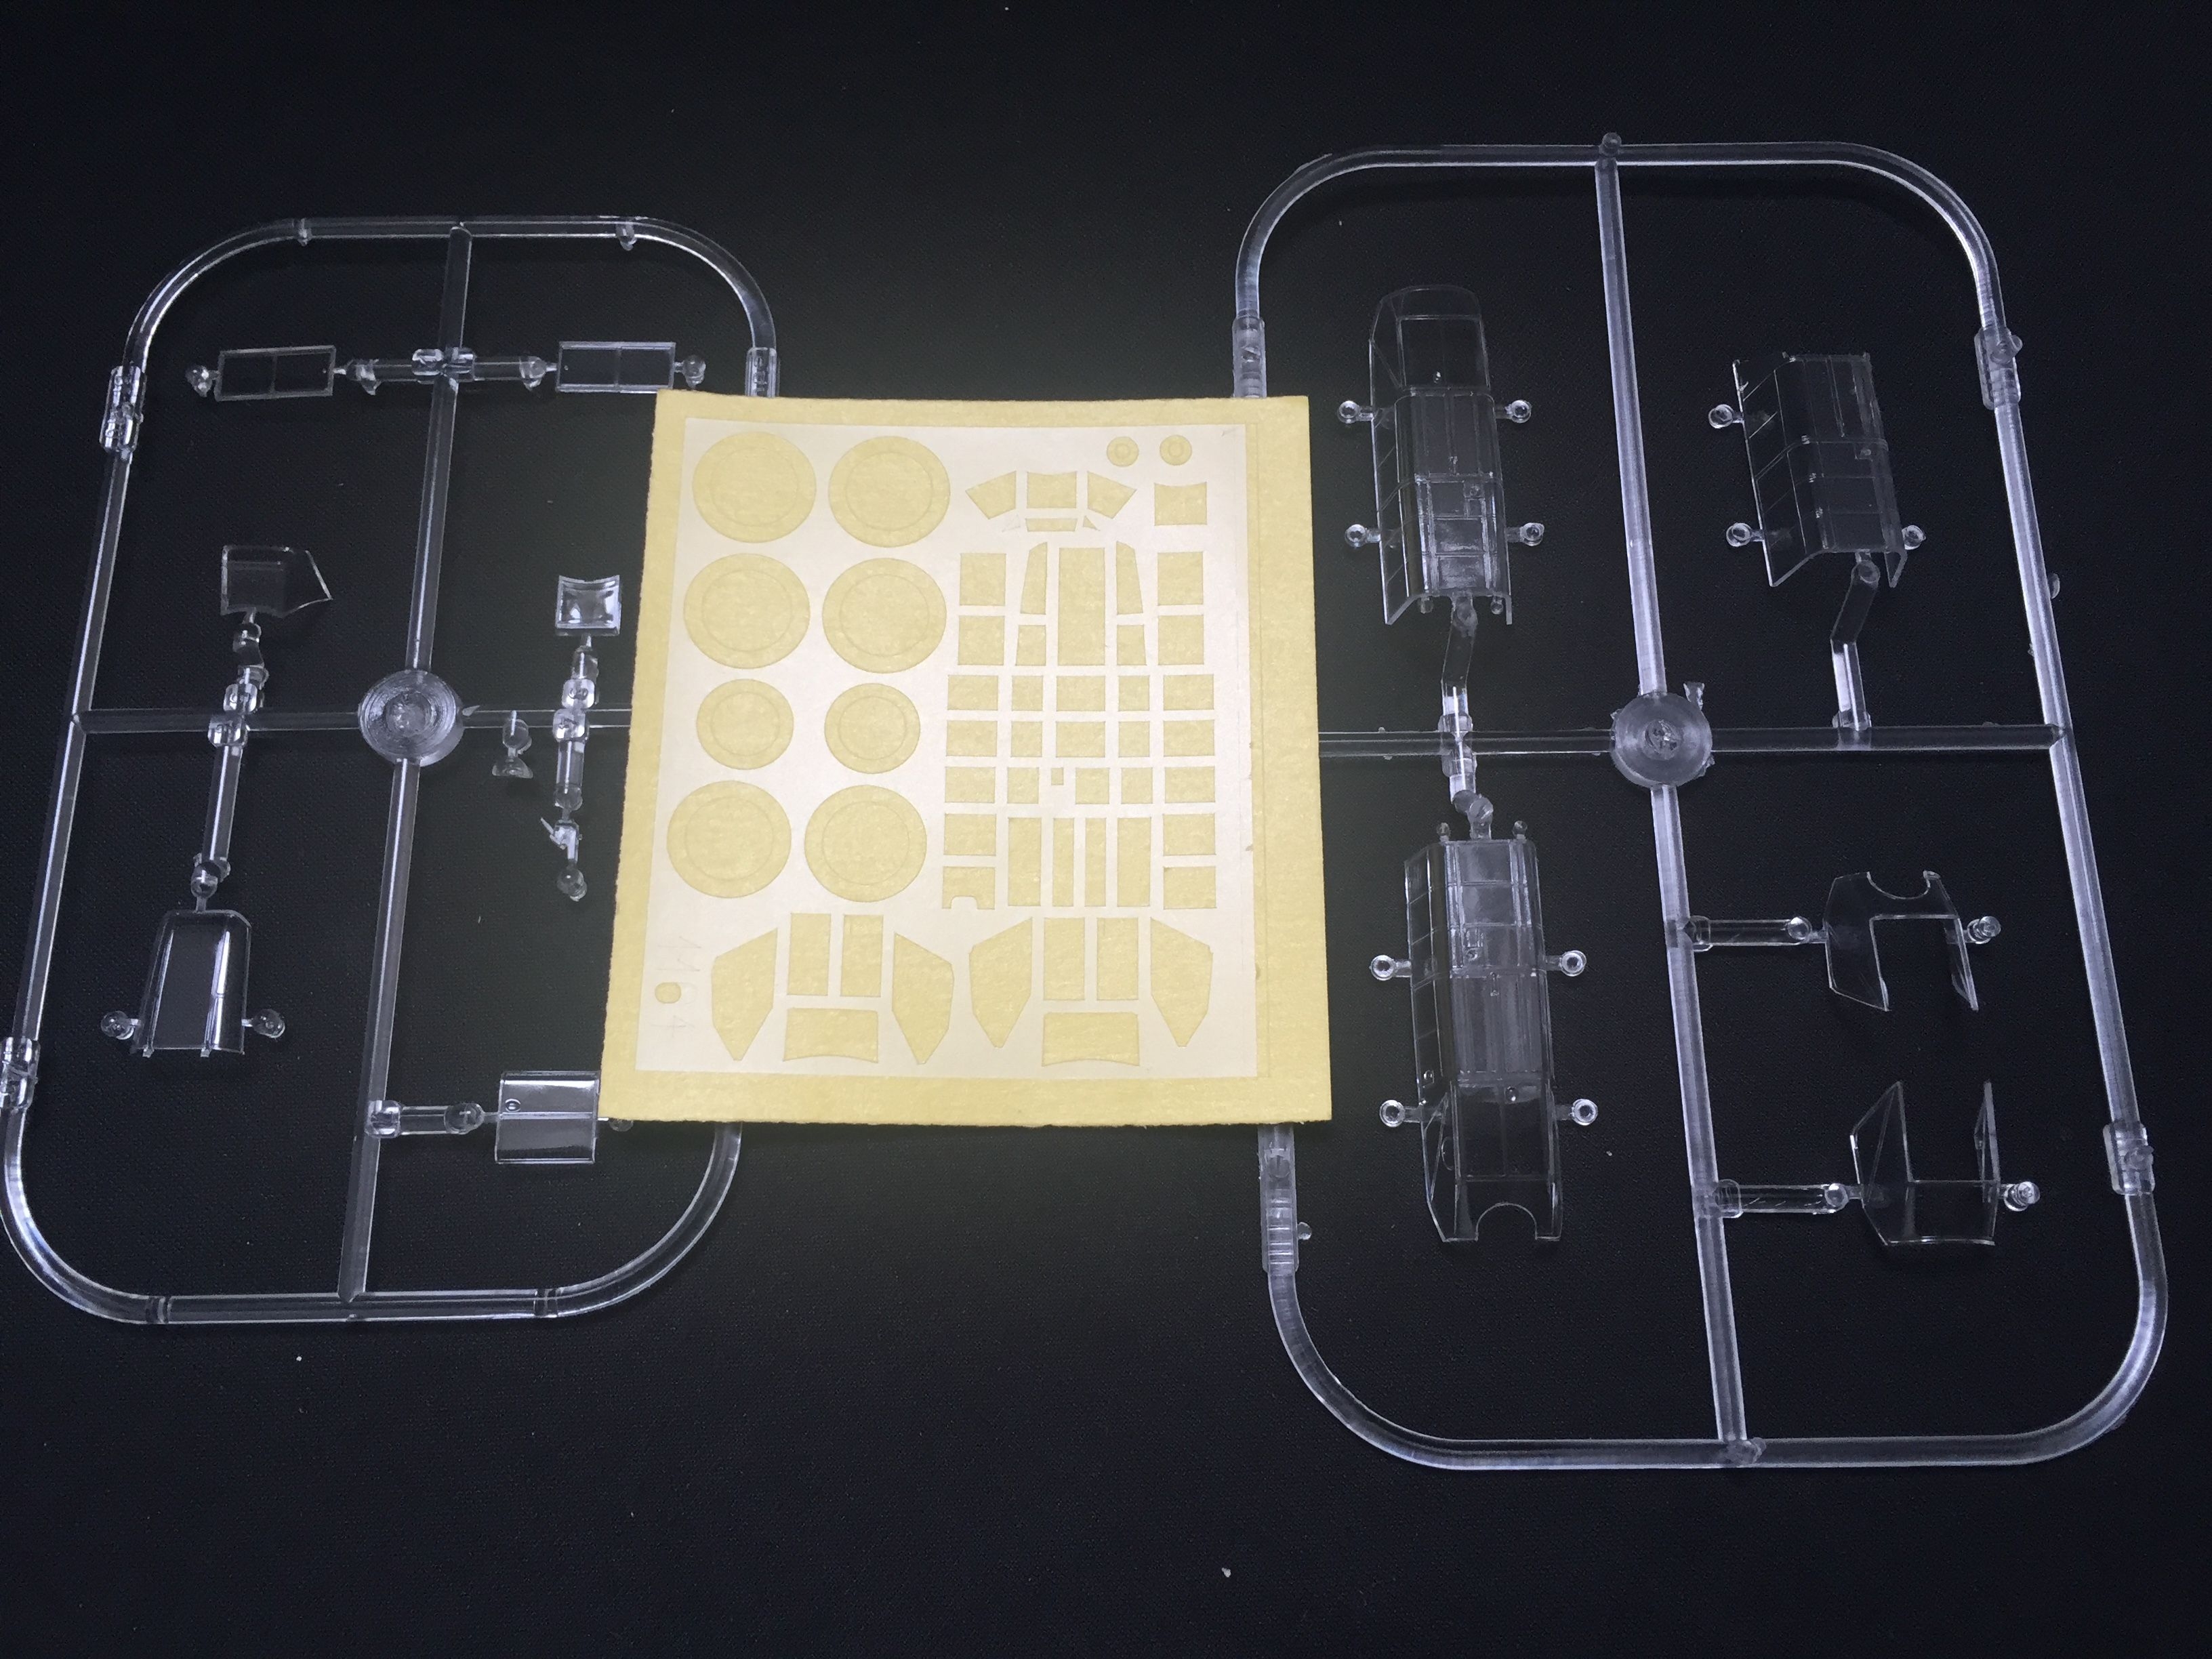
| Content in box | Instruction sheet, plastic kit, resin wheels, etched details (two sheets), paint masks for hood and wheels and decals for five different individuals |
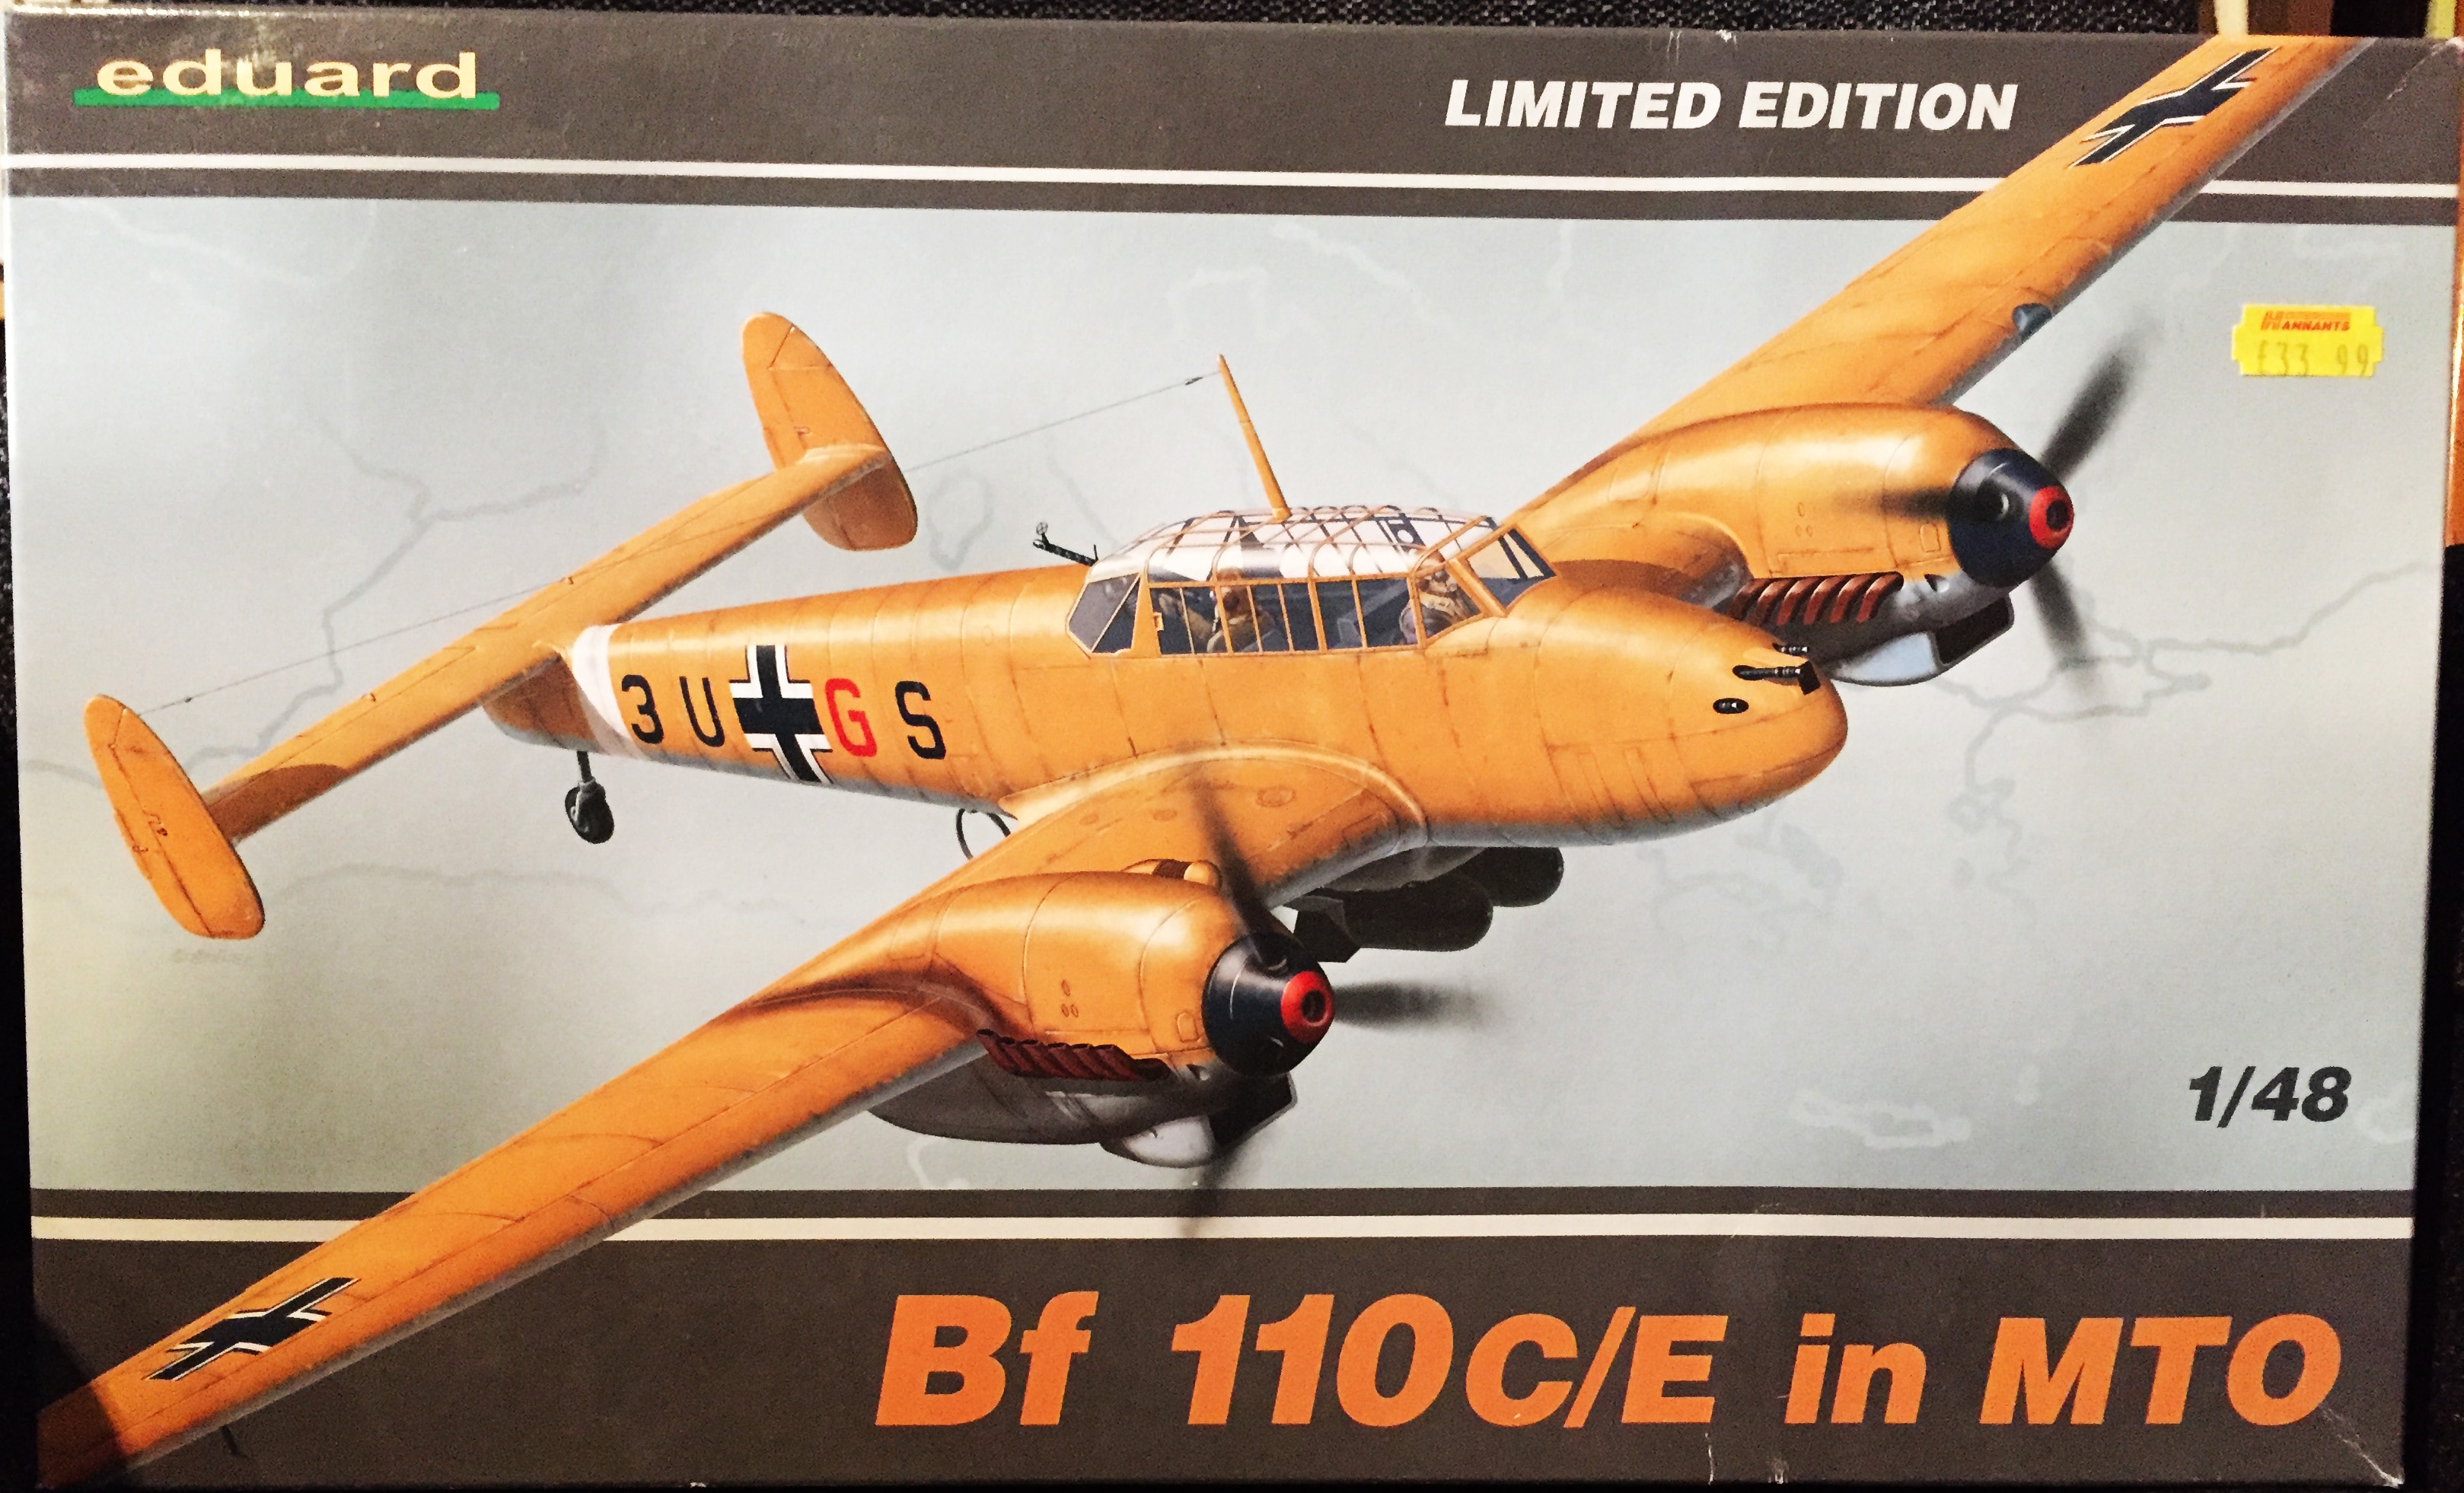
The Messerschmitt Bf 110 is a popular kit subject, at least with Eduard, they have nine different kits in scale 1/48 alone (nine more in scale 1/72). Unfortunately exact the kit reviewed here is not one of the nine currently on sale but one can quickly conclude that the moulds in this kit is the same as at least several of the ones on sale today as it contains several parts not for use in the versions in this kit. Being a "Limited edition" from Eduard this kit includes extra resin wheels (two versions), two sheets of etched and prepainted metal parts and paint masks for the hood and wheels. So we're of to a good start.
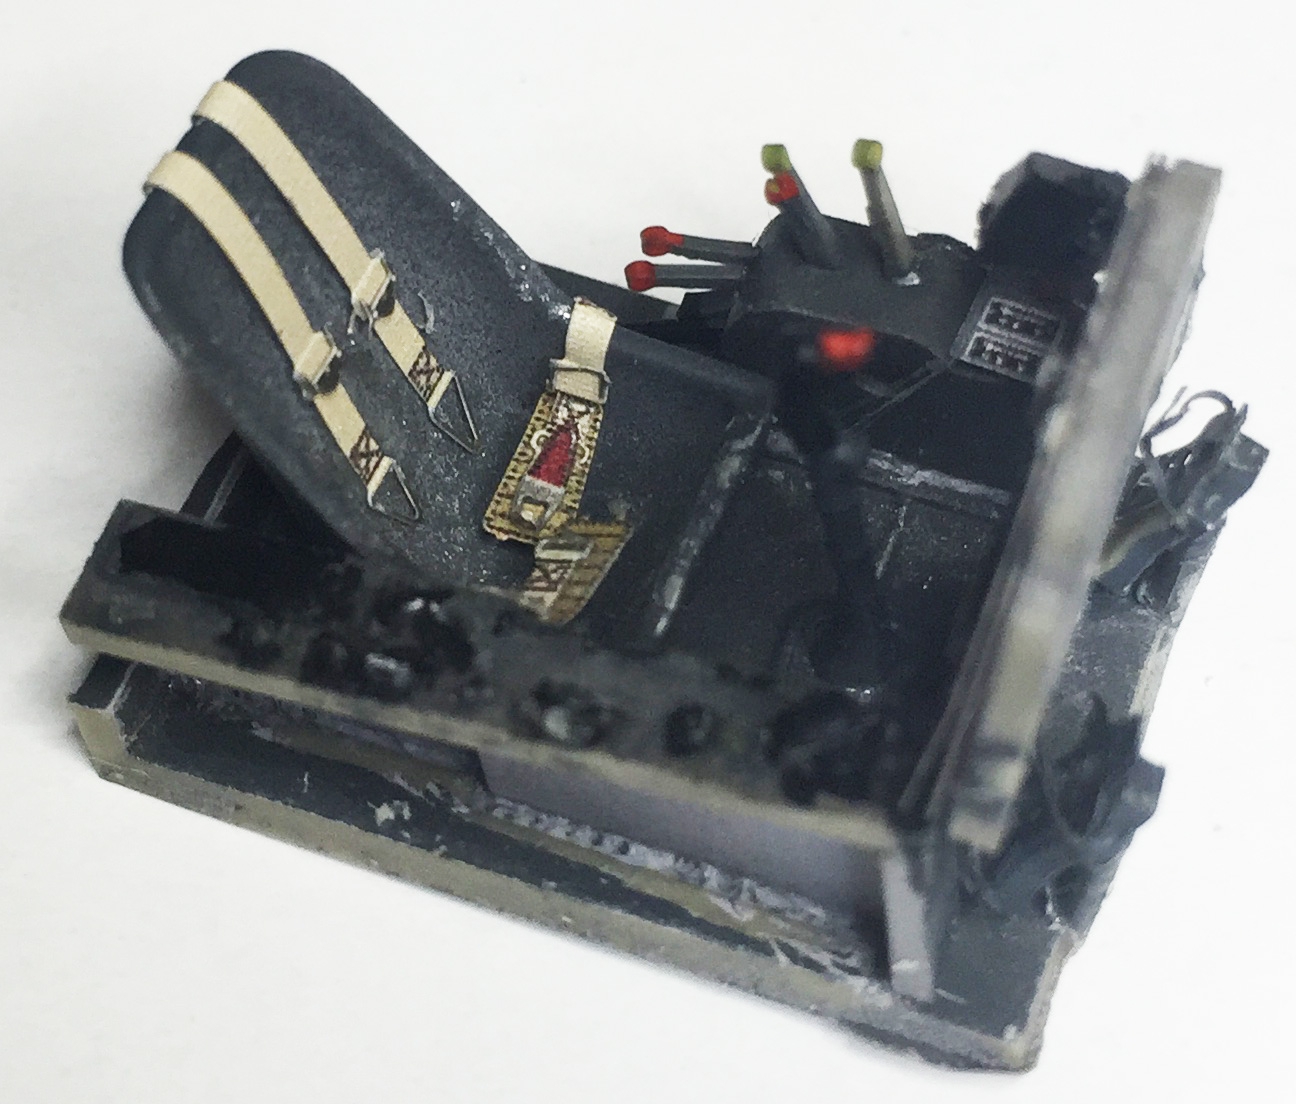
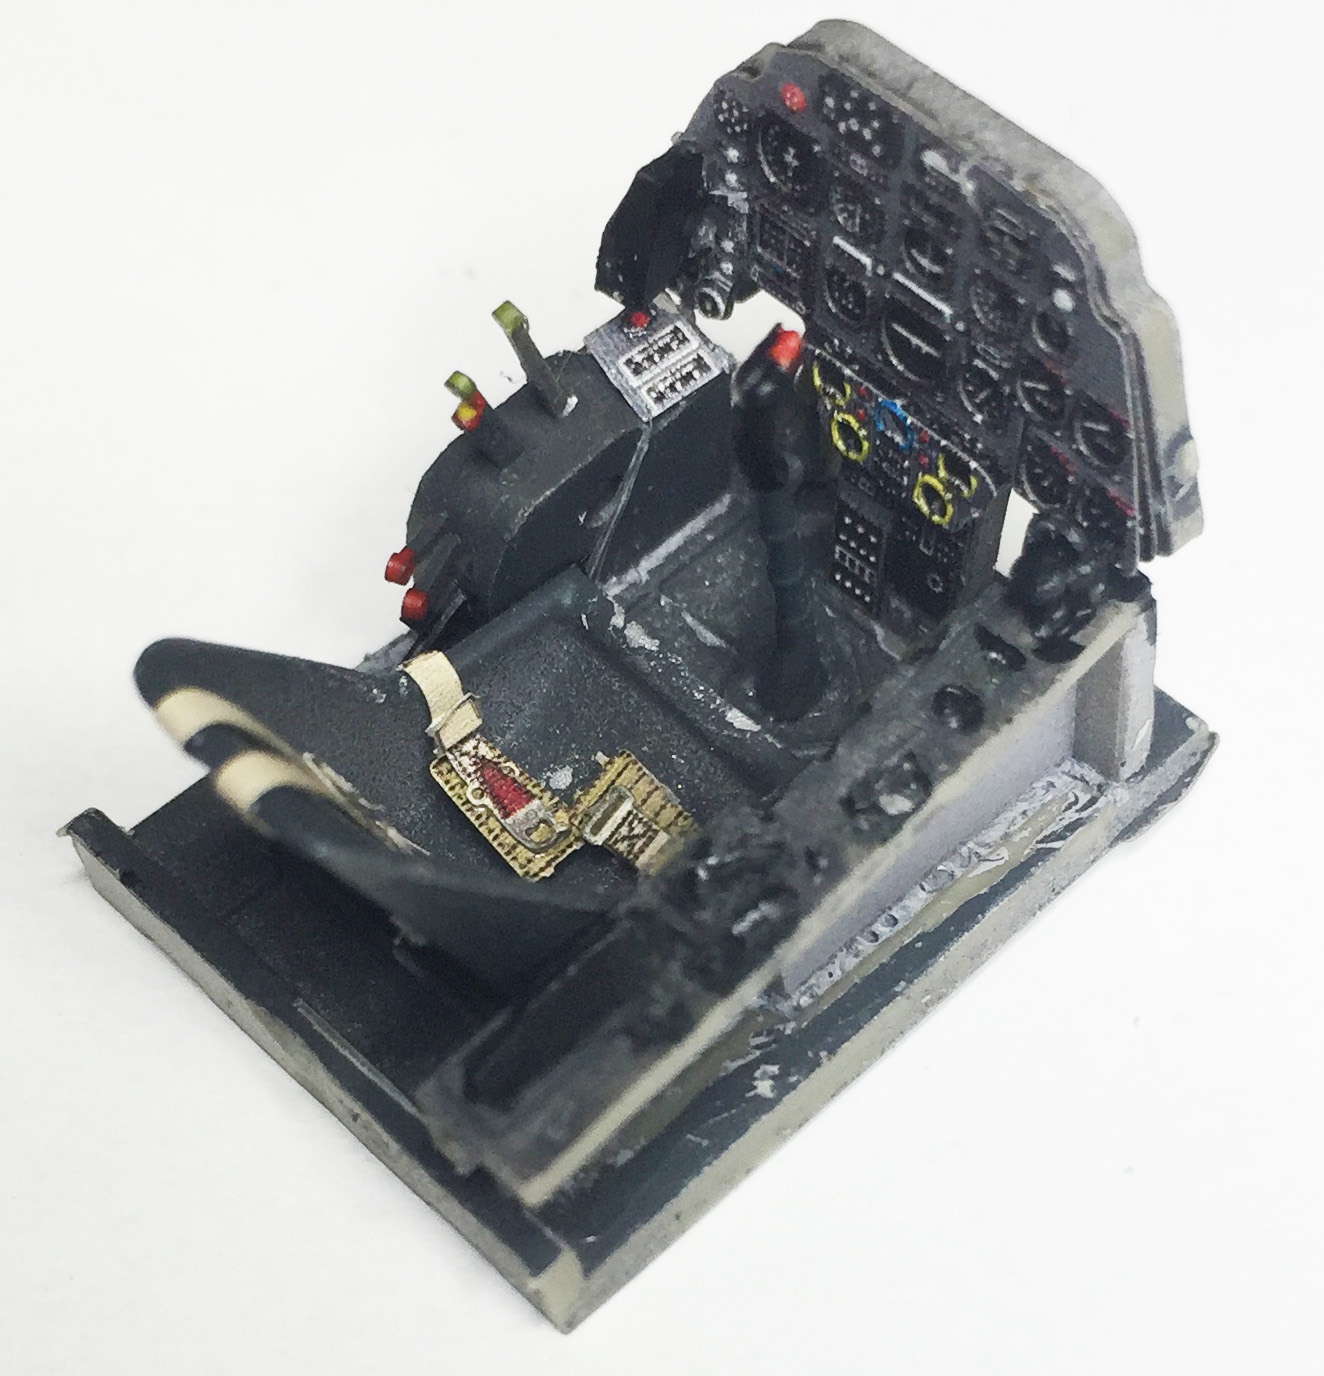
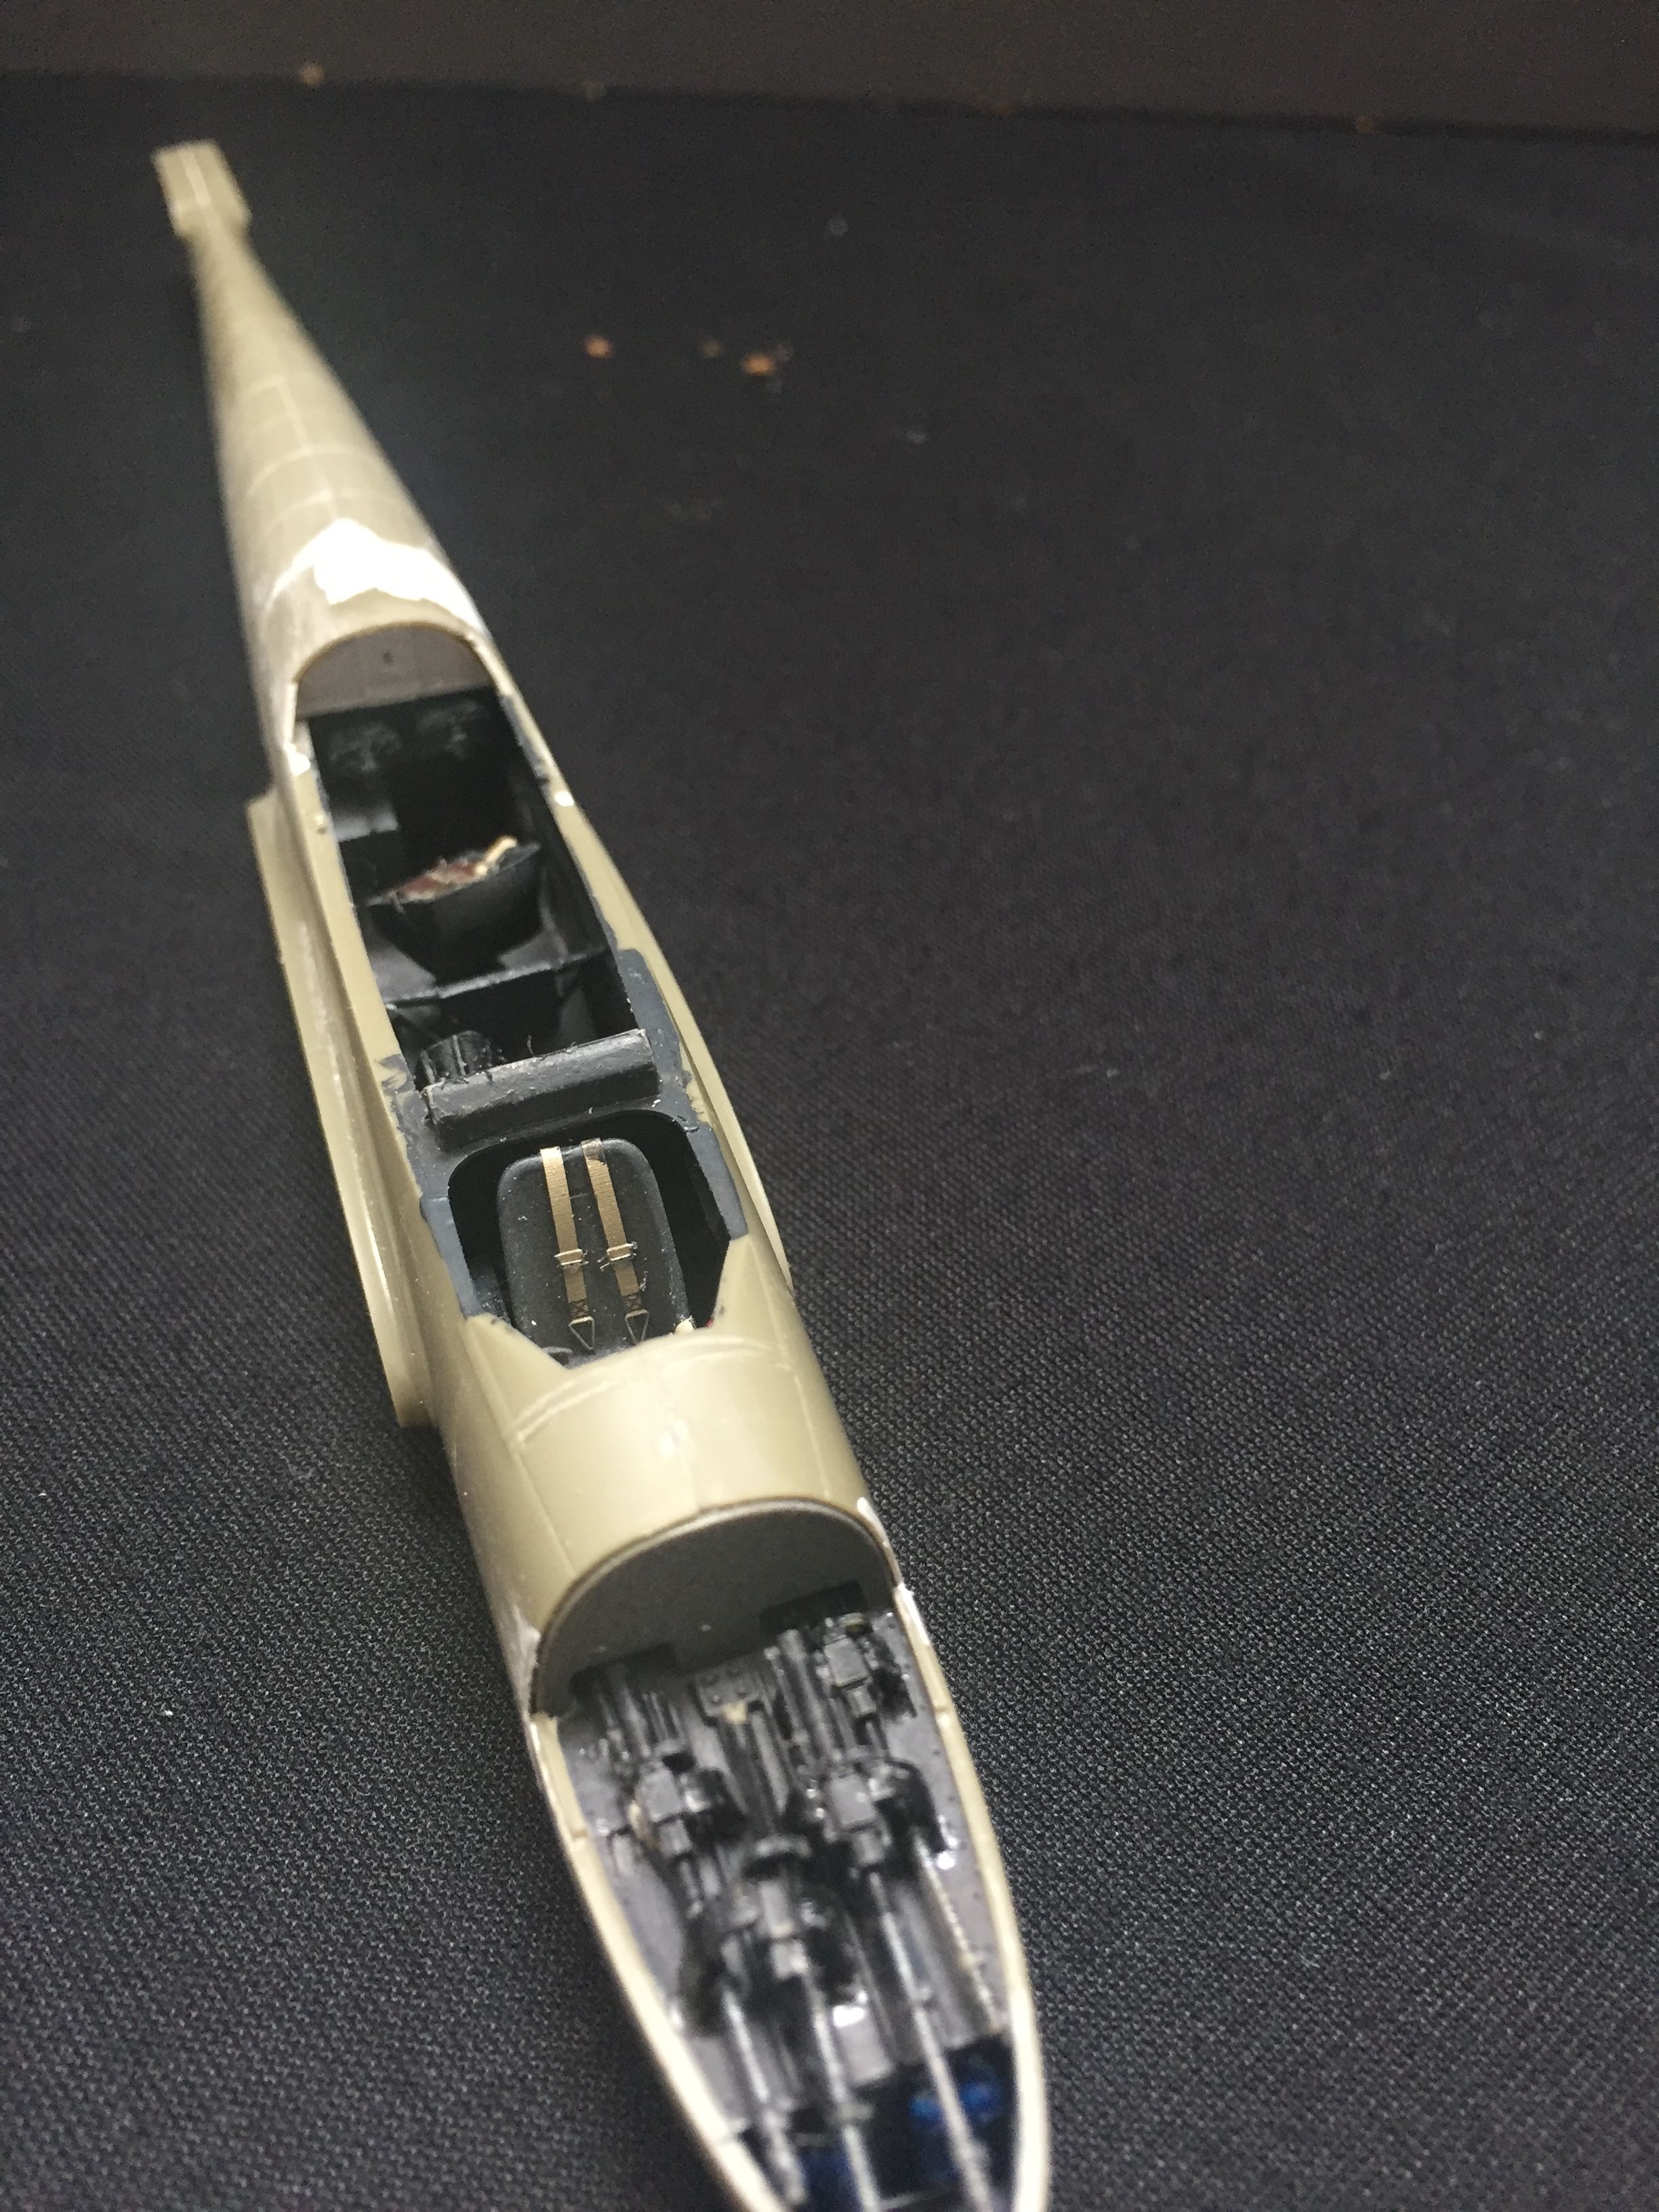
 Half of the build you probably spend on the cockpit and internal armament. There is a lot of parts and detailing. But the time spent is rewarding as the result if well done is outstanding. Of course you're helped here by the prepainted instruments and seatbelts. If you buy one of the Eduard kits without these etched details I can strongly recommend that you buy the separately. There are several different sheets available from Eduard for the different versions of the Bf 110.
 |
 |
 |
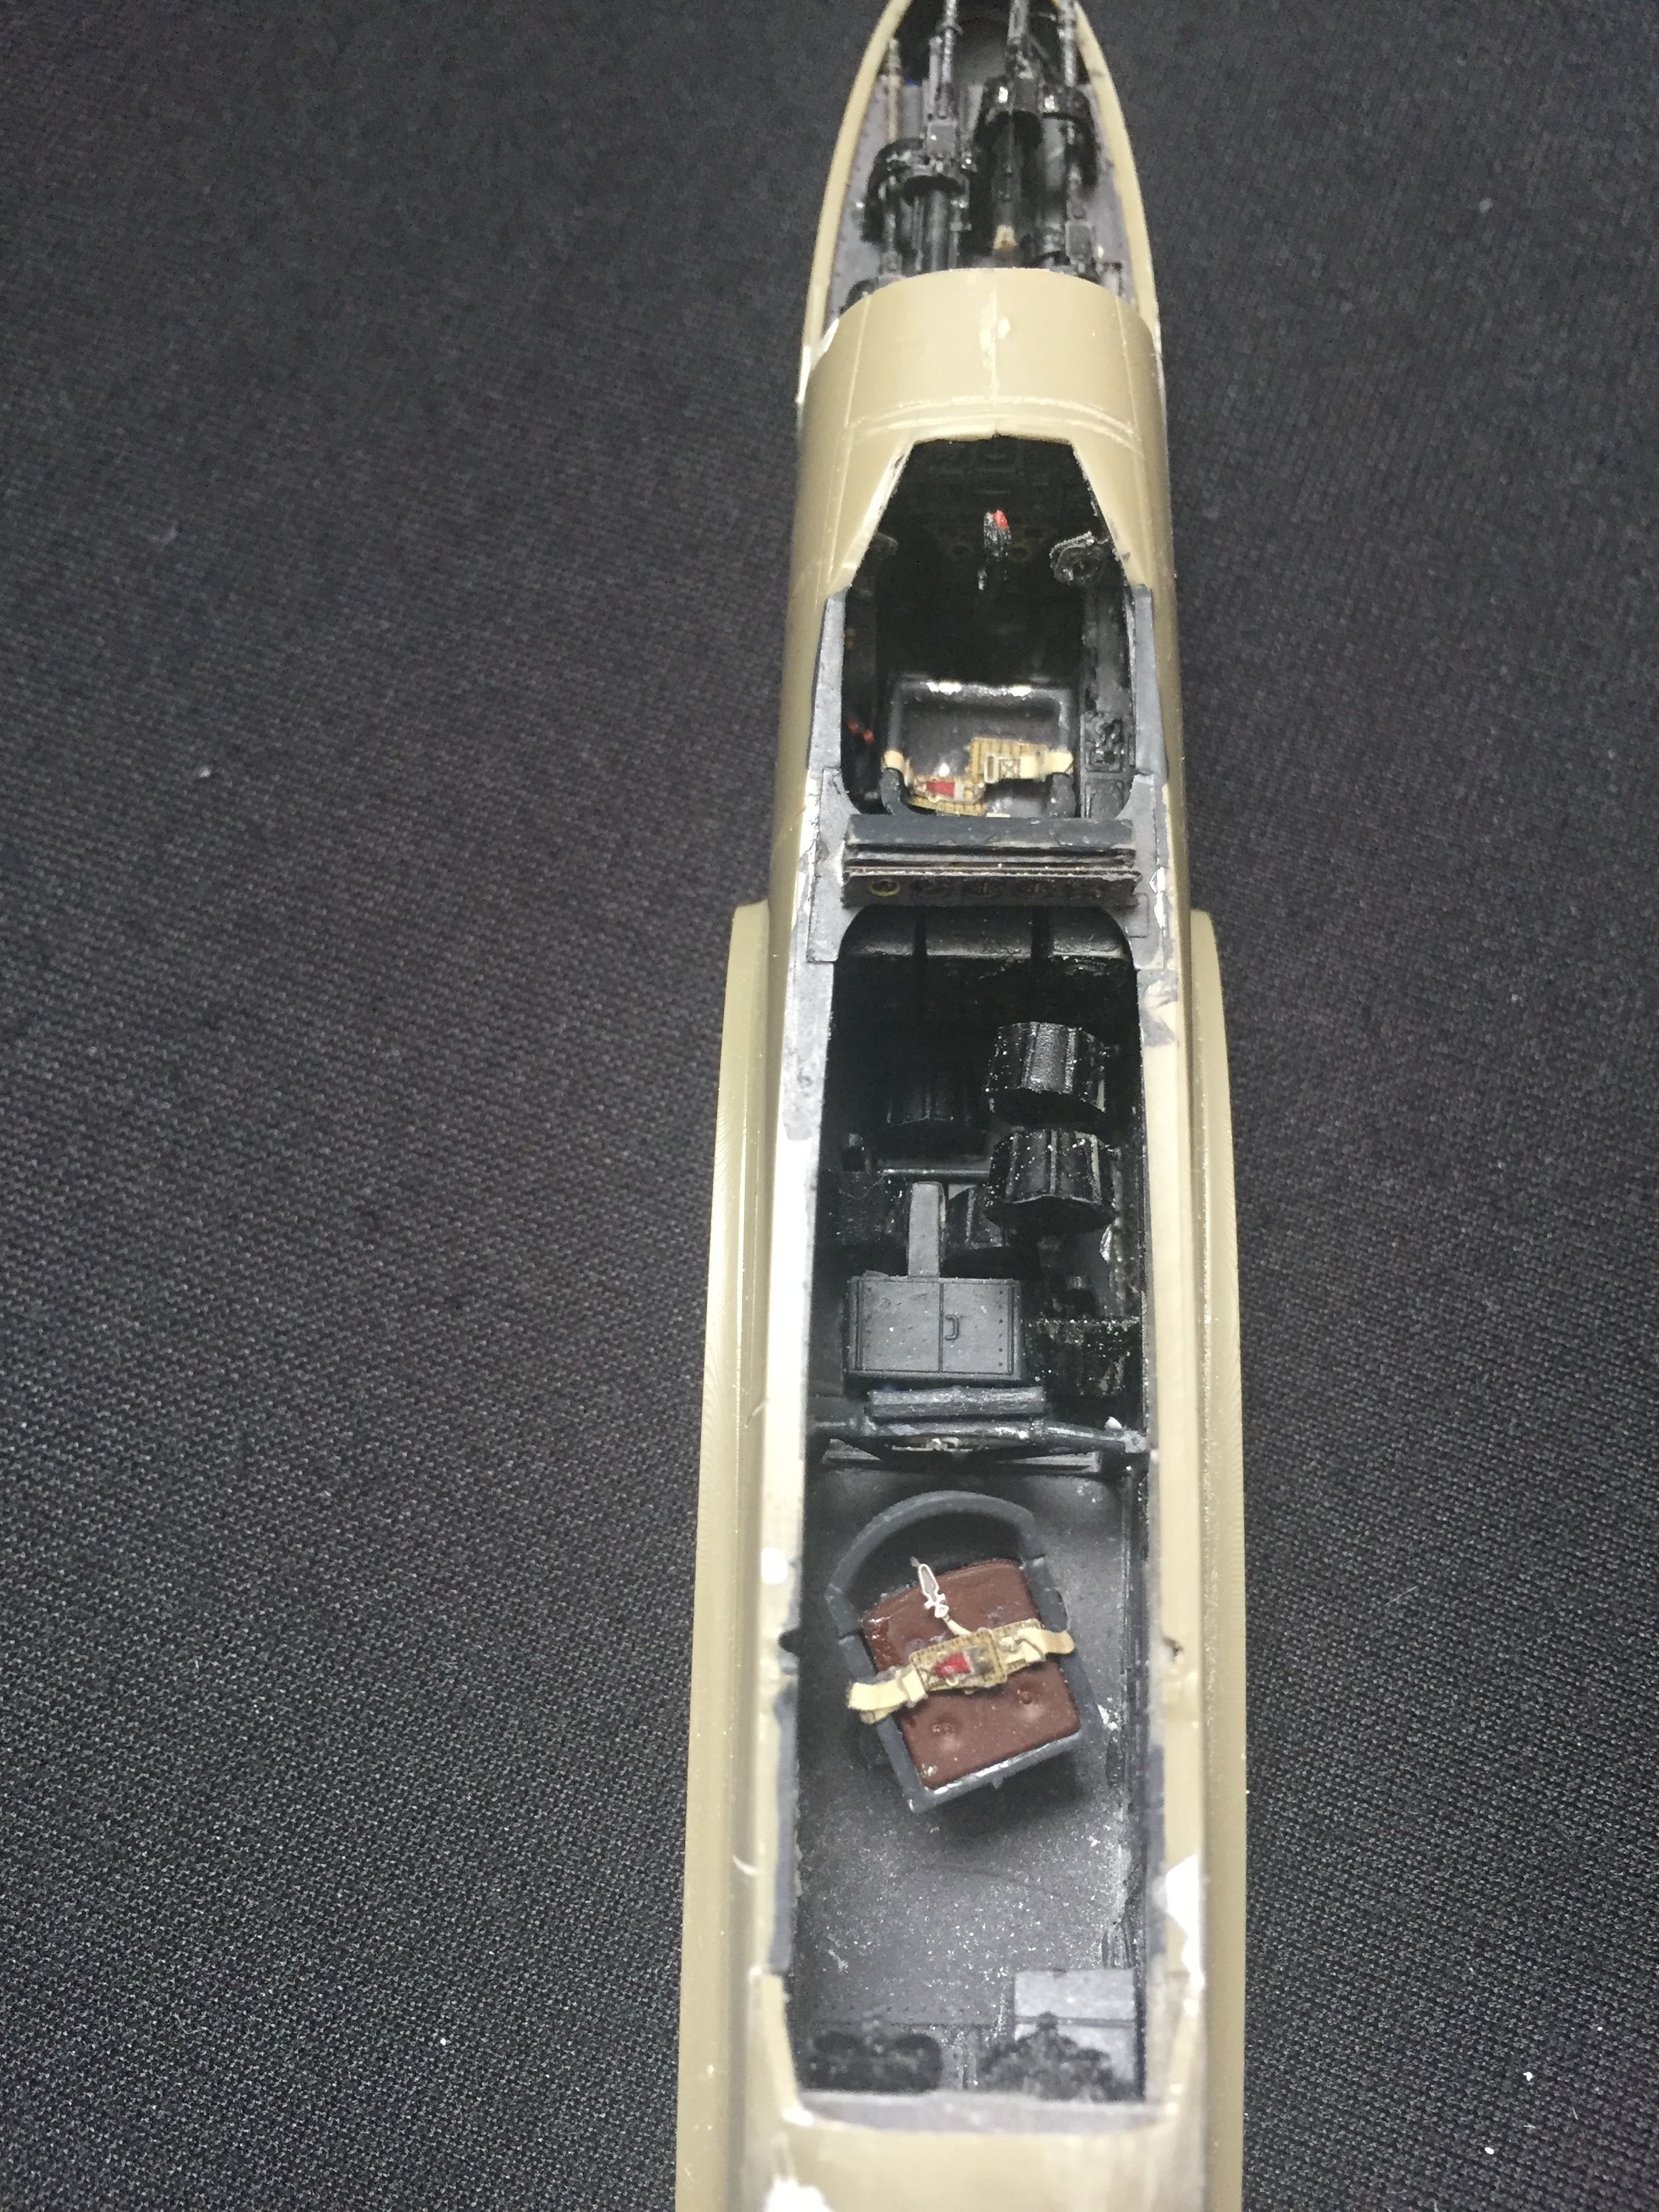 |
The parts fit well together, the only real issue I had was the separate plate behind the tail gunner that needed filling and sanding to fit well to the fuselage (see third picture above). Otherwise just light filling and sanding is needed even for the meticulous builder. The instructions are quite clear but you have to watch out as (at least in this kit) you can build several different versions so at some stages you use different parts. Even the fuselage comes in two different versions. These are clearly marked in the instructions but keep track of which version (A, B, C or D) that you're aiming for.
Now, at some stage, for me usually before fitting under carriage, propellers and protruding details, it's painting time. Now, I actually opted to build a version not included in the kit but ordered a separate decal sheet from Hannants because I wanted to build a certain historical aircraft. But the challenges I met would have been the same anyway, at least for two of the versions included in the kit. First painting challenge is the hood. As with many German planes it has a lot of panes. The included masks come in handy here but you need a steady hand, tweezers, scalpel (or similar) and time. The masks for the wheels was harder actually and I ended up not using them.
 |
 |
The next challenge, at least for me that usually uses Vallejo's Model Air paint, was to find the right colours, read more about that in my post here. Mottling is also something I've dreaded for a long time but I found that is wasn't as hard as I thought. The paint scheme I wanted had three colours in the mottling (the kit has two versions with mottling and then only one colour).
Adding the details to finish needs some work when it comes to the main landing gears. The first parts is glued when you assemble the wings and motor nacelles. The rest is then glued on these rather frail pins. It is wise to take the main landing gears in stages and letting the glue harden between them.
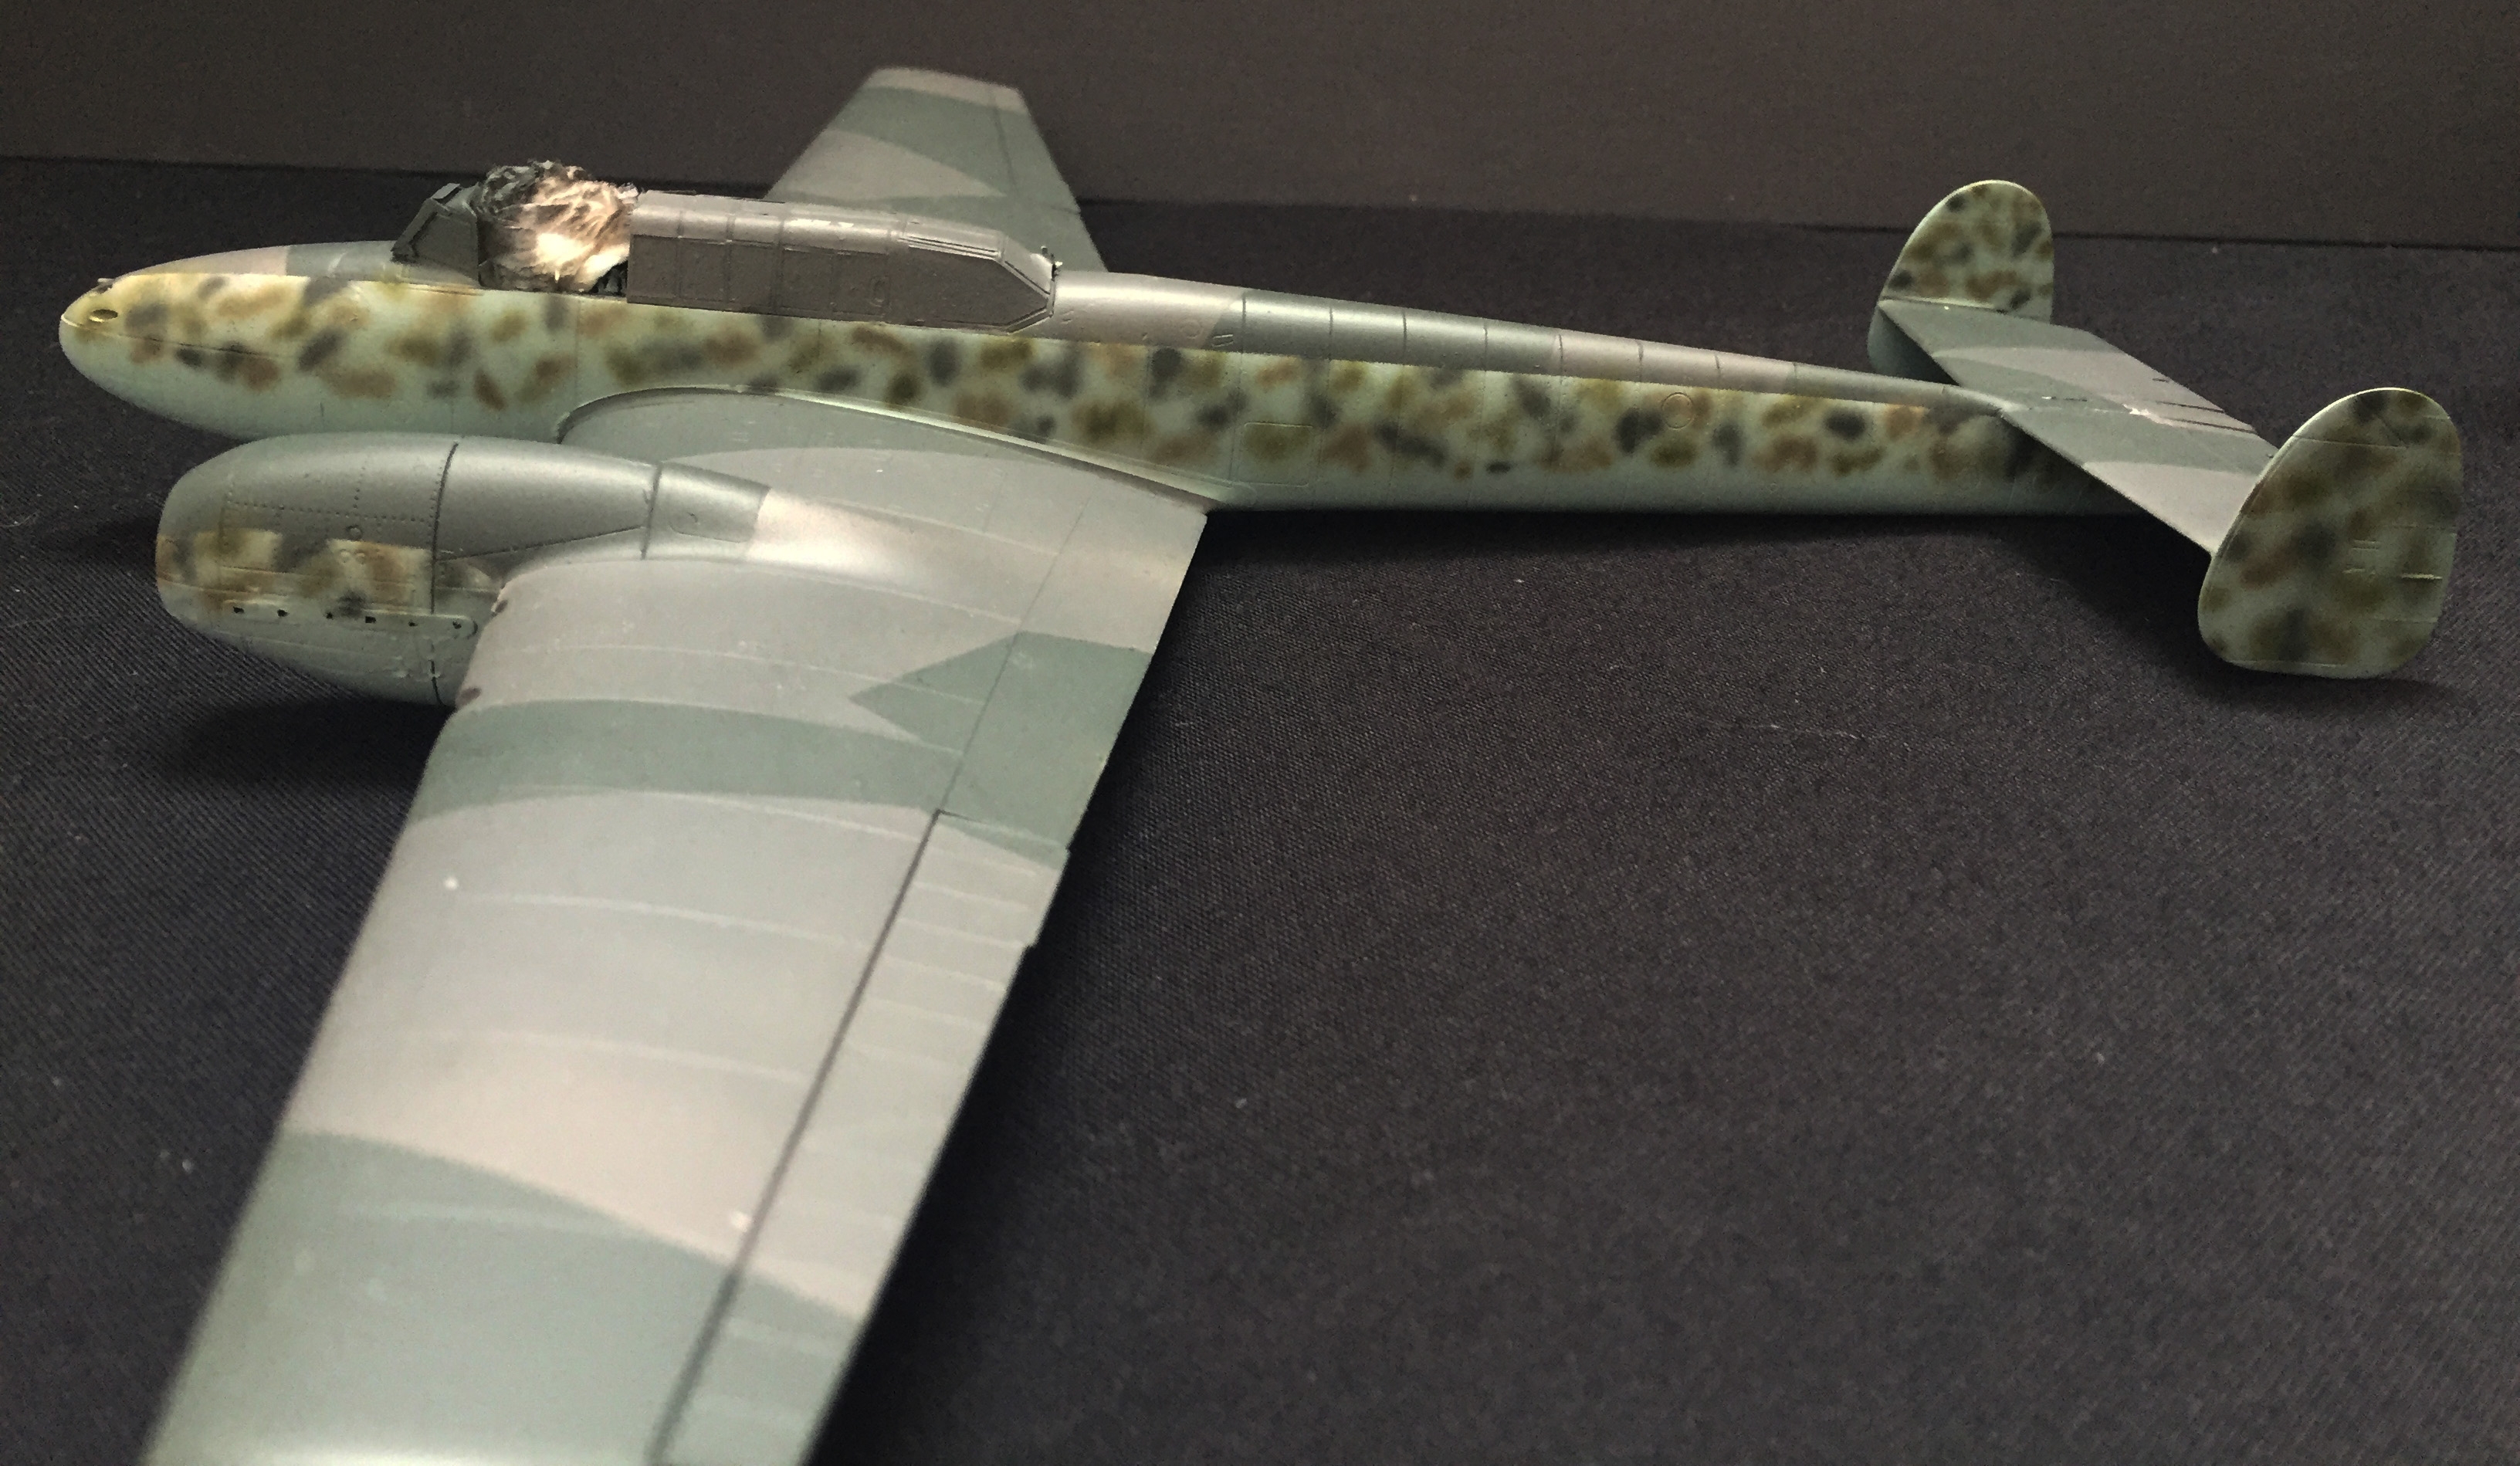
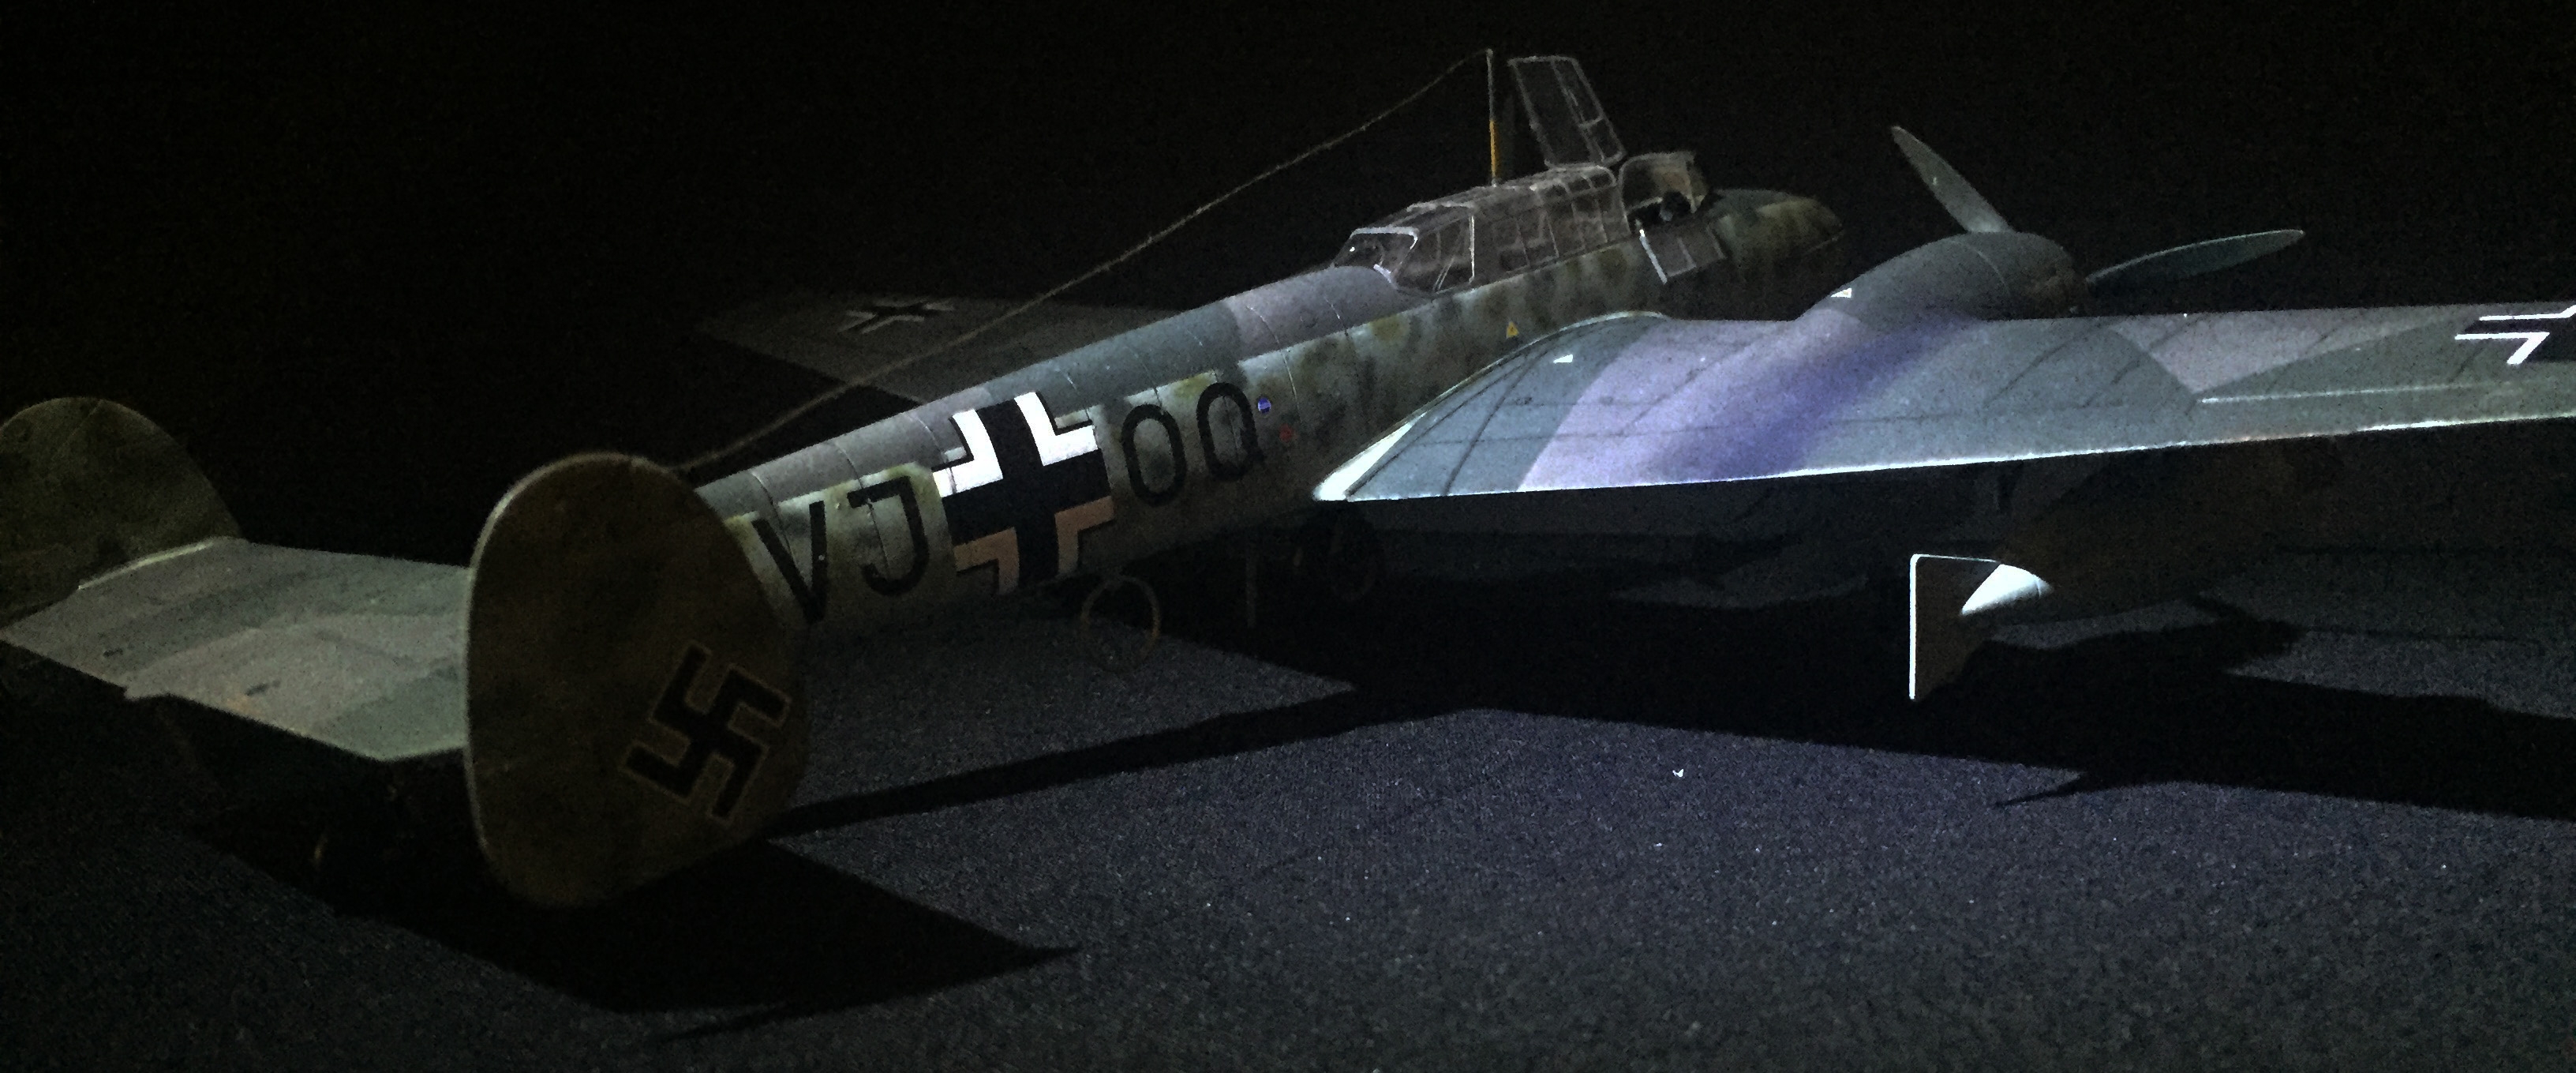
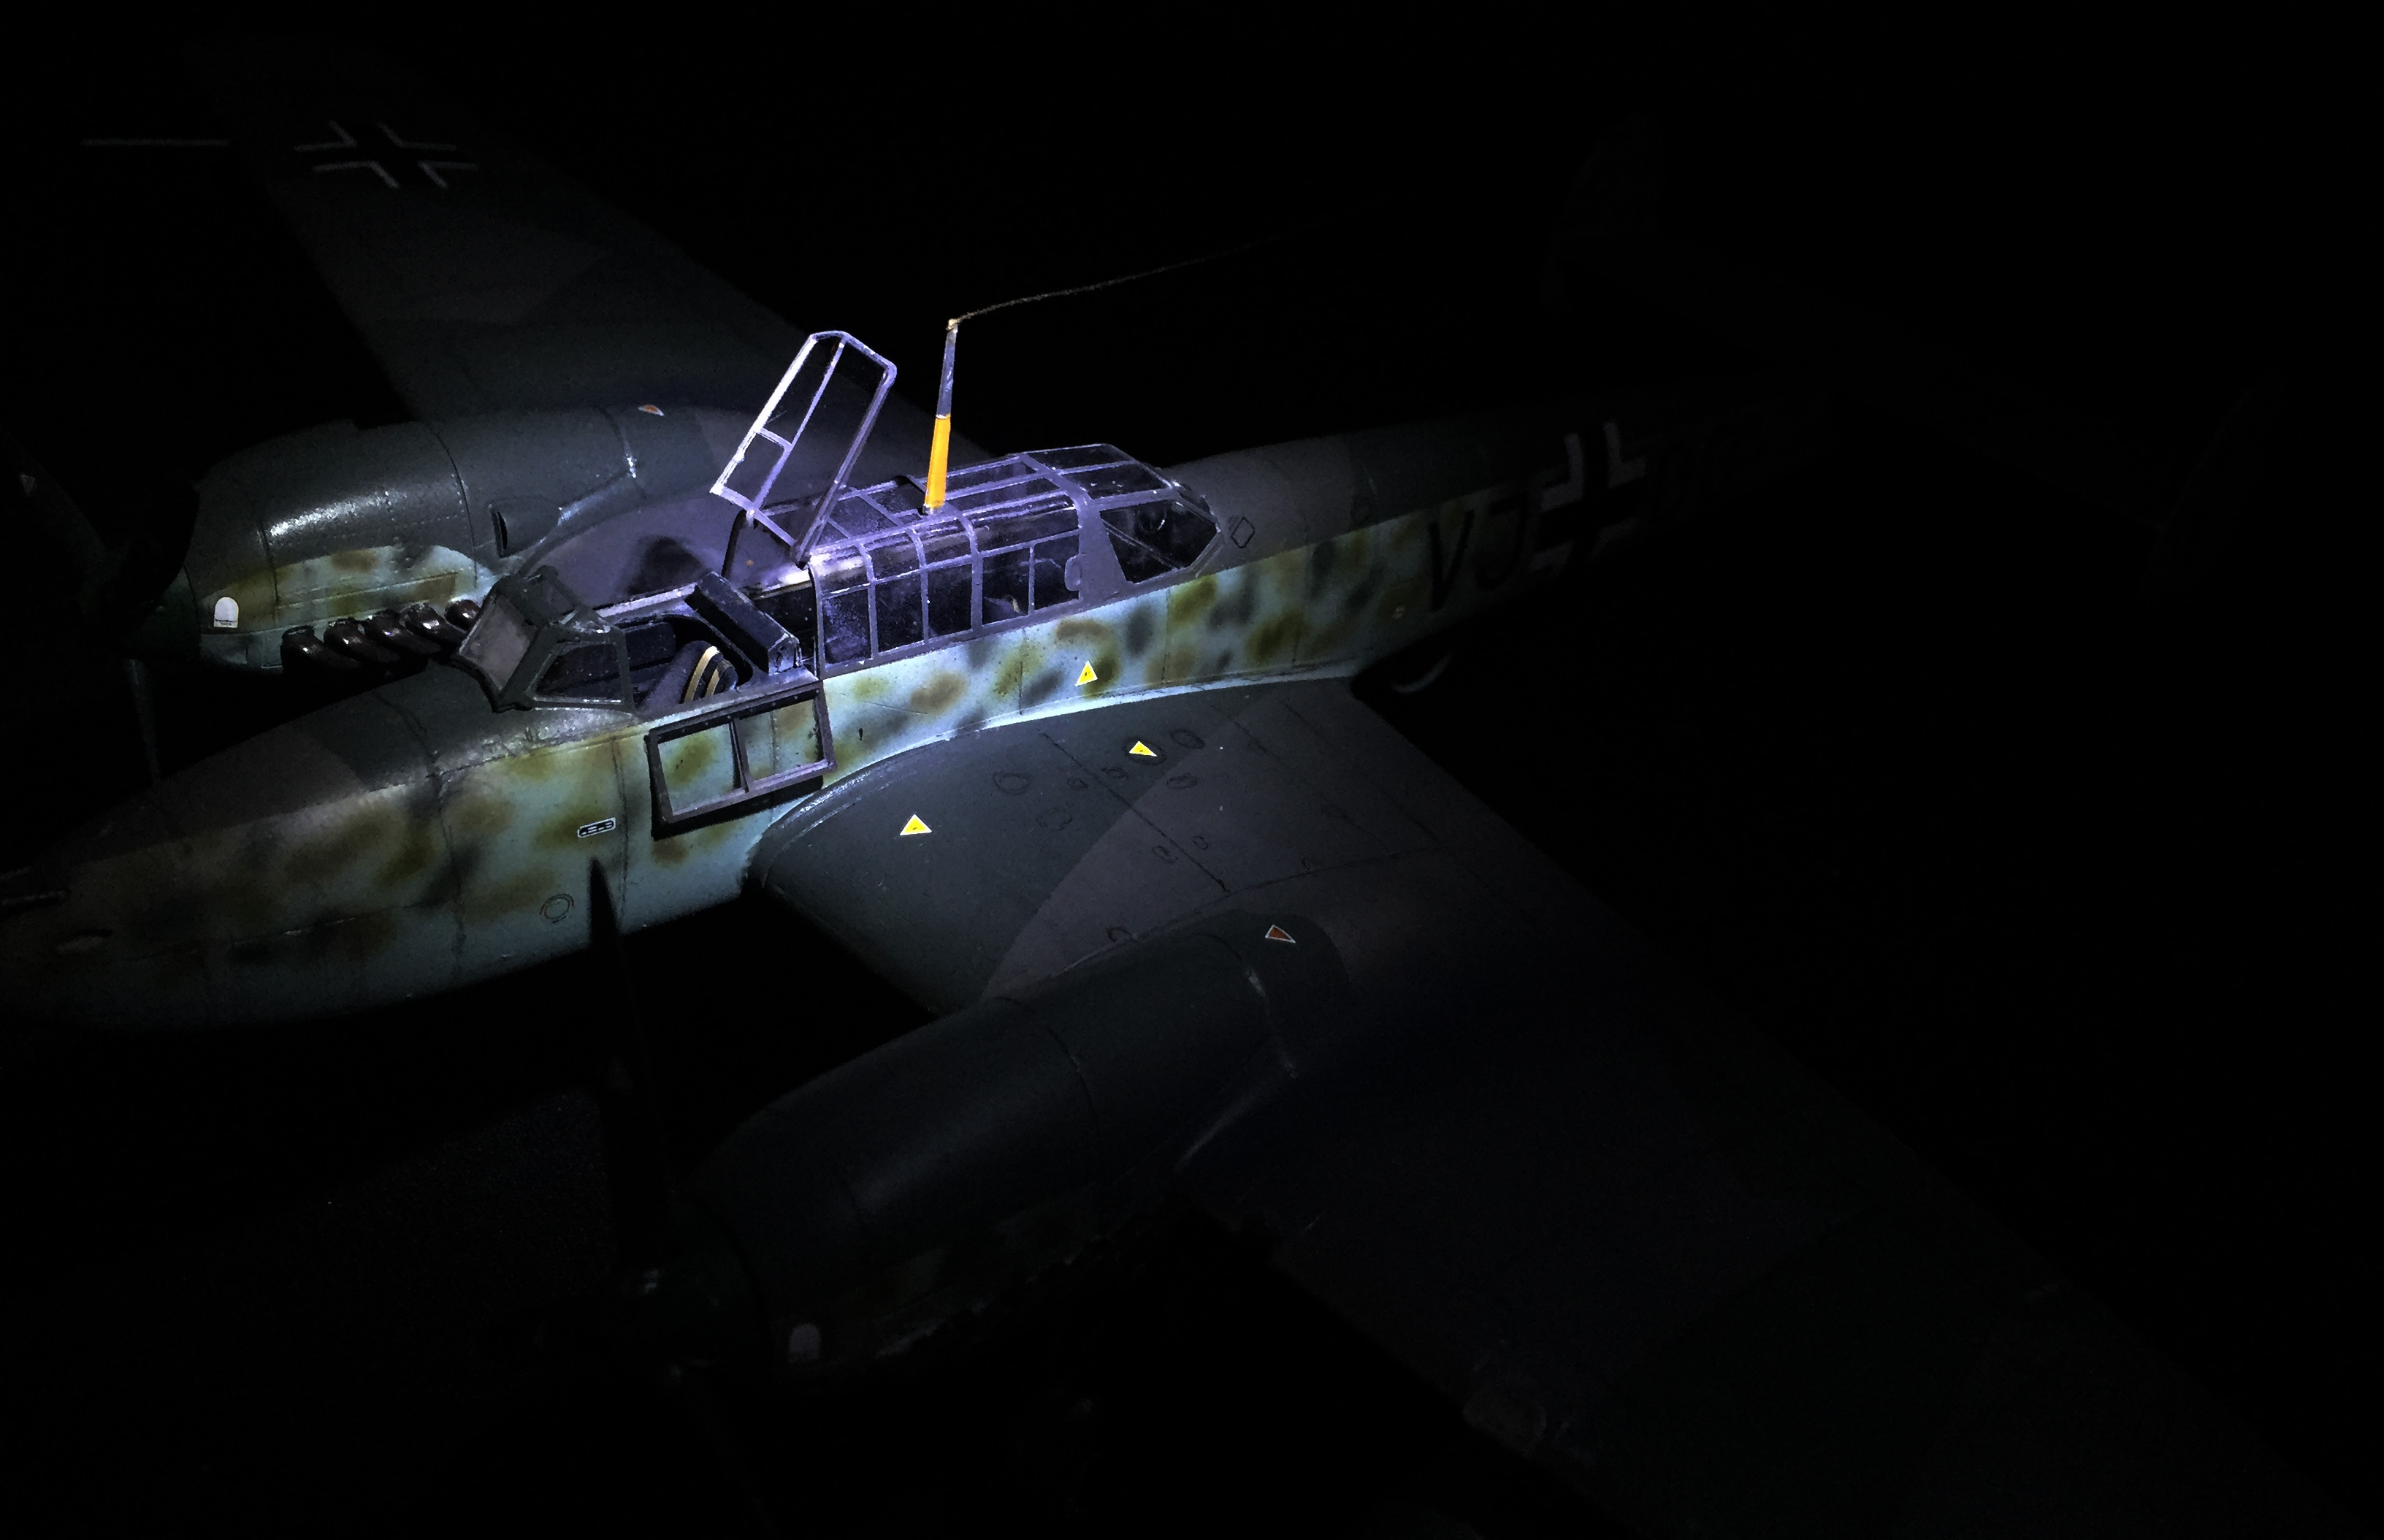
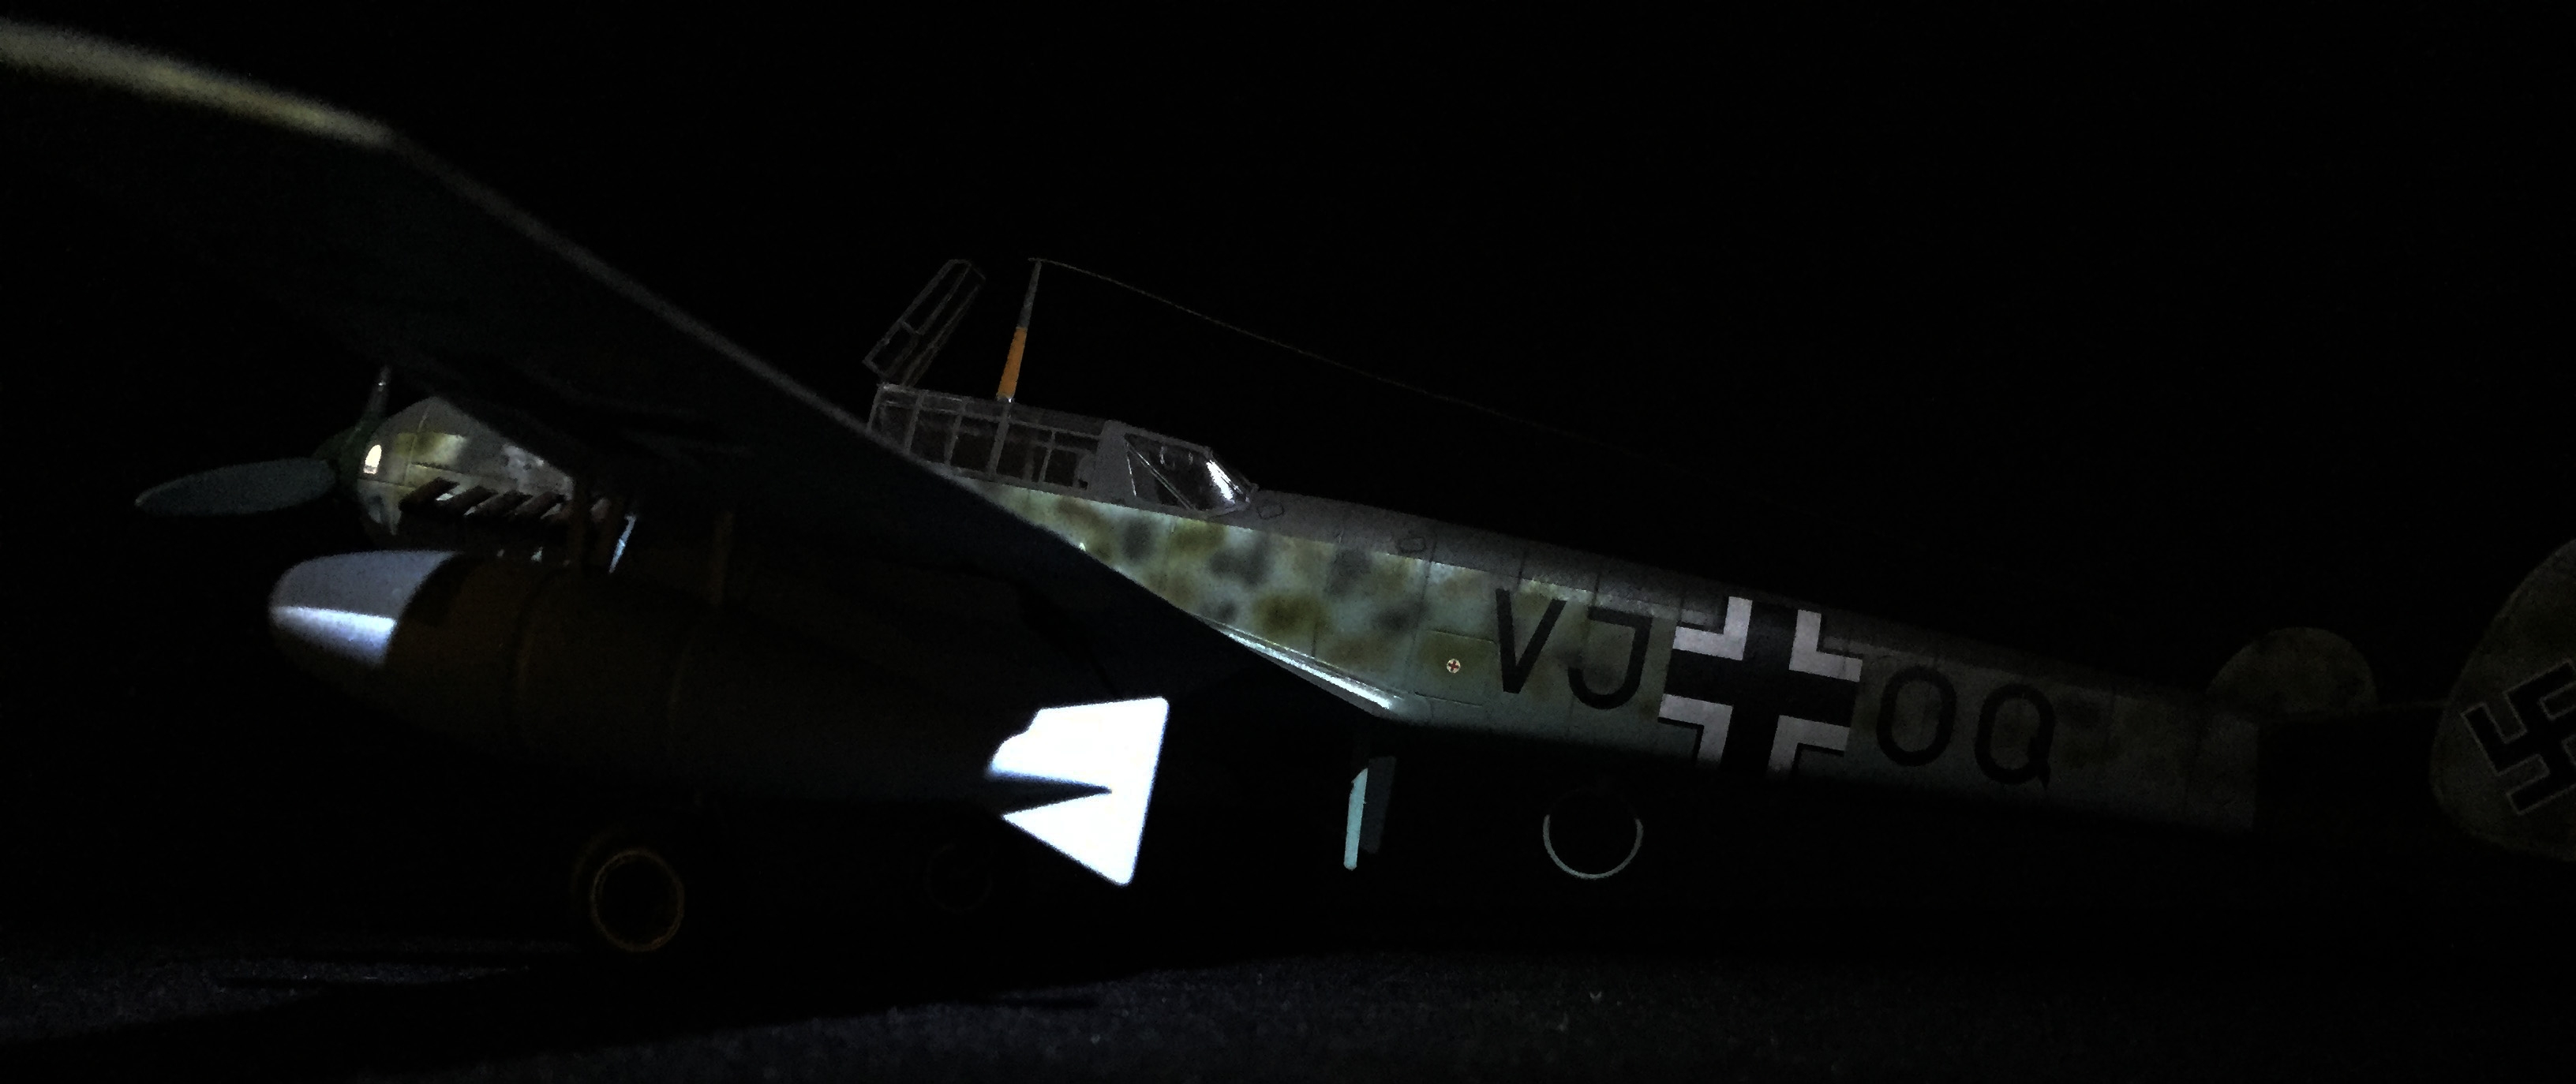
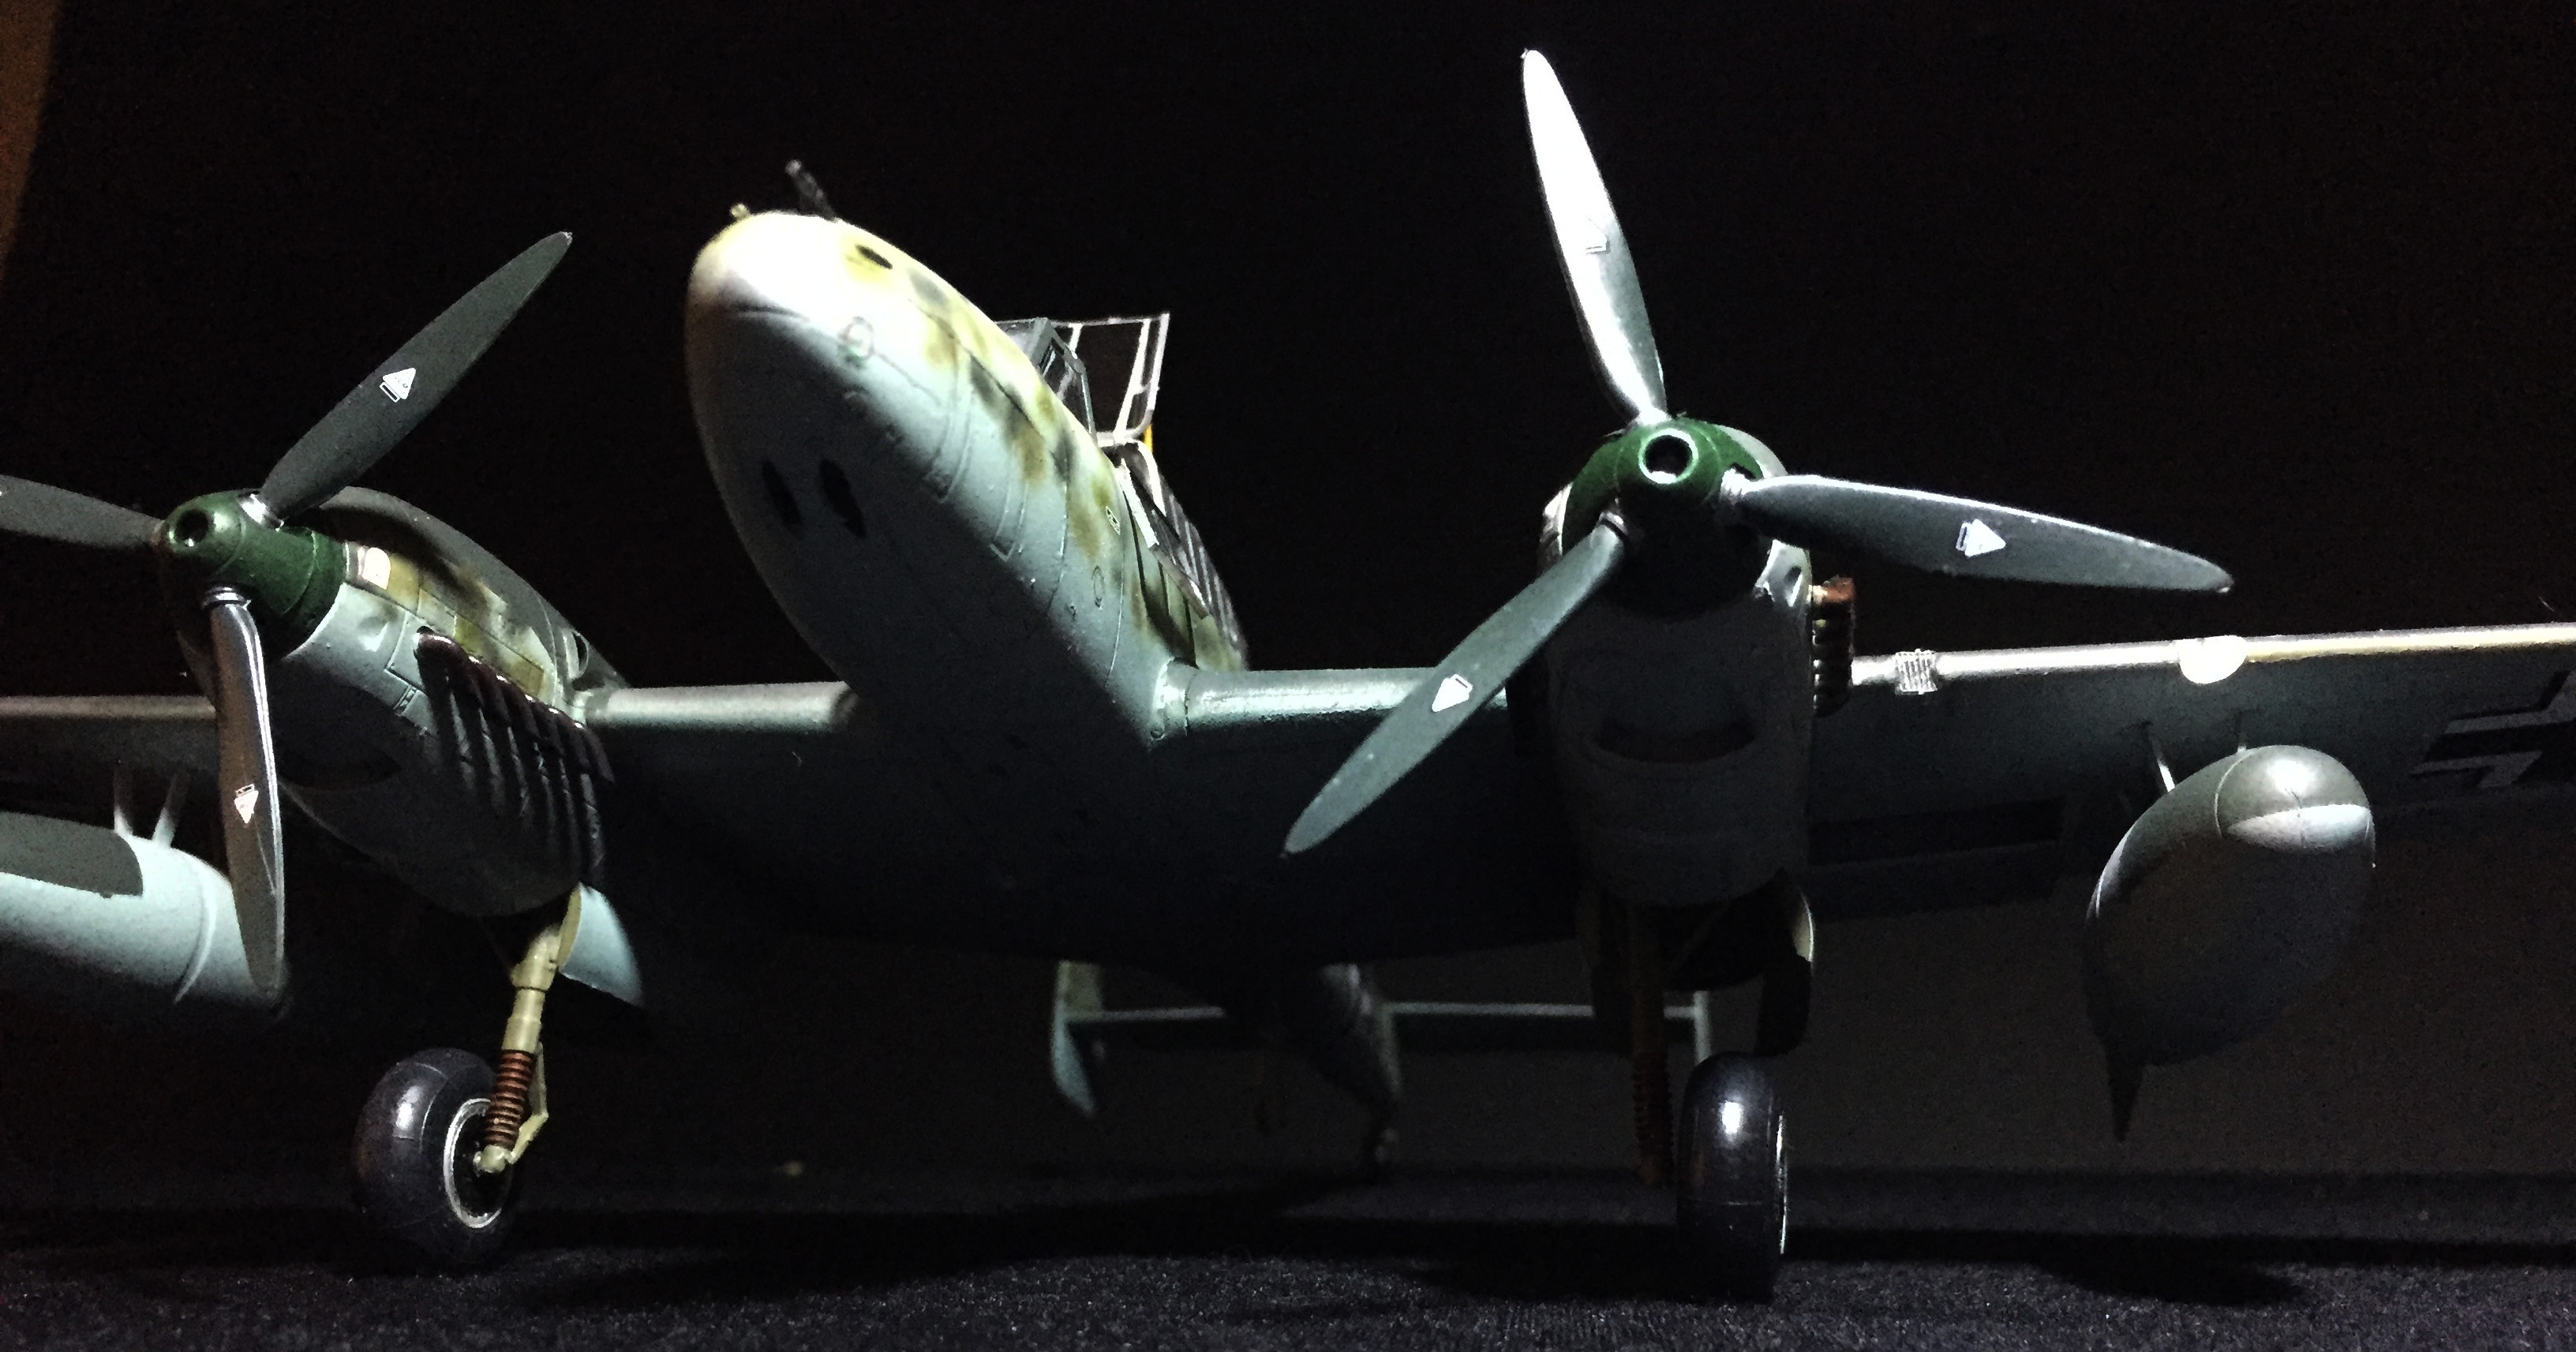
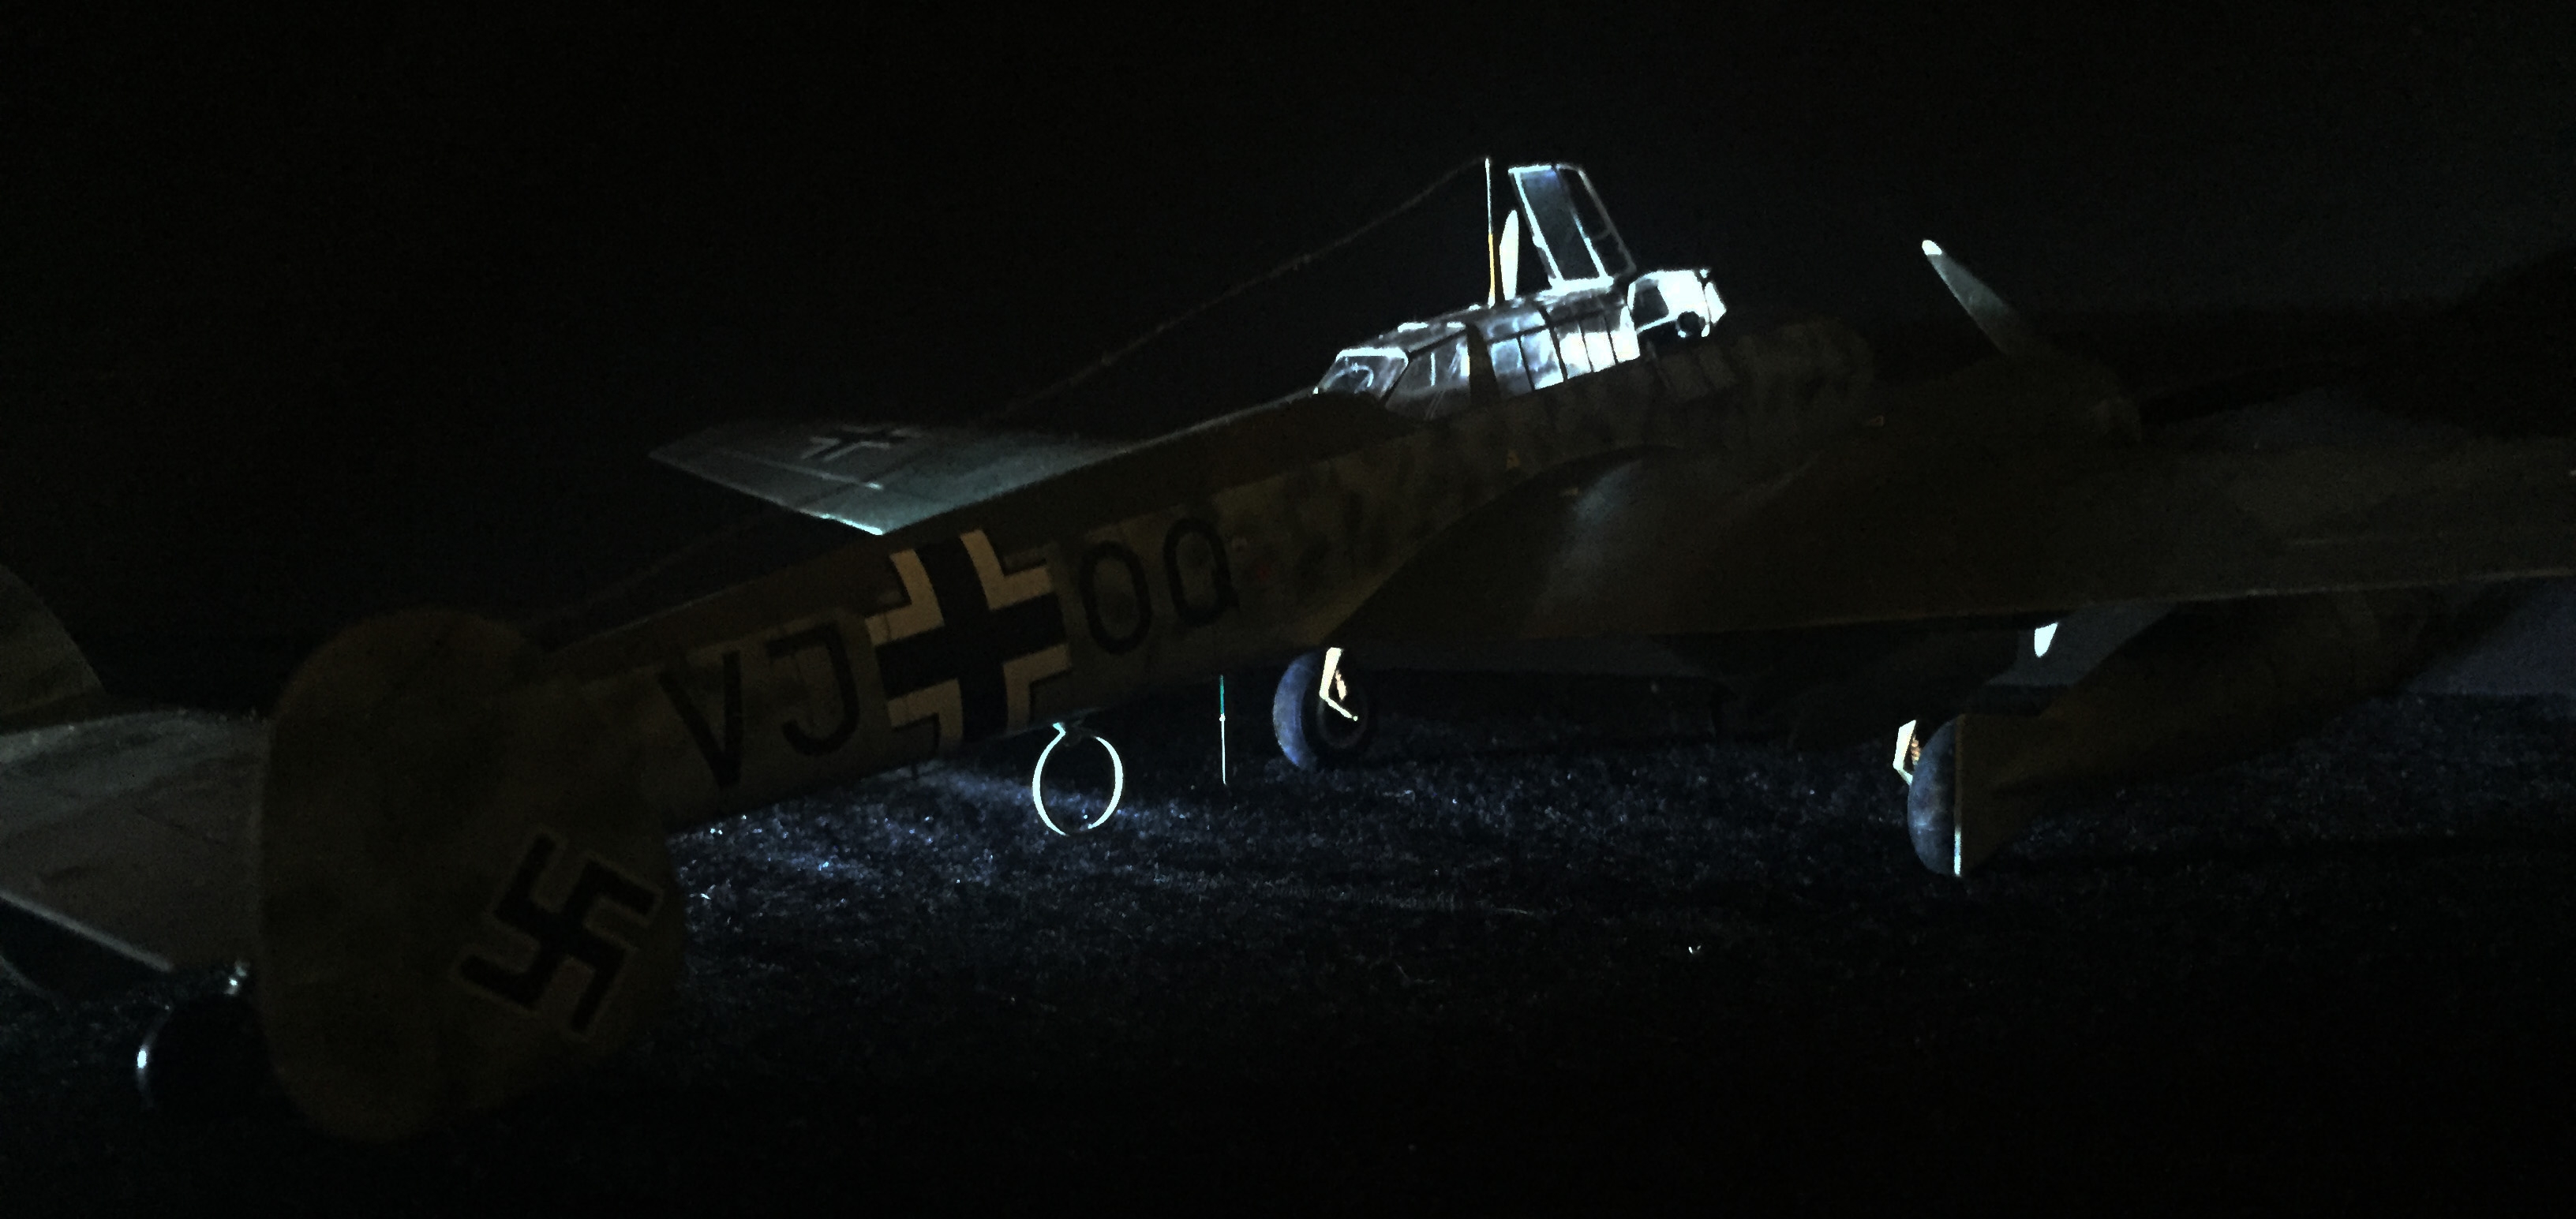
Now, the special aircraft I wanted to build was the one that Rudolf Hess, then second in command in the German Reich, flew to Scotland on the 10th of May 1941 in an attempt to start negotiation for a separate peace with Great Britain. He bailed out close to Eaglesham and was captured and jailed for the rest of the war. The plane he flew was a Messerschmitt Bf 110D but the differences between the "D" and the "C" and "E" versions in the kit are negligible. Here's the finished result:
 |
 |
 |
 |
 |
 |
I'd say that if you want to build the Messerschmitt Bf 110 in 1/48 then chose one of Eduards kits. The moulds are very good with discrete panel lines and well detailed. The "Limited edition" that this was contained resin parts, prepainted etched metal details, paint masks and decals for five different versions which makes very good value for the money.
| Difficulty* | 4 |
|---|---|
| The good | Good quality kit with a lot of options and additional detailing. |
| The bad | Really very few bad notes, only one part that needed extra fitting. |
*) On a scale 1-5 where 1 is easy and 5 is really hard.