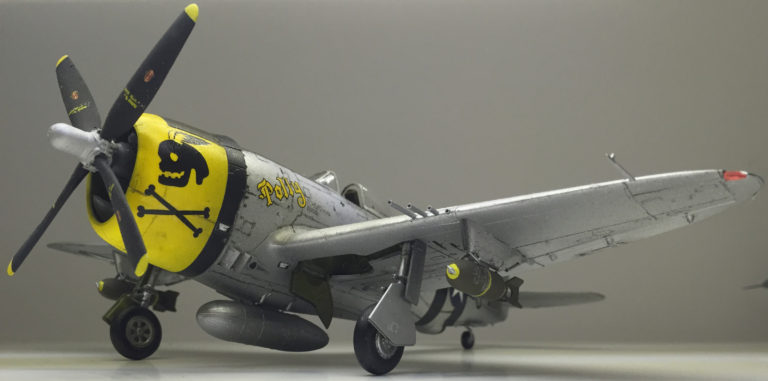
Had this around for a while, after buying it on a whim from Hobbyland in Uppsala and one day I decided to have a vote on Instagram on what to build next and it won.
Remembering a P-47 my uncle had built a long time ago with a skull on the motor I searched the web for decals and fond them at Hannants. The plane I would build was that of Lt. Chuck Olmsted named "Polly" and I found some really good reference pictures at 354th Fighter Group.
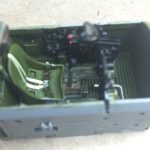
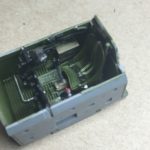
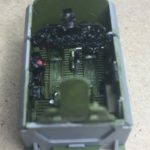
First out on this kit was the cockpit. Some reference pictures found on a Google search helped here and the included decals for the belt in the chair adds to the look.
|
|
|
Fairly good detailing from the kit I should say. Next off is the engine, actually the main feature of this plane as it basically was designed around a big, powerful, engine.
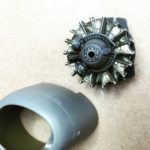
No troubles this far. Next step was the fuselage that fitted nicely around the cockpit and needed minimal sanding to look good.
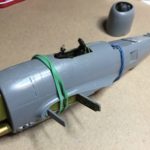
The rest of the main parts fitted as good and I was set for painting. As I have some bad experiences of masking on metal colours I started with painting the yellow motor hood, black stripe and green anti glare fields which I then masked off. As the rest would be bare metal I then gave it a coat of gloss black surface primer from Vallejo (74.660).
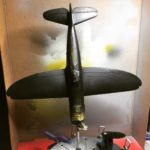
While that was settling I did some details like the propeller and the bombs. The stripes on the bombs (decal) proved to be the same pain as always though mask and paint would be even harder.
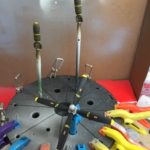
Next was the metal coat. I used Vallejo's Metal Color Aluminium (77.701) with my Evolution air brush. After that a coat of Vallejo's Metal Varnish (77.657) and on with the decals. Unfortunately I'm still trying to get the hang of metal coating and I think I did too much in one go resulting in a sand papery surface that really doesn't look quite good up close. Hopefully I will improve my skills over time.
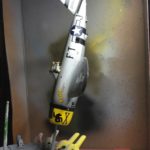
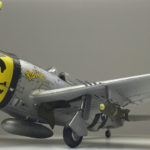
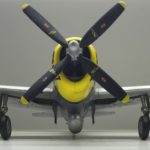
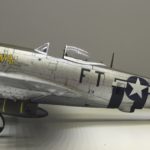
After mounting details as landing gears and ordnance a bit of finishing touches like outlining the panels with a pastel pencil. And then I was done for this time. Here's the finished model:
|
|
|
The Tamiya kit of the P-47D Thunderbolt is a good kit. The parts fit together better than average. The detailing is reasonably good even if the engine would look better with a resin replacement. I would recommend this kit if you want to do the P-47D in 1/48.
