| Manufacturer | Tarangus |
|---|---|
| Product # | TA4807 |
| Scale | 1/48 |
| Scale Mates model info | https://www.scalemates.com/kits/tarangus-ta4807-sh-sf37-viggen--1075400 |
| Content in box |
|
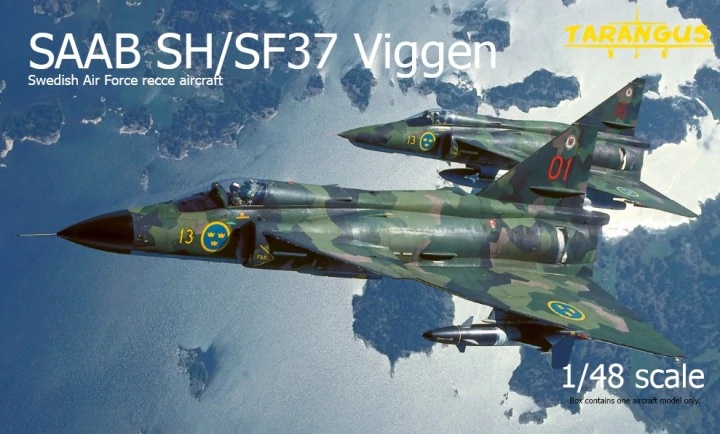
This kit was first released as a JA 37 by Tarangus in 2014. The only other kit in this scale had been a kit from ESCI from 1978 (later re-boxed by Airfix (JA 37) and Italeri (JA/AJ 37)). The version reviewed here is Tarangus second release (SH/SF 37). They have later also released it again (AJSF/SH 37). Special Hobby has also released the same kit in different versions (AJ 37, AJS-37, AJ 37 "Attack Version" and SK-37E two seater).
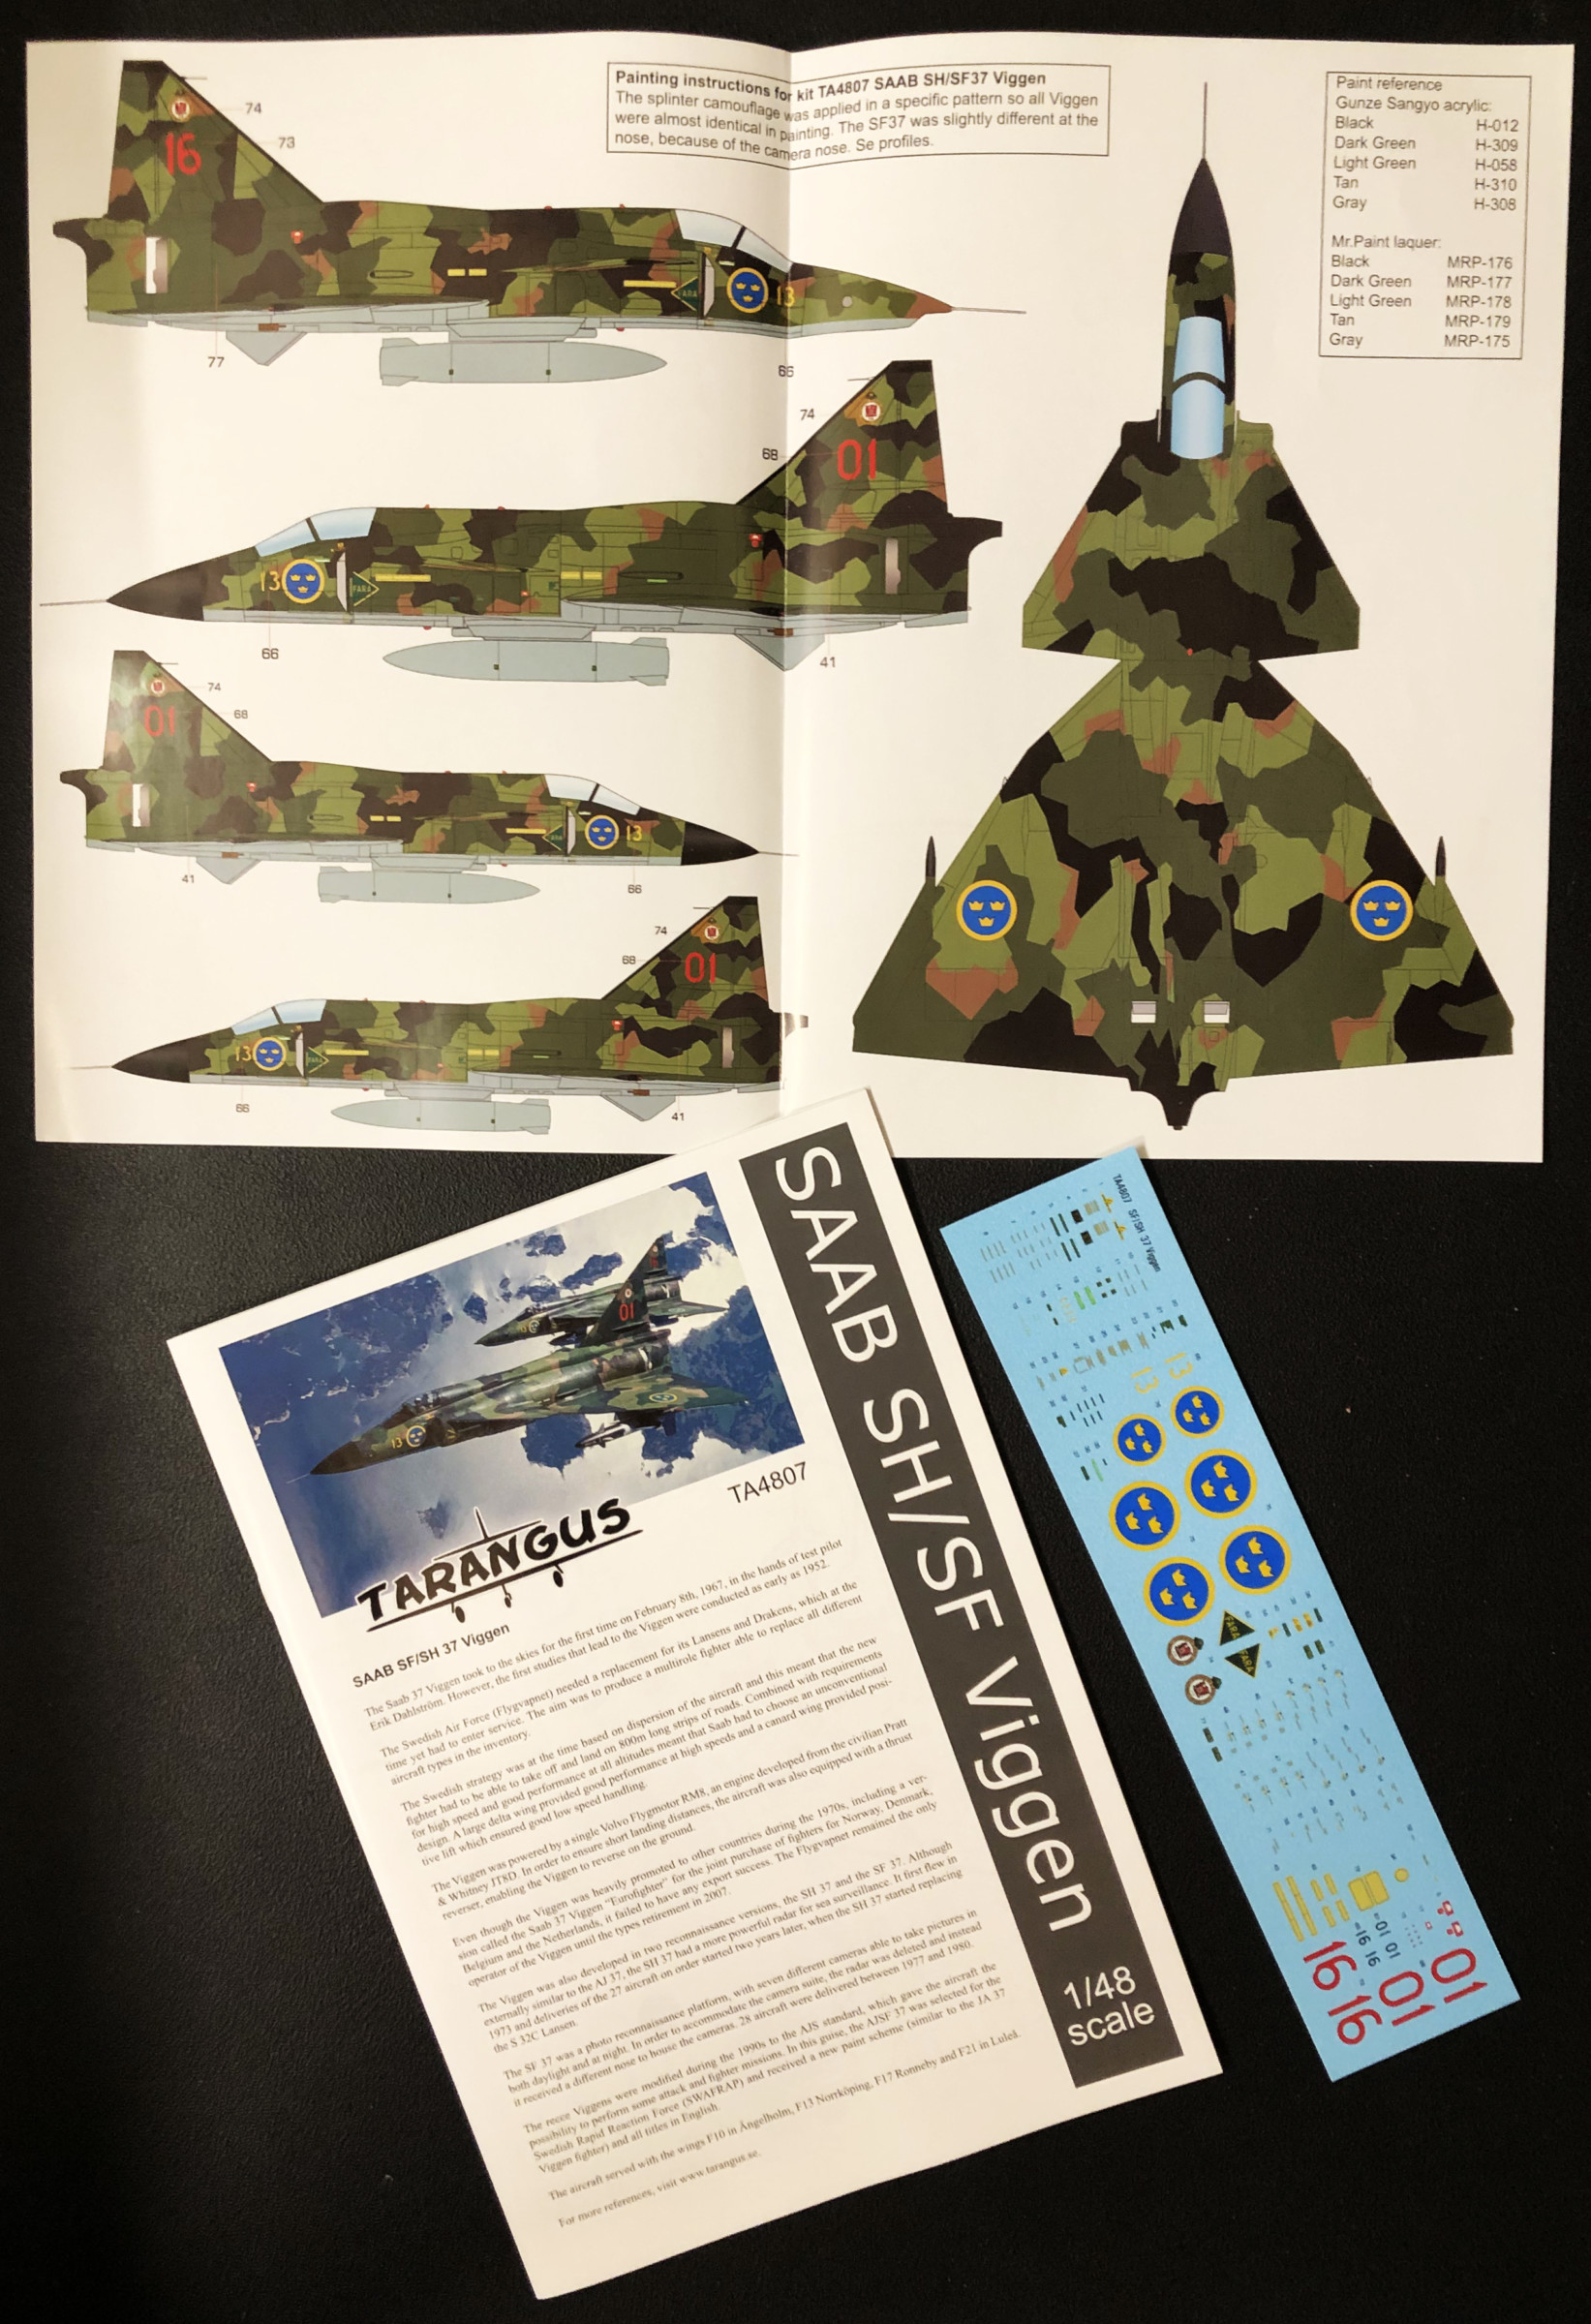
The instructions comes as a booklet with the Viggen history on the front page. The instructions are made in small steps with a few parts at a time. They are quite pedagogic and clear. They are also clear on different optional parts and other things that is good to know for a builder. You can notice that it has been done by builders for builders. The paint and decal instructions comes on a separate print in colour.
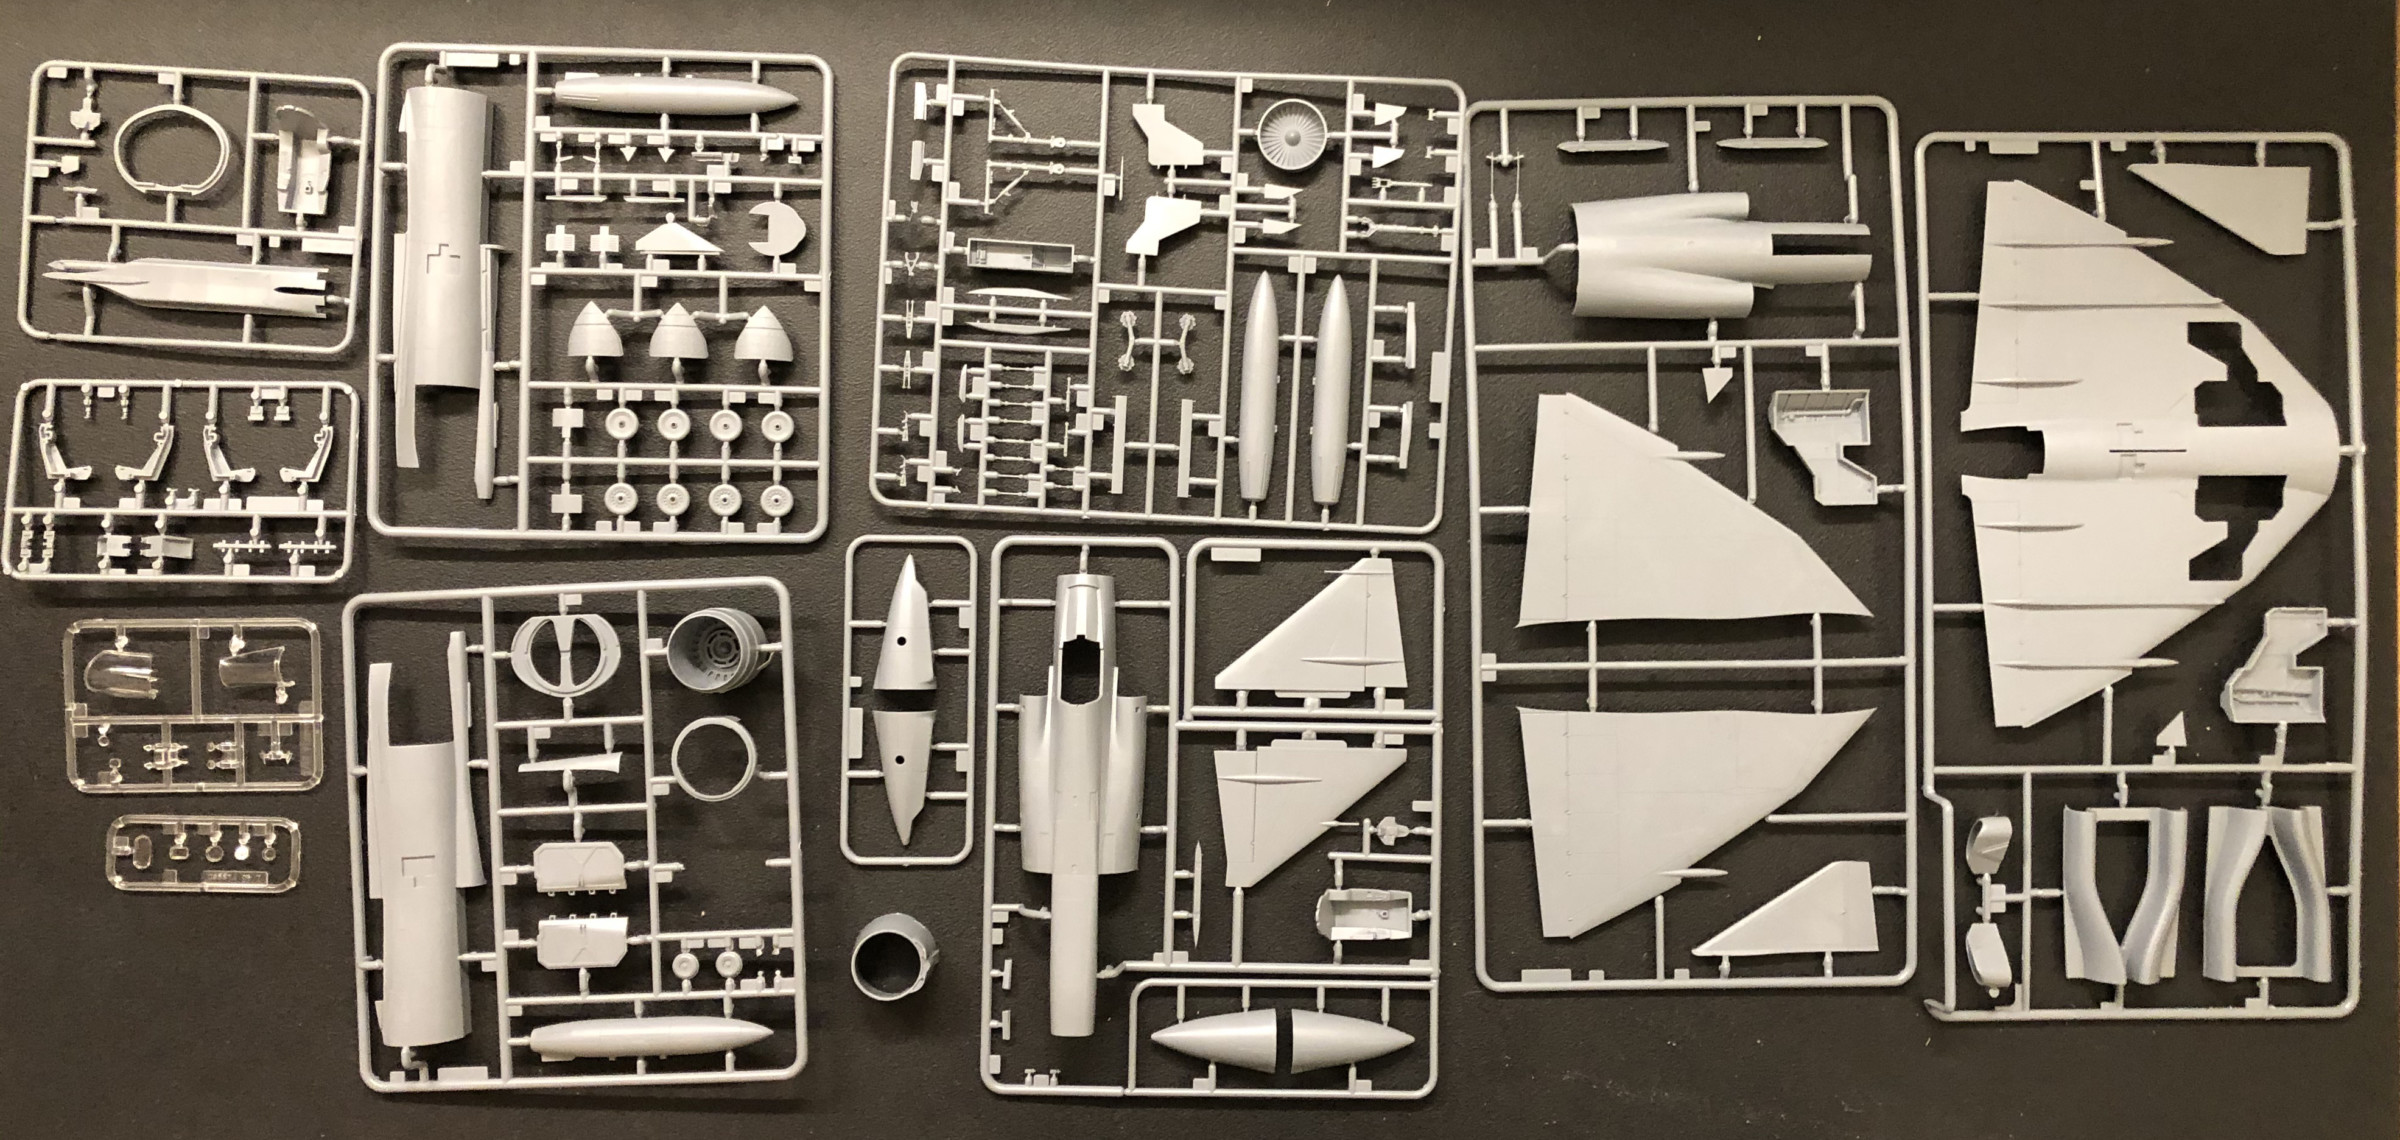
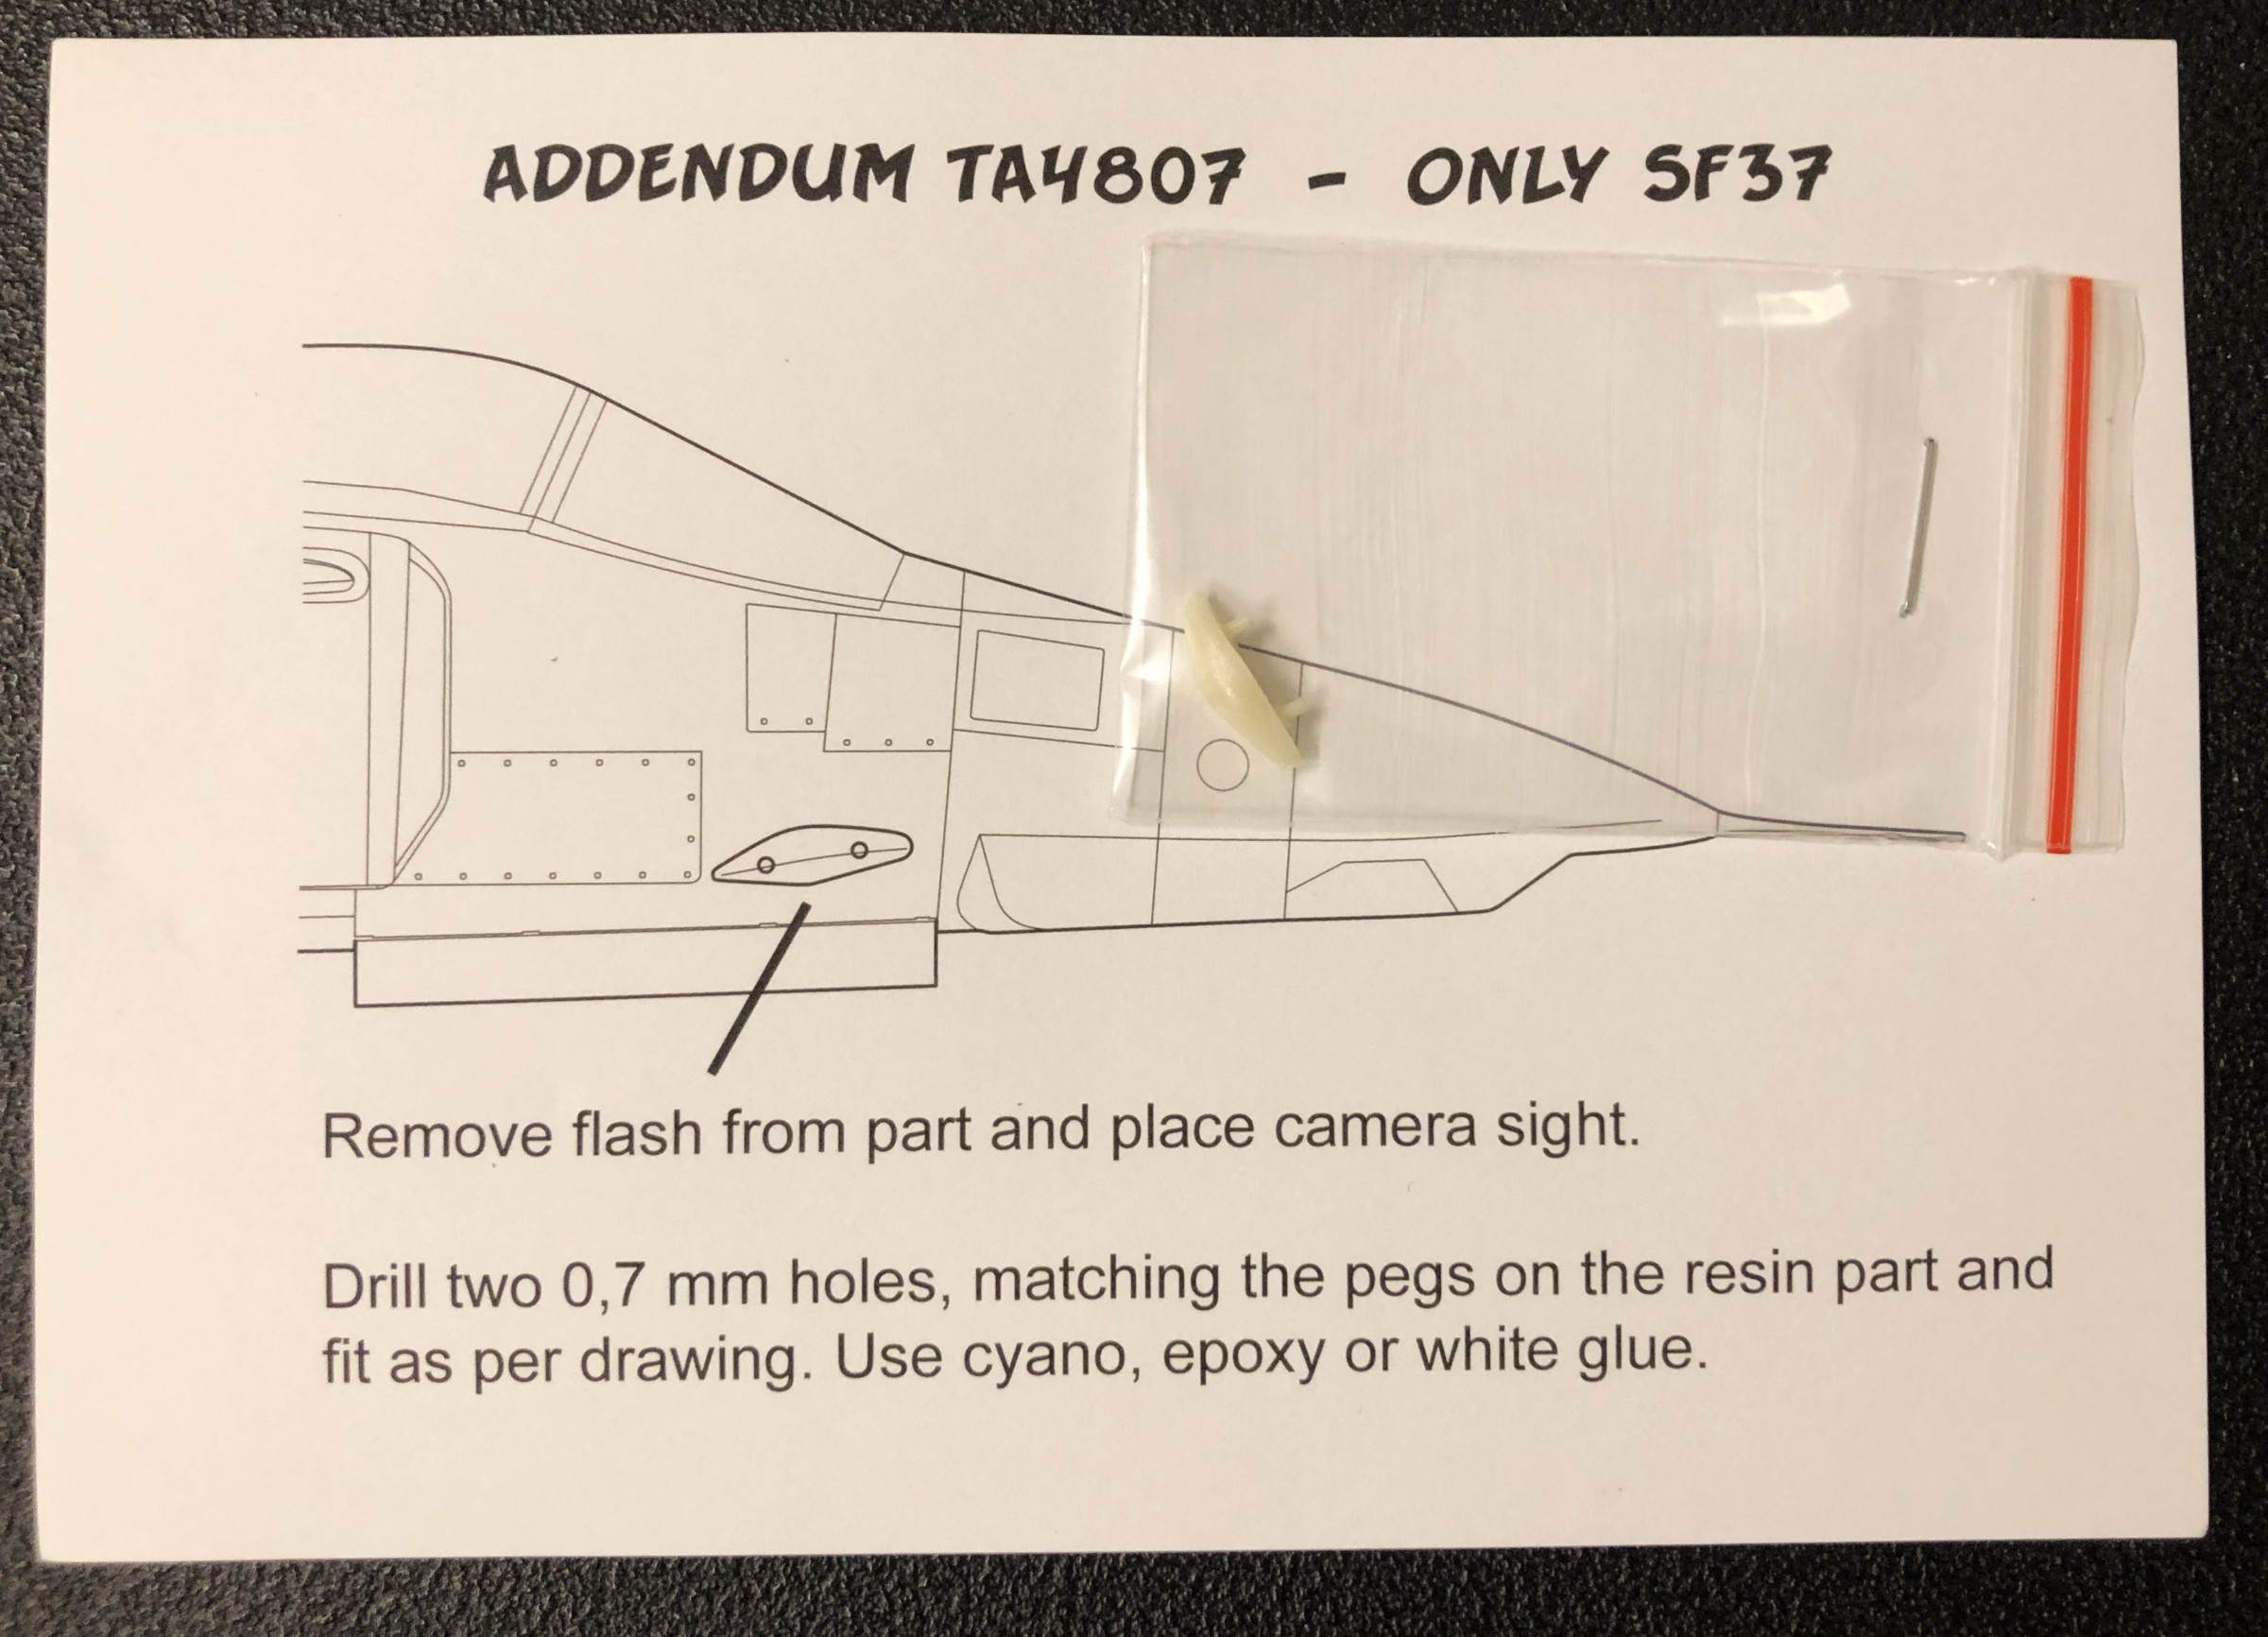
The moulds are well made, a class better than Tarangus normal standard (being limited runs their kits usually have a bit of "old feeling" about them). Parts are well detailed. The smallest parts, as some smaller struts for the main landing gears, are quite brittle tough and easy to break even if you try to be careful. A strange note is that they have missed a small pylon on the underside of the fuselage and the instructions recommend you to get a specific aftermarket pylon together with a replacement air intake but they have not included it in the kit. But at the same time they have included a small resin addendum part for the SF 37 version (see picture to the right).
The decal sheet has decals for two different markings:
This build has actually been my first ever commission build. The request was for a SF 37 operating from the F 21 flotilla in Luleå, Sweden. I decided early to get several aftermarket detailing sets. I can actually divide them into two categories, one for necessary things and one for nice to have. This is what I got:
Necessary:
Nice to have:
To get markings for the F 21 Viggen I also got:
Phew, finally set to go.
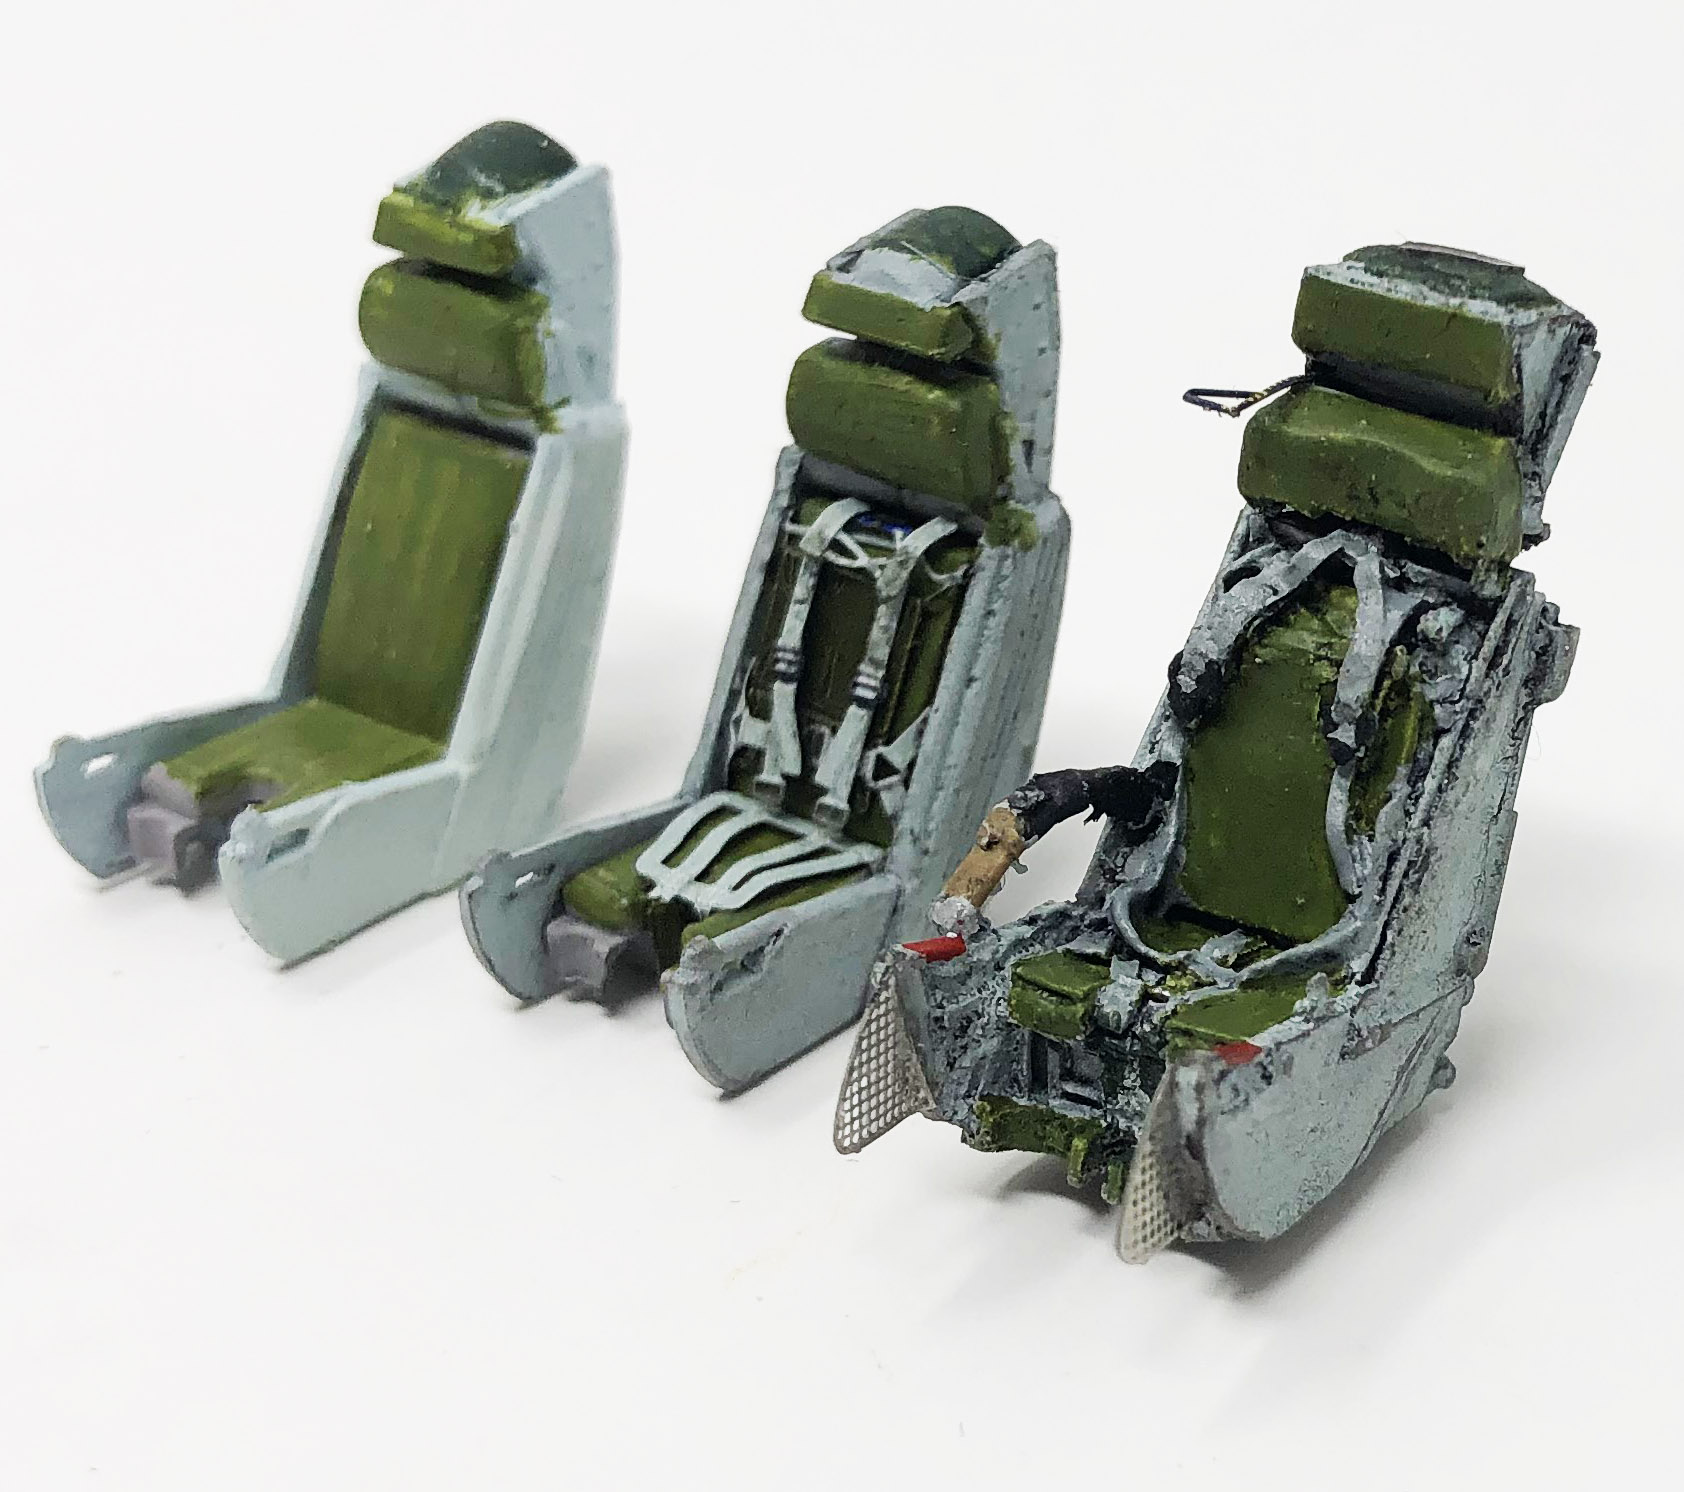
The instructions start off with the pilot seat. It's a three stage affair. As I had got a resin aftermarket seat I was not using the kits seat. But to amuse myself I built the kits two seats (it have two in preparation for a two seat version) and one I equipped with the seat belts included in the cockpit detailing kit. I then painted the resin seat. You can compare them to the left (the left is the kit seat, the middle one is the kit with extras and the right one is the resin seat).
The cockpit basin is quite well detailed in the kit but I replaced the instruments etc. with aftermarket PE-parts. Next is the air intake which goes all the way to the engine front. The tunnels should be bare metal coloured and with the construction of them its very hard to make the joints invisible from the inside. The fuselage is separated in a front and an aft part where the front is in two horizontal parts and the aft in two vertical halves. The fit is good. The jet exhaust in the rear have the three thrust doors and the instruction shows you to have them closed, opened or half opened (as they usually was on the ground). It can be very tricky to get get these doors into closed or (specially) half open position as there's no real support to glue them to. The wings and tail slides into place quite well. I replaced the front canard wings with aftermarket resin alternatives with separate flaps as these was usually lowered at 40 procent when on the ground (and the kits canard wings have straight fixed flaps).
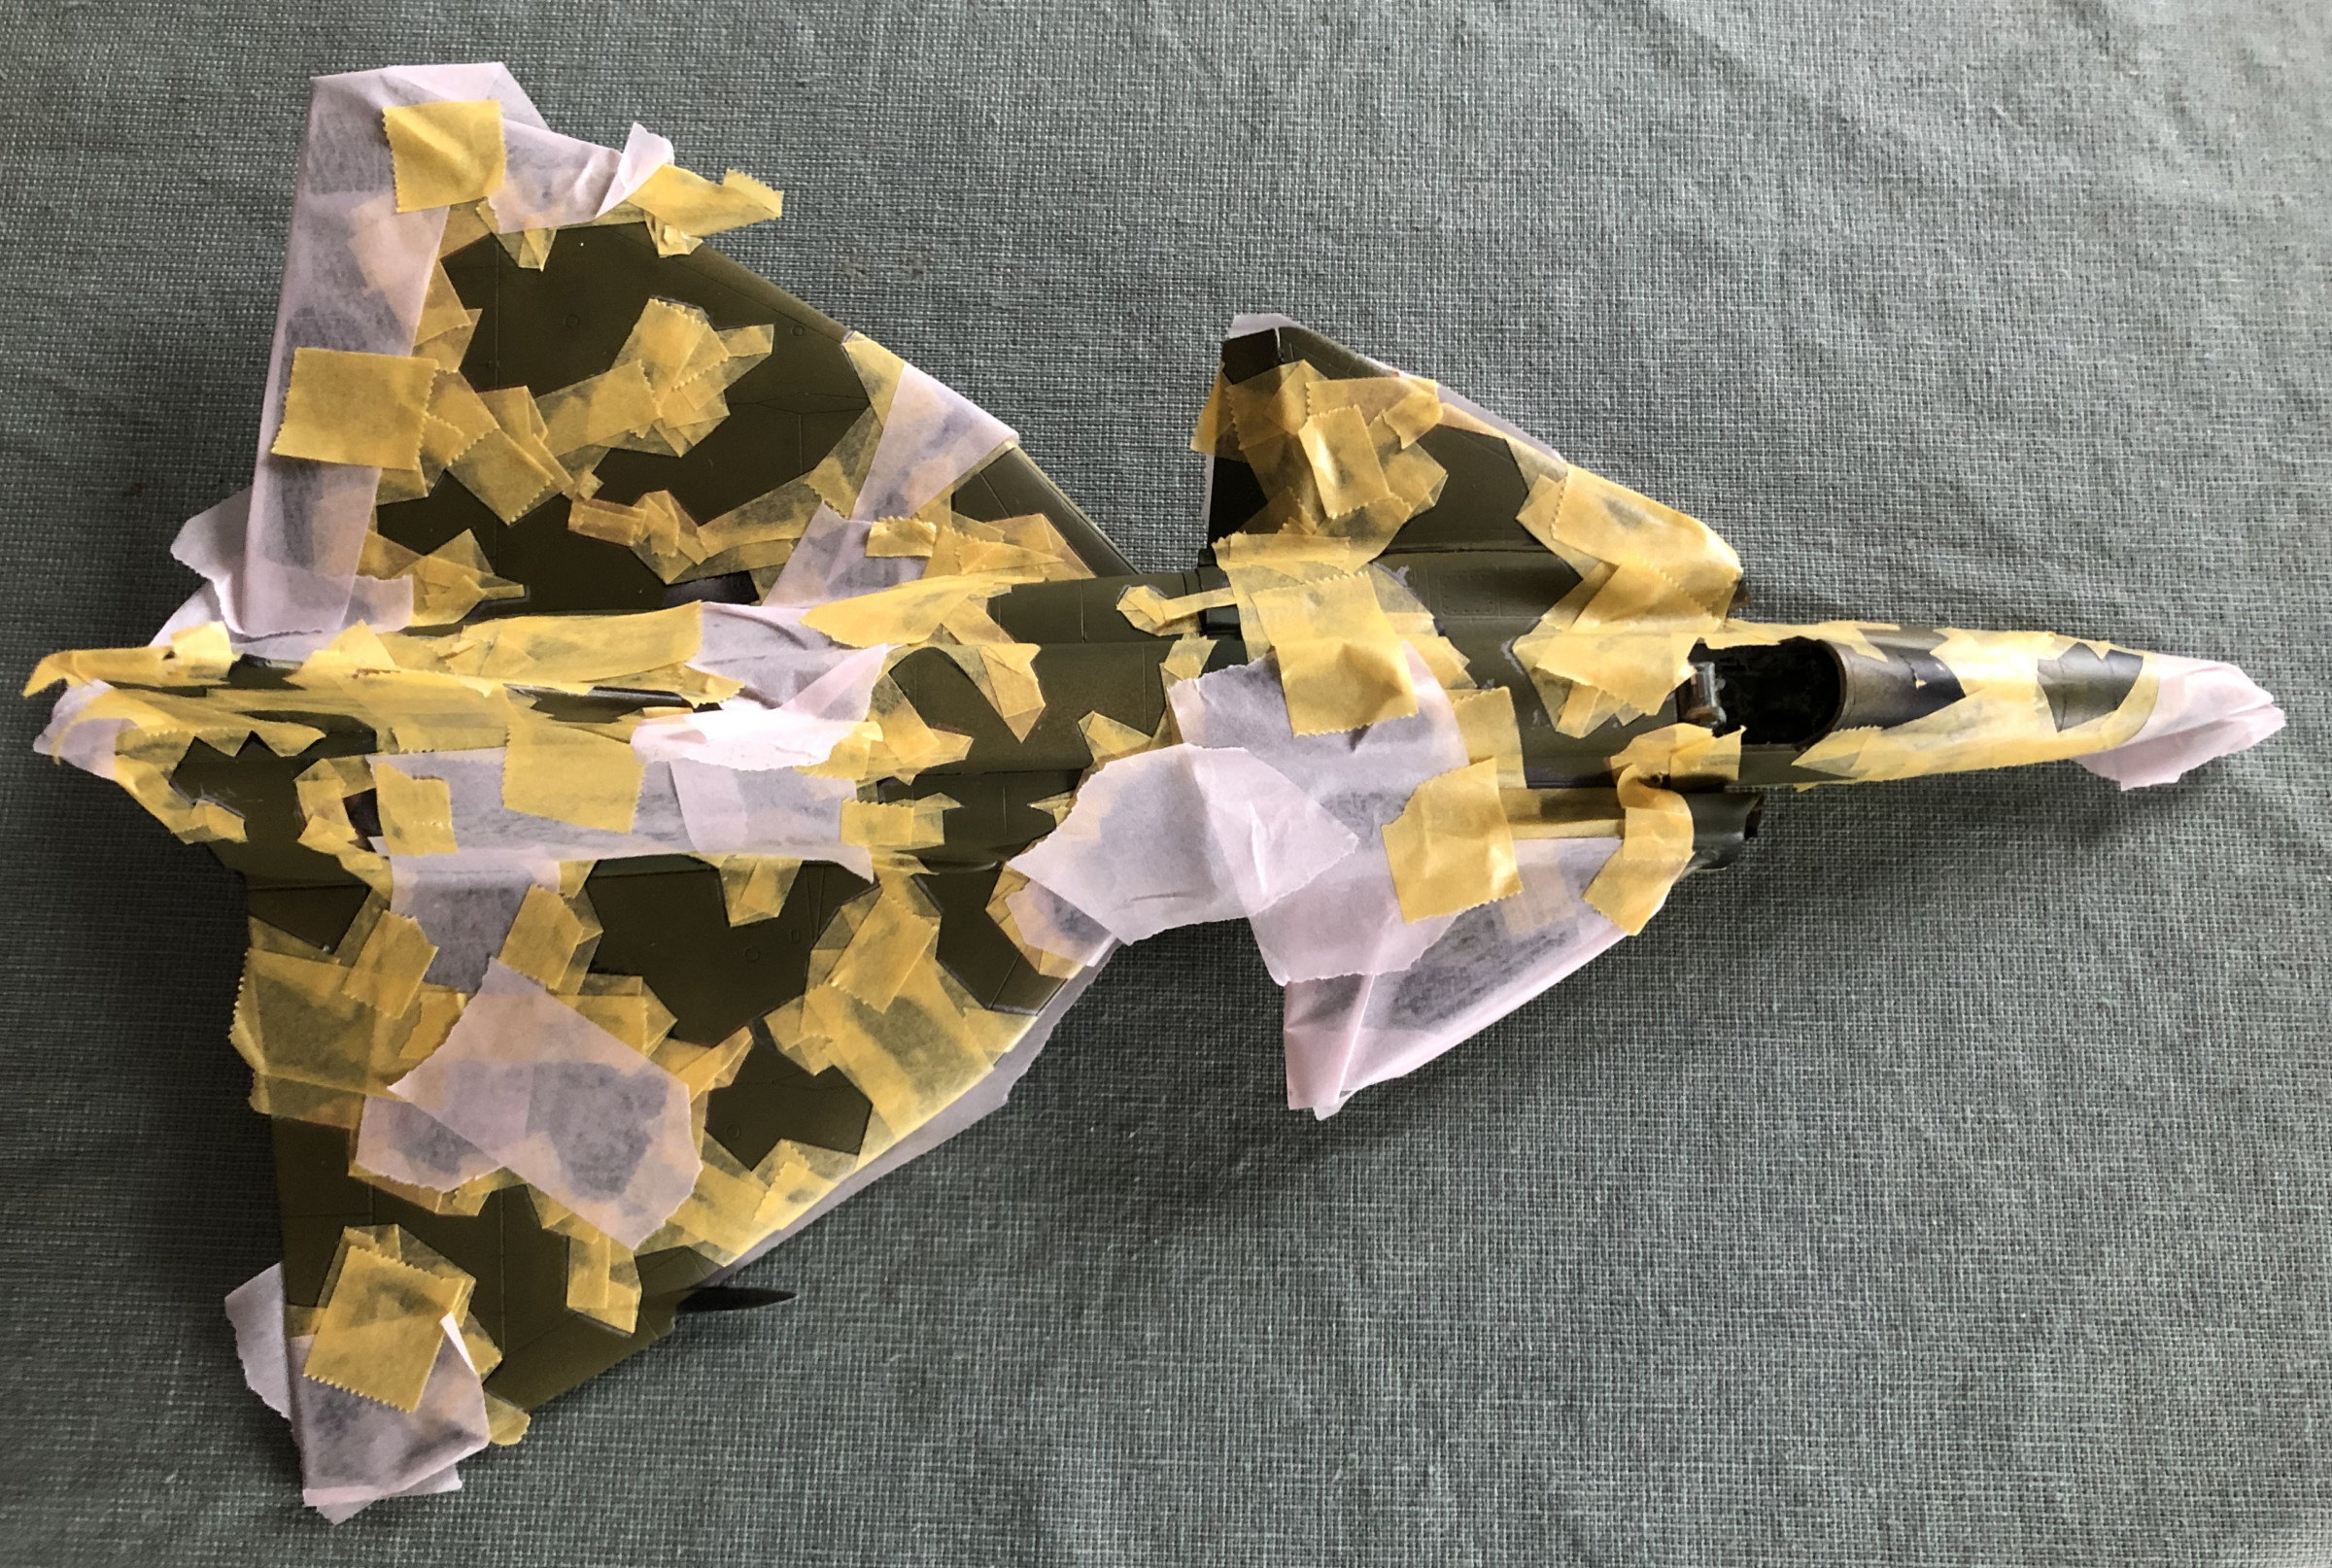
Next was the real challenge with this build. The splinter camo. This is not for the fainthearted. First I settled for the colours to use. This require some work with references and paint cross-reference charts as I use Vallejo Model Air colours. I aimed for a not too weathered look so I finally landed on:
Now to do this I used the pre-cut splinter camo mask made by Maestro Models. Just to get it in place is a challenge. In hindsight I think it would have been best to start at the top fuselage and get that even aligned with the wing roots on both sides and then work outwards from there. Then it's a matter of lifting the patches for one colour at a time and simultaneously keep track of them to be able to replace them at the same place. Meticulously doing this four times (one for each colour) takes time and patience. And even it you do this with all possible accuracy you will probably have to do some manual masking and corrections afterwards as it's almost impossible not to make some mistakes.
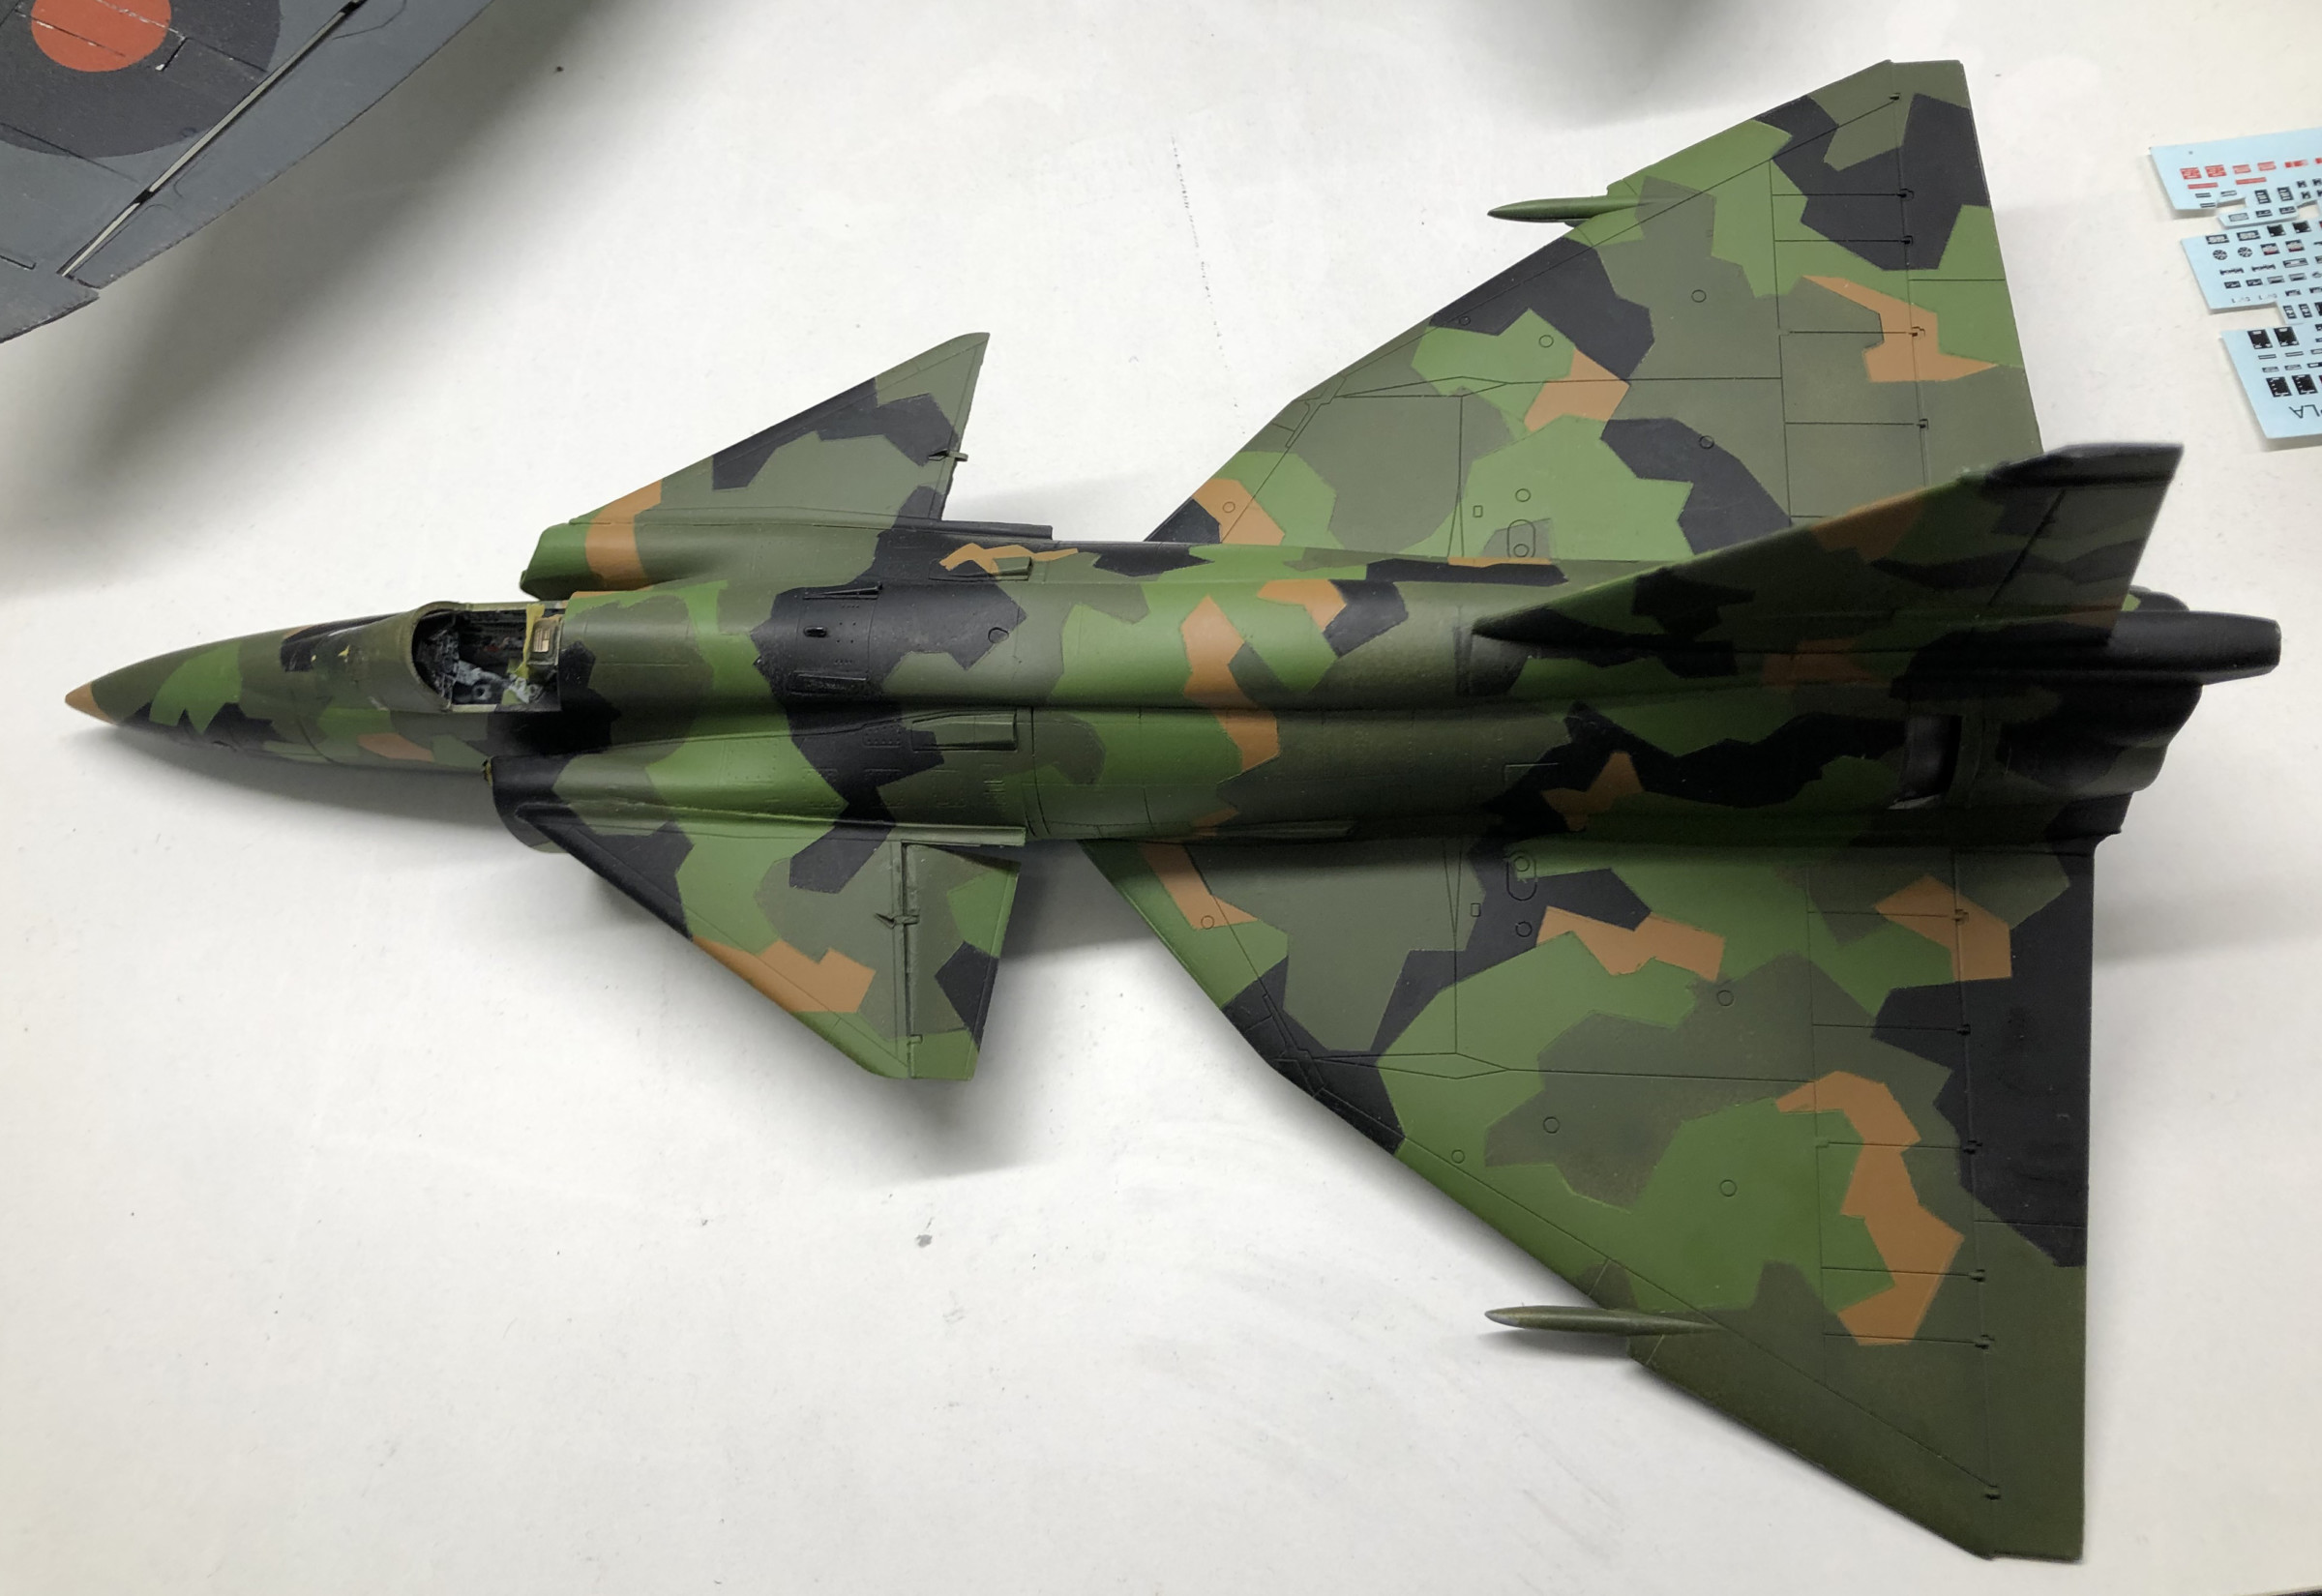
Having done this it was time to give the kit a gloss varnish and then put the decals in place. As with most modern jets there is a lot of small stencils but after the splinter camo this is more like a stroll in a park. Then weathering oil to get the panel lines visible and of a bit dirty look. Sealing this off with a coat of matt varnish.
Having done this the only thing left was the landing gears and small details. The main gear is a complicated thing, each consisting of twelve parts excluding the wheels. A lot of small struts that easily brakes or get lost. Rethink hoe to assemble them (find your own order to do them and don't follow the instructions step by step). The wheels on the main gear is one of the weak points in this kit. They are very thin. Either you should put something in between the two wheel halves to make them thicker or you can do as me and buy aftermarket wheels. There is several alternatives but the one I got had separate brakes in PE-parts (four for each wheel) which makes them look really hot. This on the other hand you need to cut away the brakes that are moulded to the landing gear and construct new attachments for the wheels.
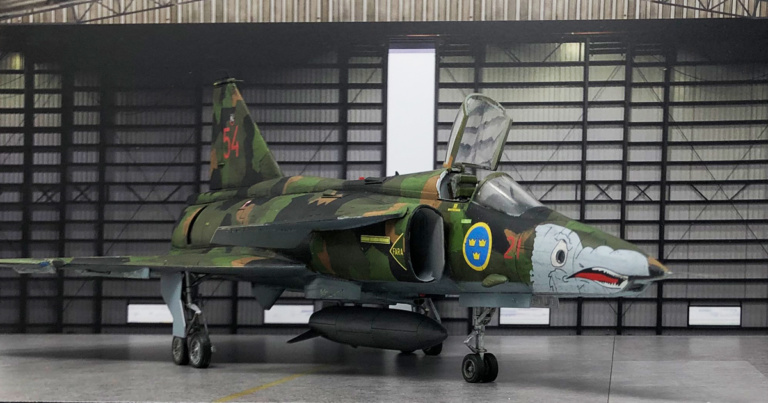
This kit has it's challenges but the result is one very nice Viggen (see below).
This is a good representation of the Saab 37 Viggen. It's not for the beginner but for a reasonably experienced modeller it should turn out nice. Specially if you build one of the other versions with a simple grey camo and not this splinter camo.
Generally the parts fit well and are detailed in finish. The instructions are made by a modeller for modellers.
The main gear wheels needs fixing (way too thin). They have identified a fault in the kit but only recommend an aftermarket fix, short of including it in the kit.