| Brand | Airfix |
|---|---|
| Scale | 1/48 |
| Manufacturers page | http://www.airfix.com/uk-en/shop/aircraft/military-aircraft/supermarine-spitfire-mk-i.html |
| Content in box | Instruction sheet, plastic kit and decals for three individuals |
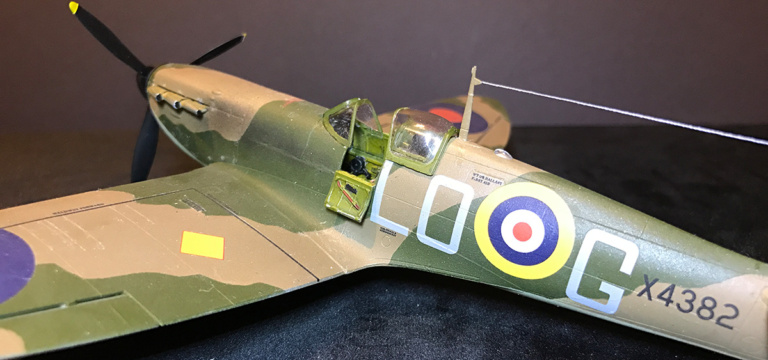
It was time to build the most classical of all plastic kits, the Supermarine Spitfire. This time it's Airfix 1/48 version of the Spitfire Mk.I, the legend from the Battle of Britain. The kit as a whole is enjoyable but is has a few issues. For once I've settled on one of the decal versions from the kit by as usual I bought some etched details for the cockpit. I still wanted to depict it in the night fighter role though so I bought some after market decals:
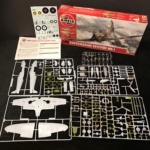 |
This is a well constructed kit and you soon notice that Airfix has really had a focus on detail to ease the building process as you will see later in this review. As with all Airfix later kits the parts fit together nicely. If done with care a minimal mount of filling and sanding is needed with a few exceptions. All the rudders are separate so its possible to fix them at different angles.
This kit also features the nifty detail that many recent releases from Airfix do, namely that the propeller is mounted at the last stages which makes painting a lot easier as does the after mounting of the landing gear. You can also notice that the kit includes a lot of unused parts which guarantees later releases for other versions of the Spitfire. This kit even includes some differences of the Mk.I depending on if you want to build a pre-war Spitfire (without things like cockpit armour) or a war version.
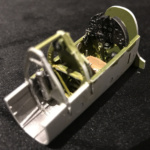
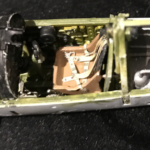
The cockpit is built in a separate bay which is glued into the fuselage when joining the two fuselage halves together. Note that these pictures of the cockpit bay includes some photo etched extras not included in the original kit, as seatbelts and an extra detailed instrument panel.
 |
 |
Fitting the cockpit bay into the fuselage is really a tight fit and you'll need many rubber bands to keep the halves together while the glue hardens. There is is a part covering the fuel thank in front of the cockpit that is optional depending on which version you want to build that is very hard to fit. For me it was impossible to get a real good fit without sanding down the instrument panel, a lot of rubber bands an later applying putty and sanding.
The other issue I had was with the landing gears. As afore mentioned they can be mounted after doing the painting which is a good thing. But this is done by putting a root part of the gears in when gluing the wings together and then glue the landing gears onto those afterwards. This is really hard! The gluing surface is really small and the wheels are relatively heavy why the gears won't stay in place for the glue to harden. I had to resort to CA glue (quick hardening glue) to get them into place.
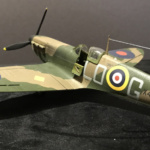
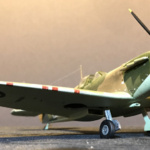
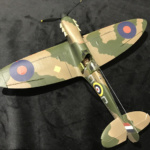
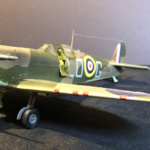
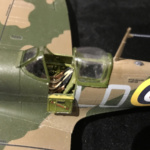
Apart from these issues this is a good kit. The panel lines is a bit too emphasized for my taste but not enough to bother to fill them with putty. I decided to build the individual plane of Pilot Officer Osgood Villiers Hanbury which he flew during The Battle Of Britain. The other individual versions are a pre war version that was based at No. 19 Squadron at Duxford in august 1938 and a Spitfire operating as trainer in Wales in mid-1941. Here are some pictures of the finished result.
 |
 |
 |
 |
 |
This is a good kit apart from a few issues mentioned above. Scale accuracy is good and Airfix has managed to construct a kit that ease the process of painting and also put some joints in natural.
| Difficulty* | 3 |
|---|---|
| The good | The fit and the detailing. General accuracy, the after mounting of the propeller and landing gears. |
| The bad | Fitting the cover over the cockpit front and getting the landing gears in place.. |
*) On a scale 1-5 where 1 is easy and 5 is really hard.
