To not have good tools is to make modelling unnecessarily difficult. Some you tend to use more often than others, but for some special tasks there is this special tool that can make the difference. I'l try to cover most of the tools I usually use to achieve my results.
The knife
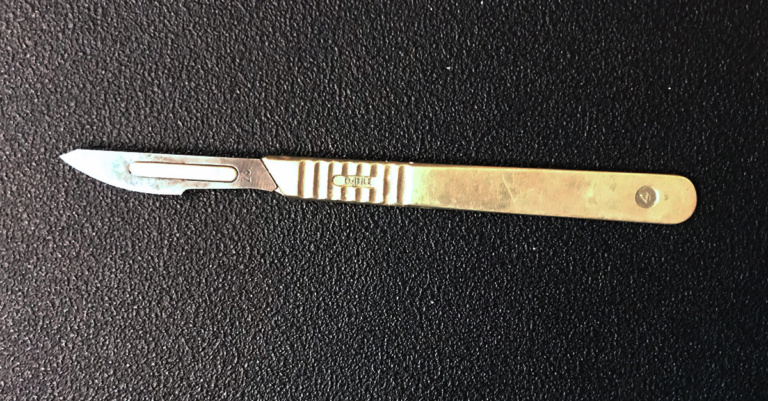
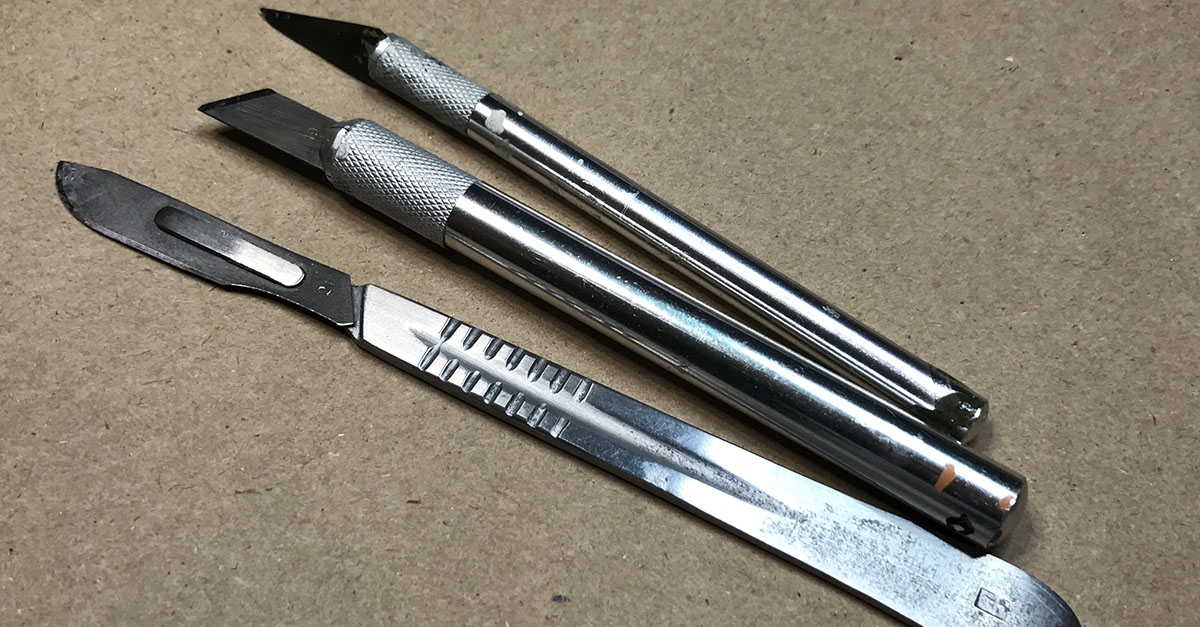
The knife or, even better, scalpel is a powerful tool that needs to be handled with care. Not only is it all to easy to cut yourself but also to cut away more than you bargained for from you kit parts. Still it's a vital tool. I usually used the scalpel for most tasks in the beginning. As my building skills advanced I also replaced it for better tools.
Still I always have a scalpel and/or knife ready at the table. Suddenly there is something that need to be removed in a not so delicate place or maybe I need to drag a decal into the right place.
The cutter
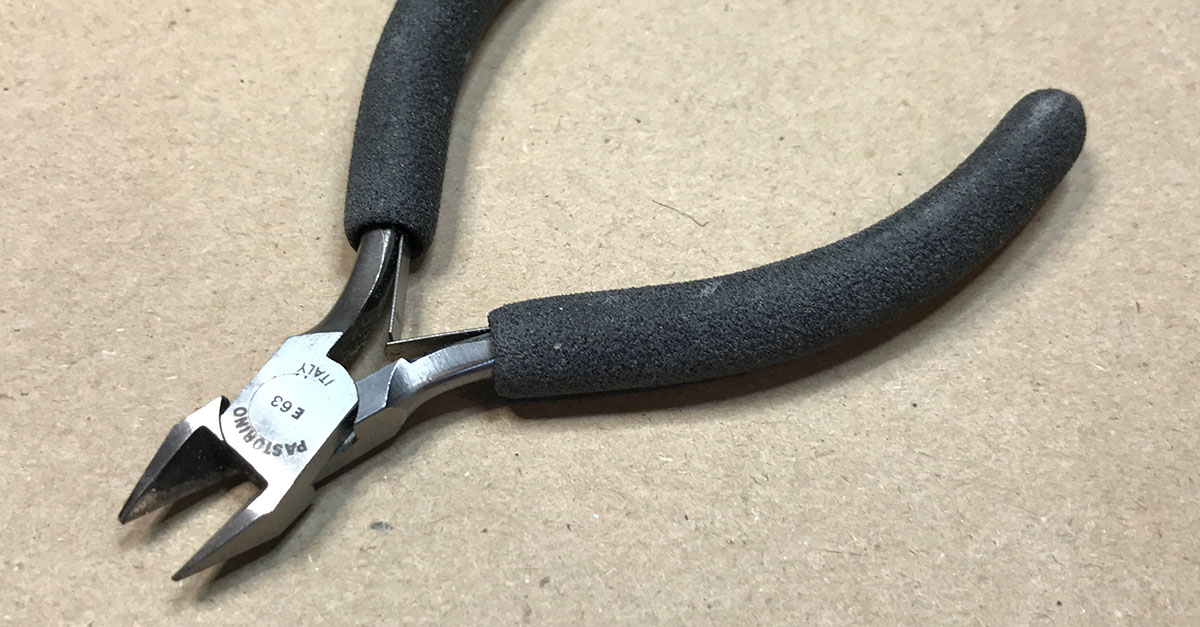
To tell the truth, in my youth I often used to bend, twist and pull the parts from the spruces. This often damage the parts by leaving small but very irritating damages on the part itself. Soon I realized that cutting them off with a sharp knife was better but still it was all to easy to cut away too much. I can't imagine why it took me so long to realize that a small cutter is perfect to separate parts from the sprue. Using the flat side towards the part it mostly leave a negligible mark on the part that is easily handled.
The scissor
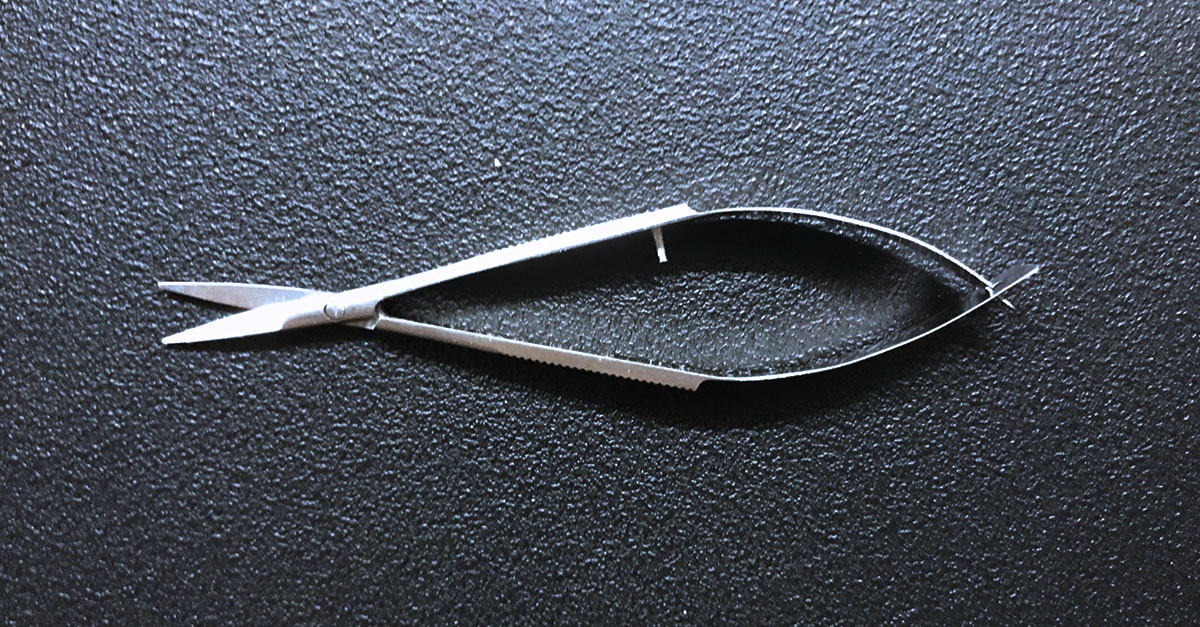
A scissor is always handy. For example to cut out decals from the decal sheet. But the scissor I use the most is a small one from Italeri made for handling photo-etched metal parts. These parts can be very hard to get at with the cutter and this pointy scissor is much easier to get into the right place for a cut.
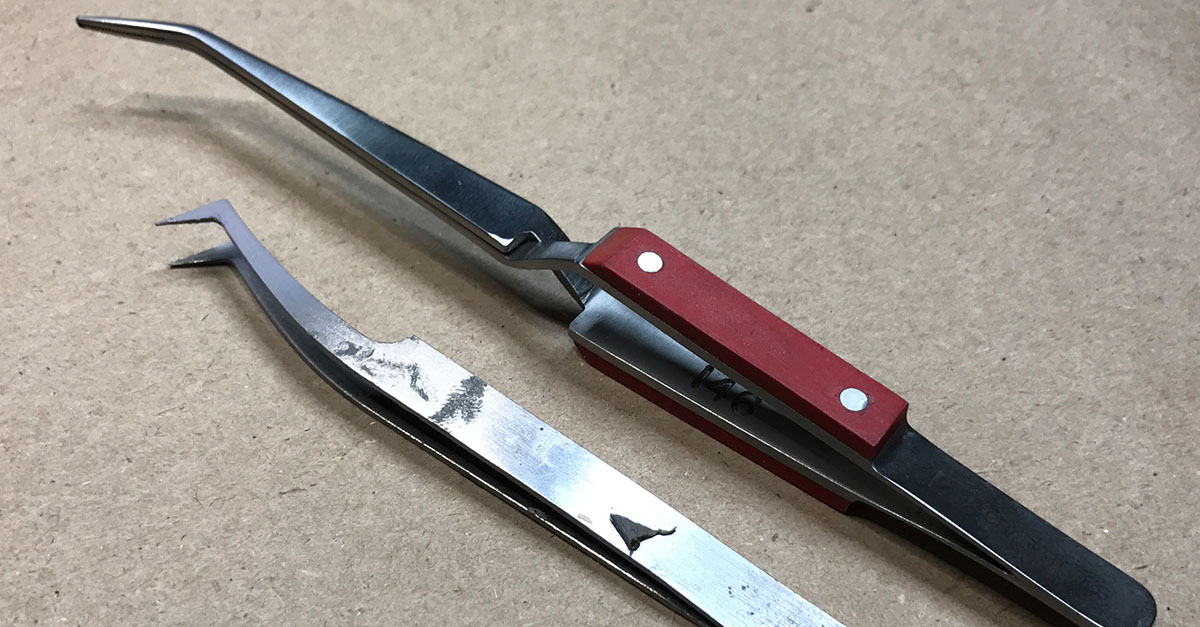
The tweezers
This is another really important tool. Most kits contain really small parts and often enough they're supposed to be fastened in tight spaces. This is where your fingers really doesn't suffice. Handling the tweezers can be delicate. While you have to keep a pressure to keep the part in place between the arms too much pressure can snap the part out of the tweezers grip and send it in a trajectory over the room to a place where only the vacuum cleaner will find it.
There is again a wide range of tweezers available and it's personal what you prefer. I've found the ones with an angled end is the best, specially when fitting things in tight places. I also keep a self closing tweezers, the kind that needs pressure to open rather than the other way around, for when I need to keep track of small parts without constantly having the tweezers in my hand.
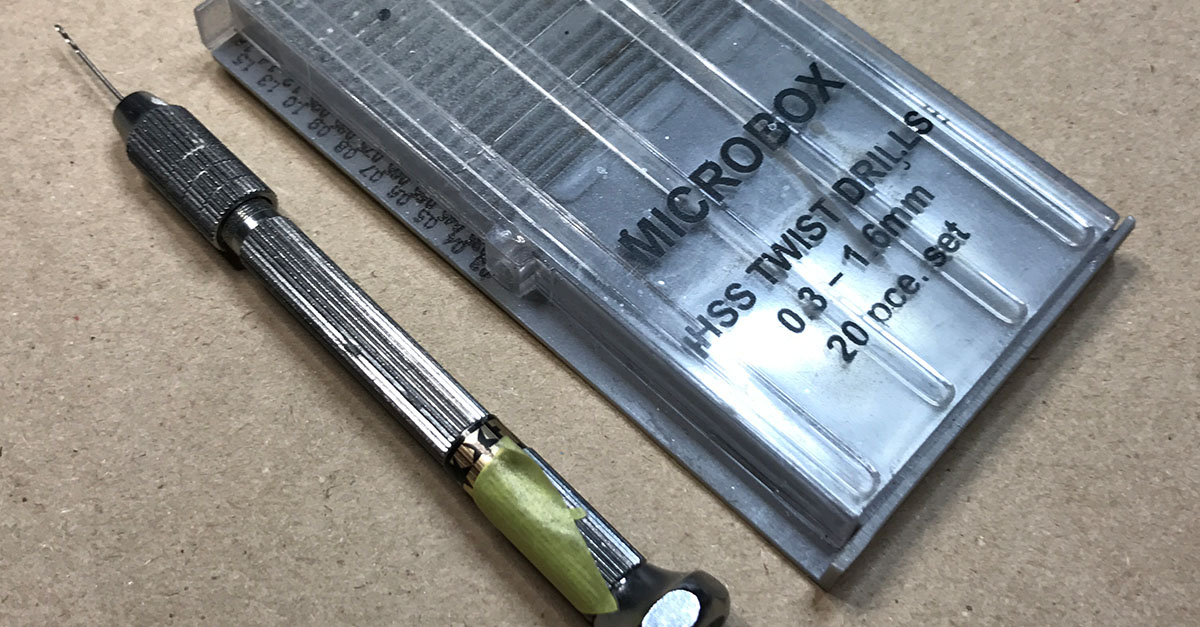
The drill
A small hobby drill with a set of drill bits in different thickness's comes in handy when a hole is needed. Many kits have options where you need to open up holes to fit parts in later on. To tell the truth, again, I used to do these with a needle or knife but this is not precise and also bends and marks the plastic. As soon as I got a small and handy hobby drill I could not understand why I didn't own one before. Most instructions not only indicate where to make a hole but also the diameter the hole should have so a range of different thickness's of drill bits is really necessary.
The advantage with drilling is that it leaves a minimum of protruding leftovers to be handled and the hole is perfectly round. It's better to start from the visible side of the part because the entry side gets neater than the exit side. But often there is a pre made countersink on the inside to indicate exactly where the hole should be so then start there. Tidying an exit hole is better than getting the hole in the wrong place. If there's no pre made countersink then its preferable to make a small one with a needle or knife before beginning to drill as the drill otherwise tend to slide a bit and you might en up with a hole in the wrong place. Another method to prevent this is to fasten a bit of tape where the hole should go to prevent the sliding.
The saw
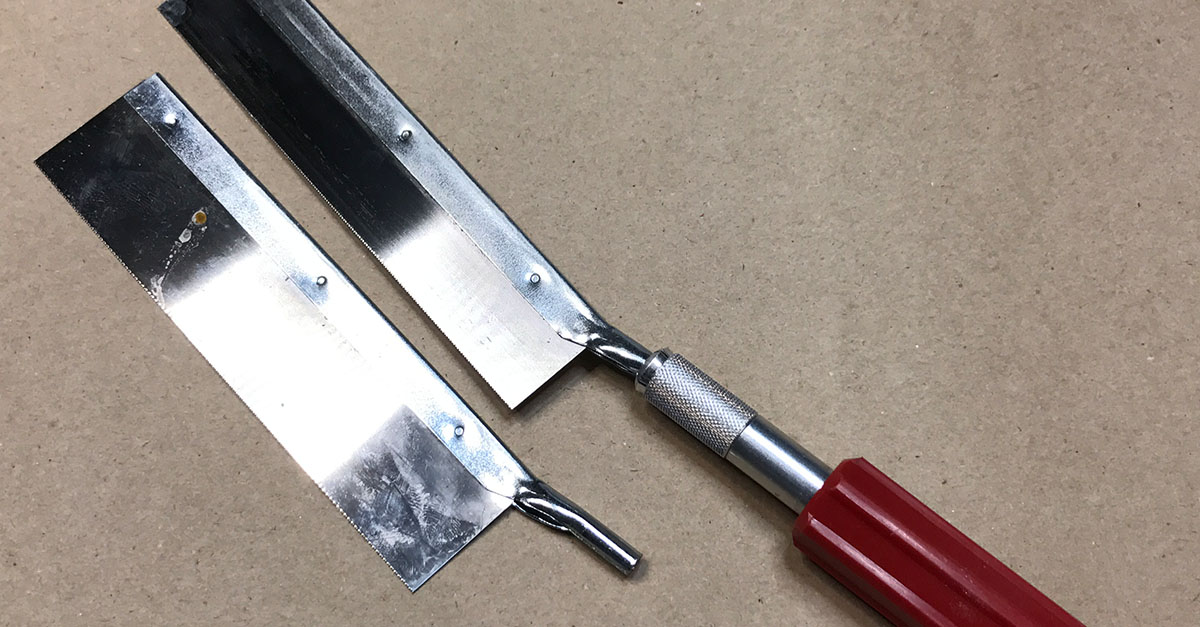
A saw? Well that was my first reaction but yes, in some cases it's really good to have. If you have resin detailing parts for example they are not delivered on sprues but are mostly moulded with large parts of extra resin that needs to be cut of. To do this with a knife is frustratingly hard and often results in crooked cuts. These parts are really moulded for a straight cut and this is where the hobby saw comes in. Also when an option in the kit or a kit conversion requires that a part of, let's say, the fuselage to be cut away the the saw gives you a clean cut.
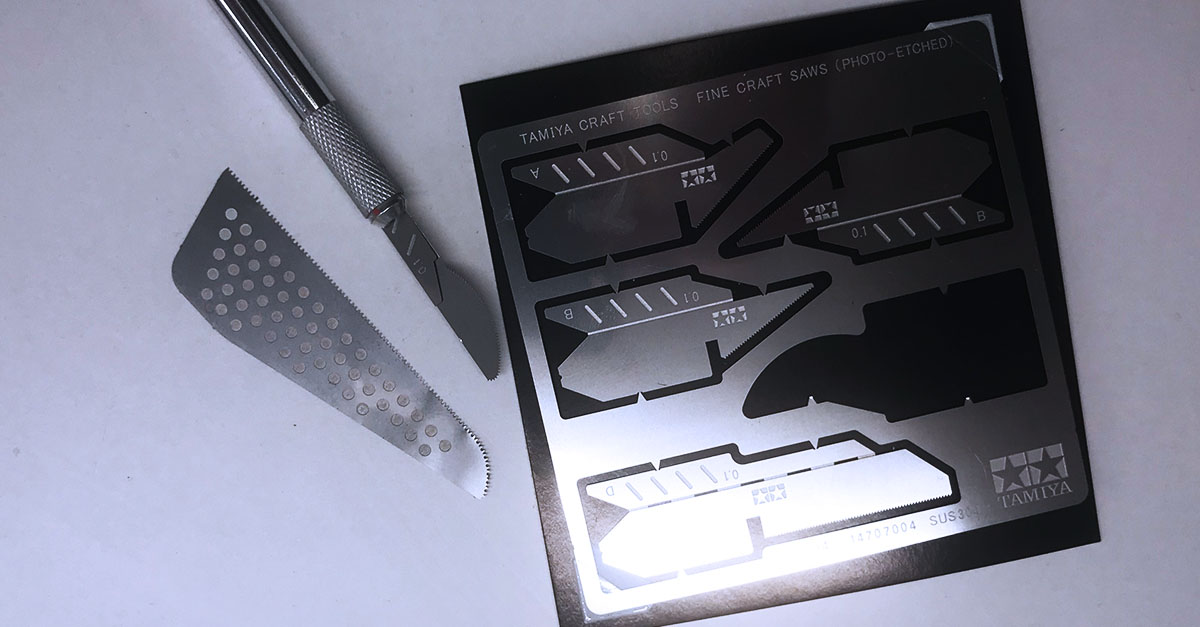
I use two kind of saws. First the larger for making straight cuts for example when I need to cut away excess resin from parts. Then there is the smaller saw that's actually made from thin metal as used in etched metal parts. Usually these saw blades fits into the shaft of an ordinary hobby knife. These are excellent to cut away example rudders that you want to reposition or thins like that.
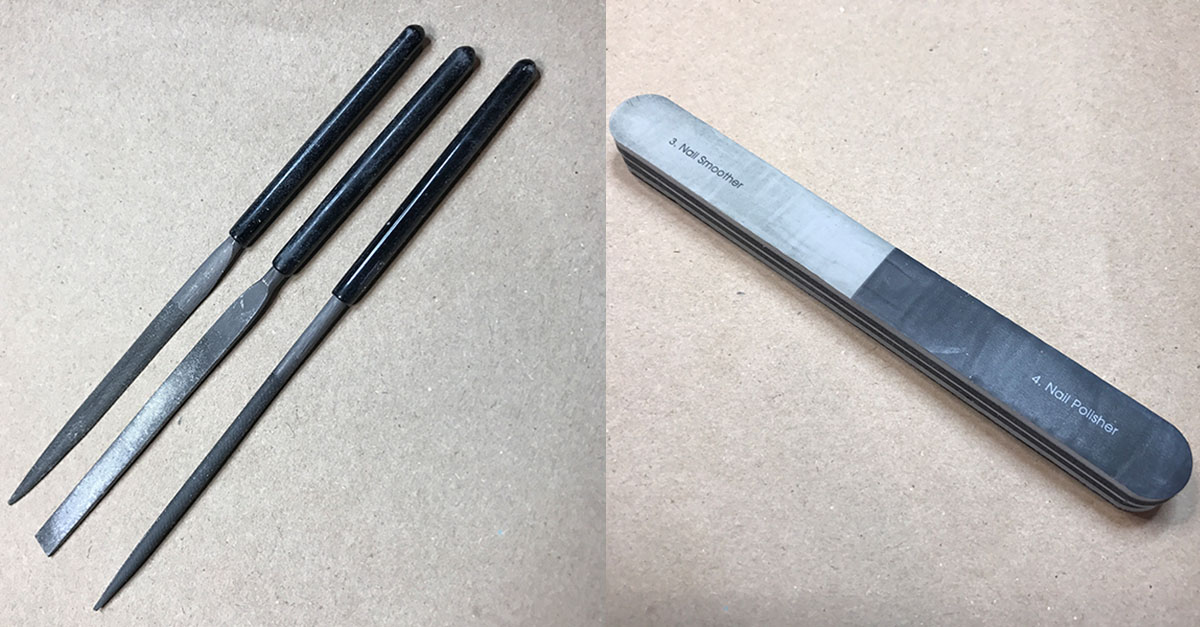
The file and the sandpaper
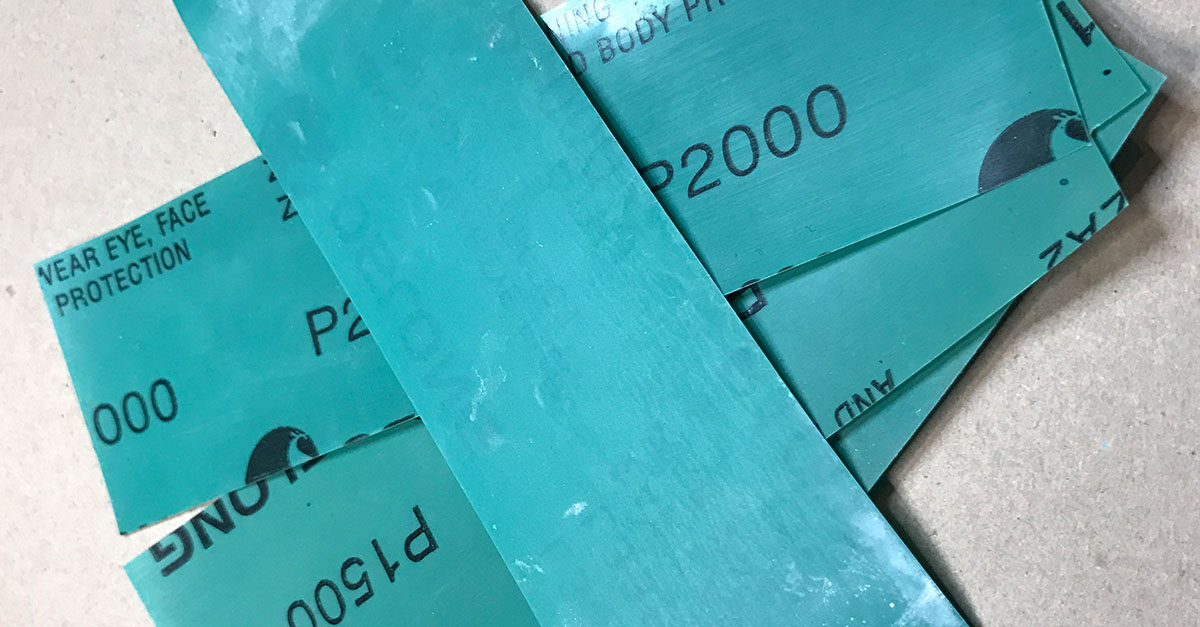
However well fitting the parts are there will always be a need to even the joints. See more on the "Fill 'er up" page. Also a misplaced drop of glue can leave marks that need fixing. Best tools for this is sandpapers and files. Doing conversions of kits also usually need a lot of job with a file and/or sandpaper. When you want a good and even surface it's often a matter of starting with a coarse file or sandpaper to take away the worst protruding parts and then use finer and finer files/sandpapers until the surface is as smooth as the rest of the kit. Using a sandpaper without a hard surface under it, such as a sanding block, runs the risk of making the unevenness worse then it's usually better to start with a file. Some time it really helps to paint a layer of surface primer over the area to more easily see where there is more work to do. Don't be afraid to sand away panel lines (at least not part of them) they can be put back (see more under "Fill 'er up").
There is loads of sandpaper and files and they don't need to be specially made for plastic models but be sure to get the really fine grains for the end result. When it comes to files they should preferably not be too large. Also for that really fine result a nail file with edge removers and polish is really the best.
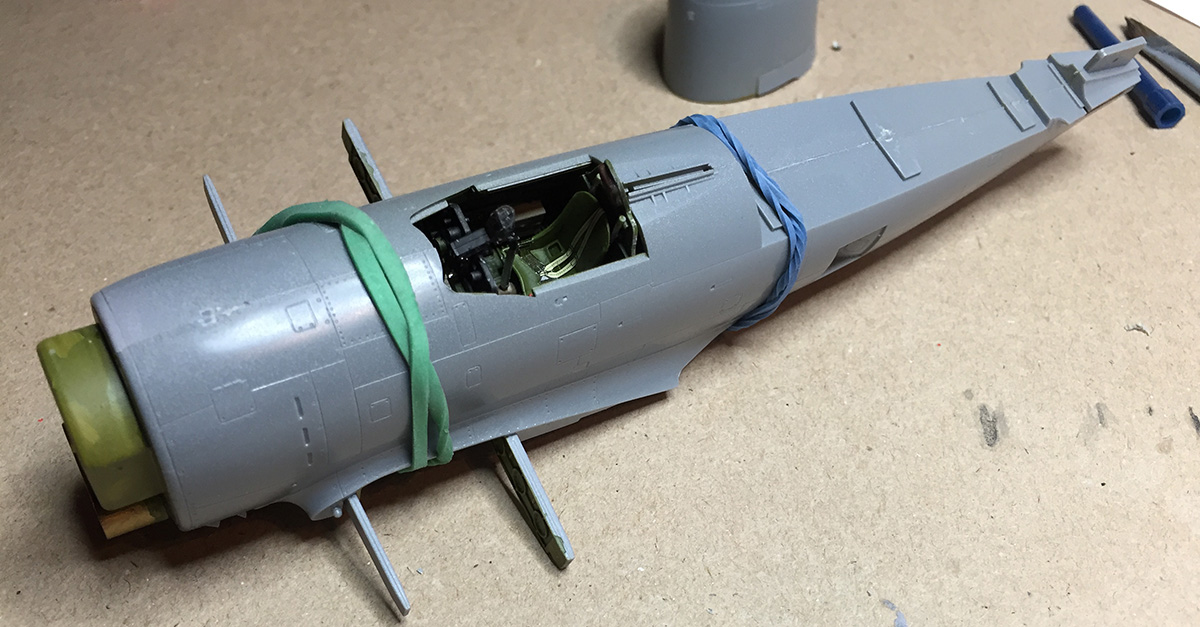
The clamps and the rubber bands
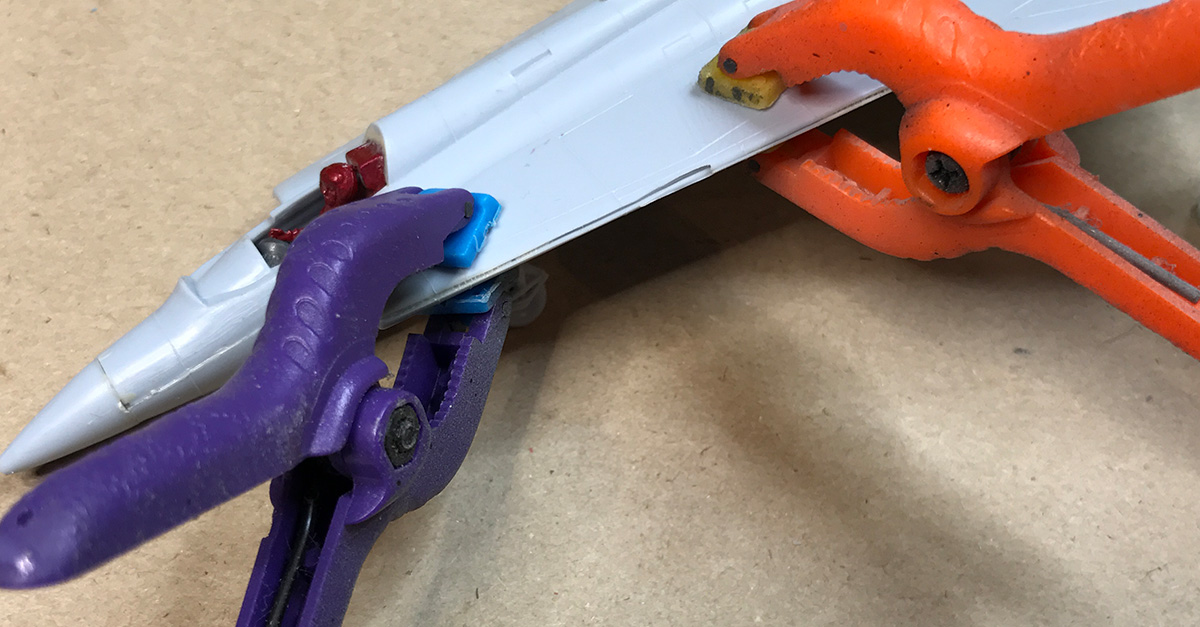
When glueing the parts together often enough the parts will stay apart if you don't pinch them together while the glue hardens. If you don't want to sit there with the kit in your hands then clamps and/or rubber bands is the trick. They really work in different ways and is useful in different situations. The rubber bands puts a more even pressure on the joints and kit parts which makes them perfect to, for example, hold a fuselage together. The clamps are better for point pressure and works well on flat surfaces as wings etc.
Rubber bands is something that you pick up almost anywhere and any large enough will do. Clamps can be obtained at any well equipped hobby store.