When you've put your kit together, painted it and finished with the decals then you hopefully have a nice looking kit. But in most cases it looks like a brand new machine right out of the factory. Maybe you want your model to look more like it has been in use. The nature puts it's mark on everything when used. Colours bleach and wear, dirt and soot settles on the surface and metal rusts etc. There is several methods to achieve this look on your model. Only your creativity limits what you can do. I'll describe a few methods here to get started but there is more out there.
The pre shading
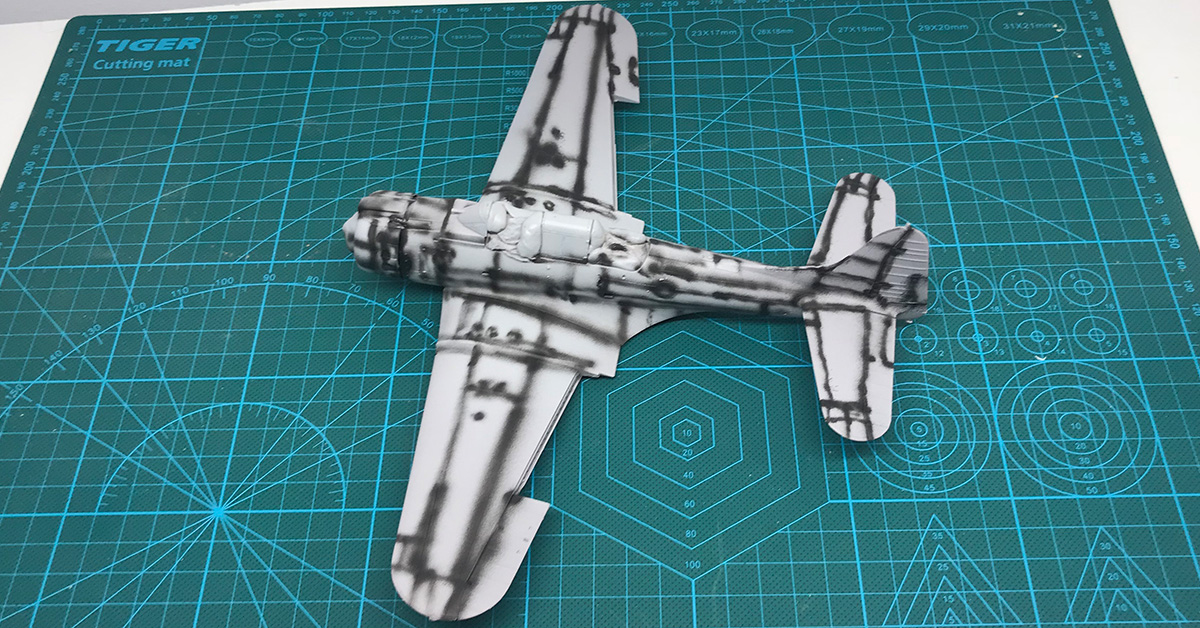
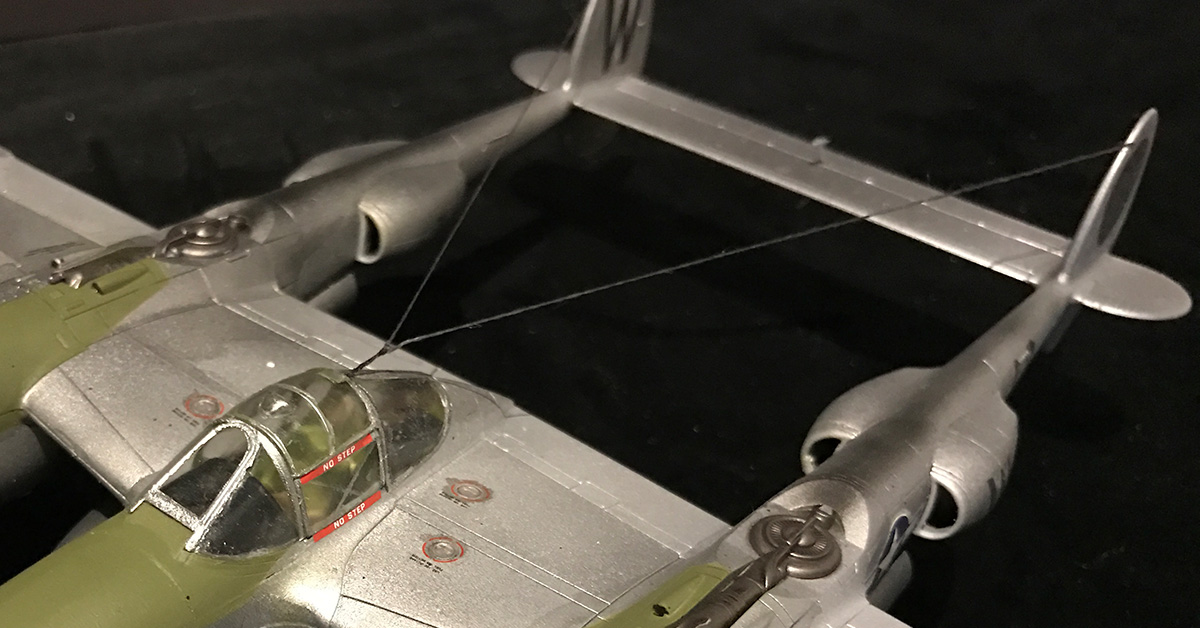
Pre shading is an effective method to get your kit look more 'alive'. What you do is that you prime your model with a light grey or white primer. Next step is to use an airbrush and carefully paint lines along panel lines and other features with black or grey paint. You can see an example on the SBD-2 Dauntless on the right. Then you apply the final colour over that in thin layers repeatedly until you're satisfied with the degree of shade. The result is an effect like an unevenly sun bleached colour. It looks a lot better than the flat result you get from just one straight colour.
Some argue that while this effect looks quite good it's not realistic because it's not an effect that you'll see in real life. There is however a lot of pictures that contradict this and I think the end result is better.
The panel lines
On some plastic models of older makes the panel lines are marked with protruding lines. File these off! Make new ones with a needle as described in "Fill 'er up!". On other older kits the panel lines are cavities that want to compete with Grand Canyon. Fill them with putty and do the needle inscribing. But most modern kits have quite good panel lines. But after you've done with the kit they might not be as visible as you like. I usually go ahead and highlight them.
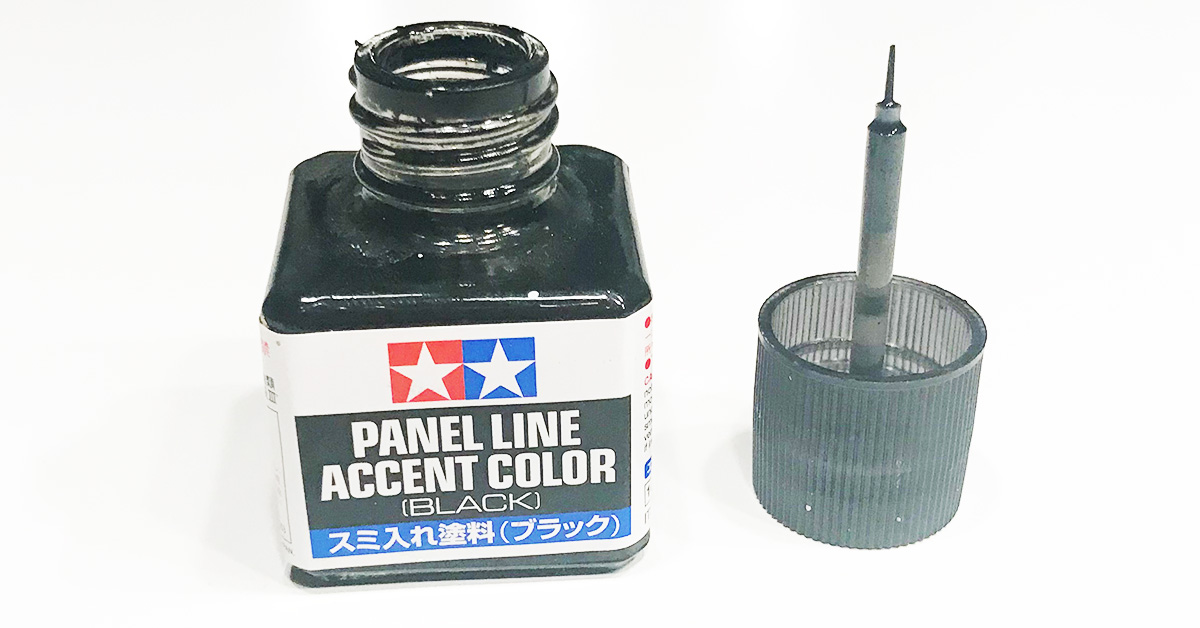
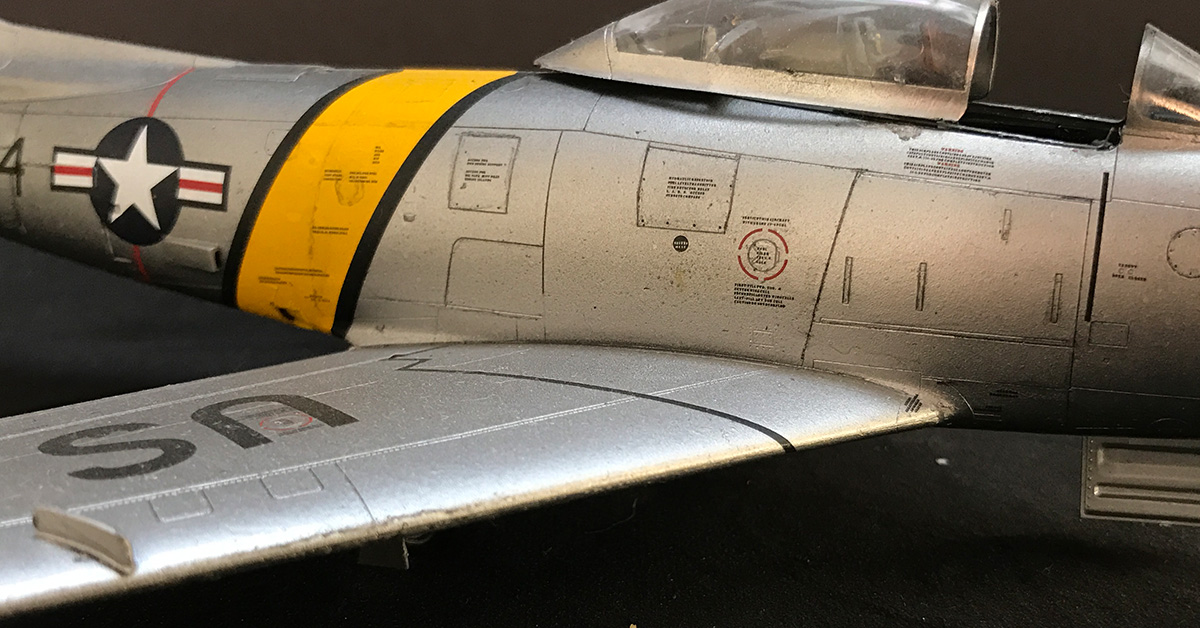
There is a couple of ways to do this. One method is to use panel line accent colour with small brush. You carefully drop a small drop into the line and let the capillary force drag it out along the line. It's quite magic to see. The other method, the one I used the most, is using a fine line fibre tip pen, grey or black. I carefully fill in the lines and rivets and then immediately wipe off any excess with a cloth. The result can be seen on the F-86 Sabre to the left.
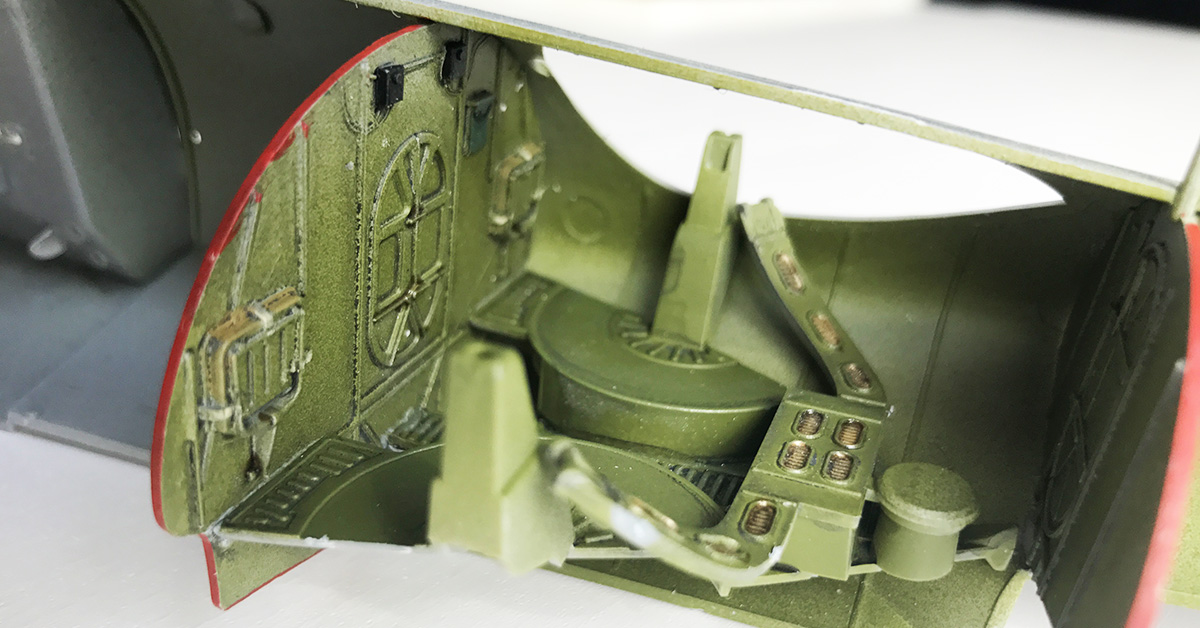
Shading
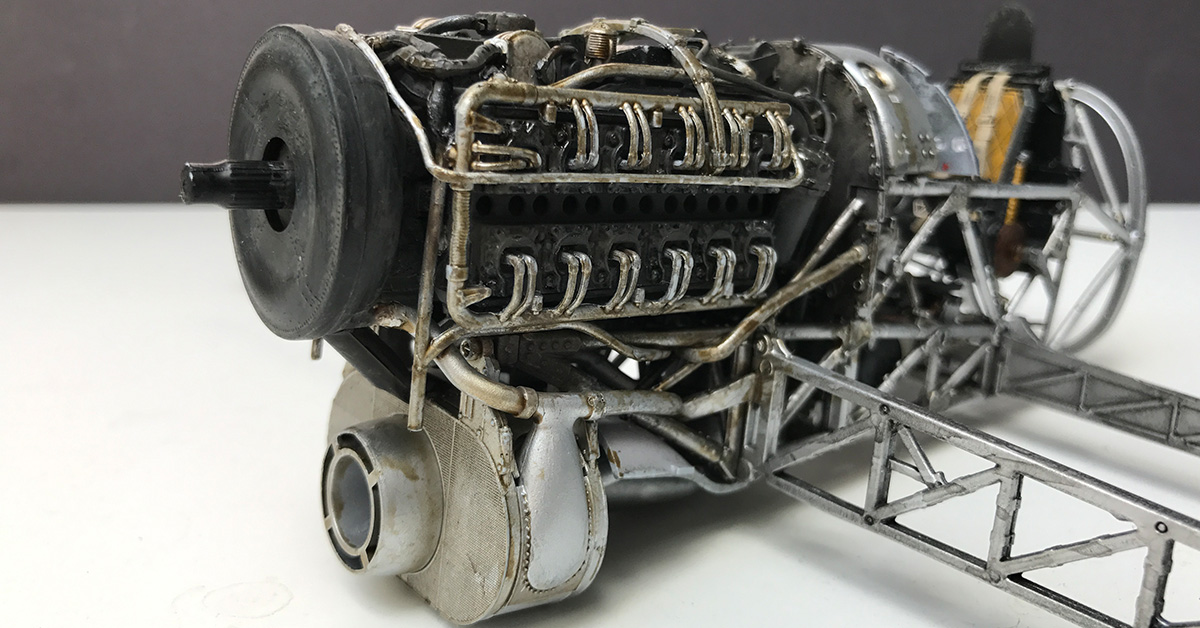
When you paint the parts like the inside of the cockpit or the engine parts they come out like brand new, one dimensional, stuff. To get more shadows, or dirt if you will, you can use paint wash. It's heavily diluted paint that you apply richly over the area. The pigments will be drawn into the corners and along lines. When dried it will give shades highlighting the details and have it look more three dimensional.
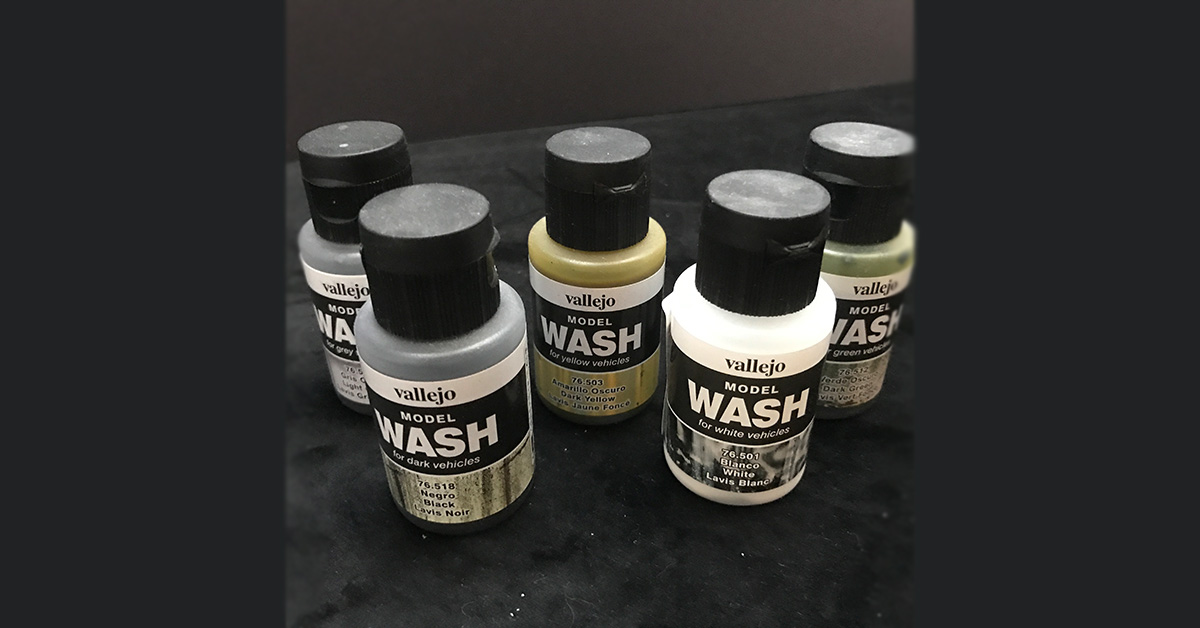
The Dirt
Even if planes usually are quite clean on the outside there is still a lot of dirt going on. There is oil, fuels, soot, rust and plain dirt. There are a lot of different products for this. I'll mention two.
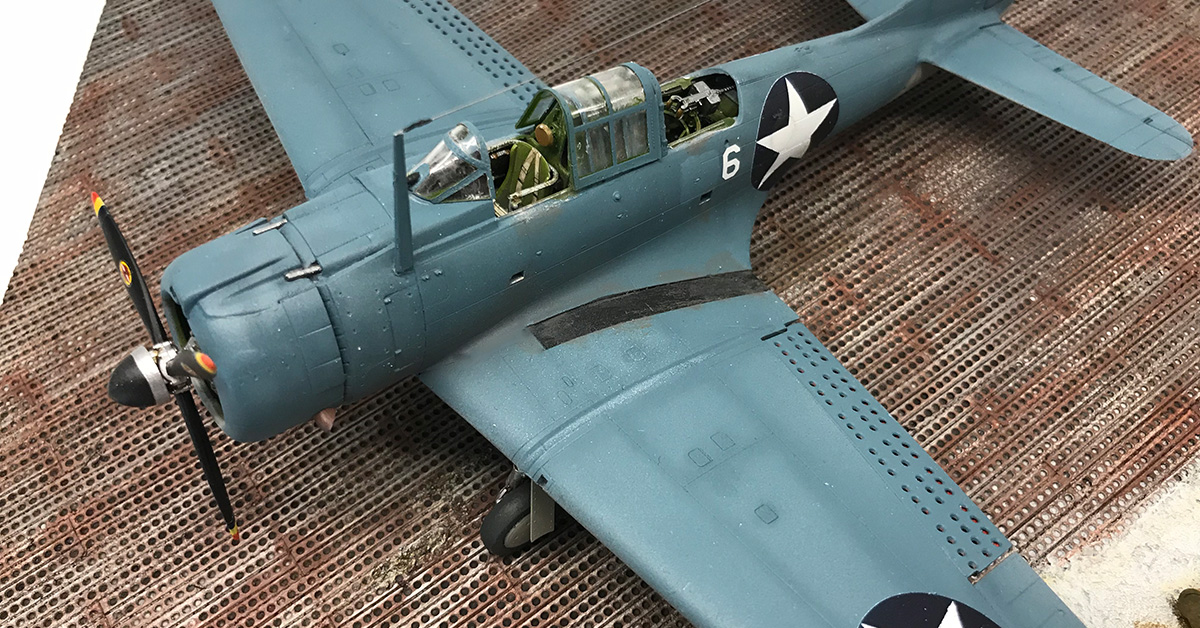
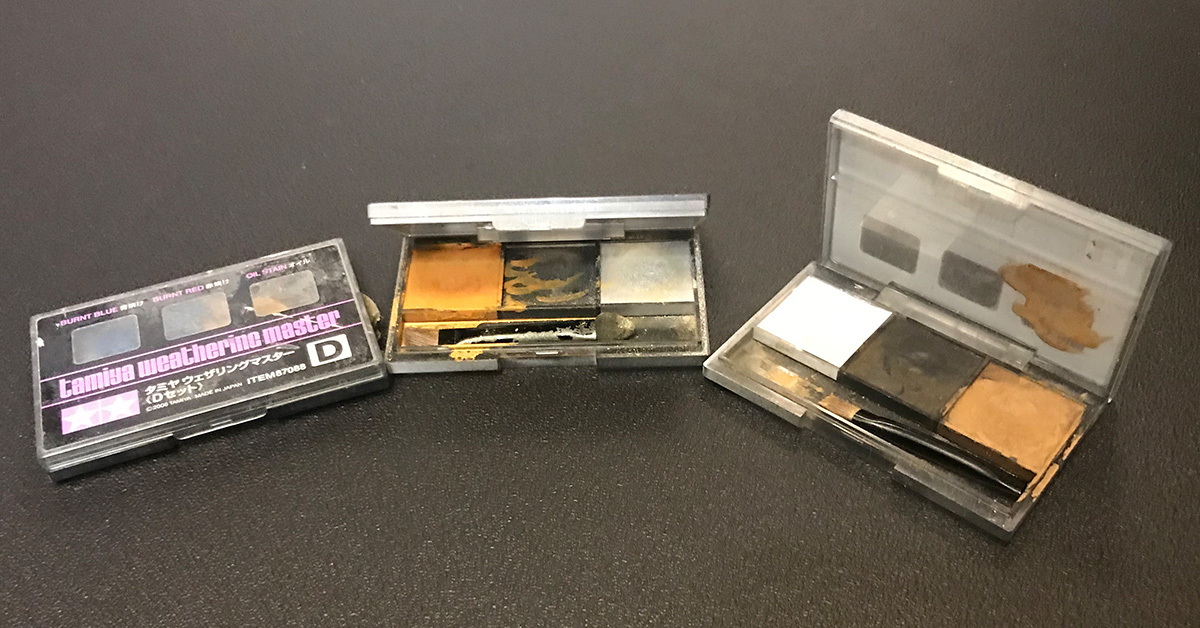
Rust and heat effects are common on engine exhausts. For this I use make up. Make up?!? I hear you say. Well, yes, but special make up. Tamiya for example have a line of weathering products called Tamiya Weatherig Master which basically is make up kits in suitable colours like Orange Rust, Burnt Red, Burnt Blue, Oil stain, Soot etc. I mainly use these for exhaust pipes on propeller aircraft but also on any areas that should be rusty.
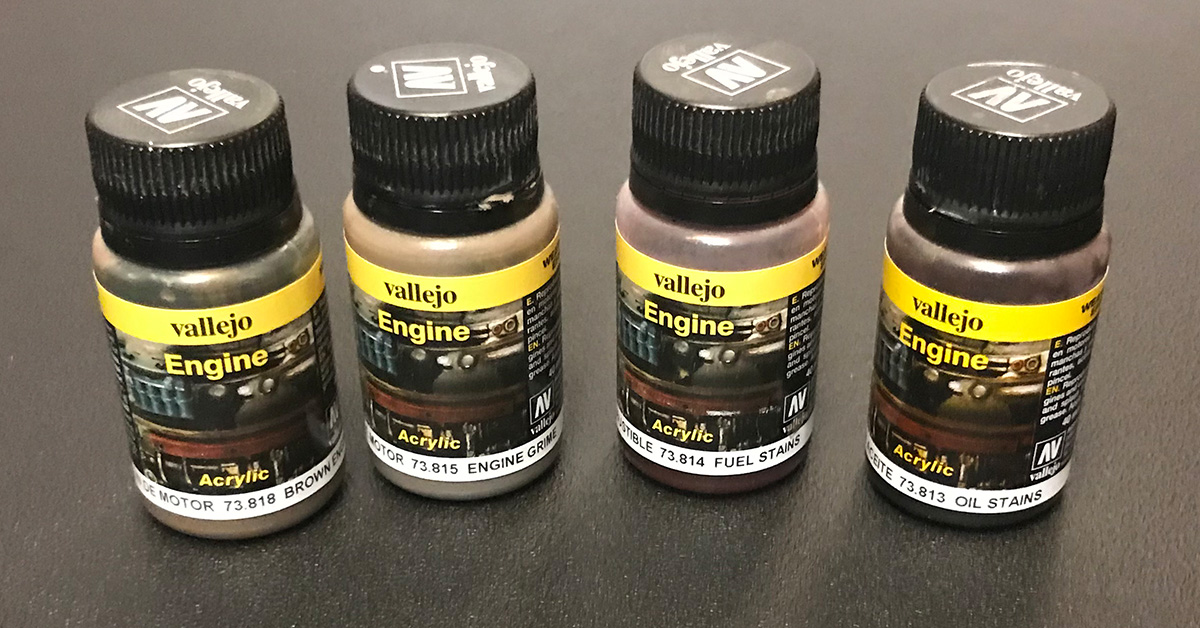
Next tip is about Vallejo's Engine Effects series. It comes in sorts like Oil Stains, Fuel Stains, Engine Grime etc. It's great to use on engines, at fuel filling points, on landing gears or generally places where there's dirt and oil. The oil and fuel effects are also a bit glossy which adds to the effect. I've used both Oil Stains, Fuel Stains and Engine Grime on the engine to the left. For those that build for example panzer models there is more series like Splash Mud, Thick Mud and Environment Effects.
The exhausts from the engine on propeller often left soot along the fuselage or wings after the engine. This effect is best done with an airbrush. Use it to carefully stroke a soot streak out from the exhaust pipes. Do it a little at the time until you like the result. Here it's good to have some reference pictures to look at to determine how the air took the soot along the aircraft. Usually the ground personnel used to try and clean it off but in hectic field conditions they got quite dirty. The soot and heat effect did not only leave black strokes, sometimes they were grey, brown or even white. Again reference pictures is the trick.
The paint chipping
Often paint wear away in chips exposing metal underneath. There is different methods to achieve this effect too. The one I still have to try is to first paint the model in metal and then use moist salt or hairspray on the surface before painting. Then with a brush or equivalent brush away the "chips" and expose the metal paint beneath.
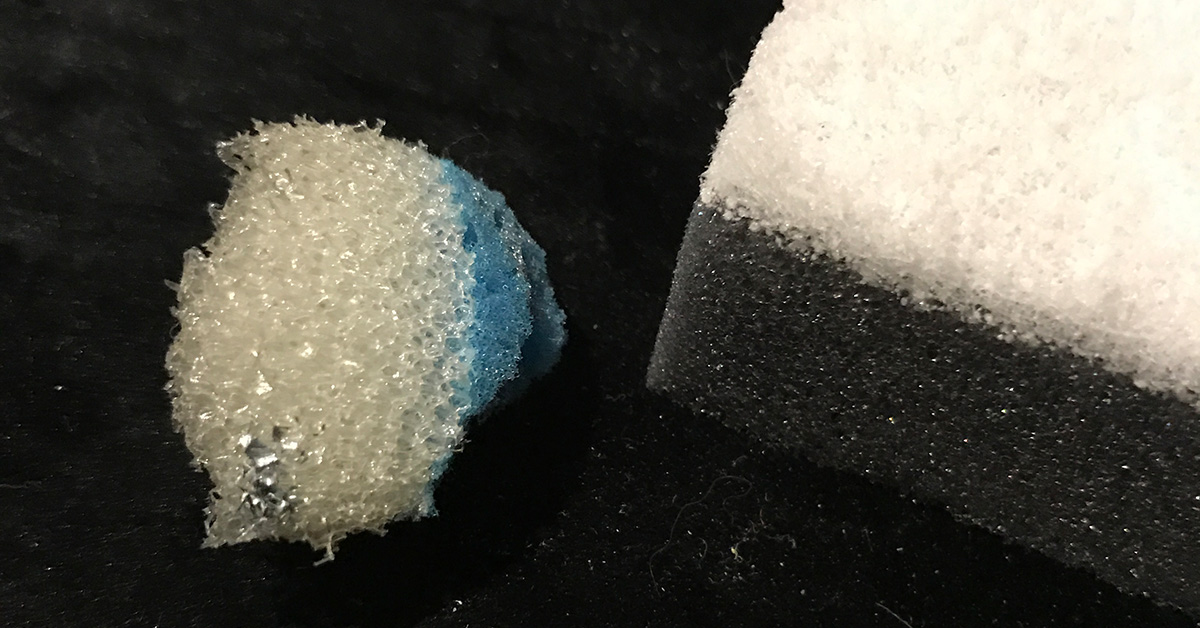
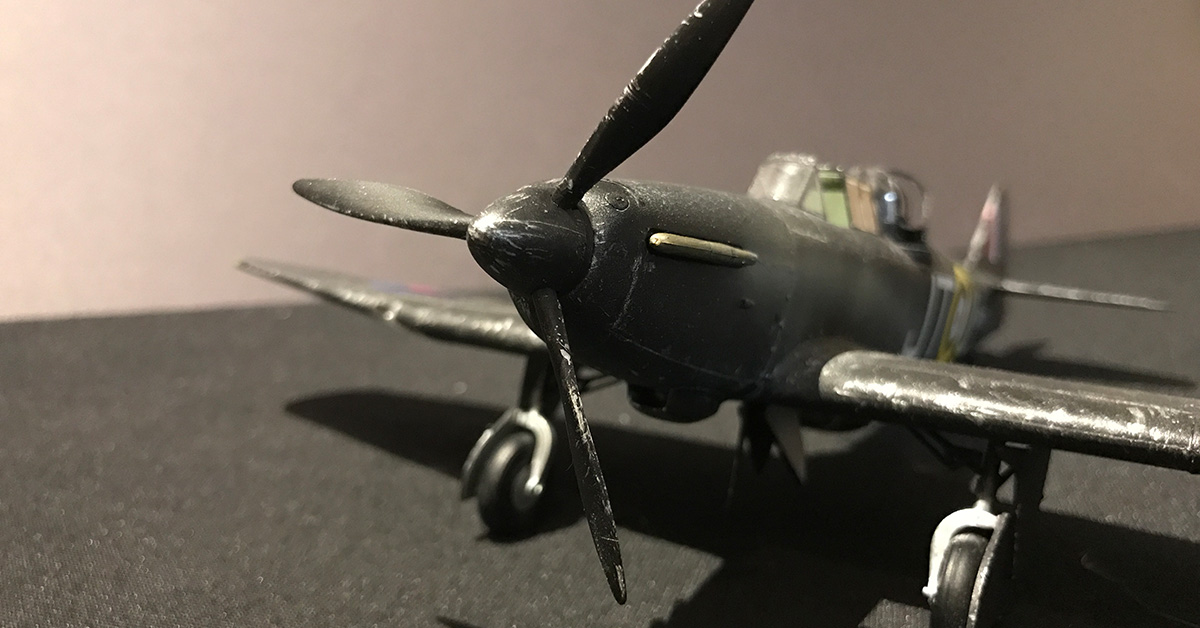
The other method, the one I use, is to paint the metal on afterwards. This can be done with the "dry brush" method or with a rough sponge. Carefully dip the sponge in paint dab it on a surface until it lets off just enough paint and then dab the surface on the model. This last method is perfect for creating the chips made on the front end of a propeller blade for example.
You can also use silver coloured pens to the finer parts. When doing the wear and the tear think about where it happens. Maintenance panels, specially round the fastening screws, walking areas and for fast moving vehicles the front edges.