
| Manufacturer | Great Wall Hobby |
|---|---|
| Scale | 1/48 |
| Scale Mates model info | https://www.scalemates.com/kits/131027-great-wall-hobby-l4807-tbd-1-devastator |
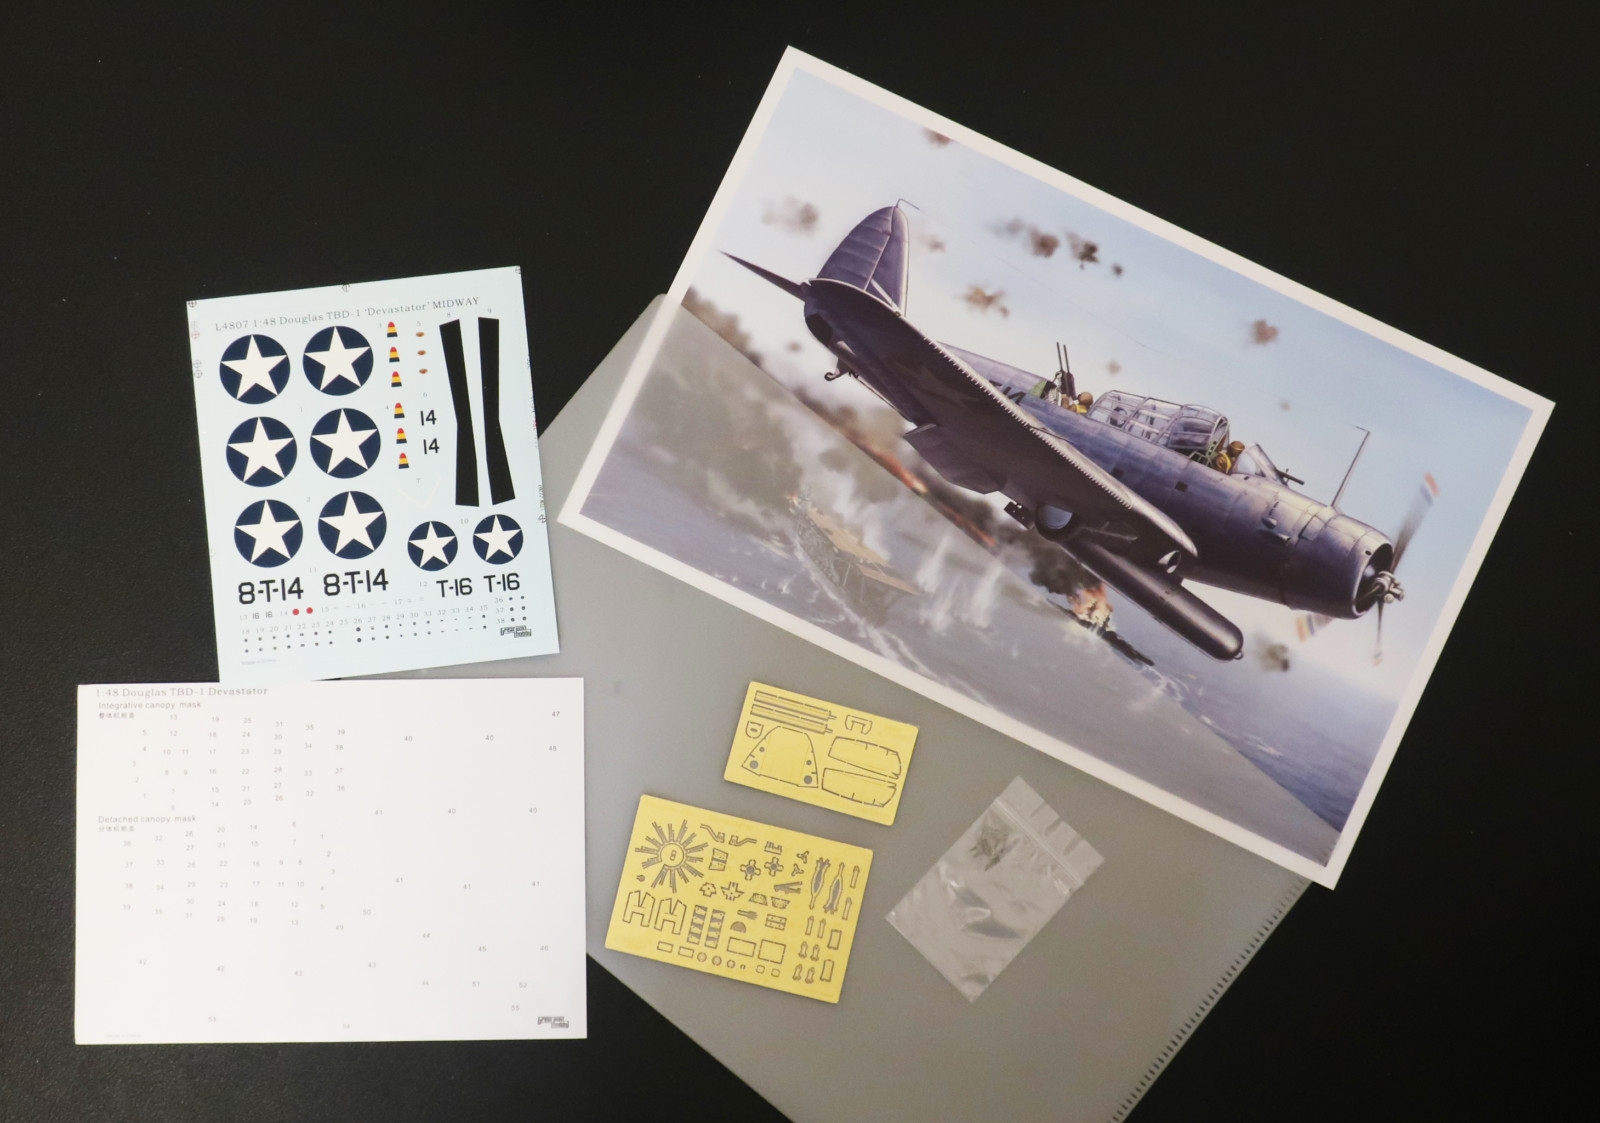
| Content in box | Instruction sheet, plastic kit, etched metal parts, white metal parts, paint masks, box art poster and decals for two individuals |
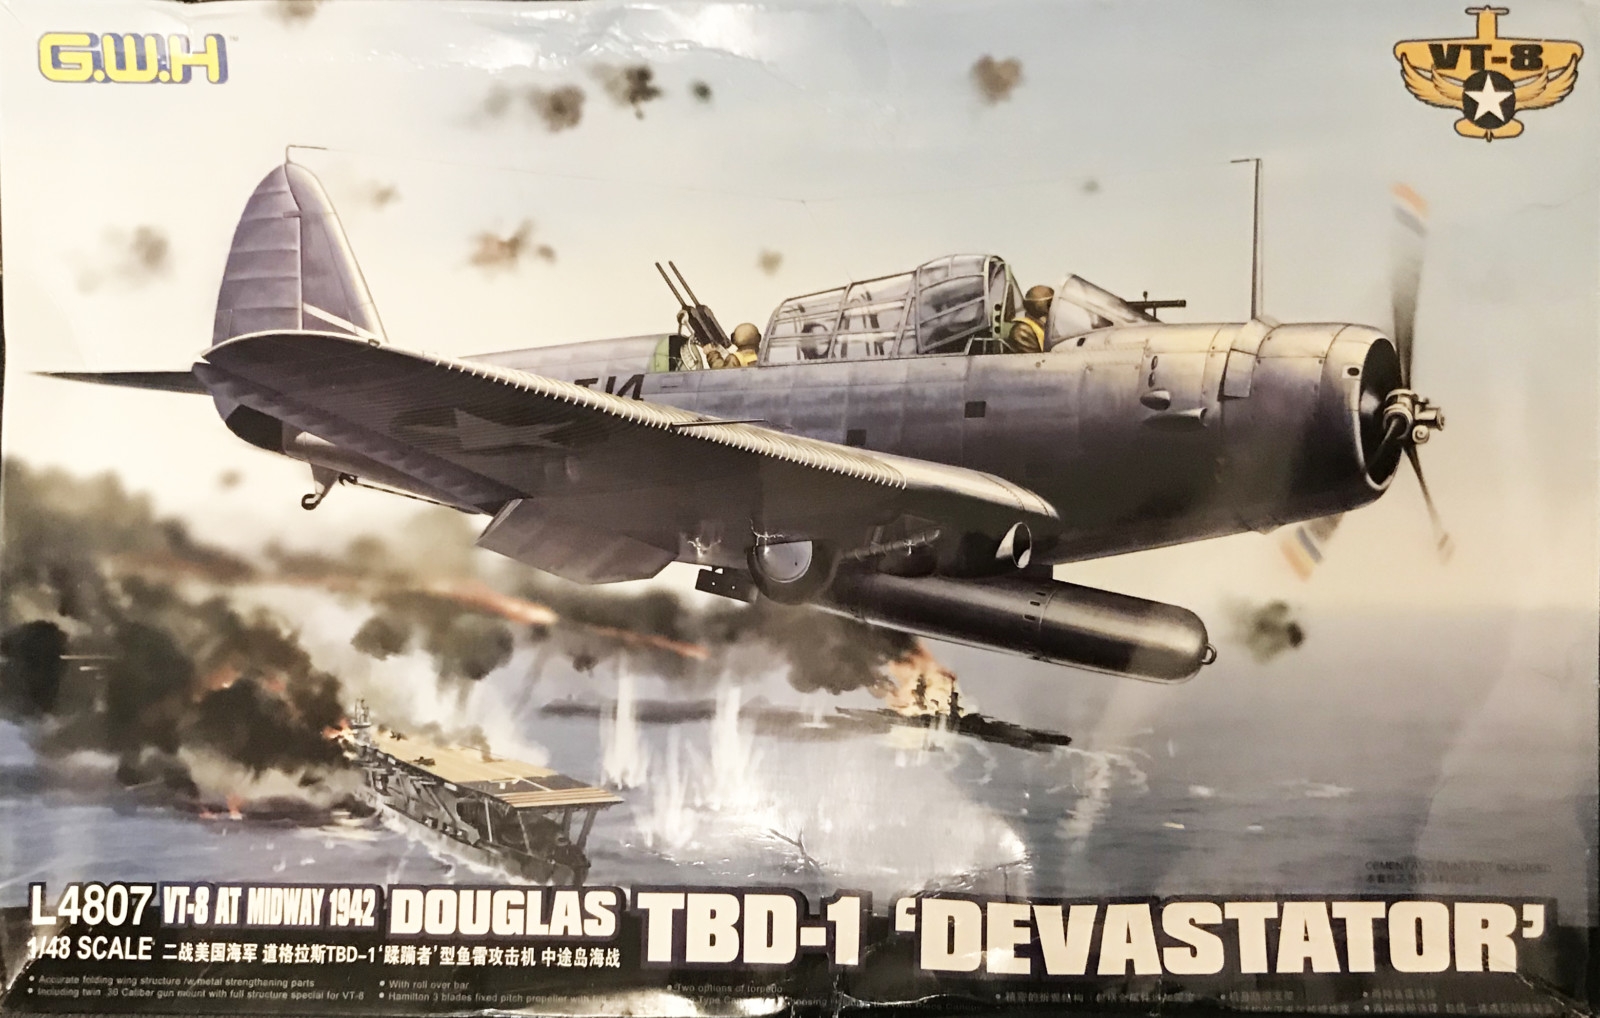
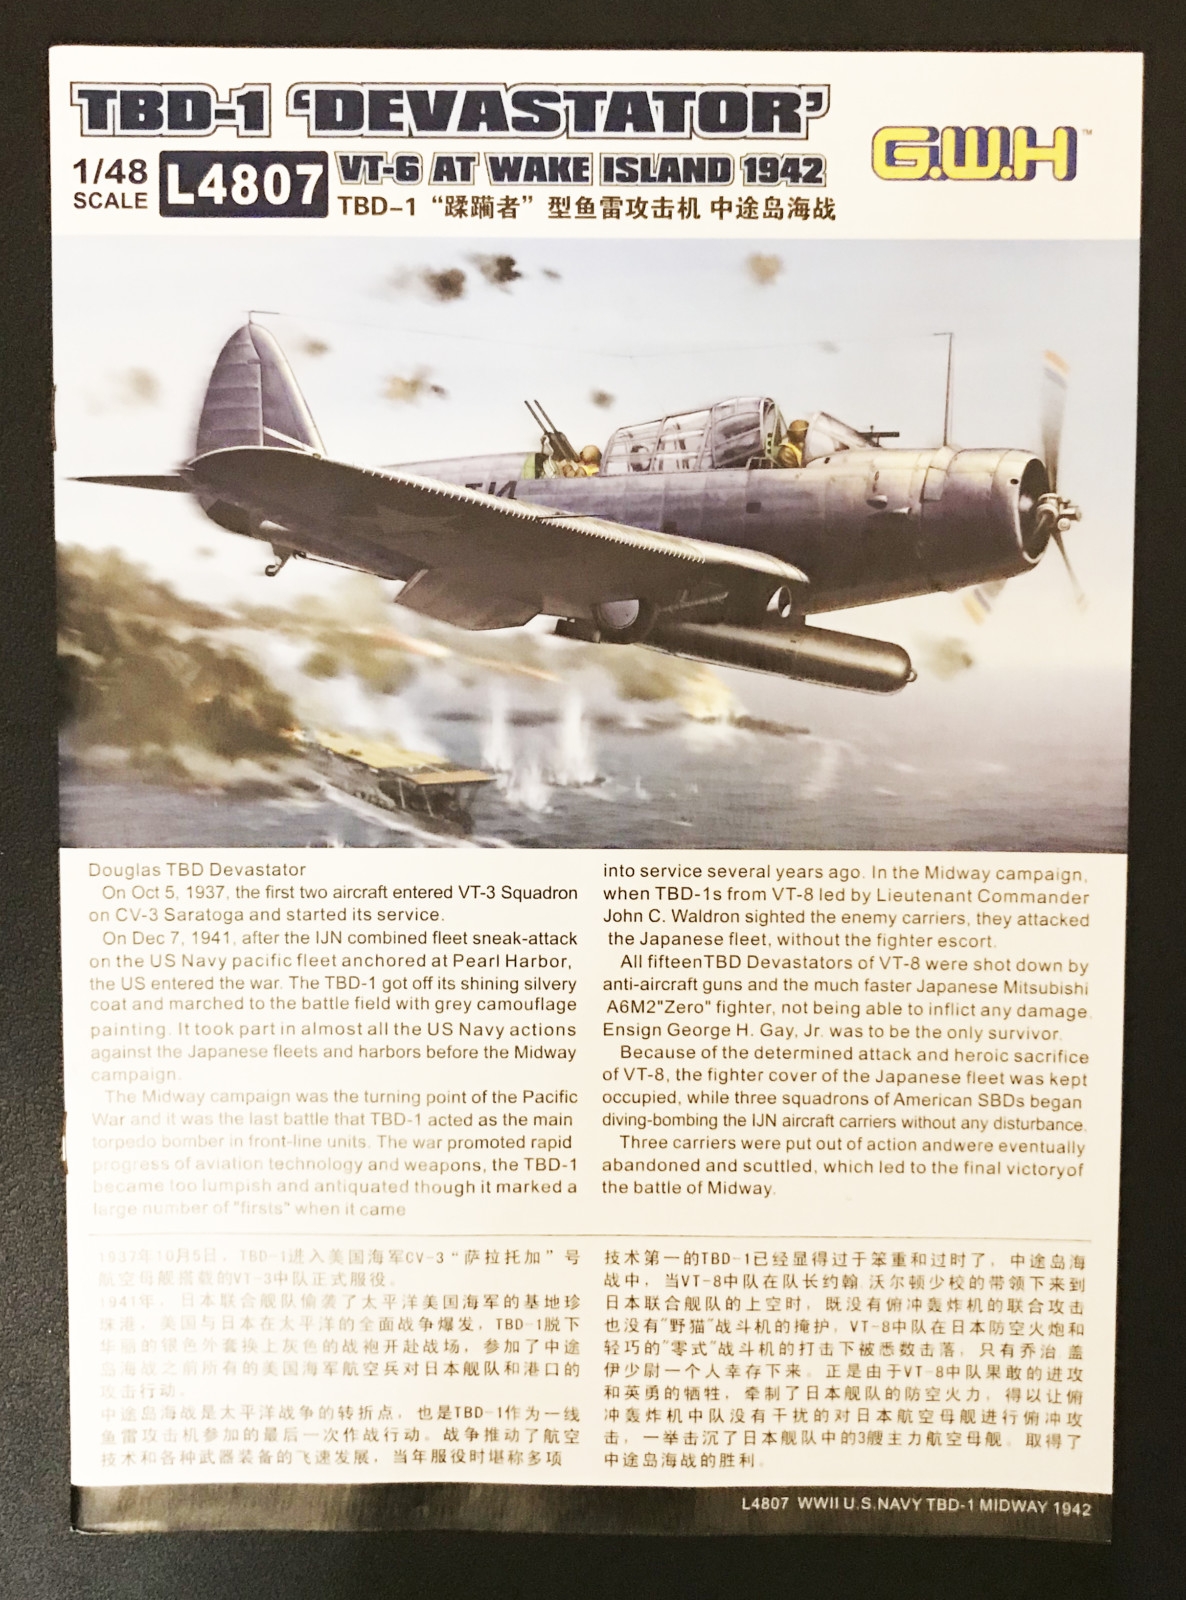
The Douglas TBD Devastator entered service in the U.S. Navy in 1937 and was then a hyper modern torpedo bomber. When the U.S. entered WWII in 1941 it had become outperformed by newer designs, but it was still the mainstay torpedo plane in the U.S. Navy. Early on in the war it had some success and amongst other things Devastators helped to sink the Japanese carrier Shōhō on 7 May in the Battle Of The Coral Sea. Then came the Battle Of Midway when 35 out of 41 Devastator was lost without any scores on the Japanese carriers. After that the Devastator was retired from active service. It was used for training and other odd services back in the U.S. for a while but the last plane was retired and scrapped in 1944. There are no surviving Devastators left in the world today. However there are some four wrecks that are known and some day maybe they get around to a restoration project.
Searching for a suitable Devastator to build for my Battle Of Midway project I stumbled over this kit. The kit is not generally available any more but can be found at Ebay, as I did. It has been issued in three versions by Great Wall Hobby. This version of the kit is rich. Spruces are crisp and well moulded, there is etched metal parts and metal arms for a folded wings. There is also a big paint mask sheet not only for the clear parts but also for national insignias should you want to paint them instead of using the decals. You even get a small poster with the box art in a plastic sleeve.
The only extra I bought this time was a paint mask for the clear parts (which was marginally better than the one in the kit, but not really needed):
 |
 |
 |
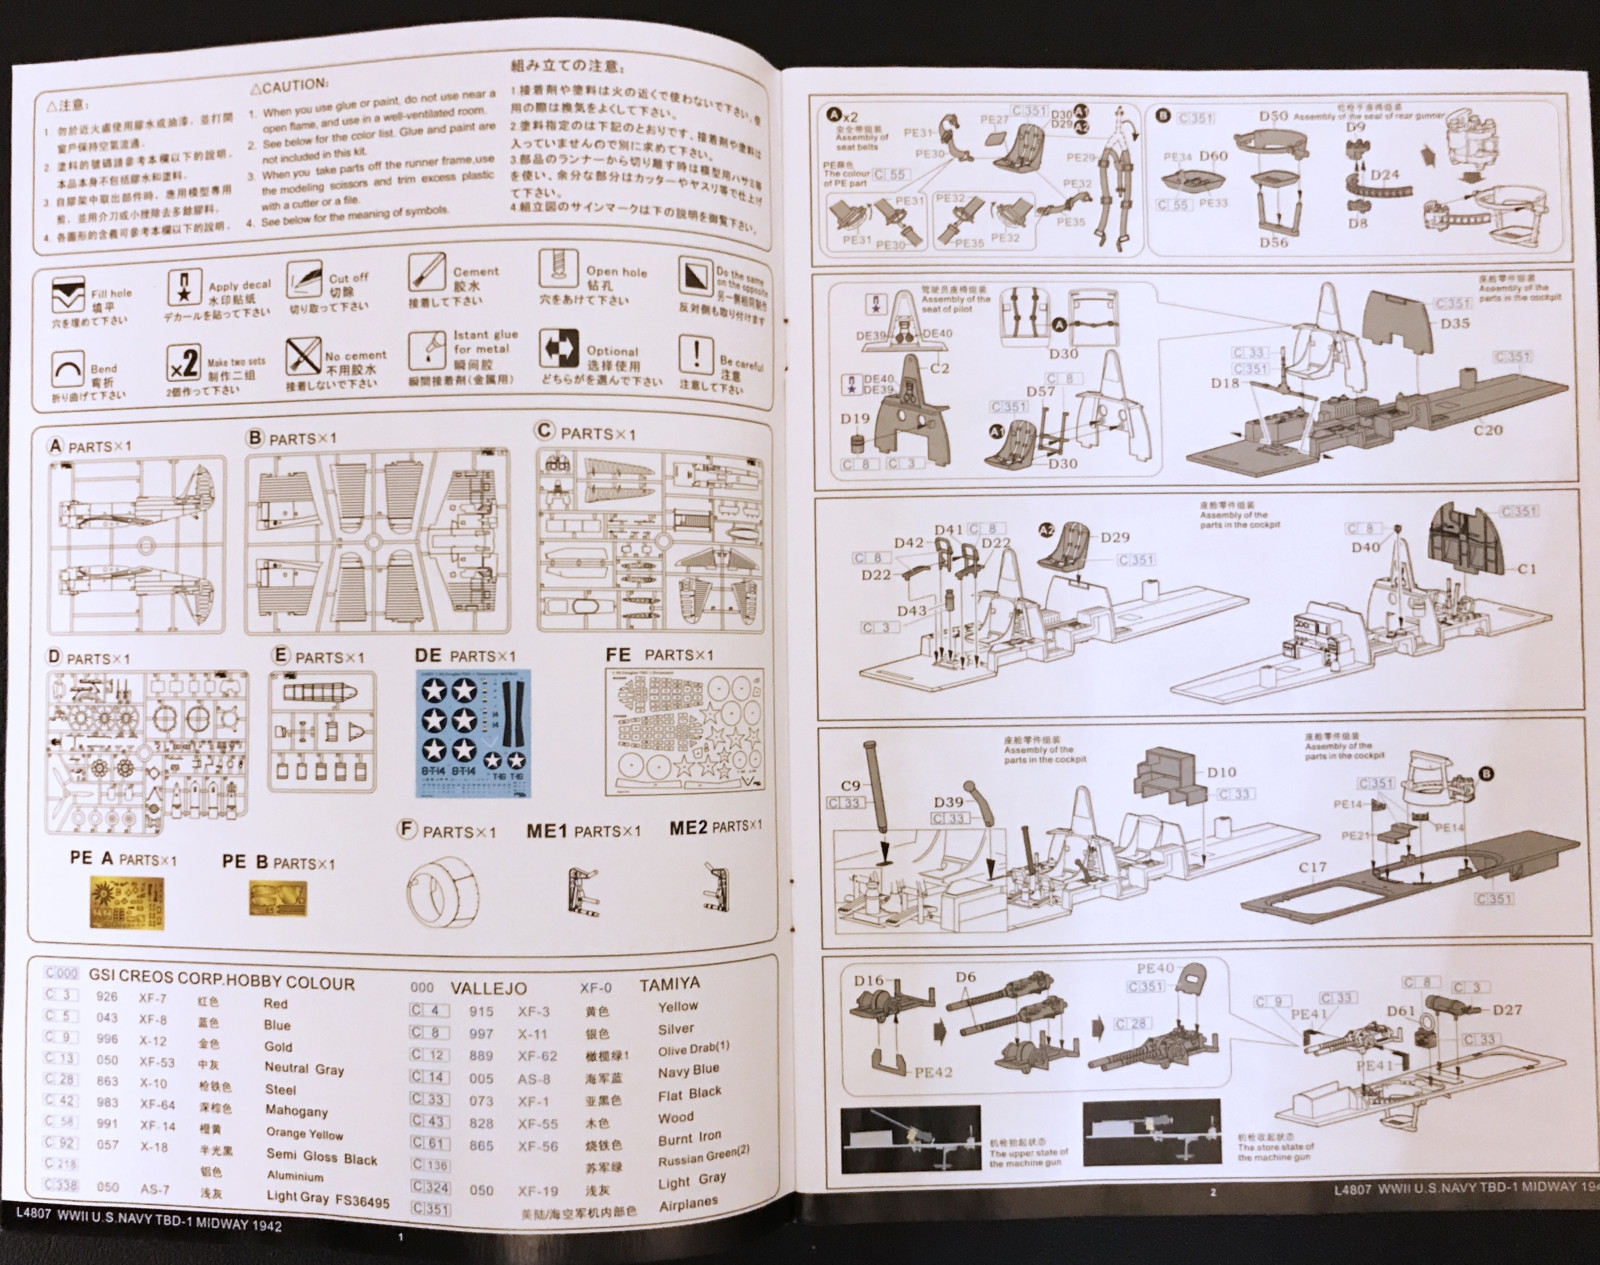 |
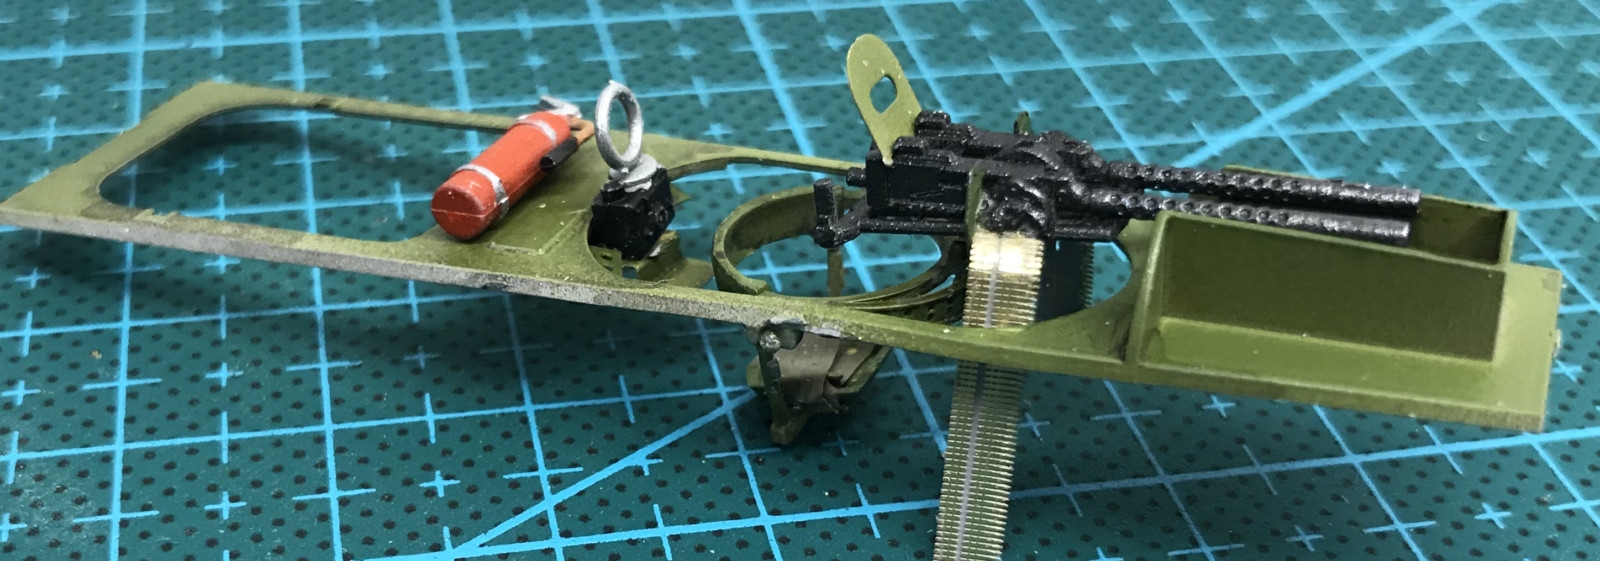
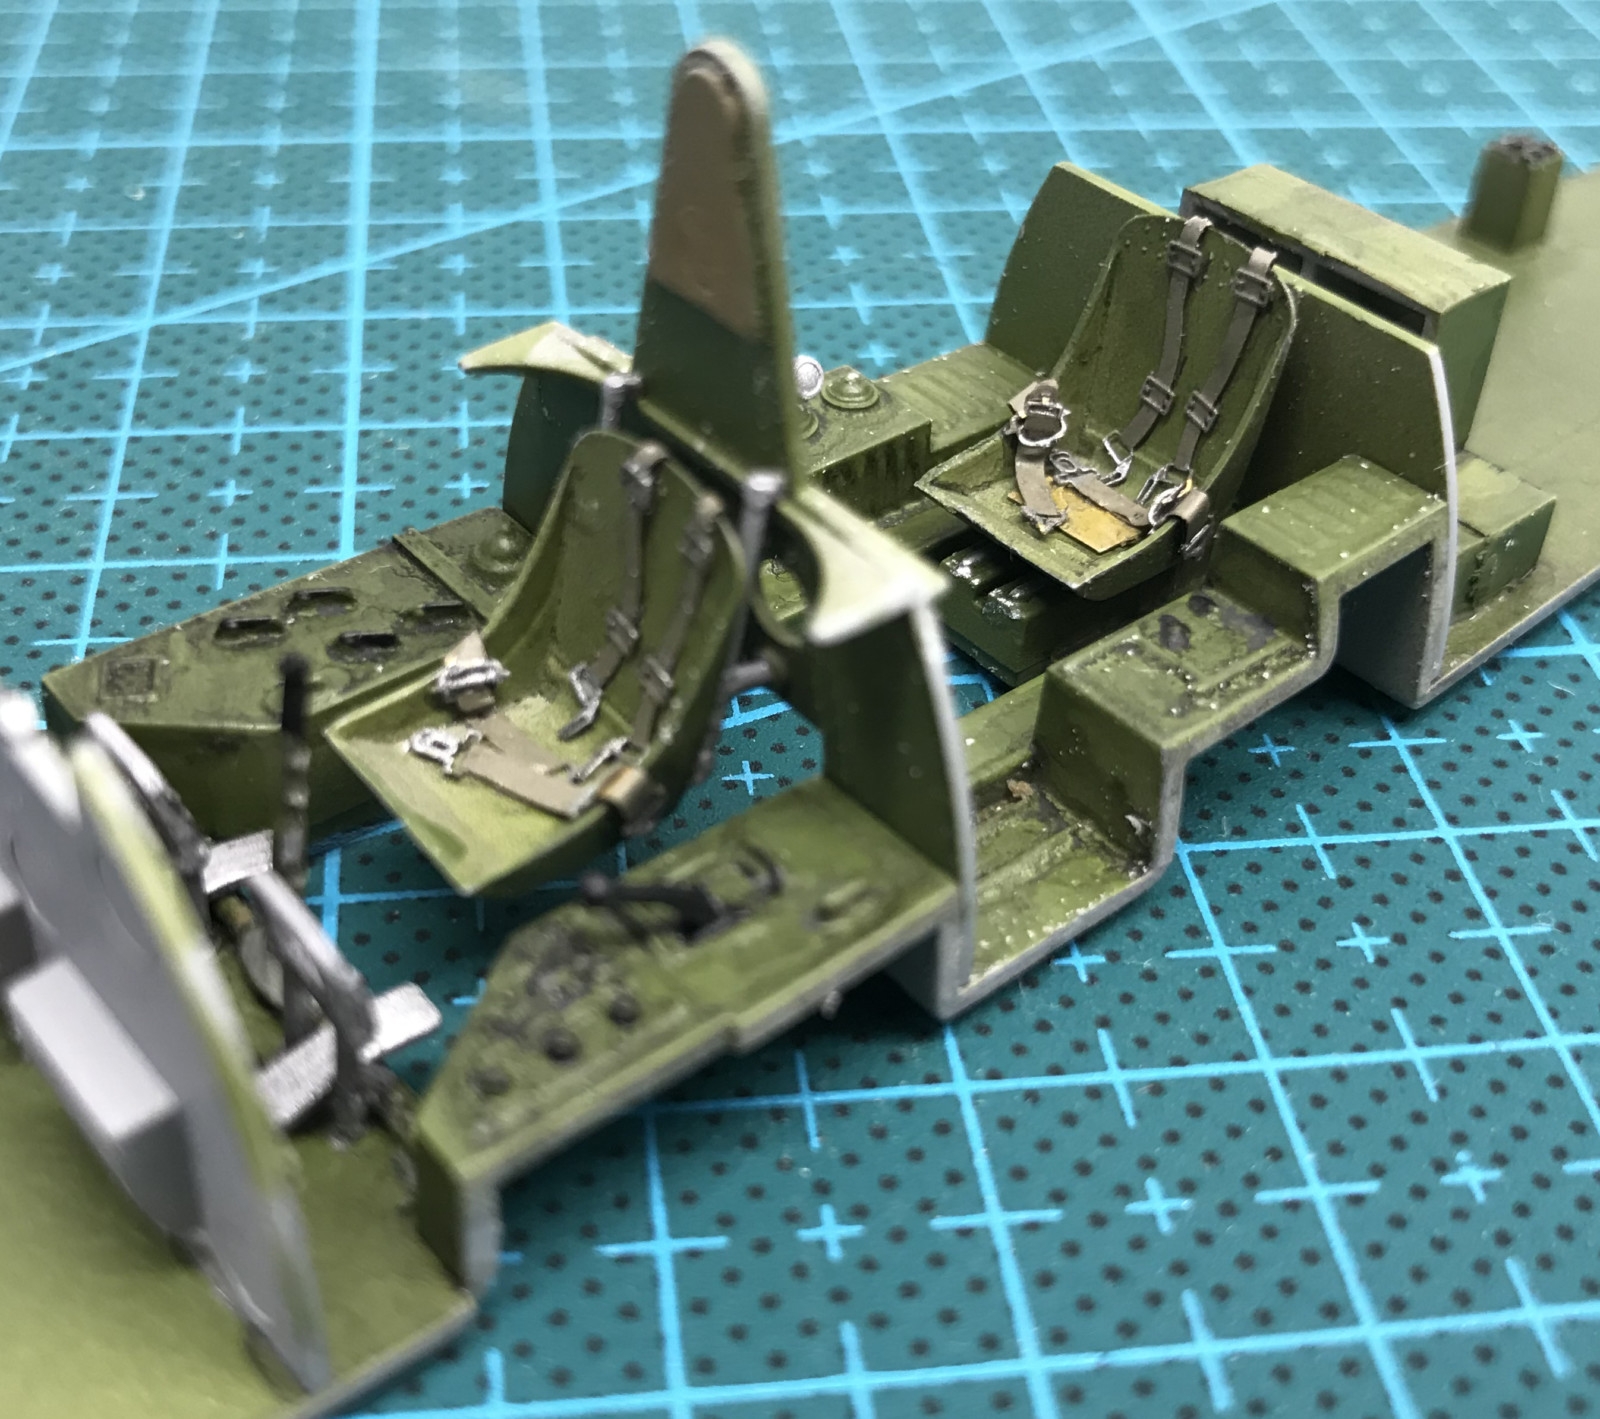
We start off with the cockpit. The etched parts needs to be pre painted for a good result and that specially goes for the seat belts. There is a lot of small parts, plastic and metal, that goes into the cockpit. The rear gunners seat and gun mount is a fragile thing and needs to be handled with care. I lost count on how many times I had to glue things back even if I tried to handle it carefully.
The foot pedals for the pilot is a bit over sized but I kept them in.
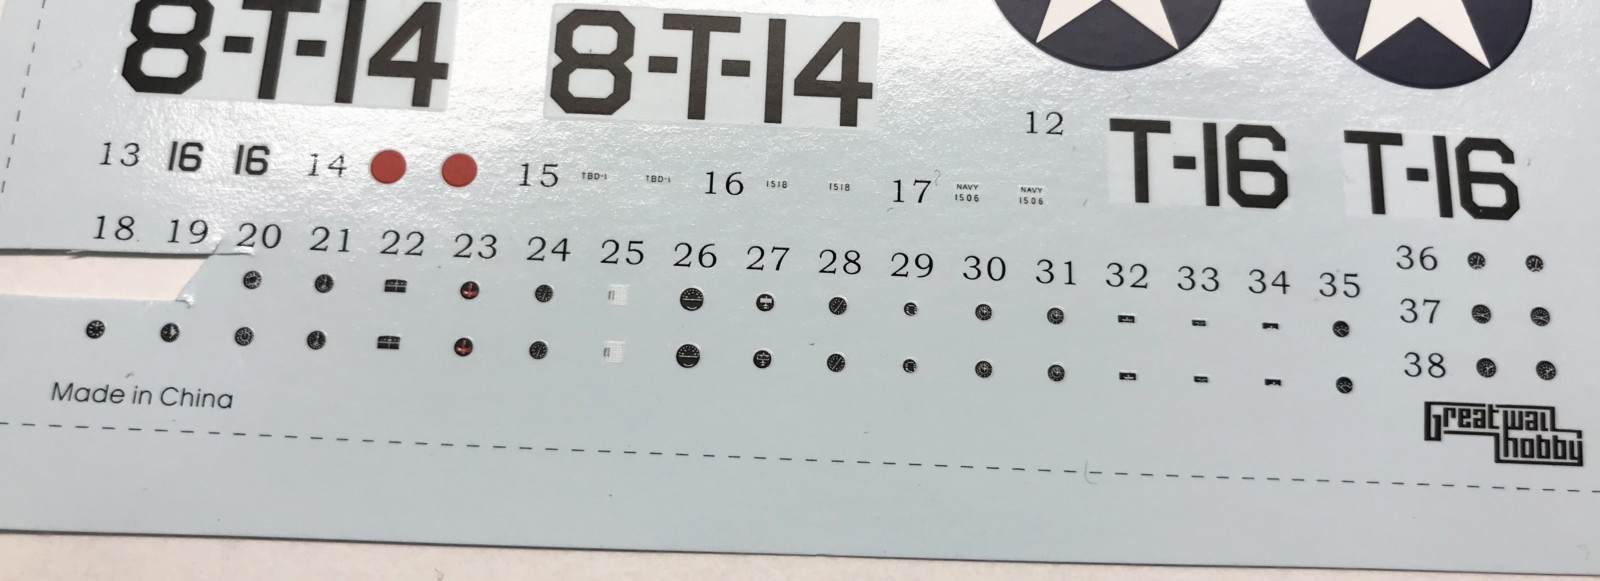
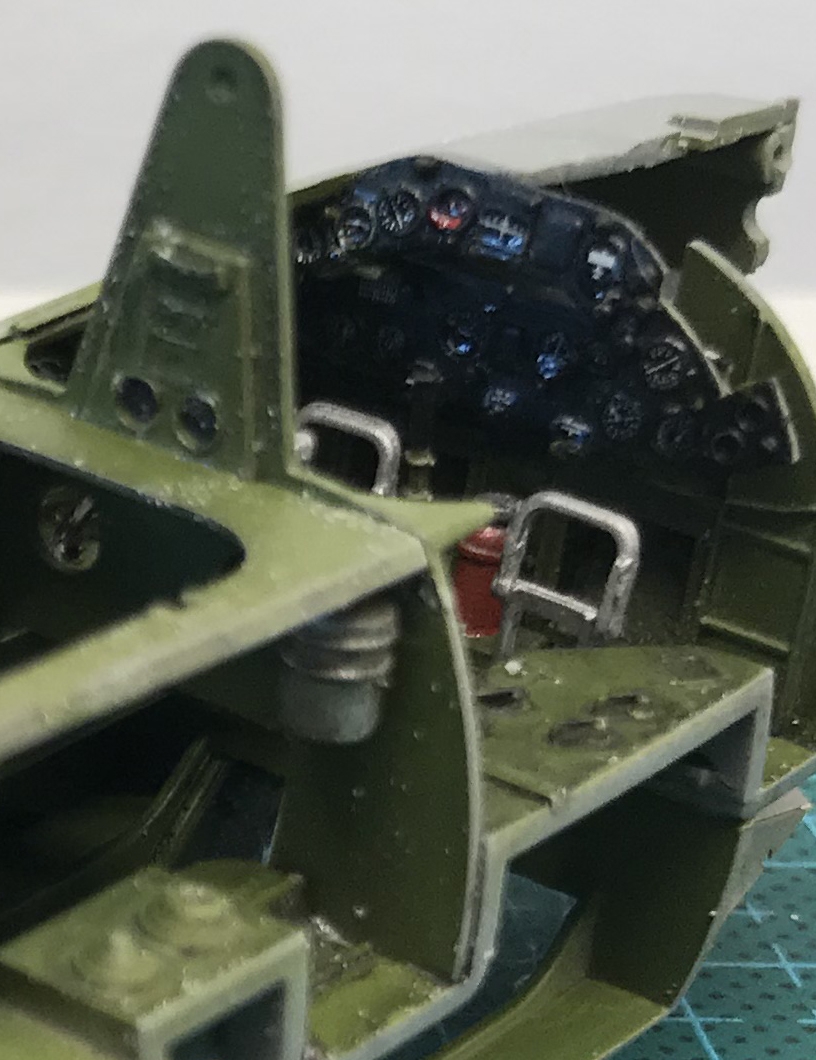
There's decals for the instrument panel. But get this: it's not a decal for each panel, it's decals for each and every instrument. This makes sense for a model in scale 1:24 but in scale 1:48, well... Also the detailing on the panels are raised quite distinctly which makes it even harder to adhere the decals. Too late I realized I should have filed them down before wetting the decals. A magnifying glass, a pin, a brush, Micro Sol and patience did the trick though.
 |
 |
 |
 |
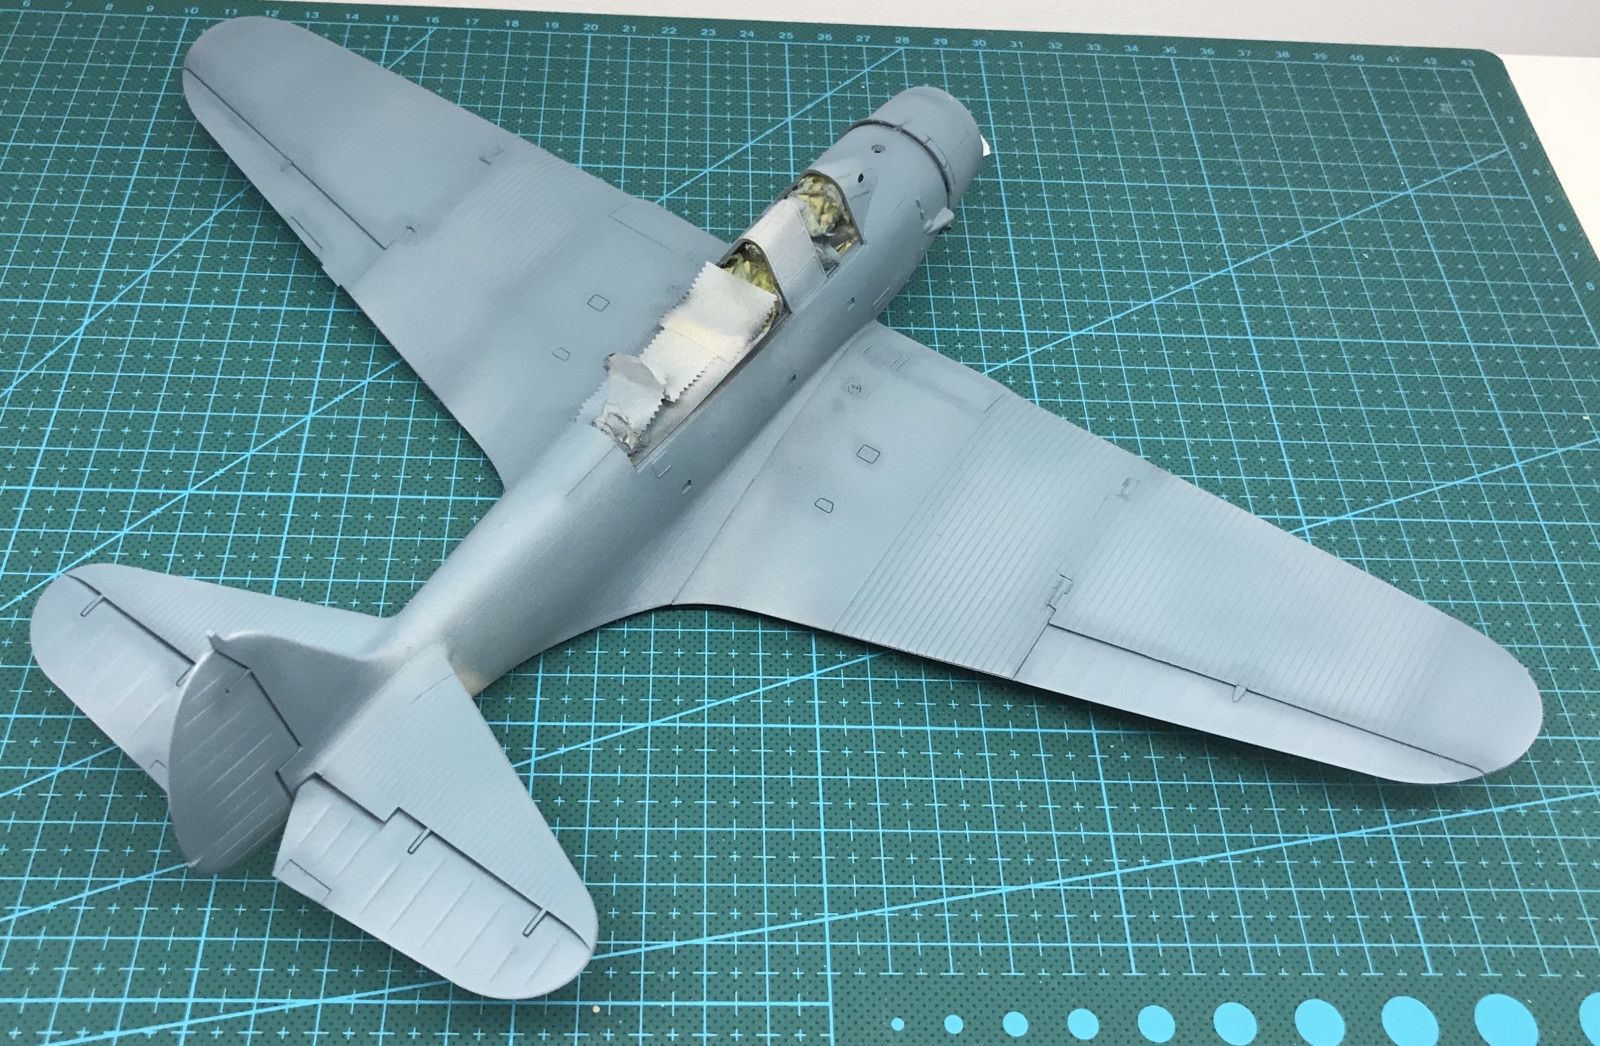
The fit is good on this kit. But if you don't watch out there materializes small gaps in the joints so rubber band and clamps are recommended. This is very true for the fuselage with all it's content.
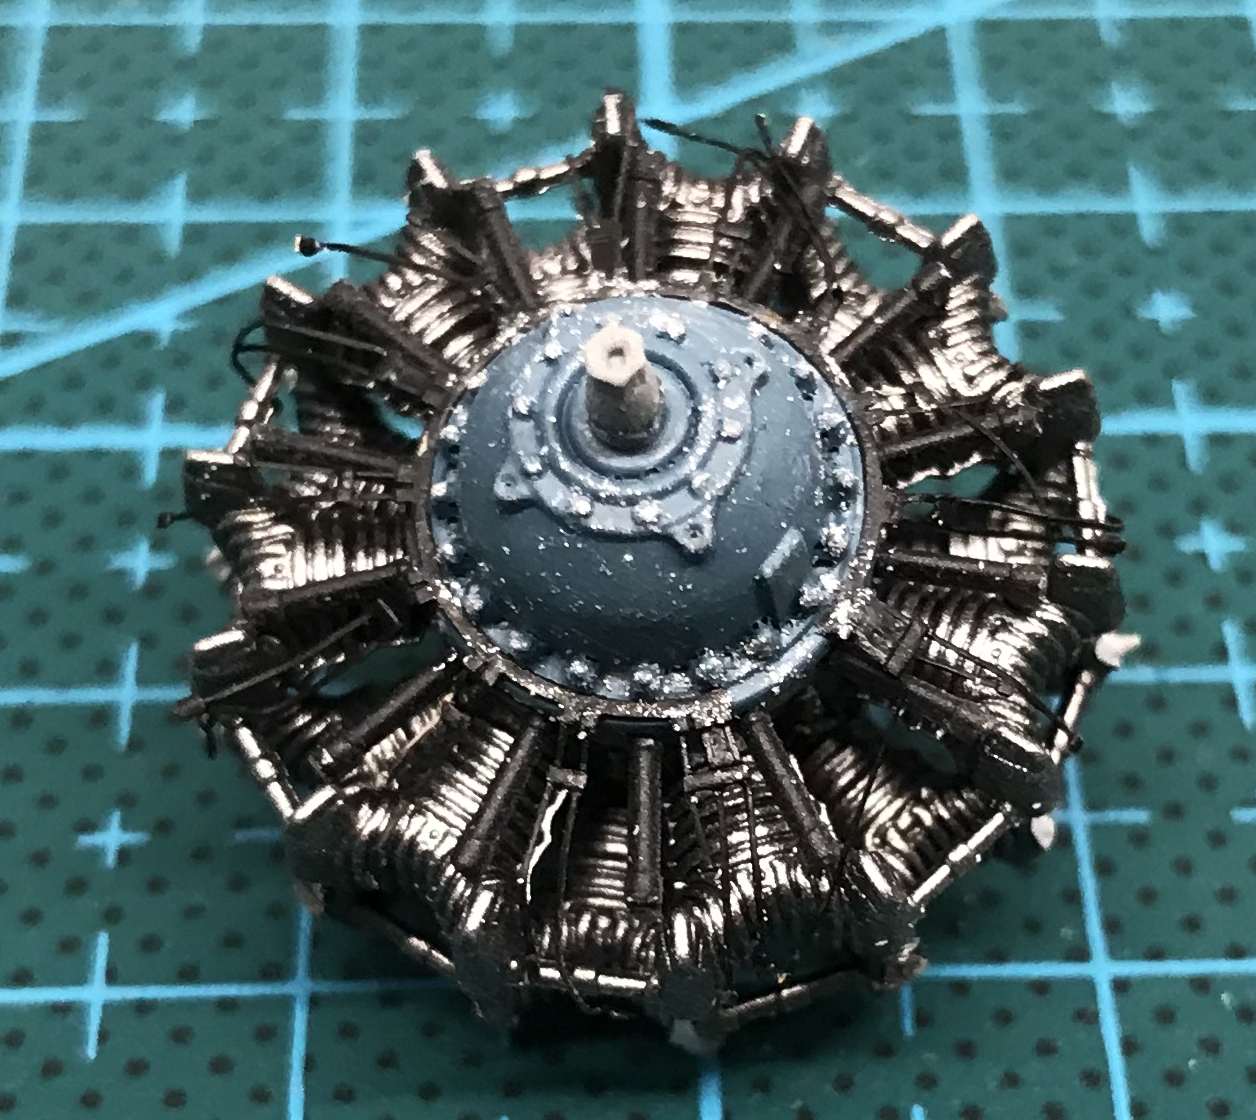
After closing the fuselage it's time for the engine. It can be a bit intricate with all the pipes and wires but the end result is gratifying.
The wings can be mounted extended or folded. Some effort have been put into detailing the inside of the joints with metal arms etc. so it feels a shame to build the kit with the wings extended. But I have made a decision to build all my Battle Of Midway carrier planes ready for flight so I stuck to that.To build them extended is not that easy though because to have the folded version look good there is no guiding parts to keep the wings in place when building them unfolded. With some tape and Tamiya's Extra Thin Glue I got it sorted though.
 |
 |
 |
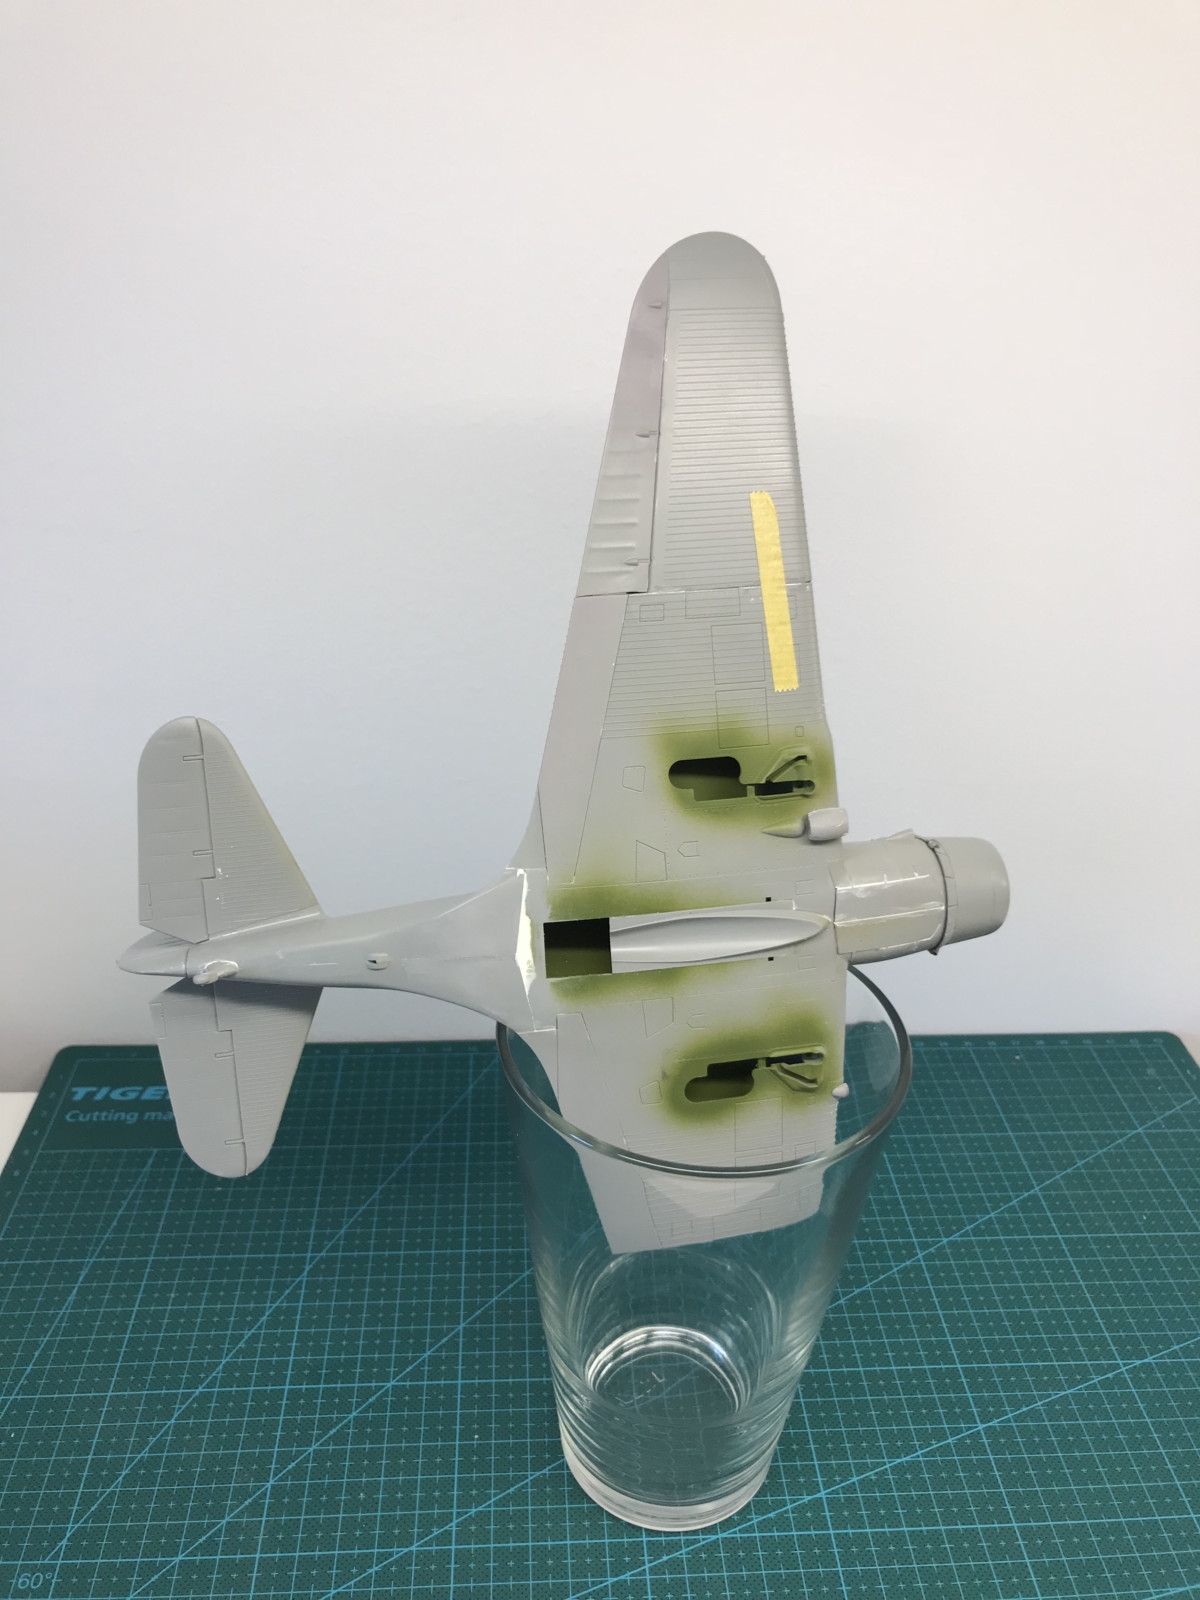 |
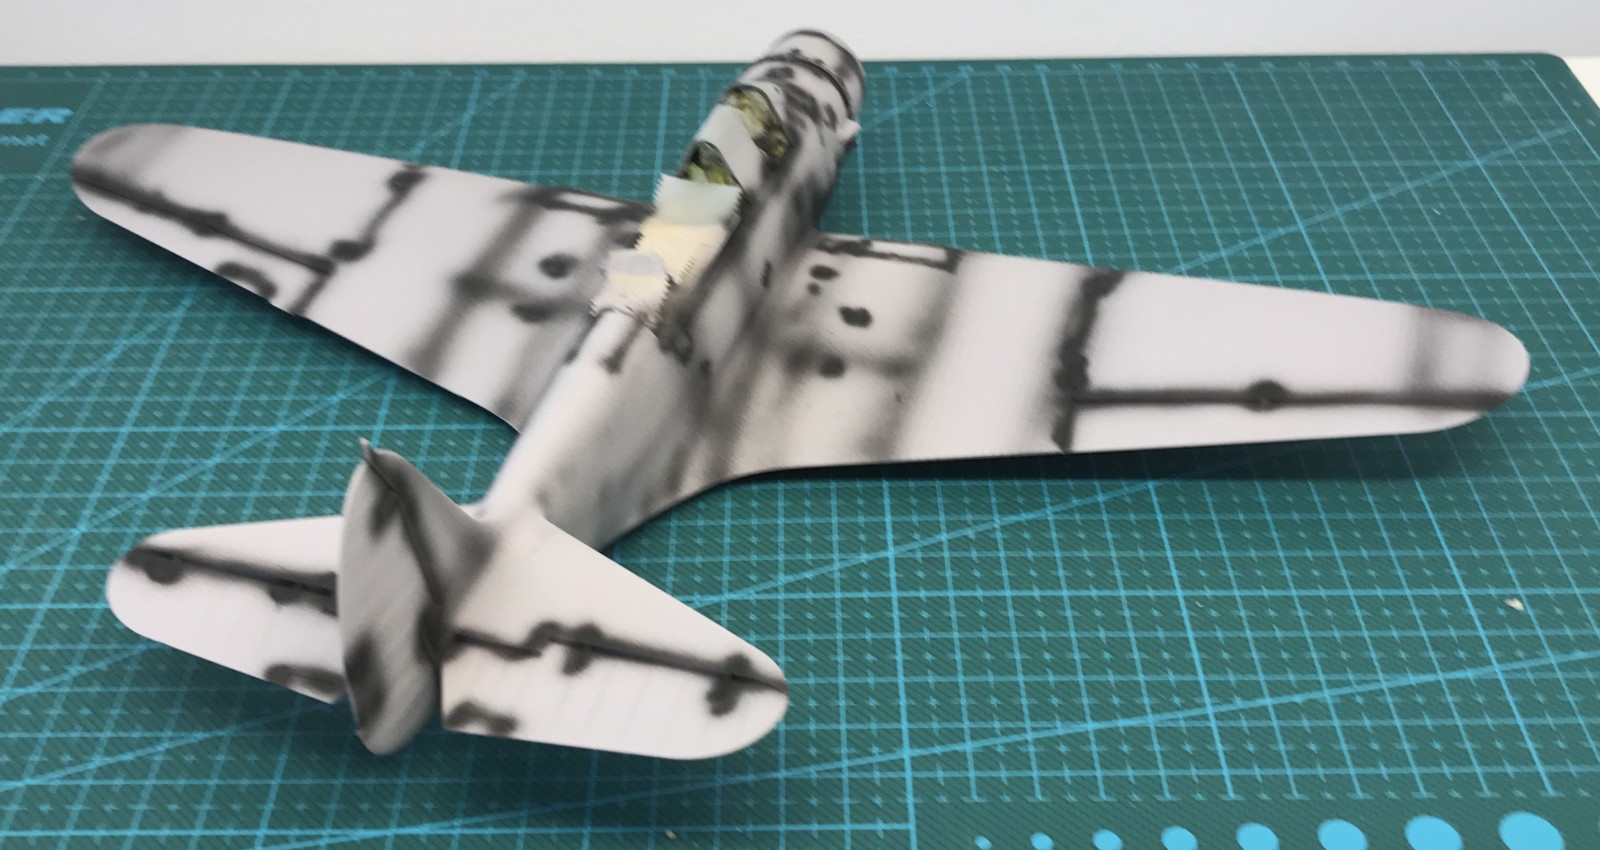
For once I decided to pre shade this kit before applying the paint coat. I was a bit inspired by the coloured instructions that had this impression.
Doing a Battle of Midway Devastator they had the standard U.S. Navy colours of 1942 so I used the following colours from Vallejo's Model Air series:
 |
 |
 |
 |
The disappointment in this kit came with the decals. They are thick and stiff and does not conform well to the surface. I used Micro Sol but still they resisted. They rather broke than conformed. I quickly realized why they'd included the paint masks for the national insignias. So for the first time ever I decided to try masks rather than decals. I also resorted to paint the propeller blade tips as the decals for these were really not an option in that quality.
There is a choice of two different torpedoes and no real indication of which to use to be correct. But using pictures of Midway Devastators and looking at the colouring instructions I deduced that I should use the first one (grey and silver).
The landing gear can be built either extended or depressed. Extended for retracted gears (or airborne versions) and depressed for a plane on the deck loaded with a torpedo. Even if the instructions indicates this and show which parts to use for both versions. The parts for the depressed version is not showing on the sprue map in the instructions and, as it turns out, is cut away from the sprue. Now this is a mystery. I bought the kit still sealed and the sprue map shows that someone at (presumably) Great Wall Hobby has decided to remove them but forgot that they still show in the instructions. As I want to do the kit standing on deck I carefully cut away part of the gear in the right place and glued it together again, shorter. This makes them more fragile than otherwise but what don't you do for correctness?
This is a good kit with a lot of detailing included. It's fun to build and I think the result is splendid. It's a shame that the decals are so low quality. Some after market decals would be a good choice here but if you want to do Lt. Gay's Devastator there's no available alternative.
| Difficulty* | 4 |
|---|---|
| The good | It's a good representation of the Devastator. The kit is full of extras and a pleasure to build. They've even included a poster. |
| The bad | The decals are thick and stiff. It's almost impossible to have them adhere well to the surface. |
*) On a scale 1-5 where 1 is easy and 5 is really hard.


