| Manufacturer | Airfix |
|---|---|
| Product # | A09185 |
| Scale | 1/48 |
| Scale Mates model info | https://www.scalemates.com/kits/airfix-a09185-hawker-hunter-f6--1121431 |
| Content in box |
|
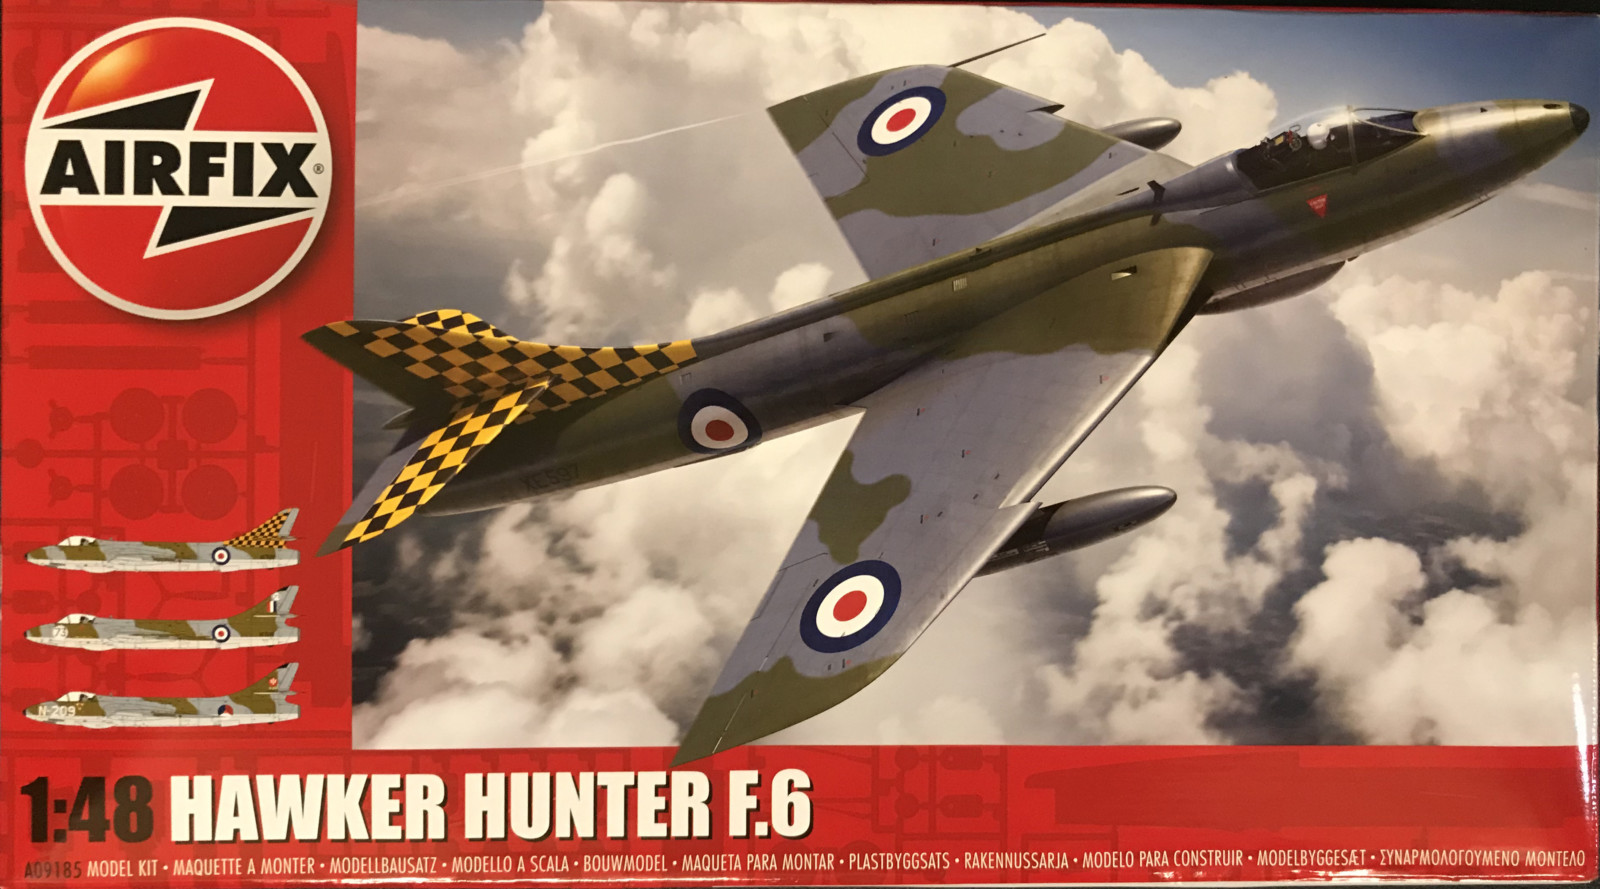
When I'm writing this the kit is quite new, released in January 2019. The first impression is that it's up to Airfix later standard. Also it is obvious that, as they usually do nowadays, it's designed to easily be re-released in other versions later with a few changes. The kit is well moulded with fine panel lines and the small parts are delicate enough. To improve on this you really need metal etched and/or resin parts. But first impression is that it's not really needed.
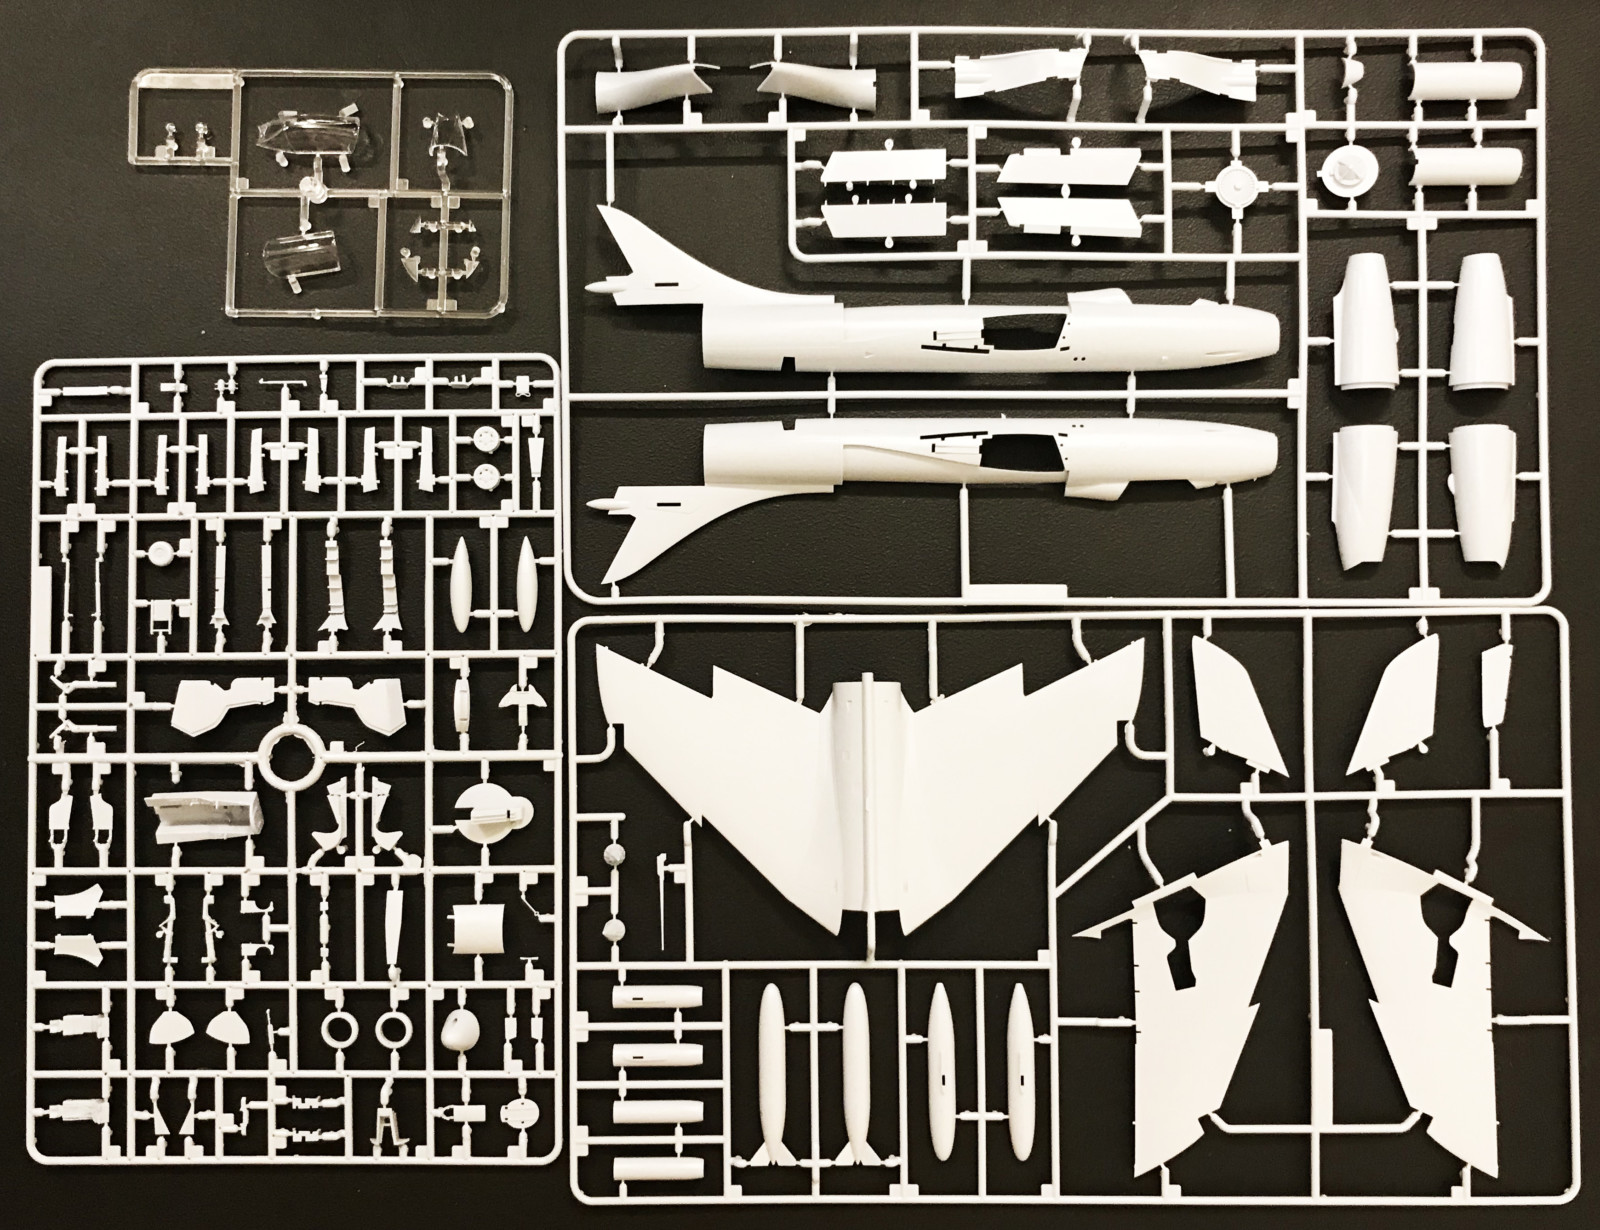
There are three large spruces with a lot of parts. Airfix had unfortunately not learned the art of designing the sprue attachment to the parts in a way to minimize the risk of damaging the part at the attachment. You have to cut the parts away carefully and then file away the residue.
The decal sheet has decals for three different markings:


After having done a few kits with a challenges this one was an enjoyment to build. The parts just slips together, they're always constructed in a way so there's no doubt about how they should fit. The instructions are very pedagogic and clear. I originally bought the kit to convert it to a F.4 serving in the Swedish Air Force but soon I realized that Airfix will release the F.4, even with Swedish decals, later this year so I decided to build this one straight out of the box. No extras, I would even use the original decals.
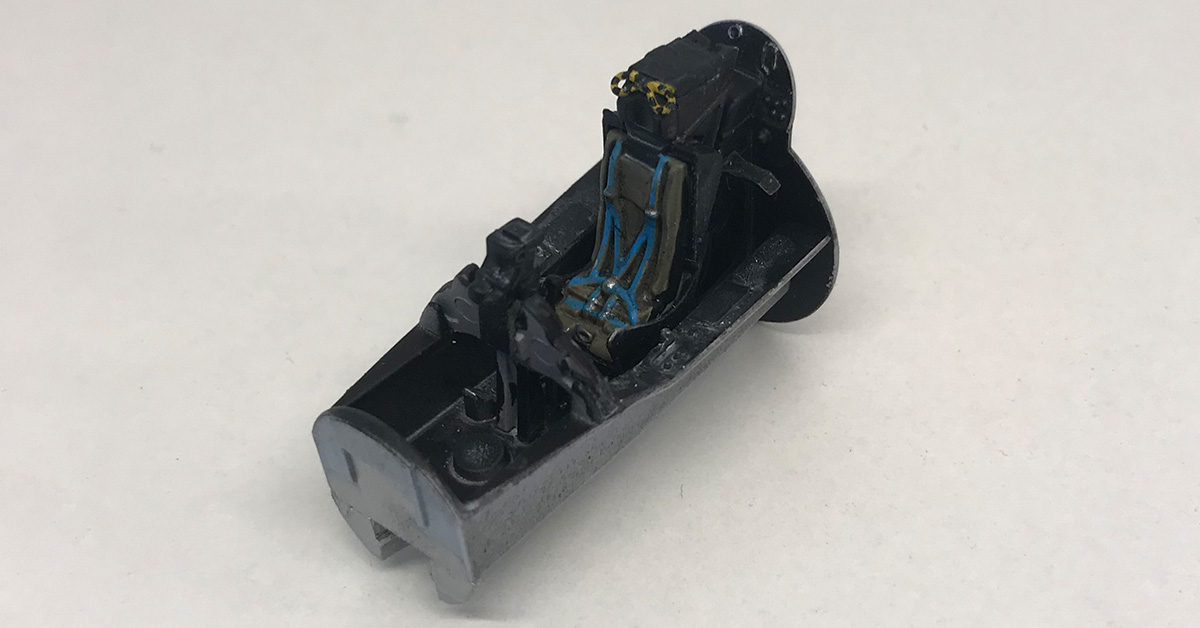
The cockpit is fairly standard. The seat comes in two versions, one with and one without seatbelts. That's nice as the manufactures usually leaves the seat belts out entirely. Personally I like to add etched metal or fabric belts but since I wasn't going to use any extras this time I went for the version with. You can argue that the belts on this is too raised but it makes them easier to paint and with some grey wash they look okay. The instrument panel comes with a decal for the instruments (i.e. the dials on a transparent decal) but there's also heavily raised dials on the panel so either you use Micro Sol on the decal or file the down. I used the first method. The entire cockpit is in black. To make it come alive a bit I used white wash to make it look a bit more used.
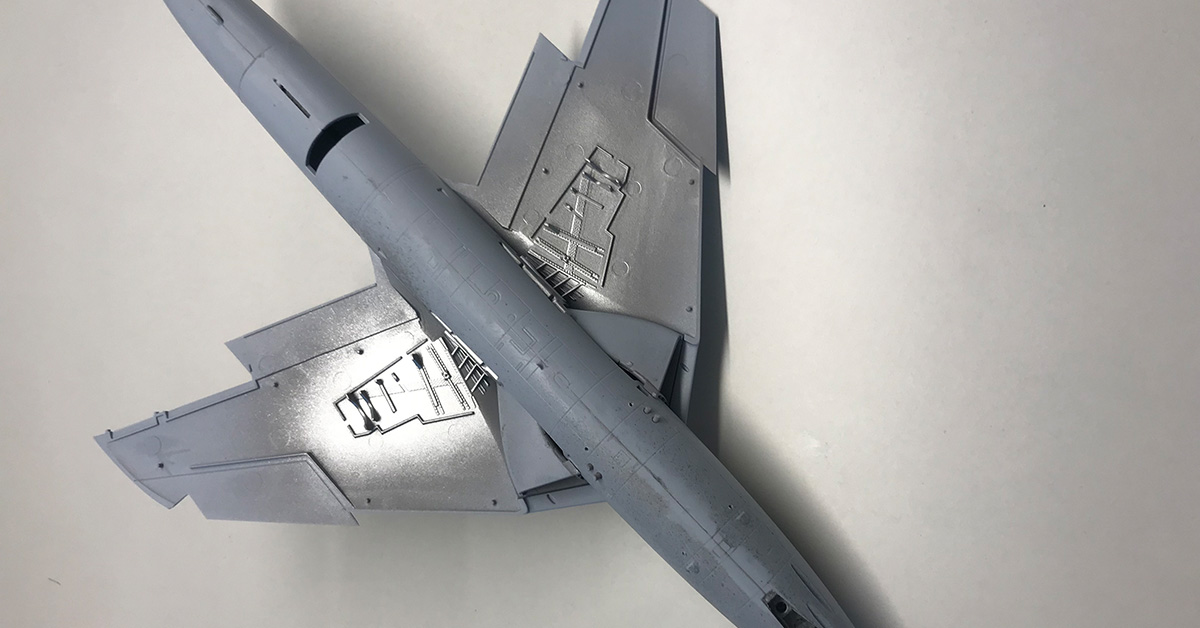
The air intake to the engine is elegantly handled in this kit. You put them in place first and mount the wing parts around them later. My fuselage halves was not entirely straight but no worse than it couldn't be fixed with rubber a band and clamps. The tail part is separate (there is actually two versions included in the kit but the second one must be for a future release as it's not used in this version). The wings are a bit unusual as the top part comes as one and is mounted first. Then you place the walls for the landing gear compartment. And then you put the two under halves in place. The landing gears are constructed in a way that enables you to fix them after painting the kit. This is highly appreciated.
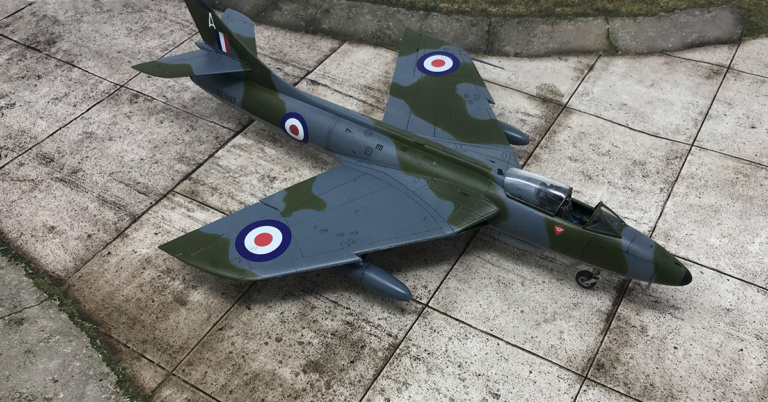
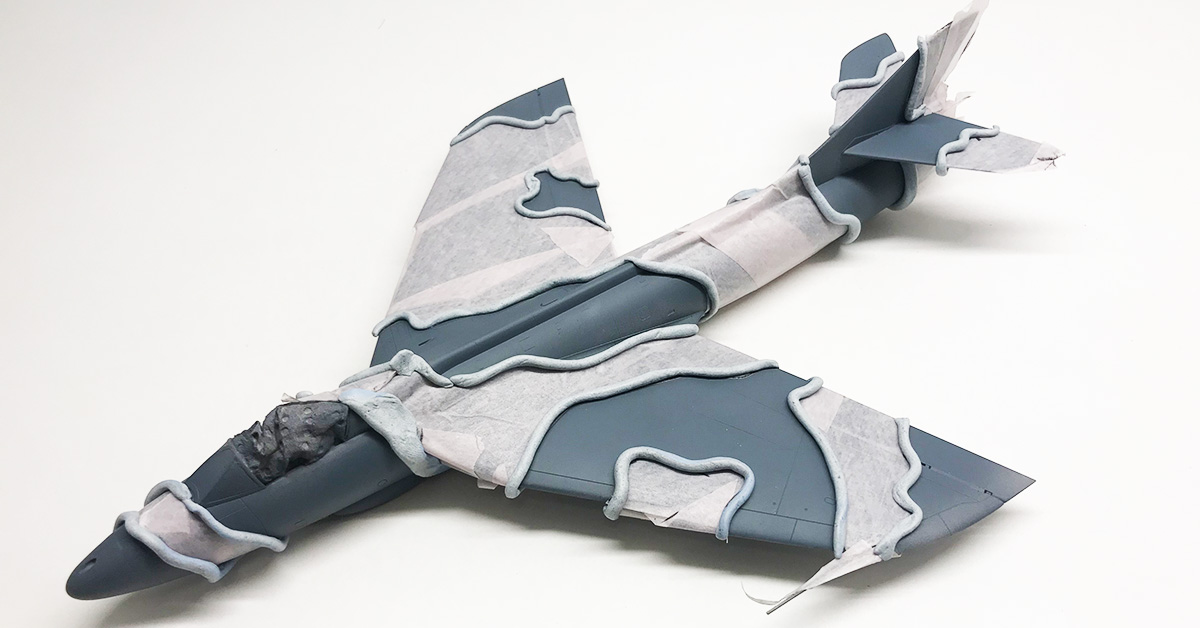
I opted to do the first version, the 4FTS Bawdy XF418, but with it's normal scheme (not the Battle of Britain memorial tail). The scheme is a bit unusual as it is camouflage on top but bare metal underneath. I had to hunt around a bit to find the right colours as I'm using Vallejo's Model Air but after some searching on the internet looking at reference charts and pictures I settled for:
Giving it a glossy coat it was time for the decals. Now, there's a lot of those. If you bother with all the small texts there's some 100+. It took me an afternoon and some really good magnifying glasses.
The main under carriage with bay doors can be a bit fiddly to get in place but it's constructed in a way so that they will sit exactly right and steady. The only real fix I did on this kit (beside the standard joint fixing which was really easy on this one) was to drill small holes in the pipes coming out just behind the blisters on the front of the fuselage, they're solid in the kit.
I really enjoyed this kit! It's well constructed and unambiguous. The fit is good and it almost slips together. I'm looking forward to Airfix's release of the F.4 version of this kit. The only things I go for as after market stuff that time will be a resin pilots seat, a metal pitot tube and maybe some metal etched parts but really just to replace the small stabilizers on the extra tanks which are quite thick on the kit.
A modern release of the Hawker Hunter with good fit, smart construction solutions and decent detailing.
No biggies really, the only thing I can think of is the thick stabilizers on the extra tanks.


