| Manufacturer | Trumpeter |
|---|---|
| Product # | 02408 |
| Scale | 1/24 |
| Scale Mates model info | https://www.scalemates.com/kits/trumpeter-02408-messerschmitt-bf-109-g-6--142742 |
| Content in box |
|

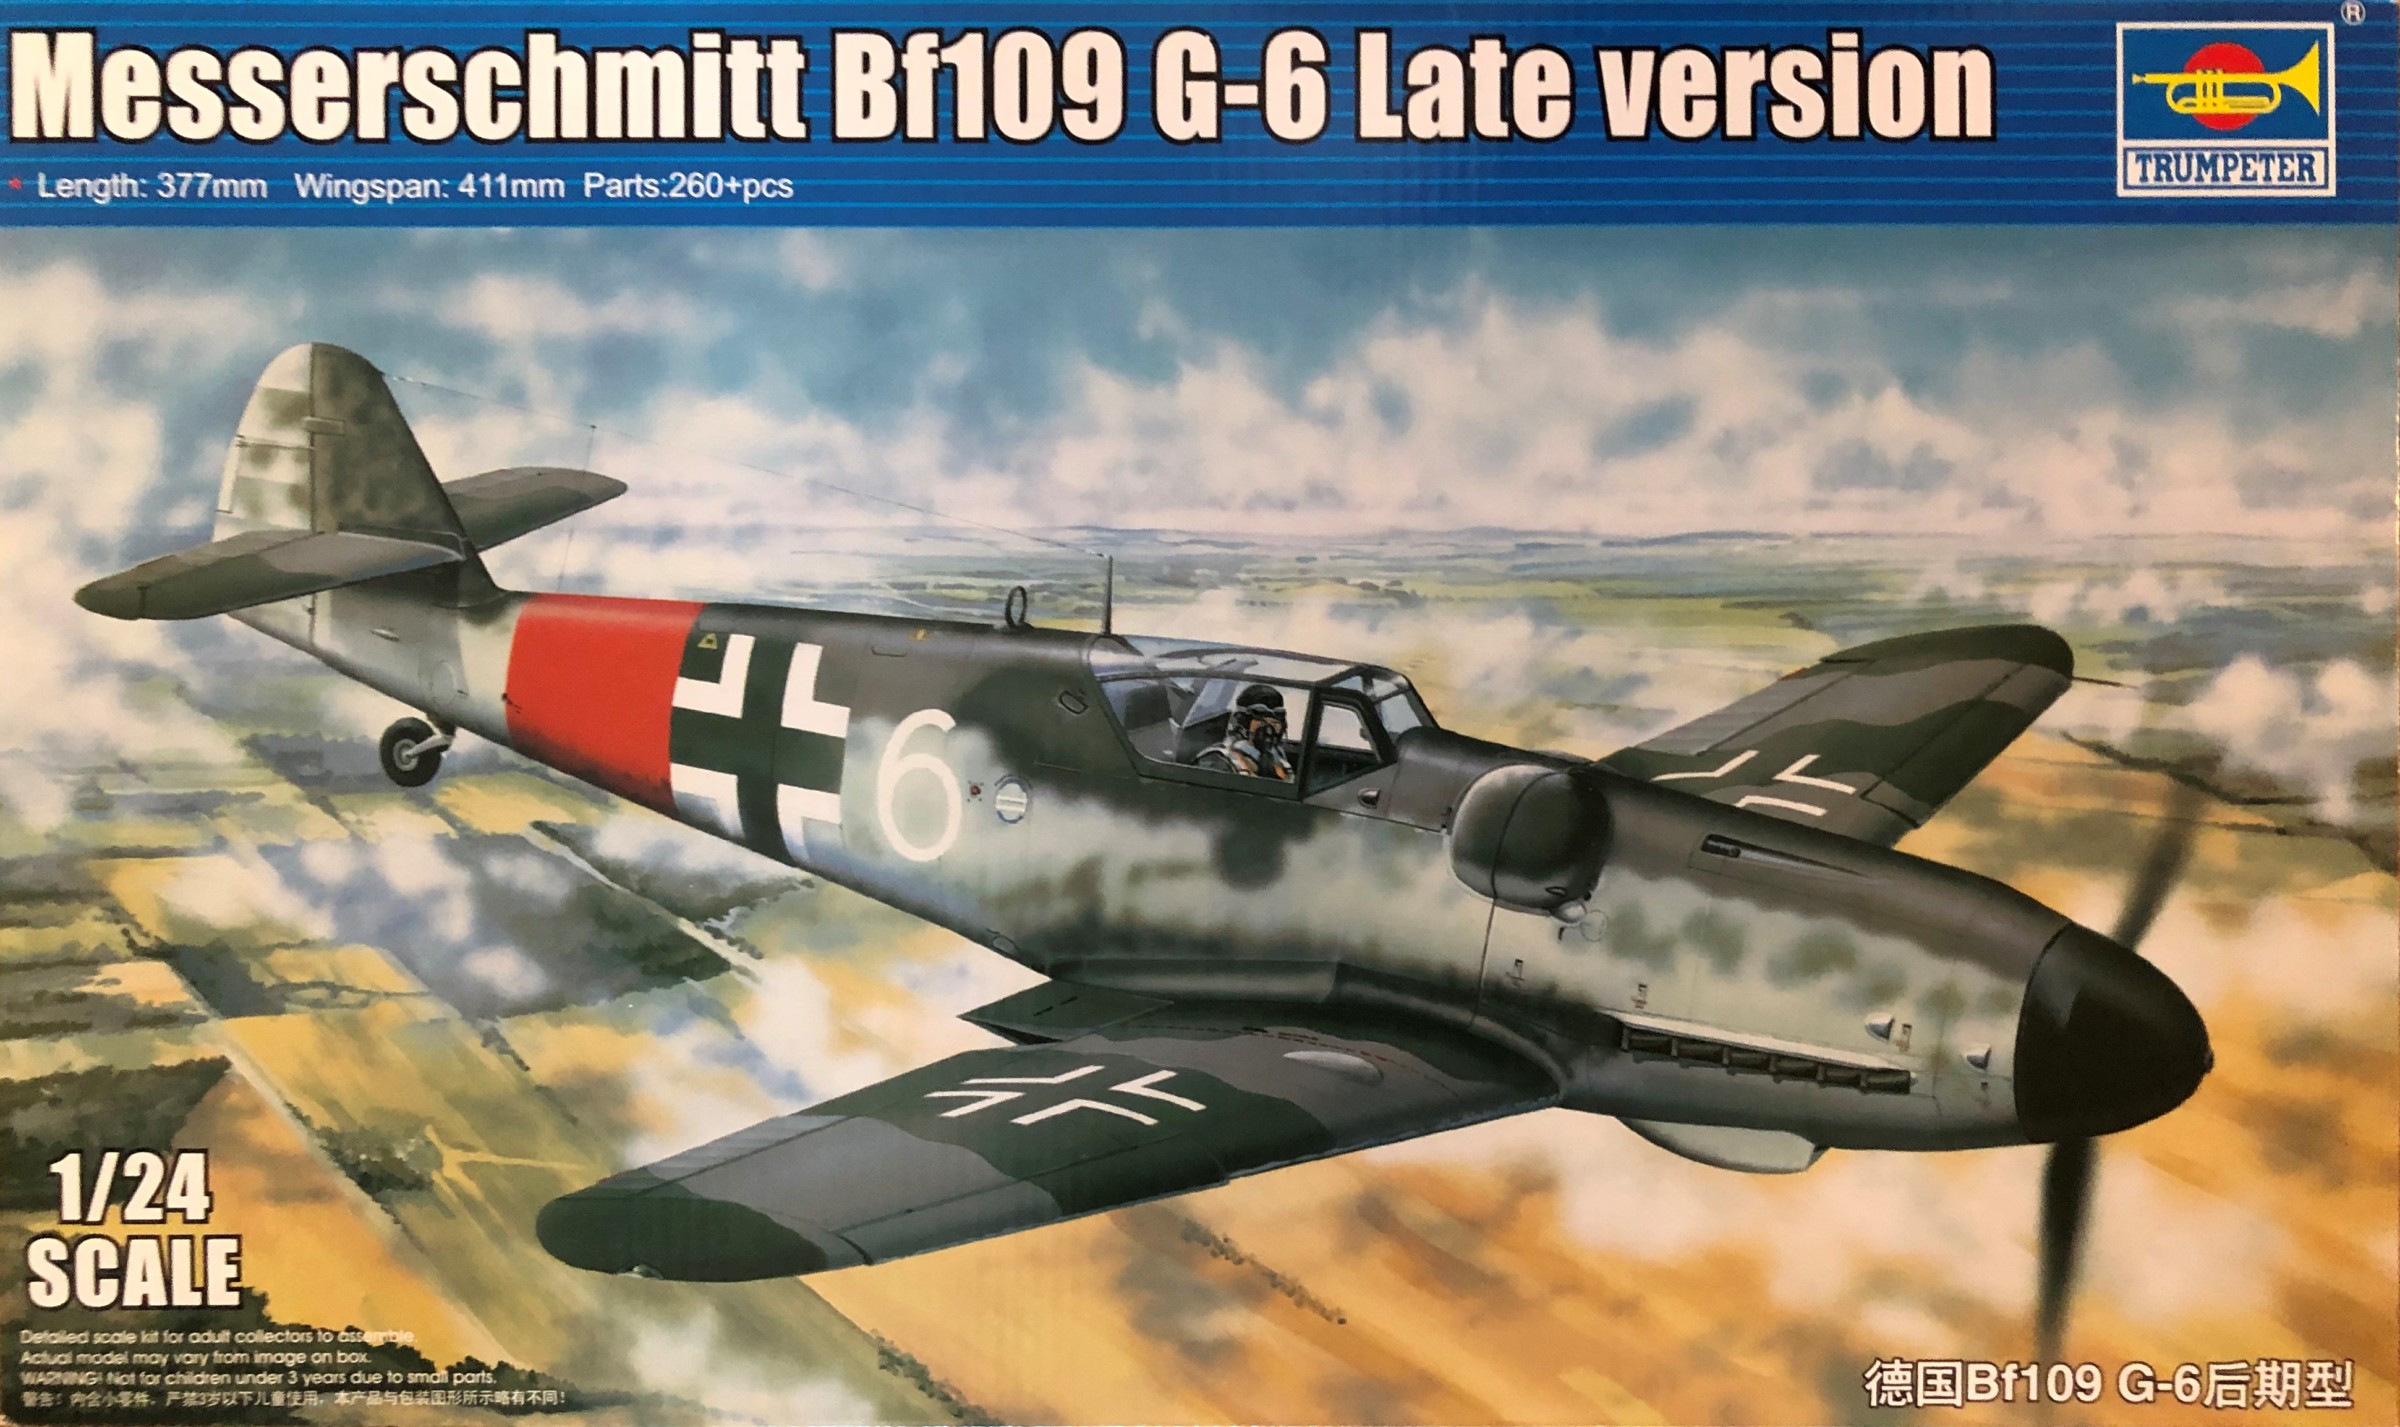
This kit was first released by Trumpeter in 2001 as a Messerschmitt Bf 109 G-2. It has since been re-released with minor changes as Bf 109 G-6 early version, Bf 109 G-6 late version (this kit), Bf 109 G-10 and Bf 109 K-4.
I'd say that this is a good quality kit in general, specially if you compare with Airfix' earlier designs in scal 1/24. The parts is delicately molded and fits well together. There are also some unusual approaches in this kit too. First the clear parts. The sprue with the canopy and smaller details is actually supplied in two copies. As the canopy is molded quite thin (to be more in scale) it's delicate an and quite easily be damaged and the smaller parts are easy to drop and loose. To supply a second copy is a generous way to give the modeller a second chance. Also there is a third clear sprue that is a copy of the sprue with the main fuselage on. A nice alternative for the modeller that want's to display the details on the inside.
Another unusual thing is the metal rods and hinges that is a nice solution to enable all rudders to be movable (more about this in my build description). With the metal parts there is also a couple of springs. Looking them up in the instructions I realized that the main landing gears are chock absorbent! A nice touch for a kit in 1/24.
The instructions are quite clear and divided into good steps, easy to follow. Colour indications are general (as Metal Black, Flat black, Yellow etc.) except when it comes to those with RLM-numbers which are clearly stated. A good thing as you don't have to cross reference between different manufacturers paint codes (well as long as your manufacturer also mark their colours with RLM-codes).
The decal sheet has decals for two different markings:
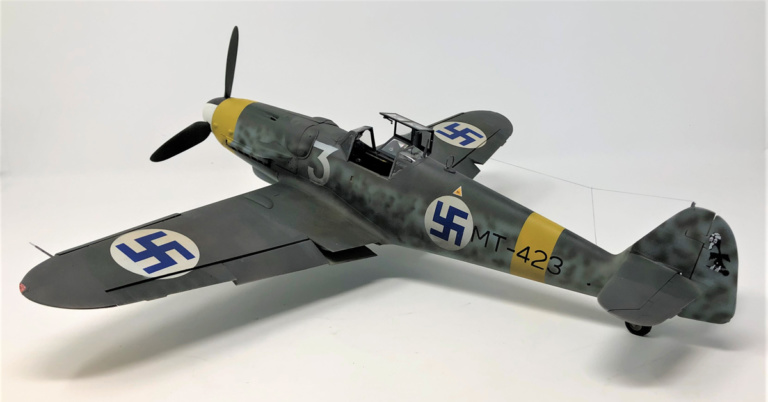
As so often I would not build this kit straight 'out of the box'. This time I wanted to do a Messerschmitt in Finish service so I got a masking kit for Finish markings and then I also got some after market enhancement things. This is what I added to the base kit:
OK, all set, so here we go. The instructions set off with the engine. The detailing is quite good. I specially like the sparkplug cords that are supplied as rubber parts (the first of a few rubber parts supplied in the kit). The instructions name the colours to use as opposed to give them as a vendor specific code. When applicable they also give the RLM code. But as always I also try to find as many reference pictures I can (in books or mostly off the internet) to get the right colours and look. Doing the engine also include mounting the gun that actually fired through the engine out the centre of the spinner.
Next is the cockpit. The detailing is good and I didn't feel the need to add anything besides two that I almost always add. First it comes to the instrument panel. As mostly common in this scale (1/24) the kit has a back plate and a pierced front plate with a transparent film with print on that goes in between. I find that a substitute, pre-painted, etched metal instrument panel improves the detailing and look. This time however the etched metal parts I got was each dial separate and in two or three pieces. It was very fiddly to get them in place but I think the result was OK.
The other thing I added was the seat belts. I find it very astounding that the manufacturers totally ignore the seat belts, even in this scale. In this scale I also find the pre-painted etched metal alternatives looking quite bad. Fortunately HGW Models in the Czech republic have quite good cloth alternatives with metal buckles. They are also very fiddly to do but totally worth it.
To be honest I was a bit surprised how well the fuselage halves fitted around the cockpit and the engine. The kit also includes two transparent fuselage halves for those that wants to display the interior which is another nice extra in this kit. I glued the eninge cowls in place with white glue. In that way I can reopen them again after painting.
The main landing gear are one of those things that stands out on this kit. There are two metal springs included in the kit. They go inside the main gear struts and makes them shock absorbant for real! The only problem with this is that there is also the V-shaped support that attaches on each side or the shock absorbant section. I used a small drill and inserted needles as hinges on the v-shaped support to make them flexible. You'll need a steady hand and good eyes to do this though.
In the kit there is a number of metal rods and hinges included. The metal rods go inside all the rudders and flaps and the hinges (that you mount on the rods) are glued to the wings. This is a very neat soloution to make the rudders and flaps movable. The wings also fits nicely to the fuselage.
After that it's paint time. The Finish kept the German camouflage the planes were delivered in so I went for the normal RLM codes. As I'm using Vallejo's Model Air this means:
Then I used the paint masks I bought to apply the national insignias and call signs. The maskot painted on the rear rudder was supplied as a decal and I used a few of the smaller instruction decals from the kit.
The last challenge was the cockpit hood. I managed to get hold of a Bf 109G-6 Late Model but the markings I got was for a Bf 109G-6 Early Model. The difference between these two models was the hood. The later verions aft part was a whole section but the earlier versions had a centre piece that opended with a smaller aft piece that was fixed. Now Trumpeter has molded the clear hood parts delicatly thin (to be more true to scale) and I suspect that is why there actually was two clear spruces in the kit. If you damage one there's one in reserve. A real nice touch by Trumpeter. But what I concluded was that there must be someone out there with a spare early version hood sprue. So I reached out through a Facbook group and found a nice fellow in UK that was prepared to make a swap of our spare spruces. Problem solved.
And that's basically it. You can see the result in the gallery below.
This is a nice kit to build. Actually so nice that I went an bought Trumpeters Mustang and Stuka in the same scale.
The luxury feeling the kit gives with an extra sprue with clear fuselage halves, a spare clear sprue with the hood in case you damage the first, the metal parts to make the rudders movable and the landing gear shock absorbent and the general fit and detailing.
There's no seat belts to the cockpit (but that is unfortunately common anyways).
