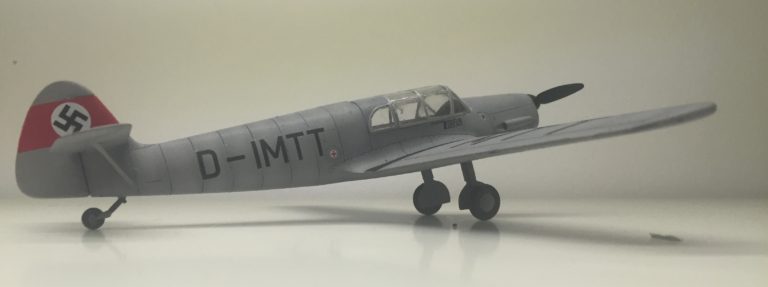
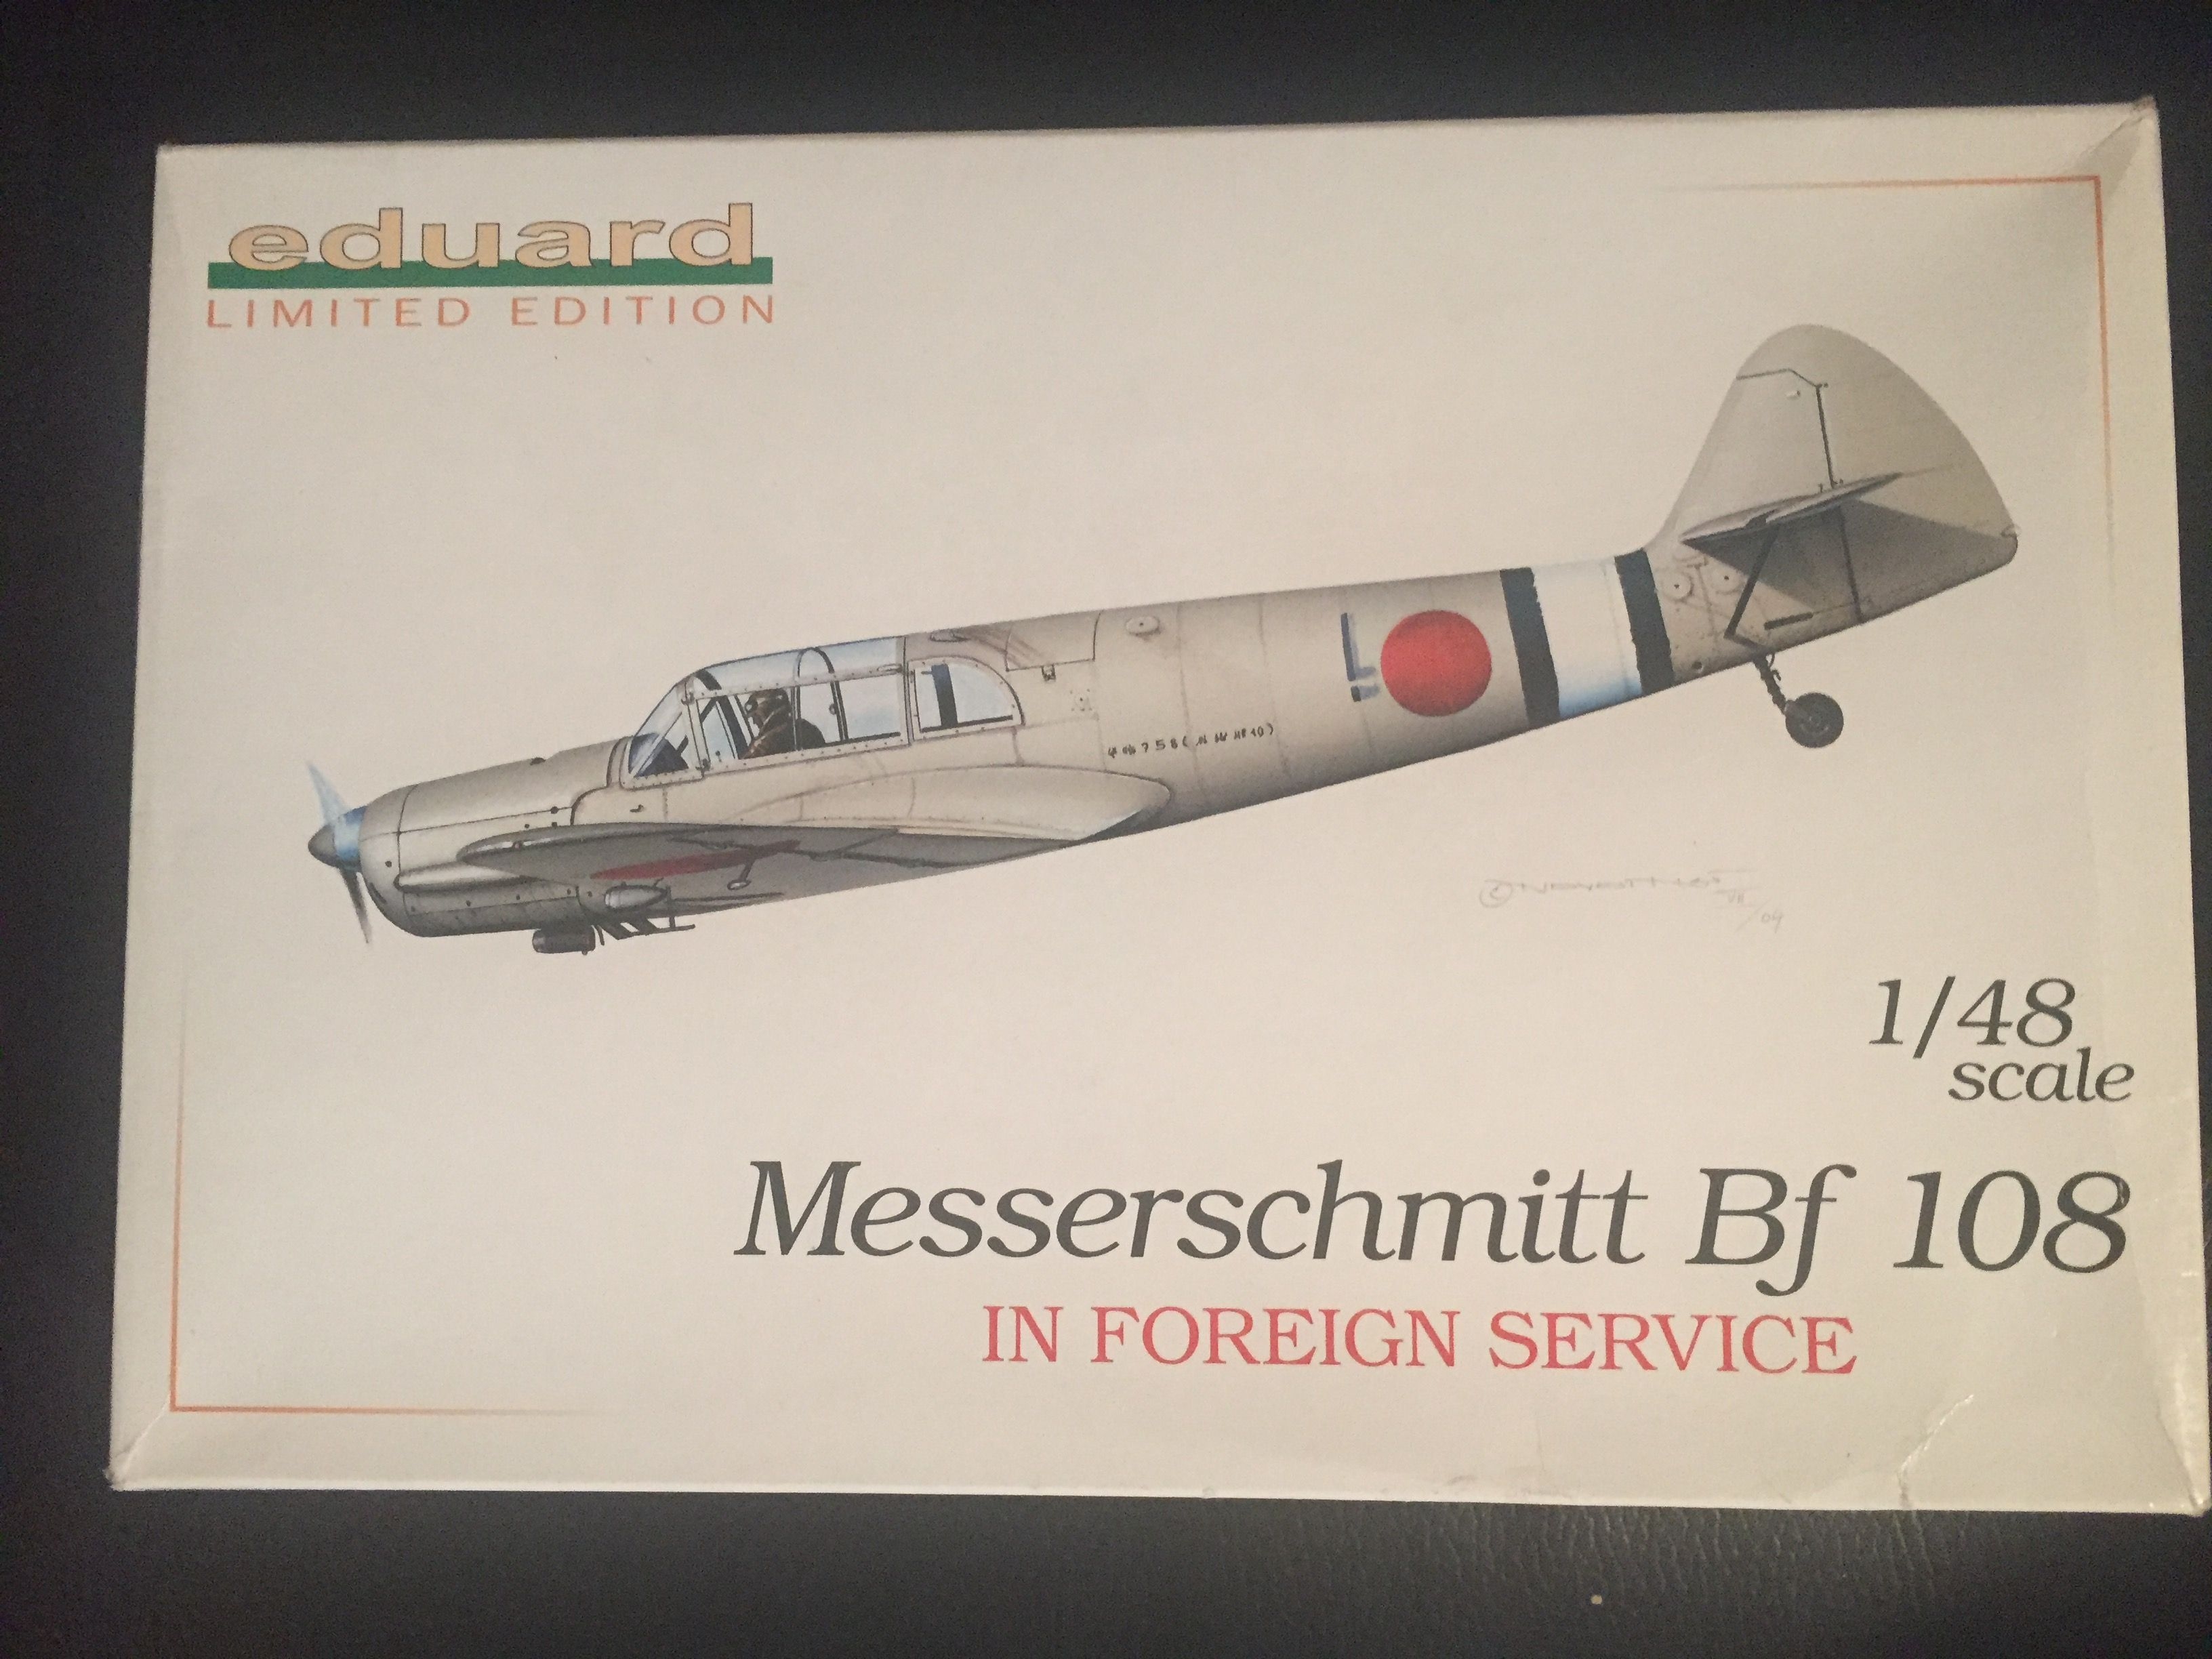
This kit I bought a long time ago so it was finally time to build it. The Eduard kit only depicted machines in foreign service and I wanted to build a German version so I looked around for a set of decals and found it at Hannants with three German version, one being that of Willy Messerschmitt's very own airplane.
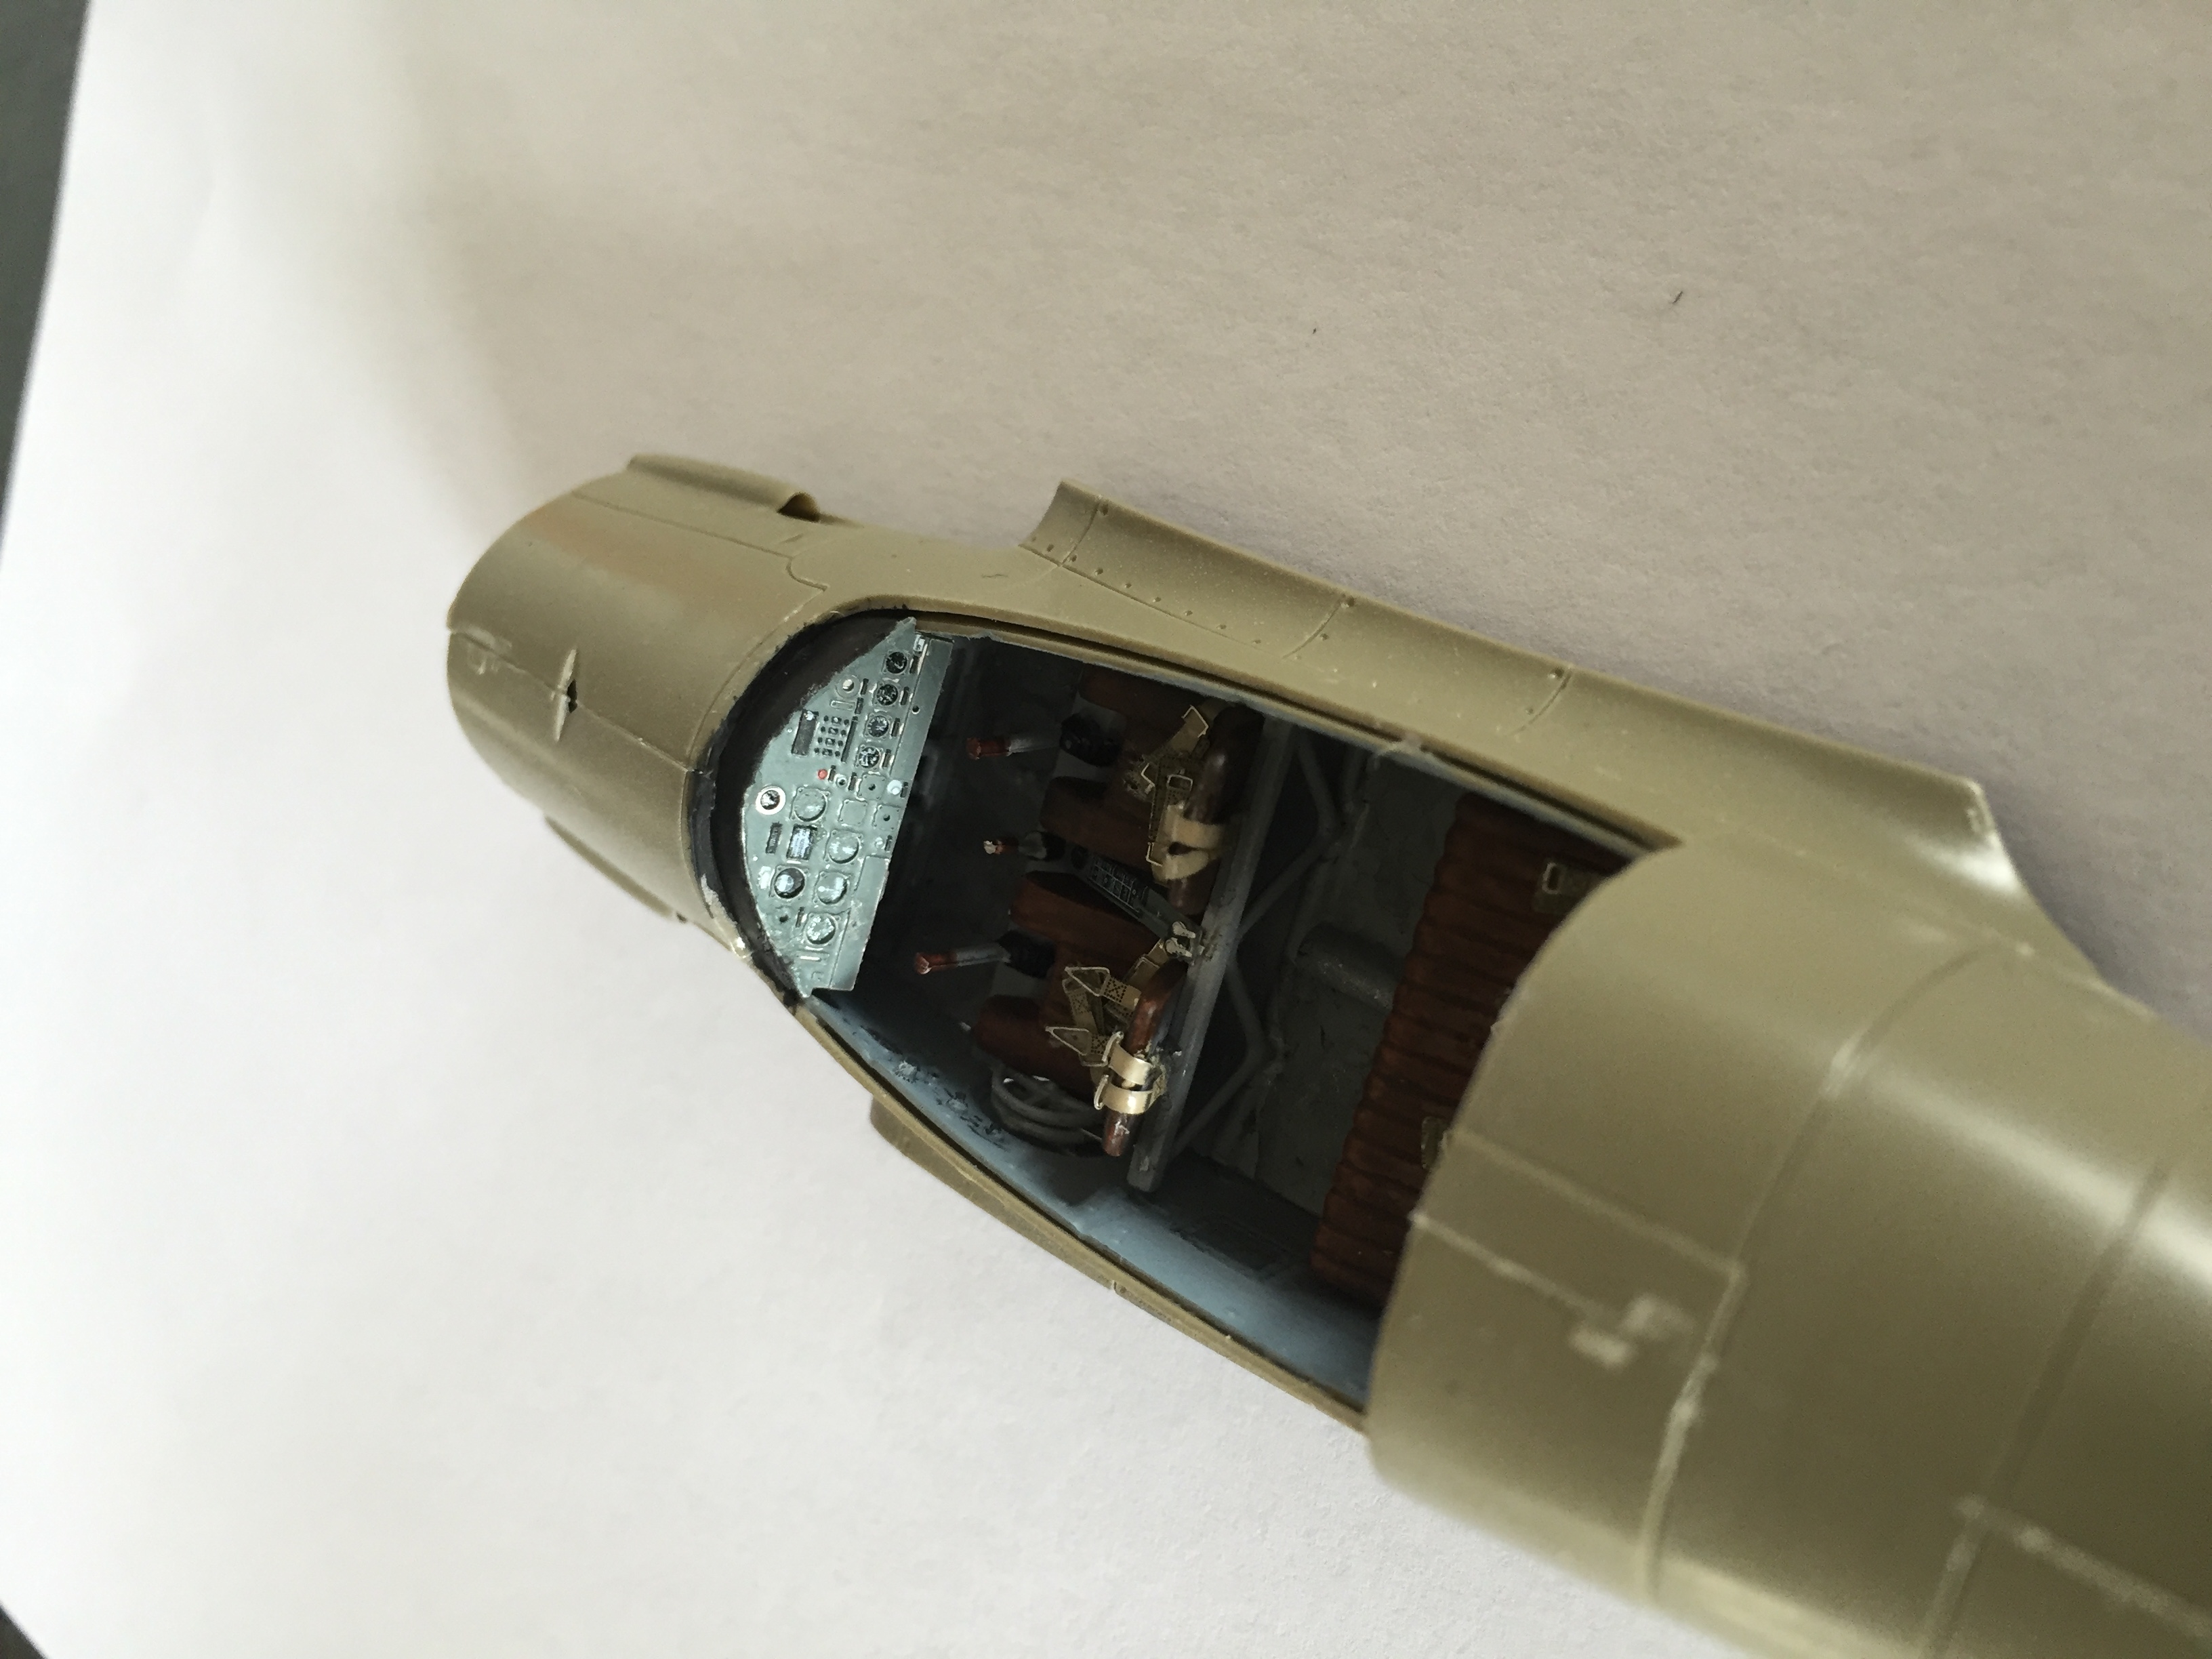
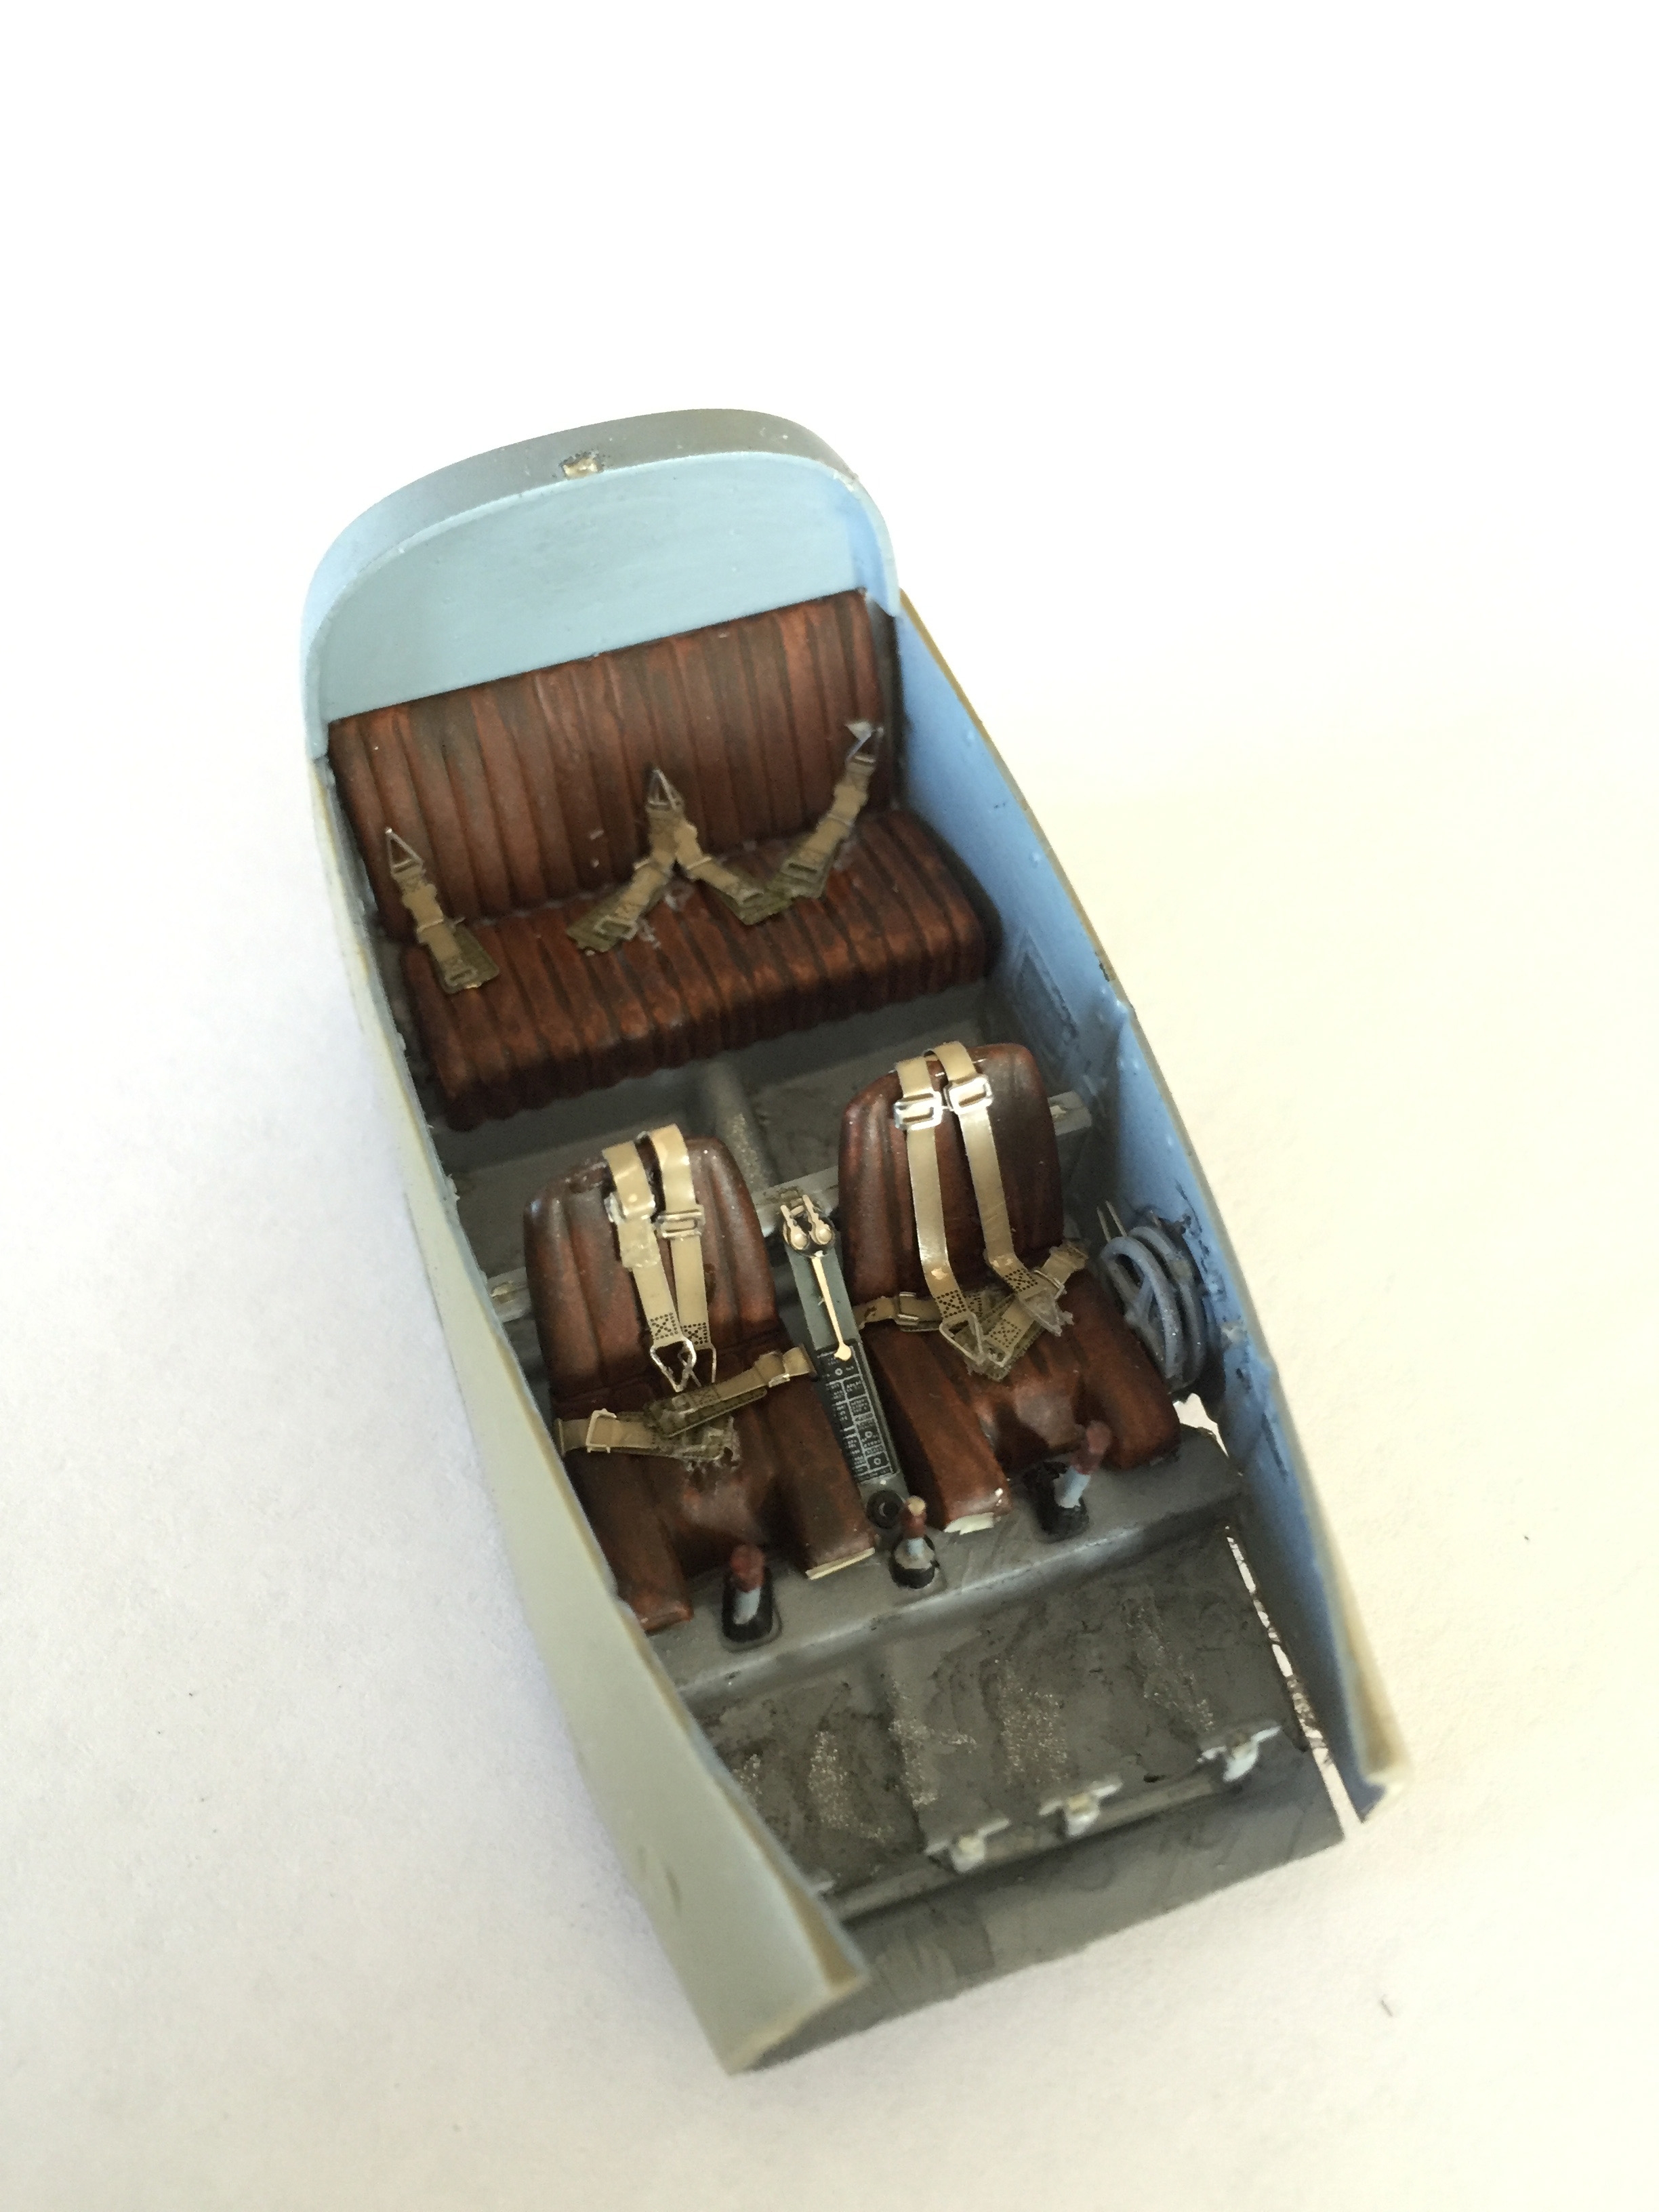
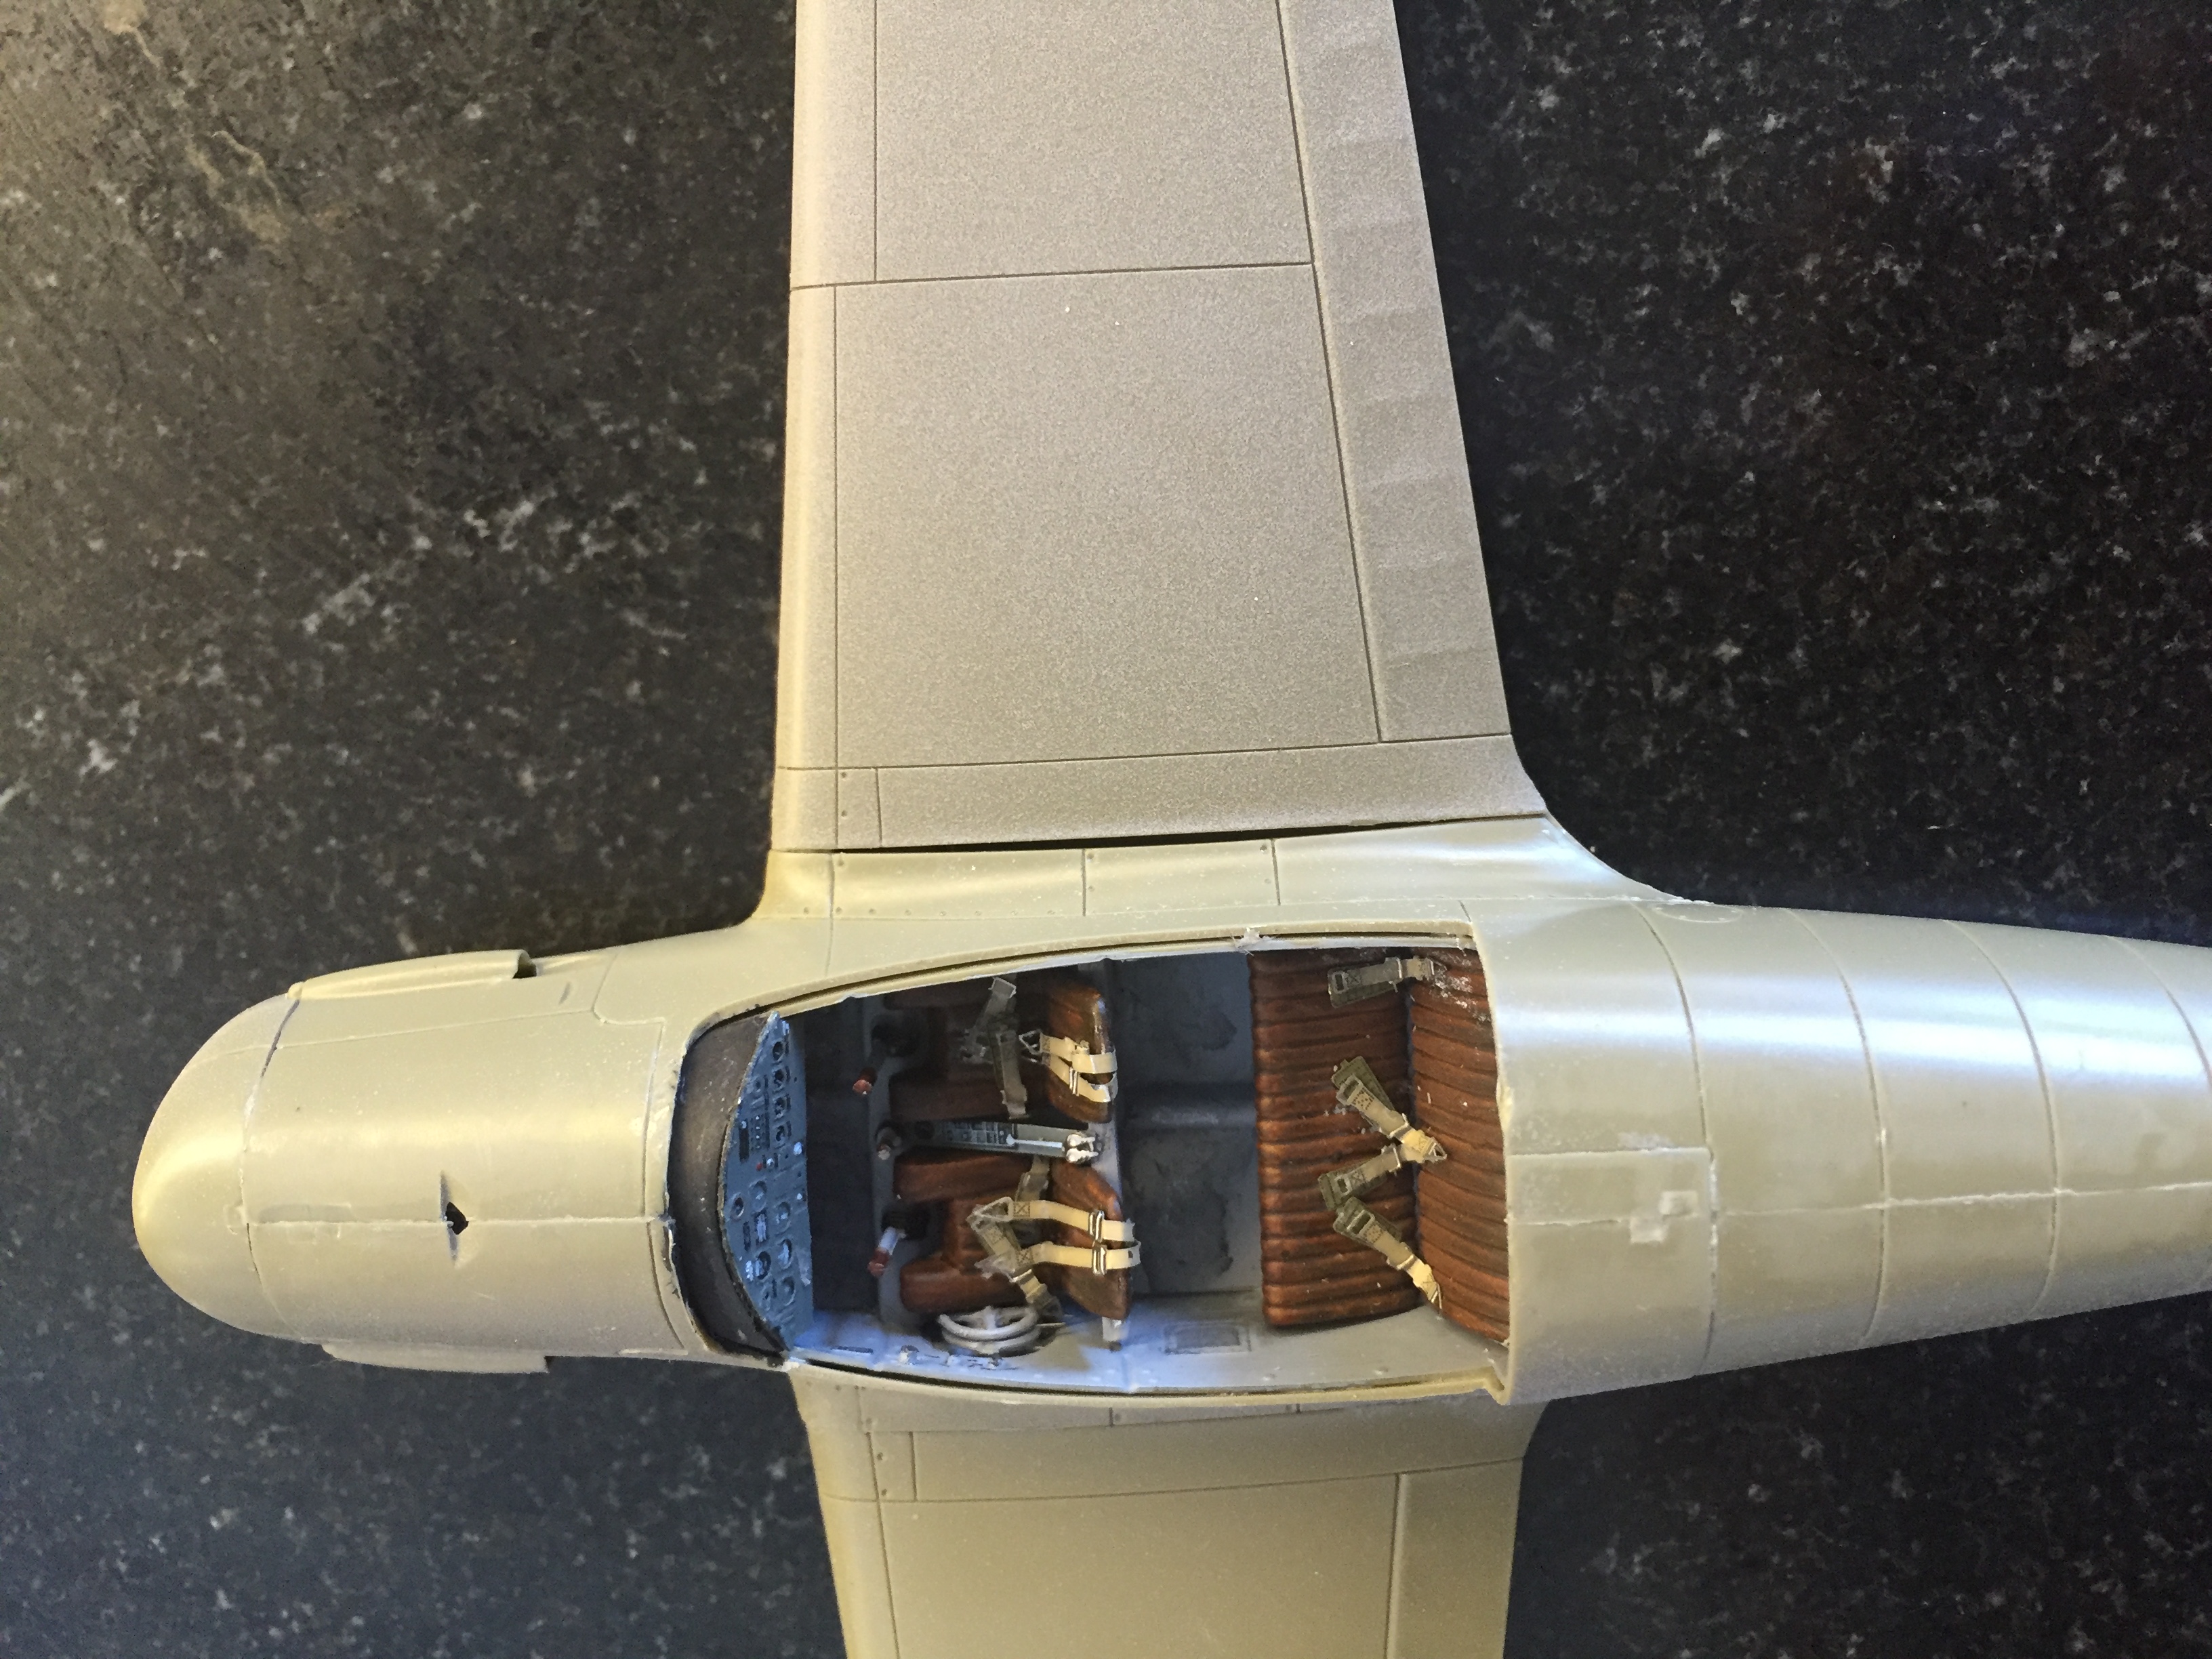
The kit contains both etched metal parts and paint masks and looked quite promising. I started with the cockpit which had etched, pre painted, parts for seat belts, instrument panel and small levers and stuff. I used the seat belts and the instrument panel but some of the other, smaller, parts are really to small for me to handle and they wont be visible when the kit is done so I didn't bother about them. The cockpit turned out quite well all the same.
 |
 |
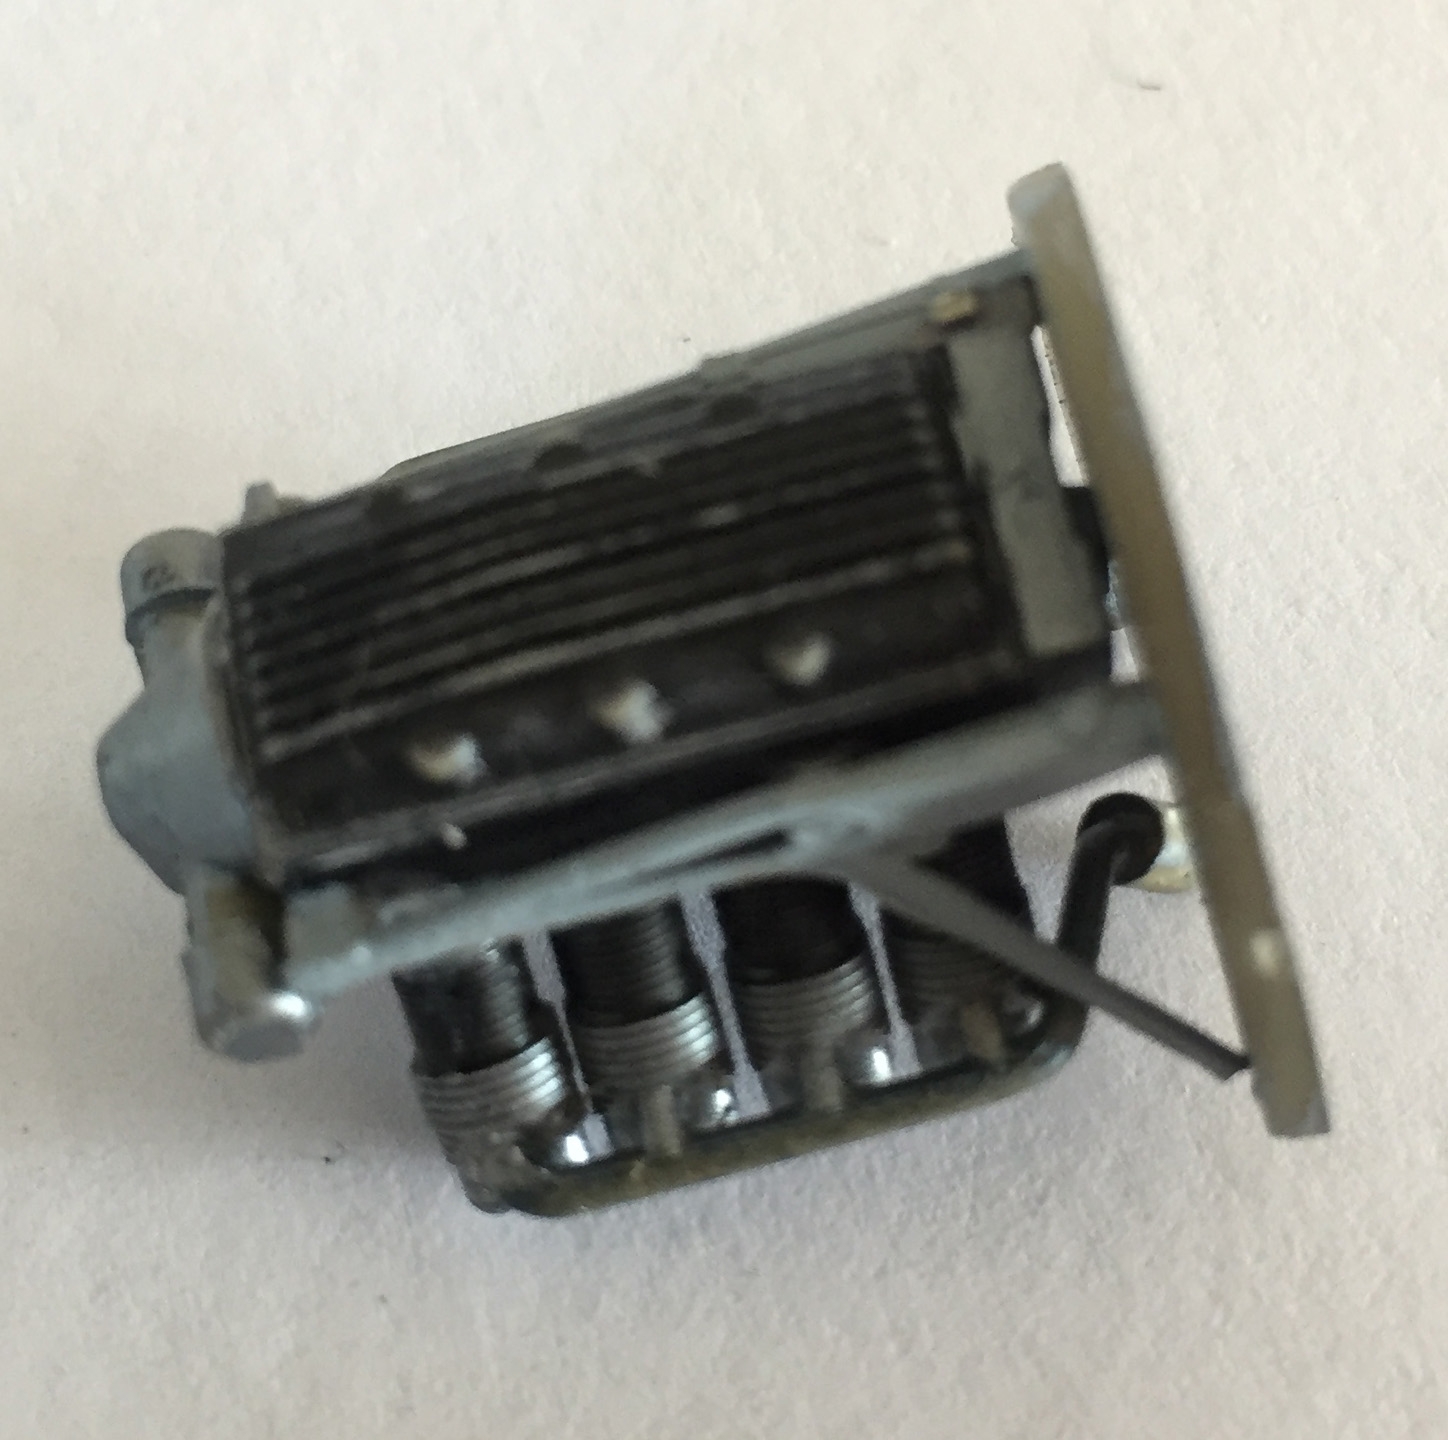
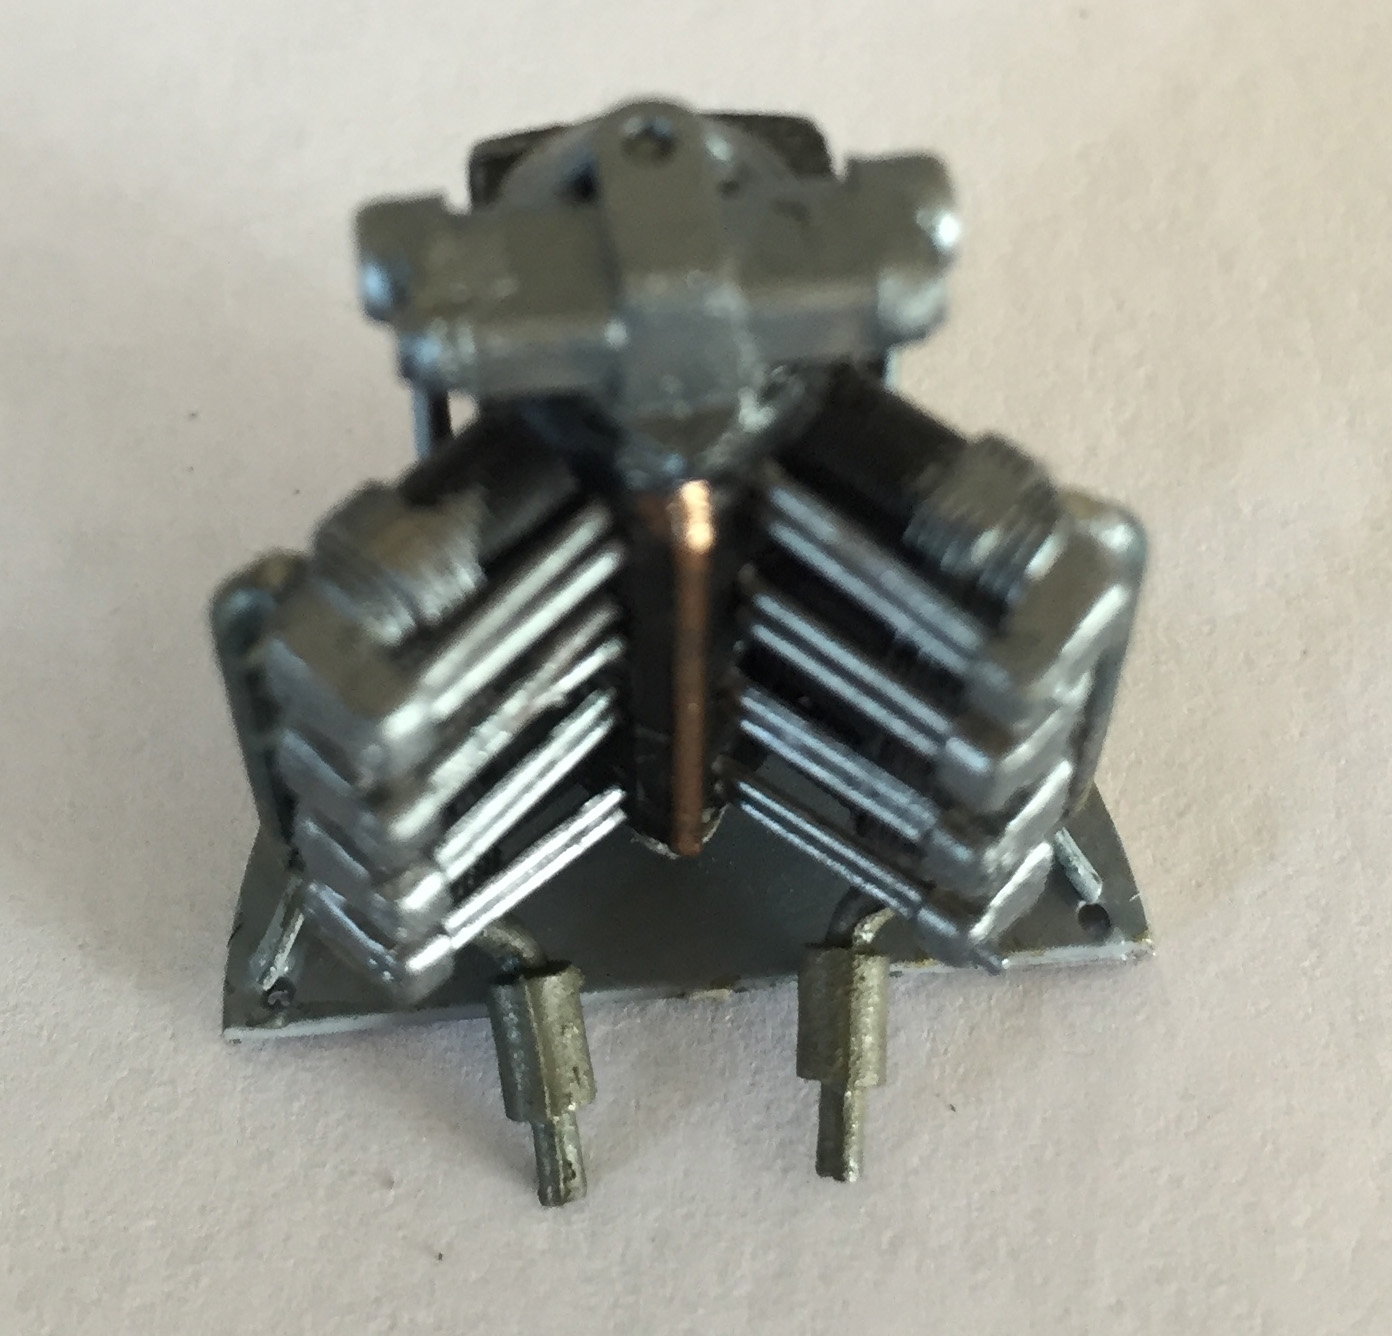
Next was the engine which consisted of more parts than usual for being a 1/48 kit. All cylinders came separate which should make it easier if you wanted to replace them with resin parts (not included in the kit). I was quite happy with the original though, almost nothing of the engine would be visible in the finished kit anyway.
 |
 |
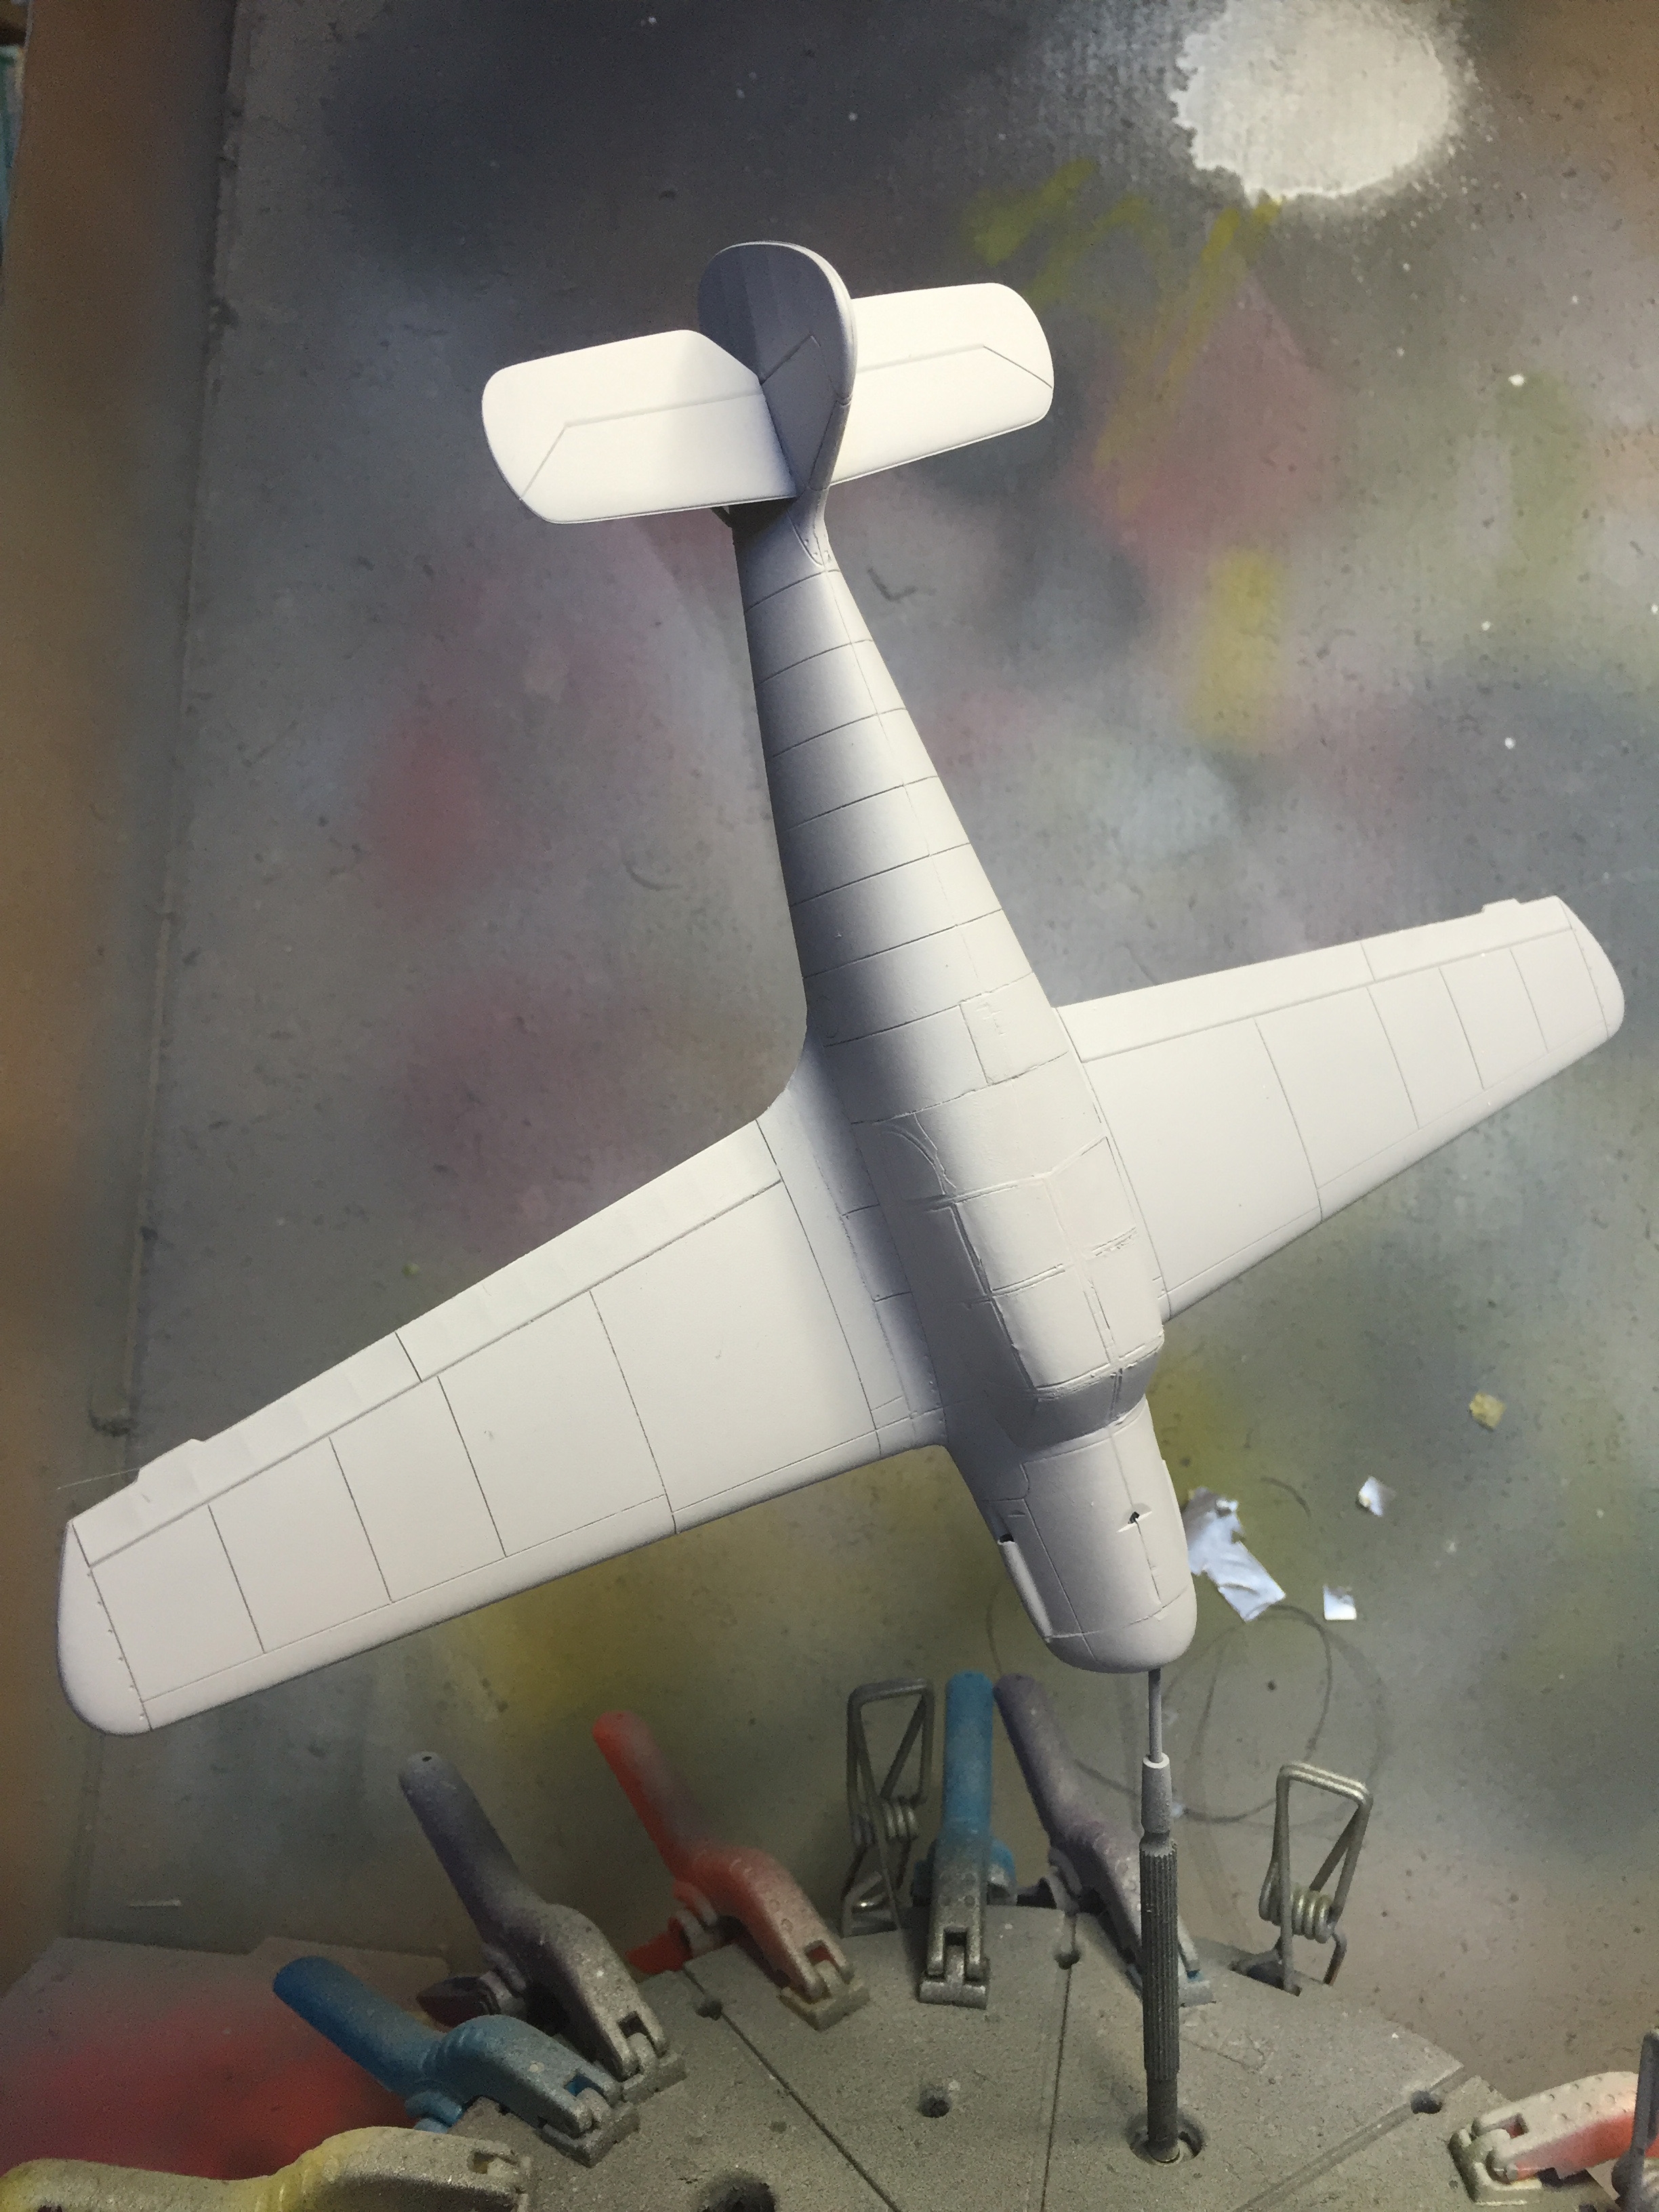
Next step was to put the main parts together. The fit was reasonably good and needed a minimum of filling and sanding except for the wing root on the right side which left a visible gap that needed filling.
The canopy was next and this gave me the largest headache. Masking was OK, I used the supplied mask for the sides of the canopy but did my own masking of the top and front. When I was going to try the fit it turned out to be a little big to large and in my tries to make it fit I managed to crack the canopy almost in half! Panic! Fortunately it cracked almost in the centre just where there is a bar in the window so I carefully glued it together with Tamaiya Extra Thin Cement.
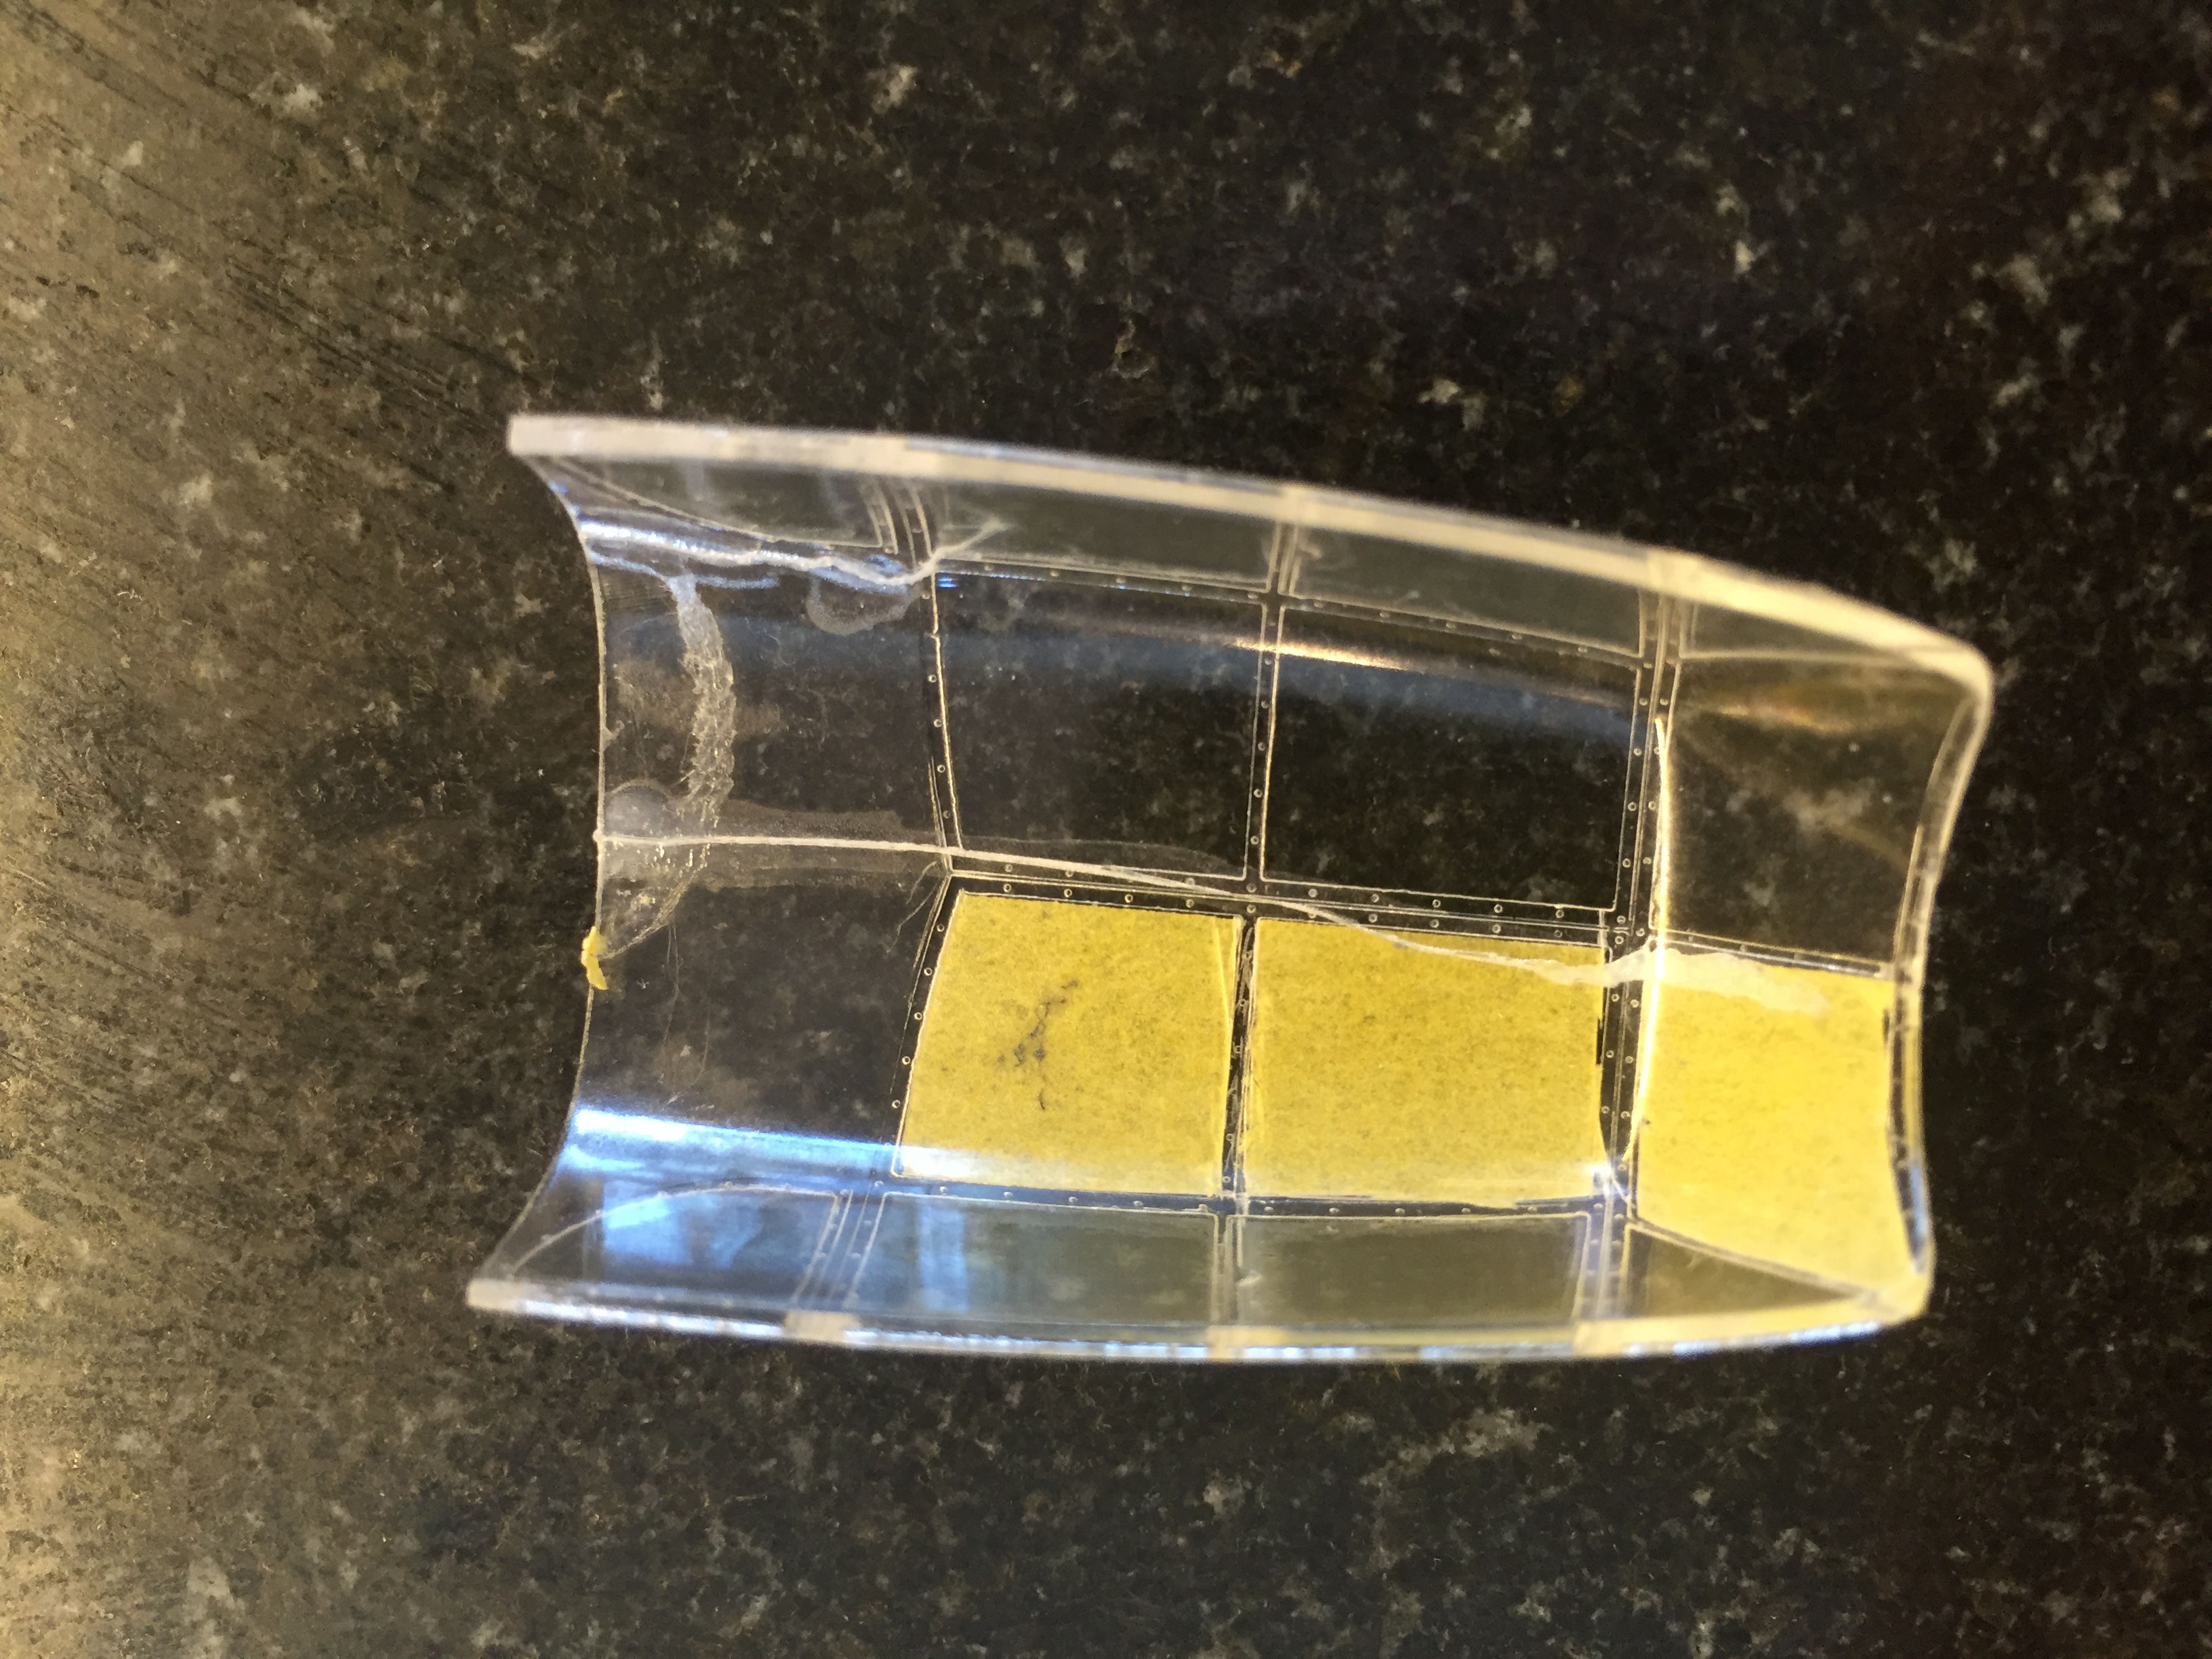
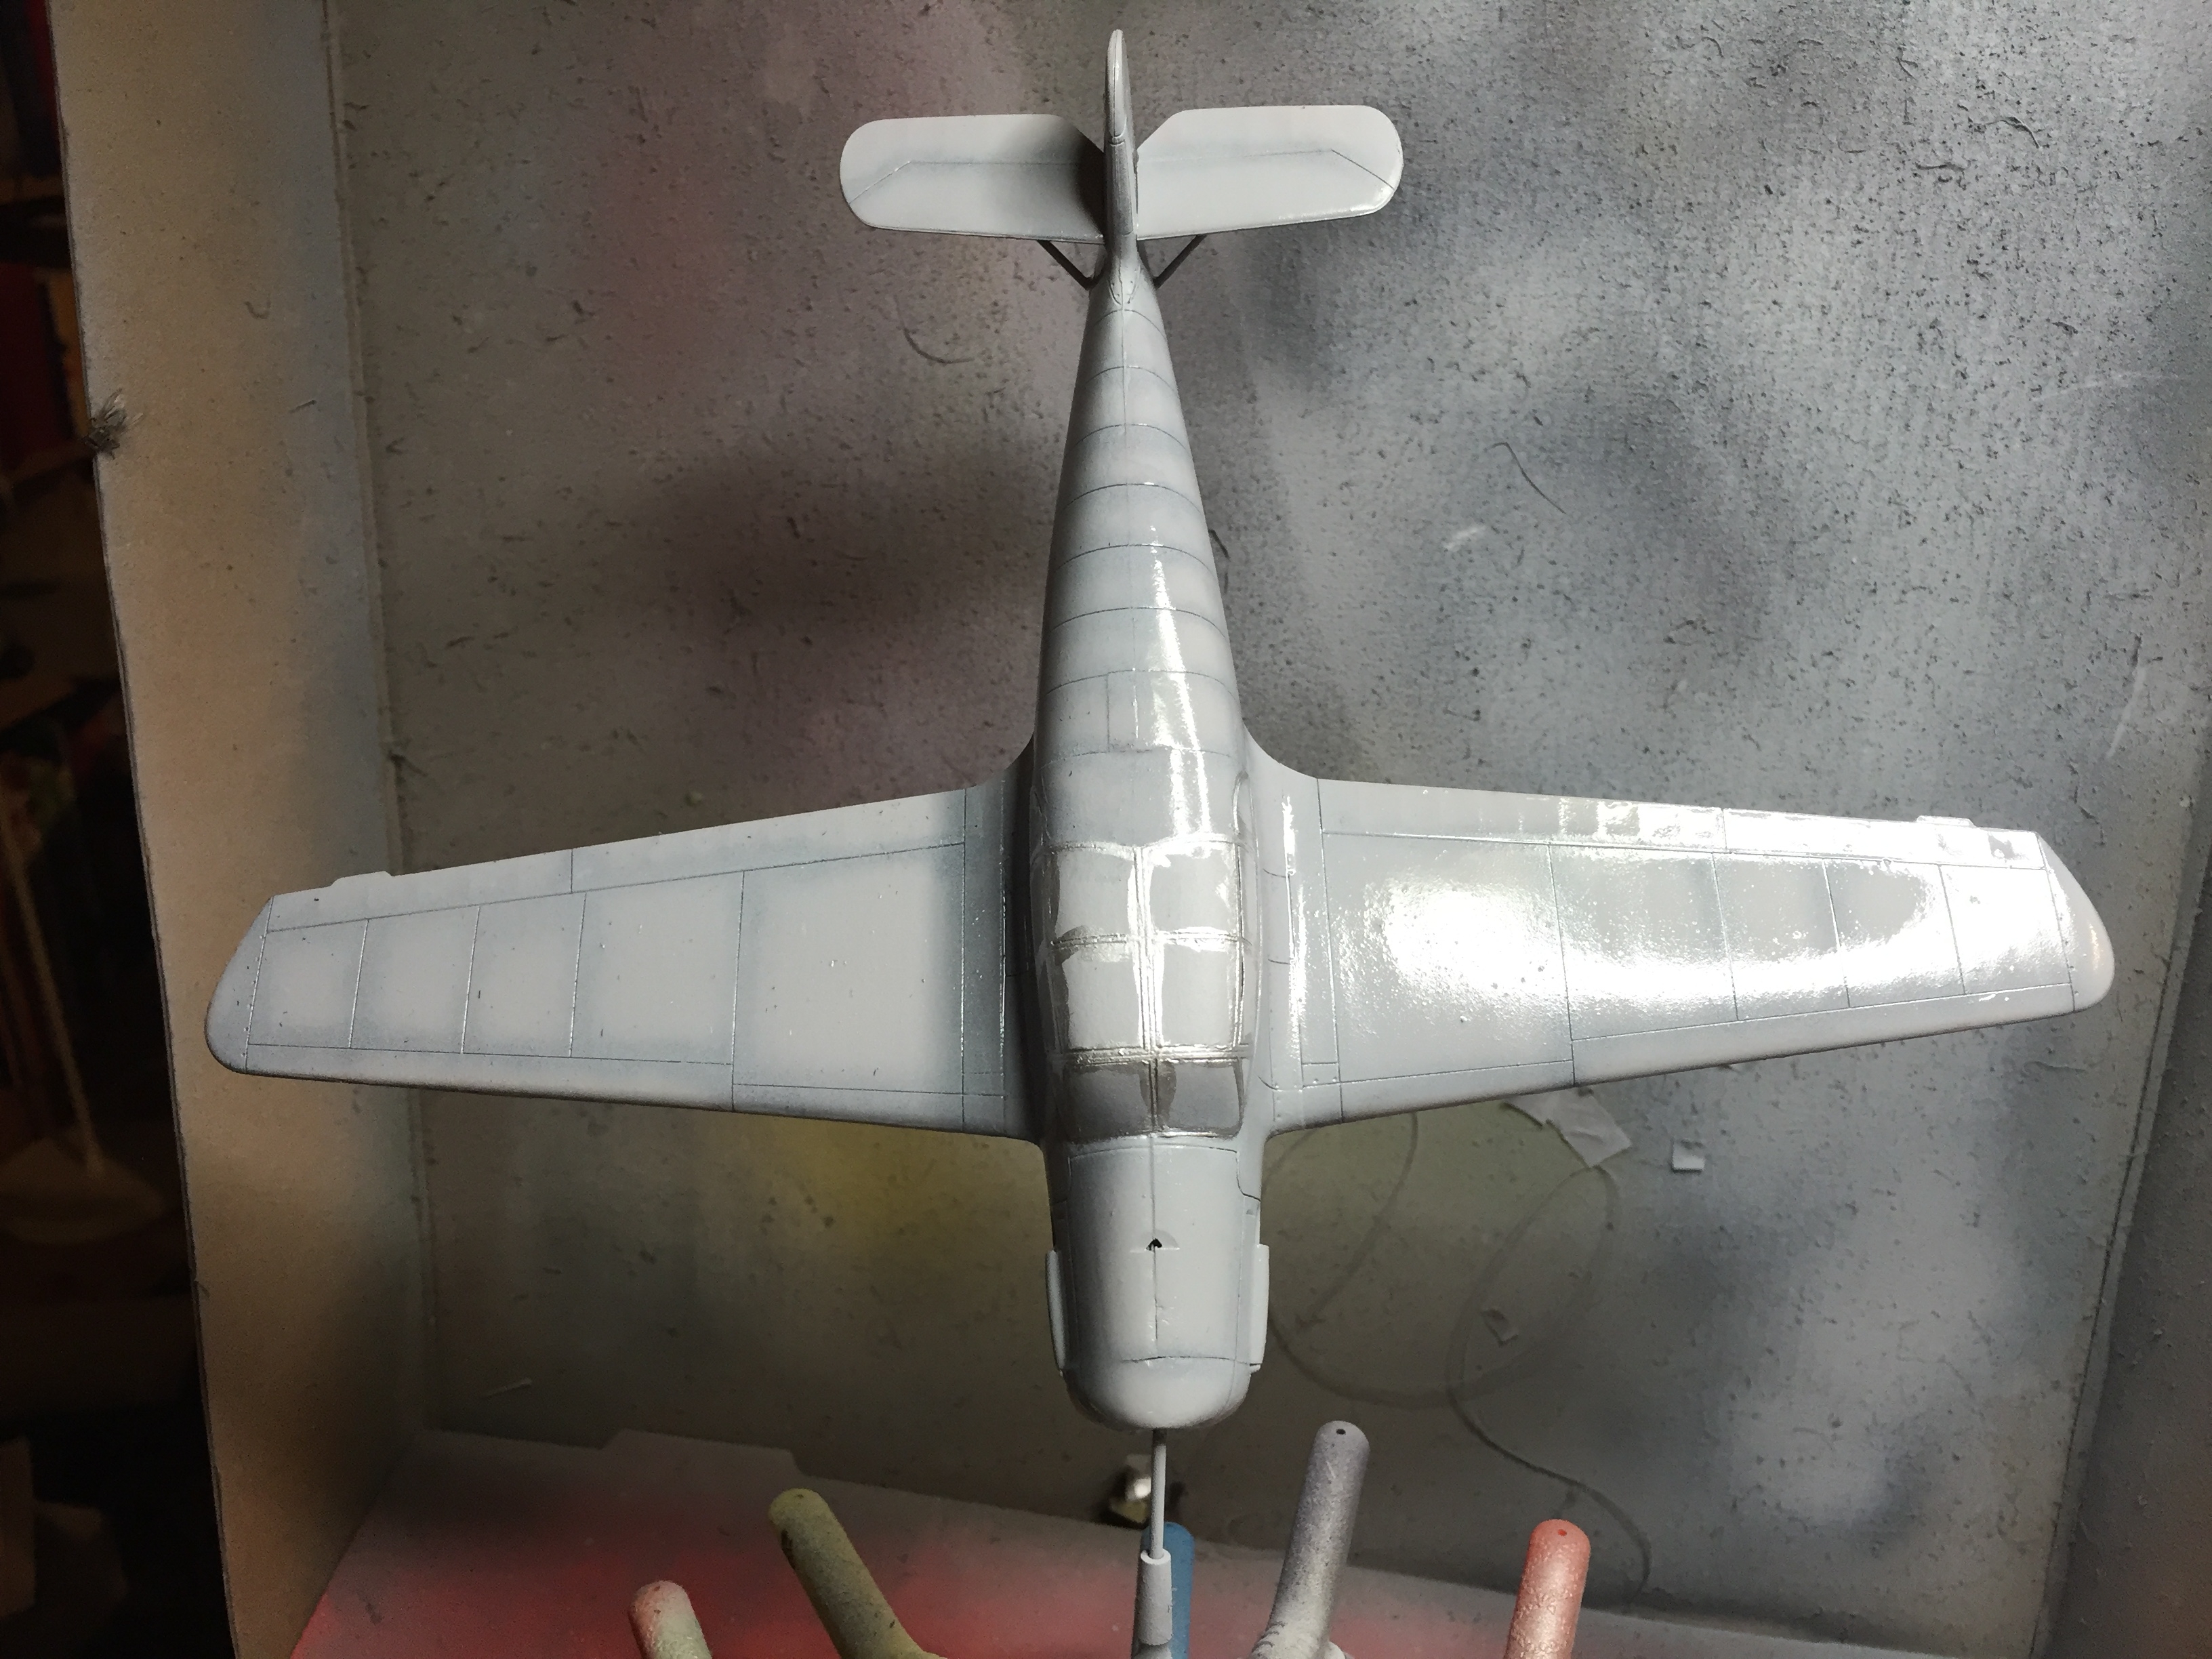
I then carefully sanded of 1 mm from the back end of the canopy until it fit. With that in place it was time to prime the kit. I used Vallejo's Surface Primer from a can, grey.
 |
 |
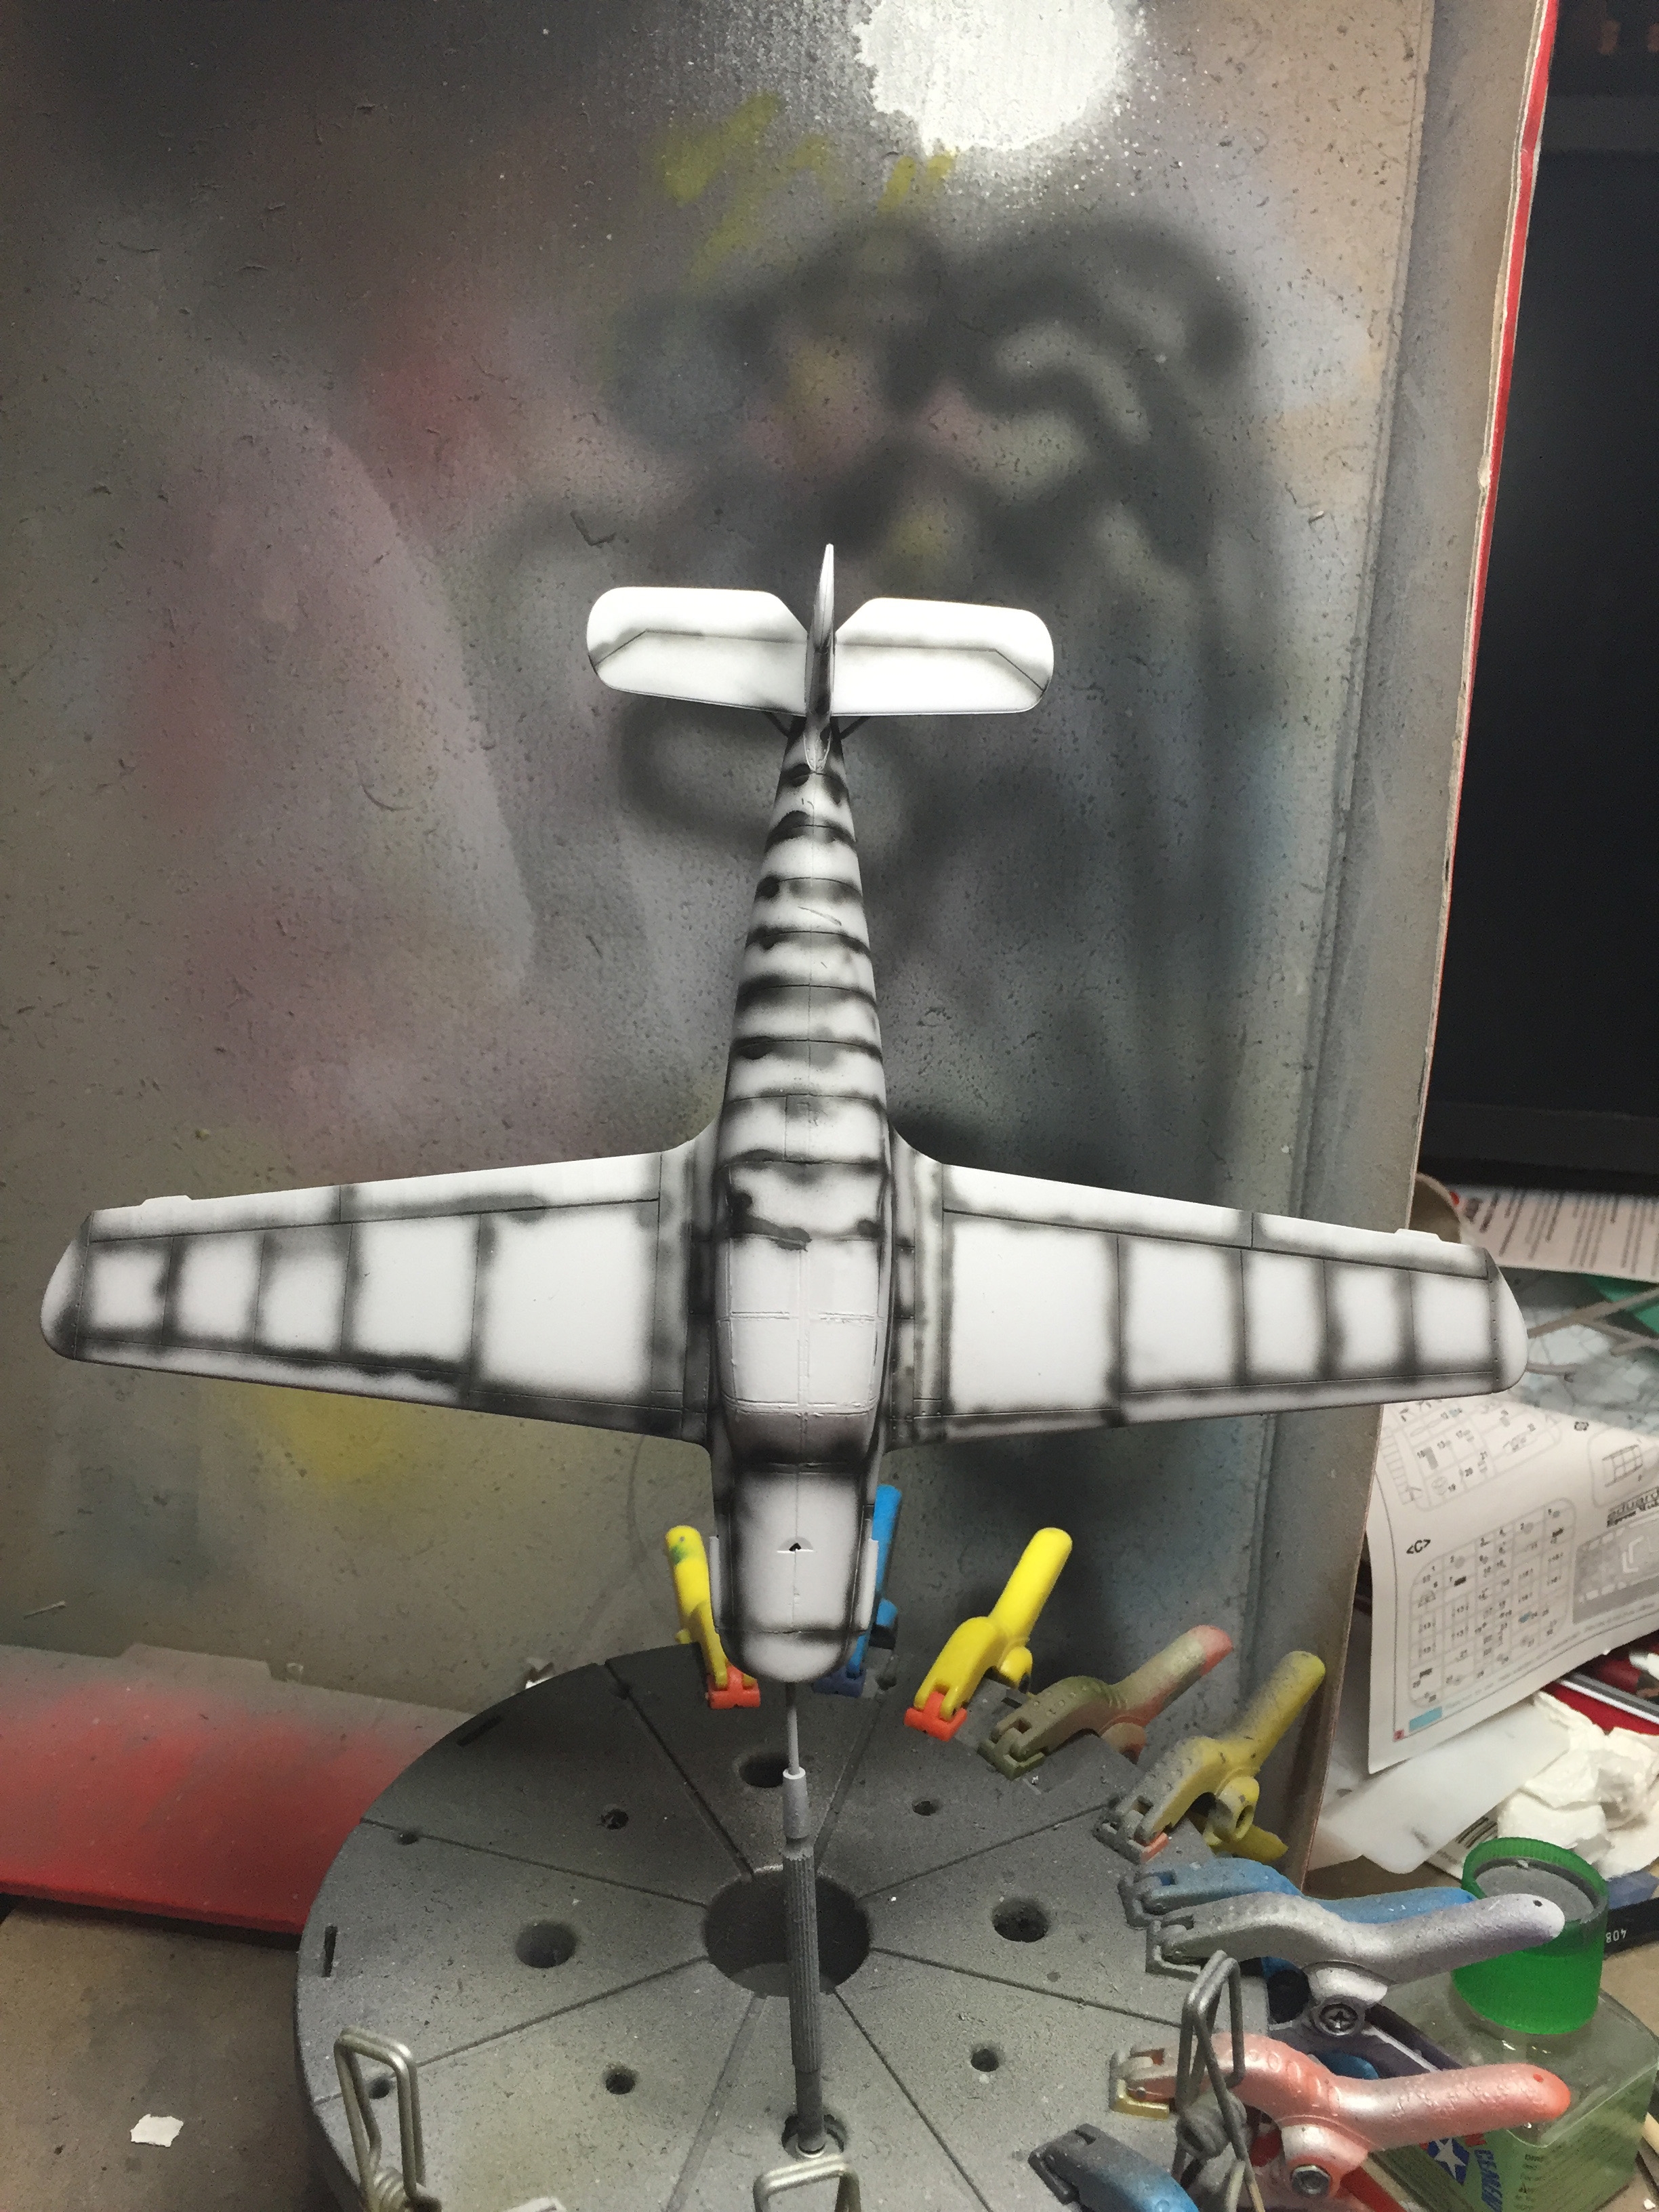
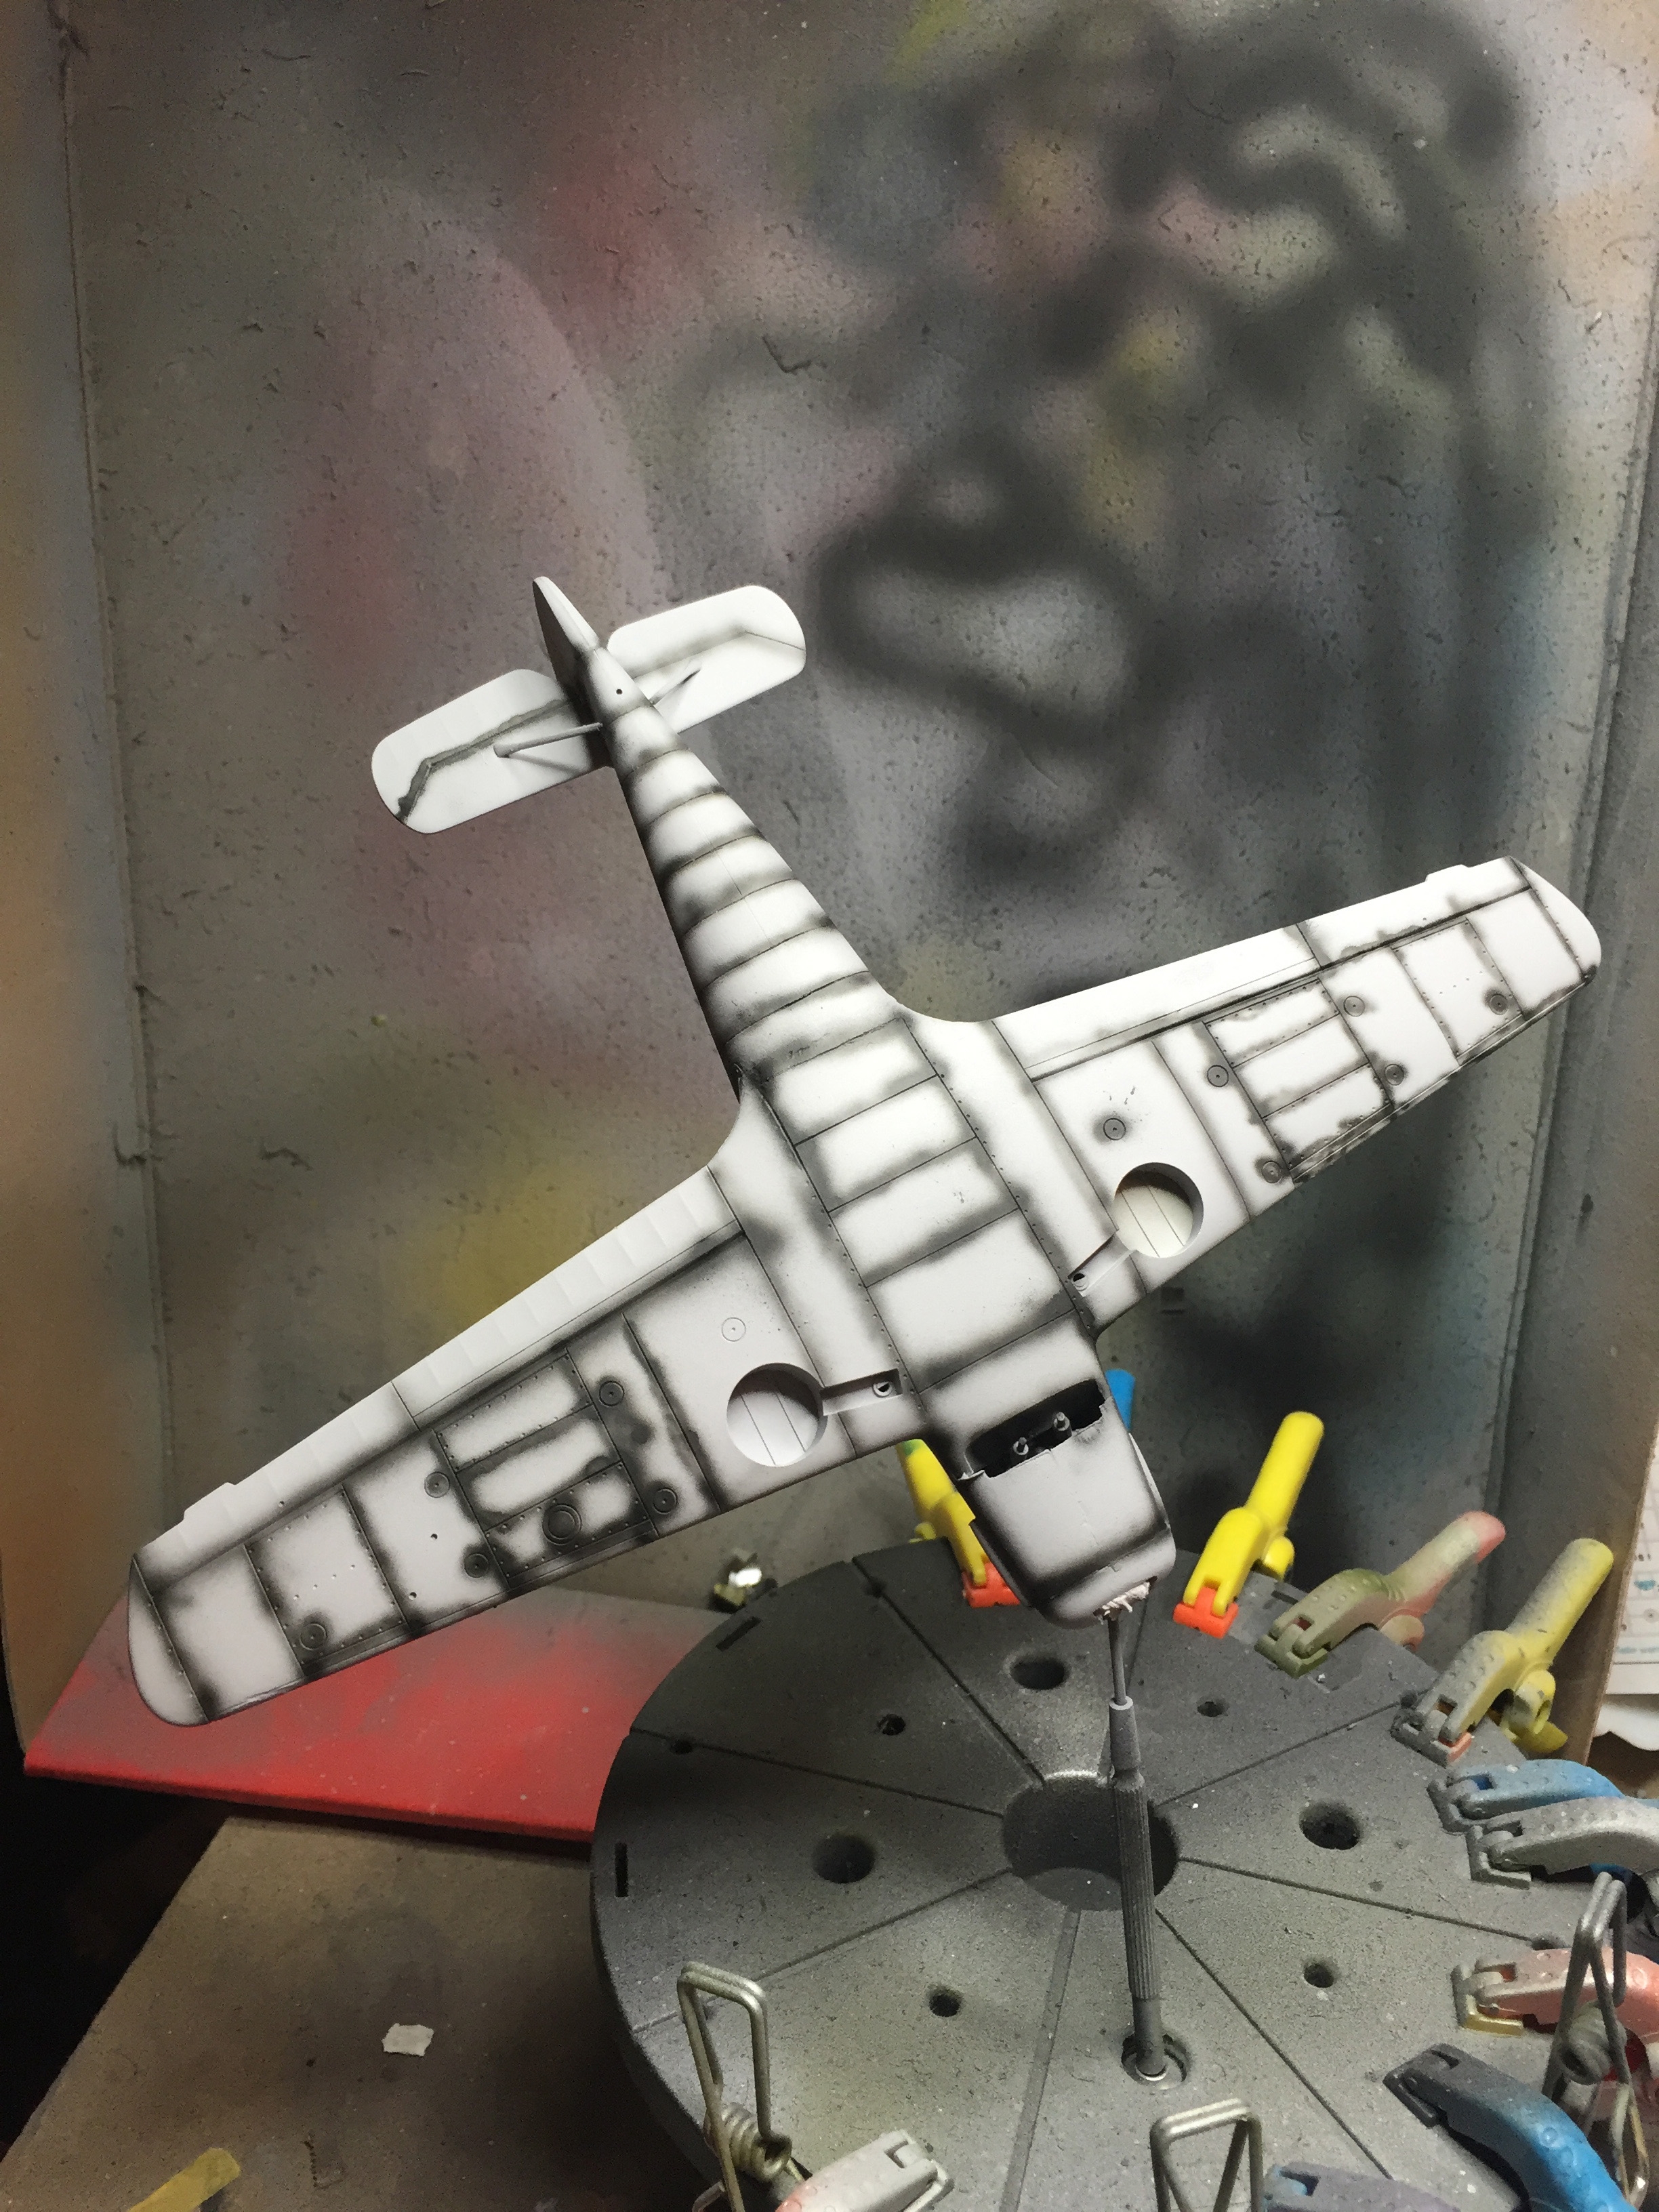
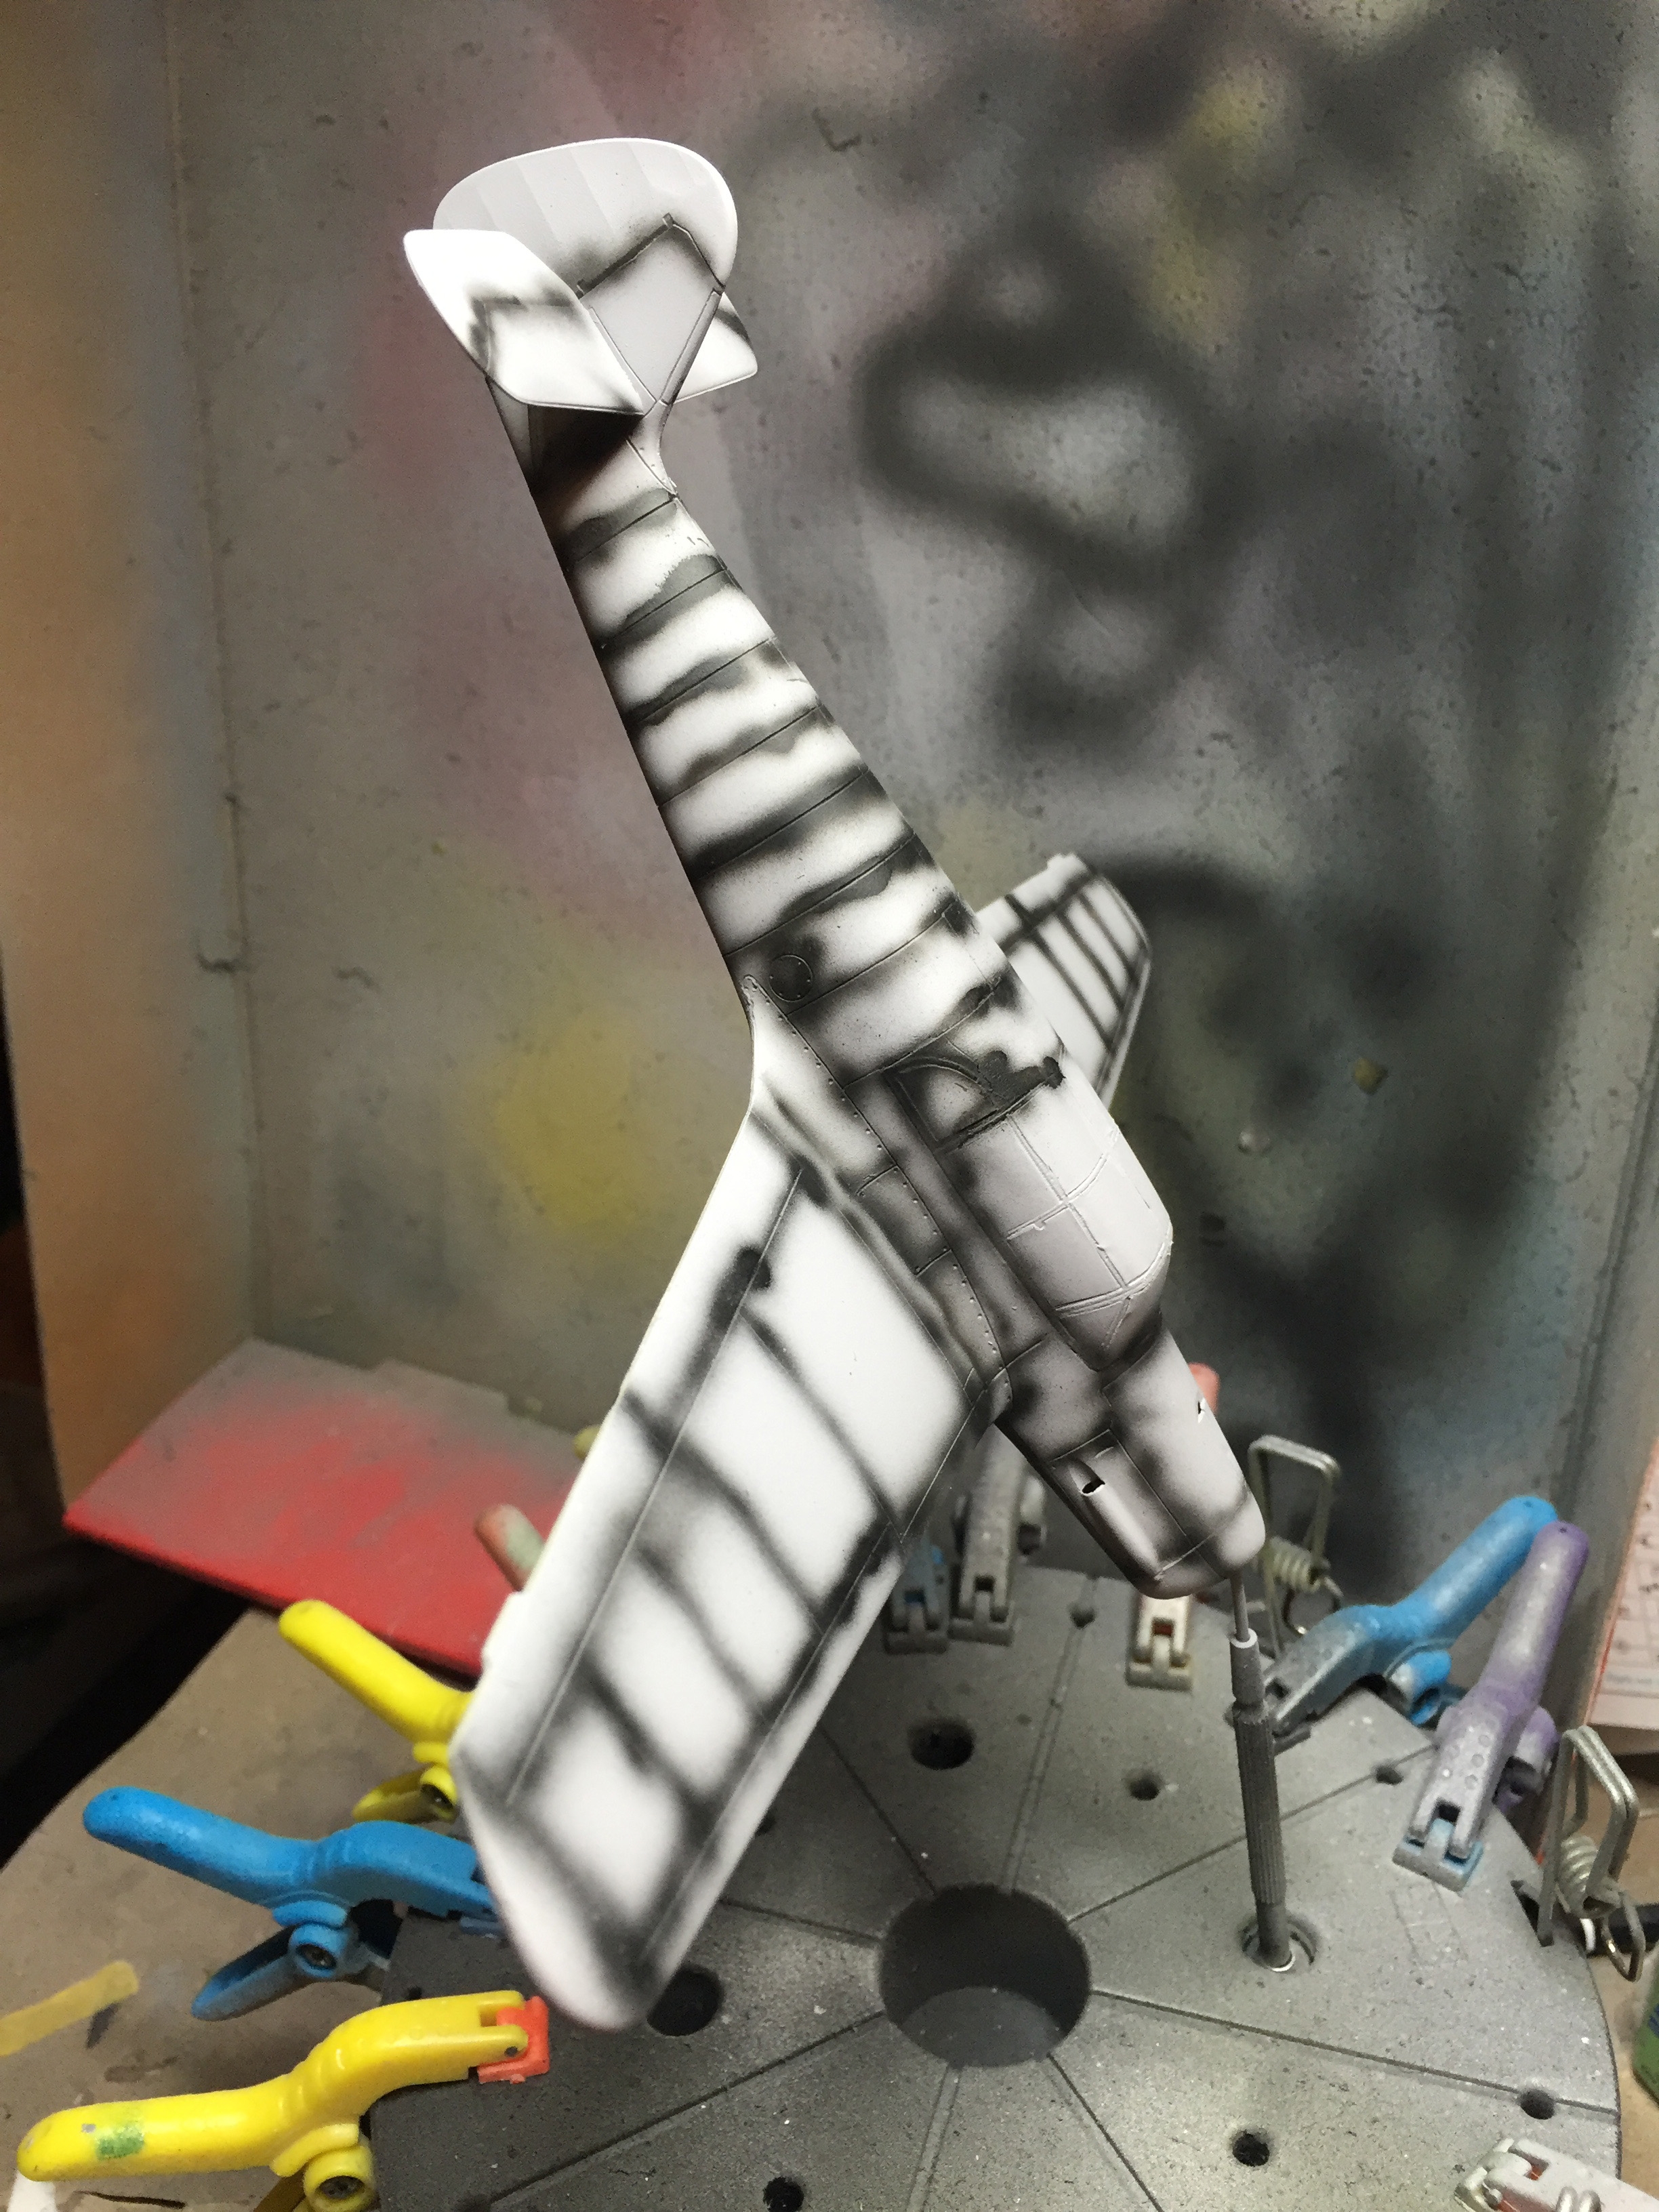
Next step was to pre shade all the lines. I used Vallejo's Model Air Black (71.057) with my Infinity CRplus airbrush.
 |
 |
 |
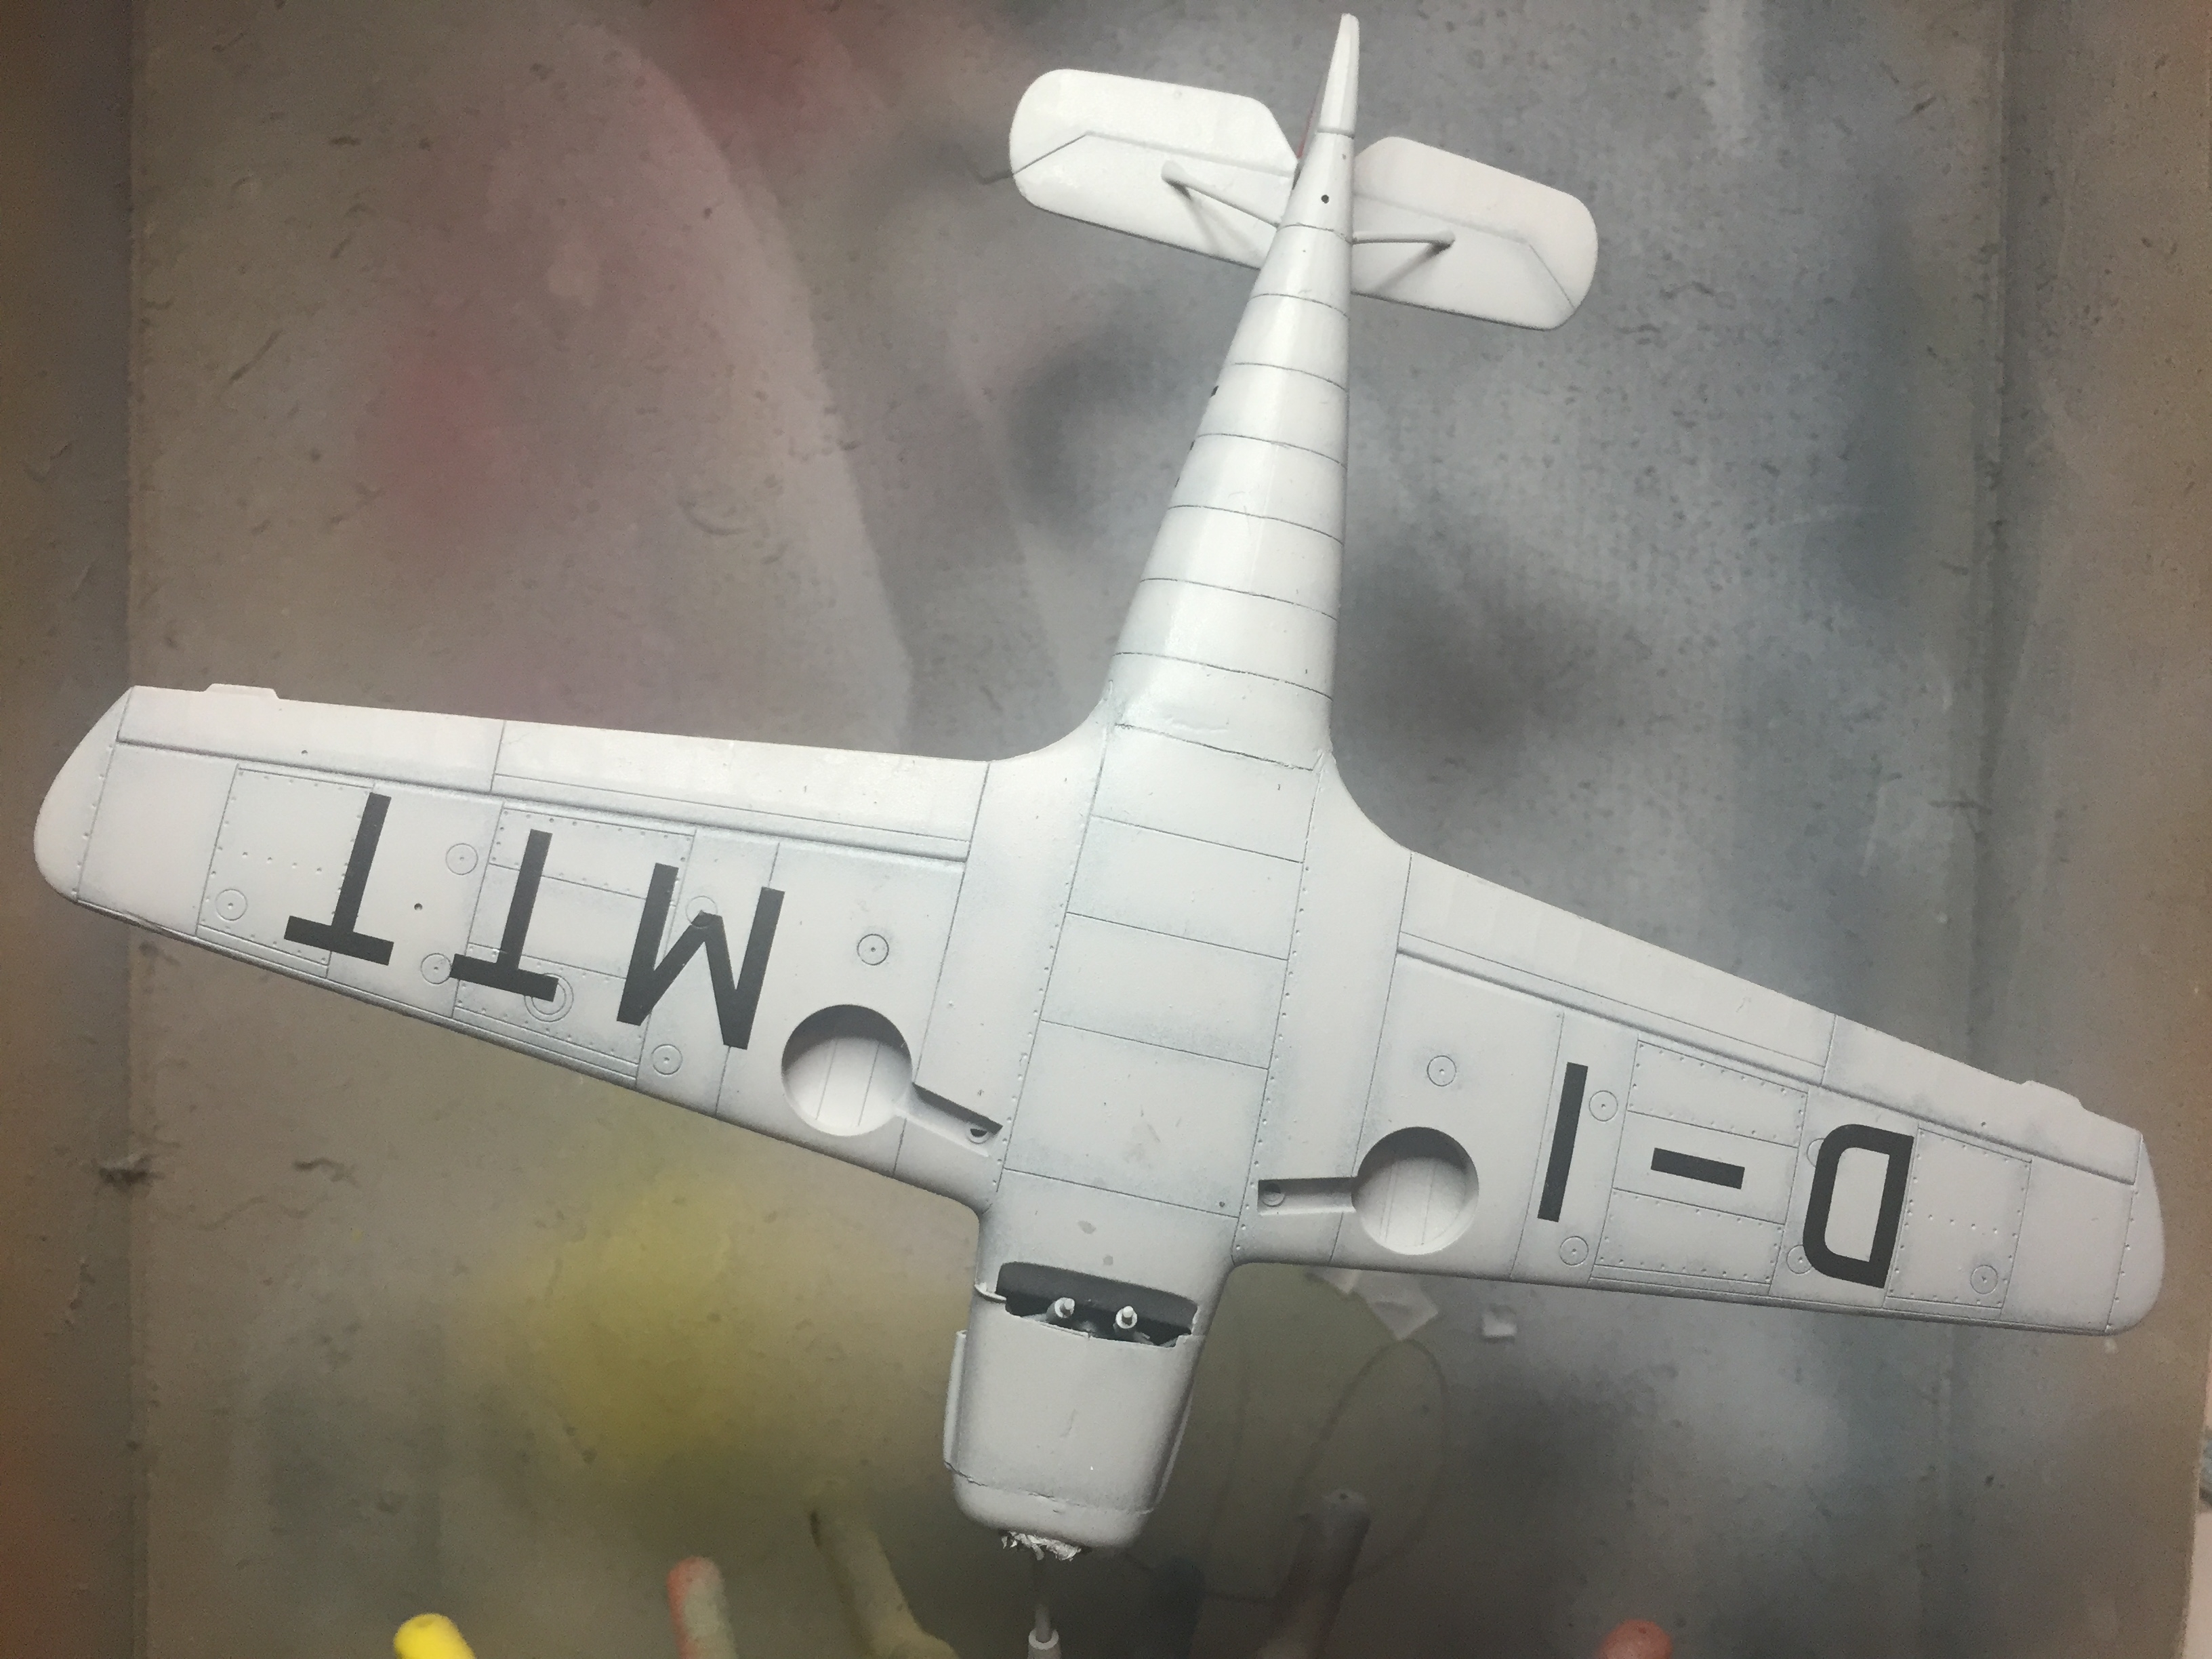
Time for the finishing colour, the instructions specified federal standard (FS)36373 so I searched that on Paint4Models "The Ultimate Model Paint Conversion Chart" but did not find any match for Vallejo's Model Air, it did match Humbrol's 127 US Ghost Grey so I did another search on that and found another row with Vallejo's Model Air 50 (71.050) Sky Grey so I used that with my air brush until I got the right level of shading. I then sealed that off with Humbrol's Gloss Cote. When it comes to the gloss cote I prefer to apply it with a paintbrush and Hubrol's varnish as it gives a more even surface than when I use an air brush with a quick drying varnish.
 |
 |
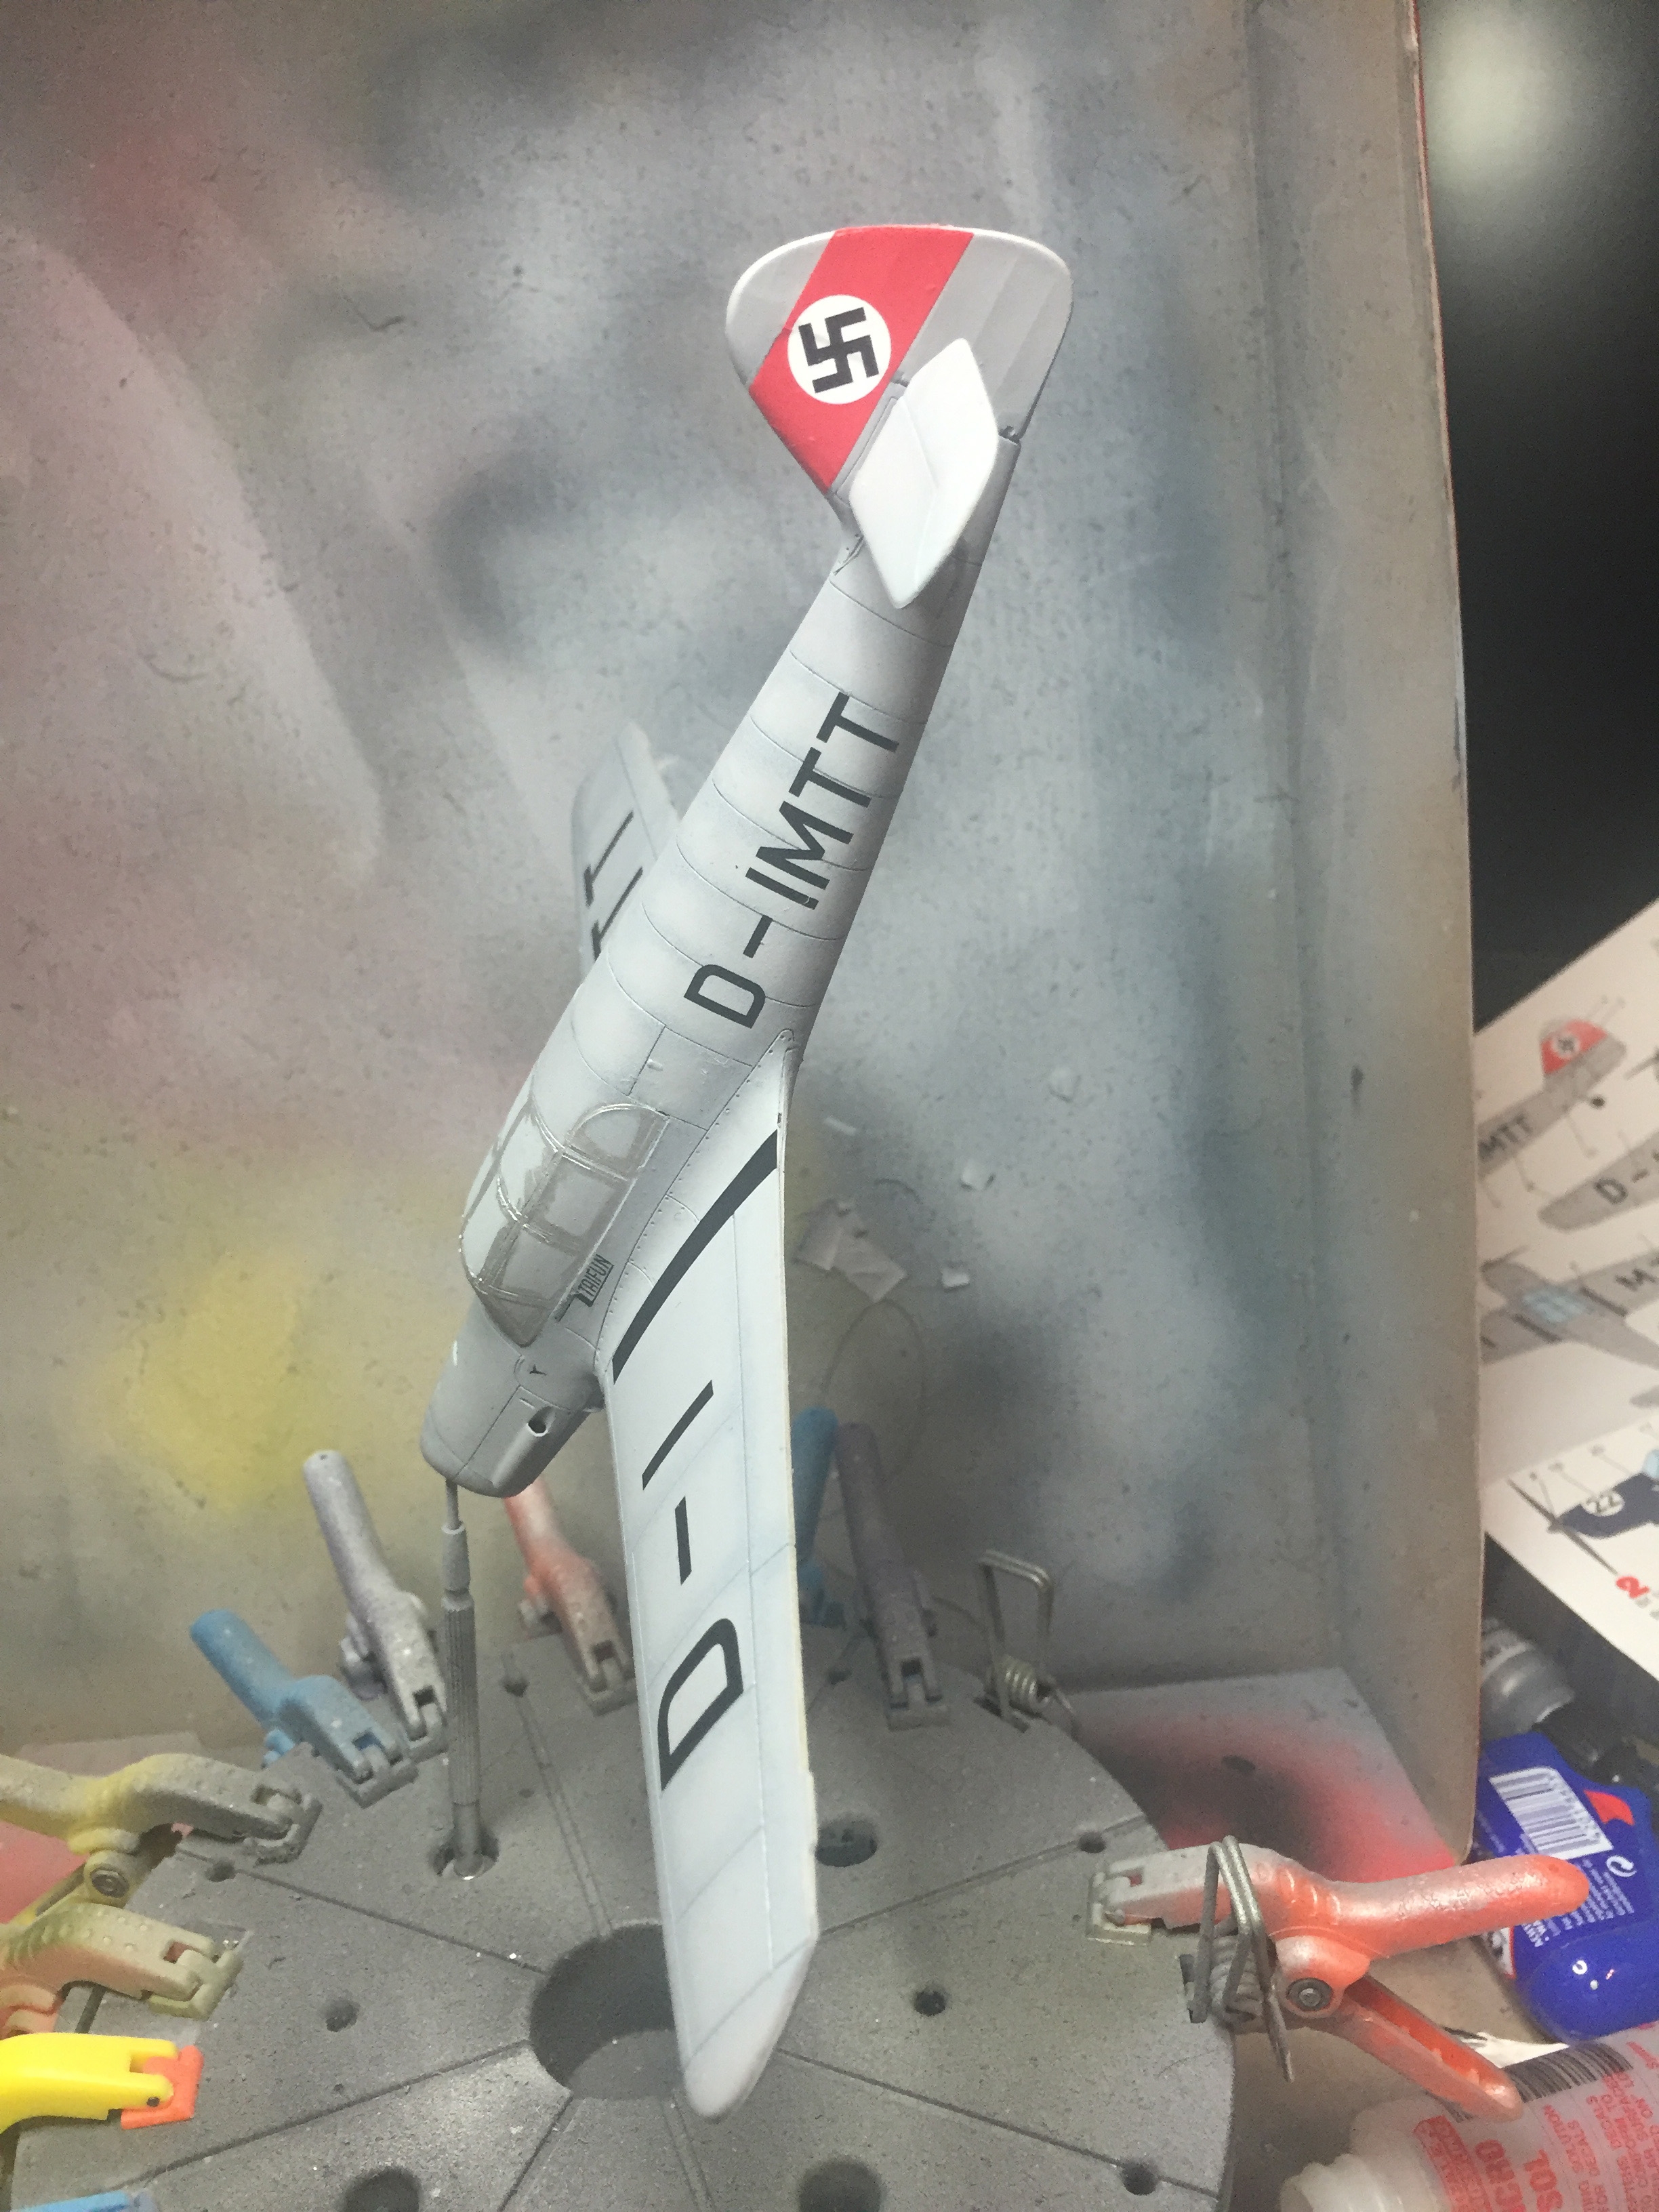
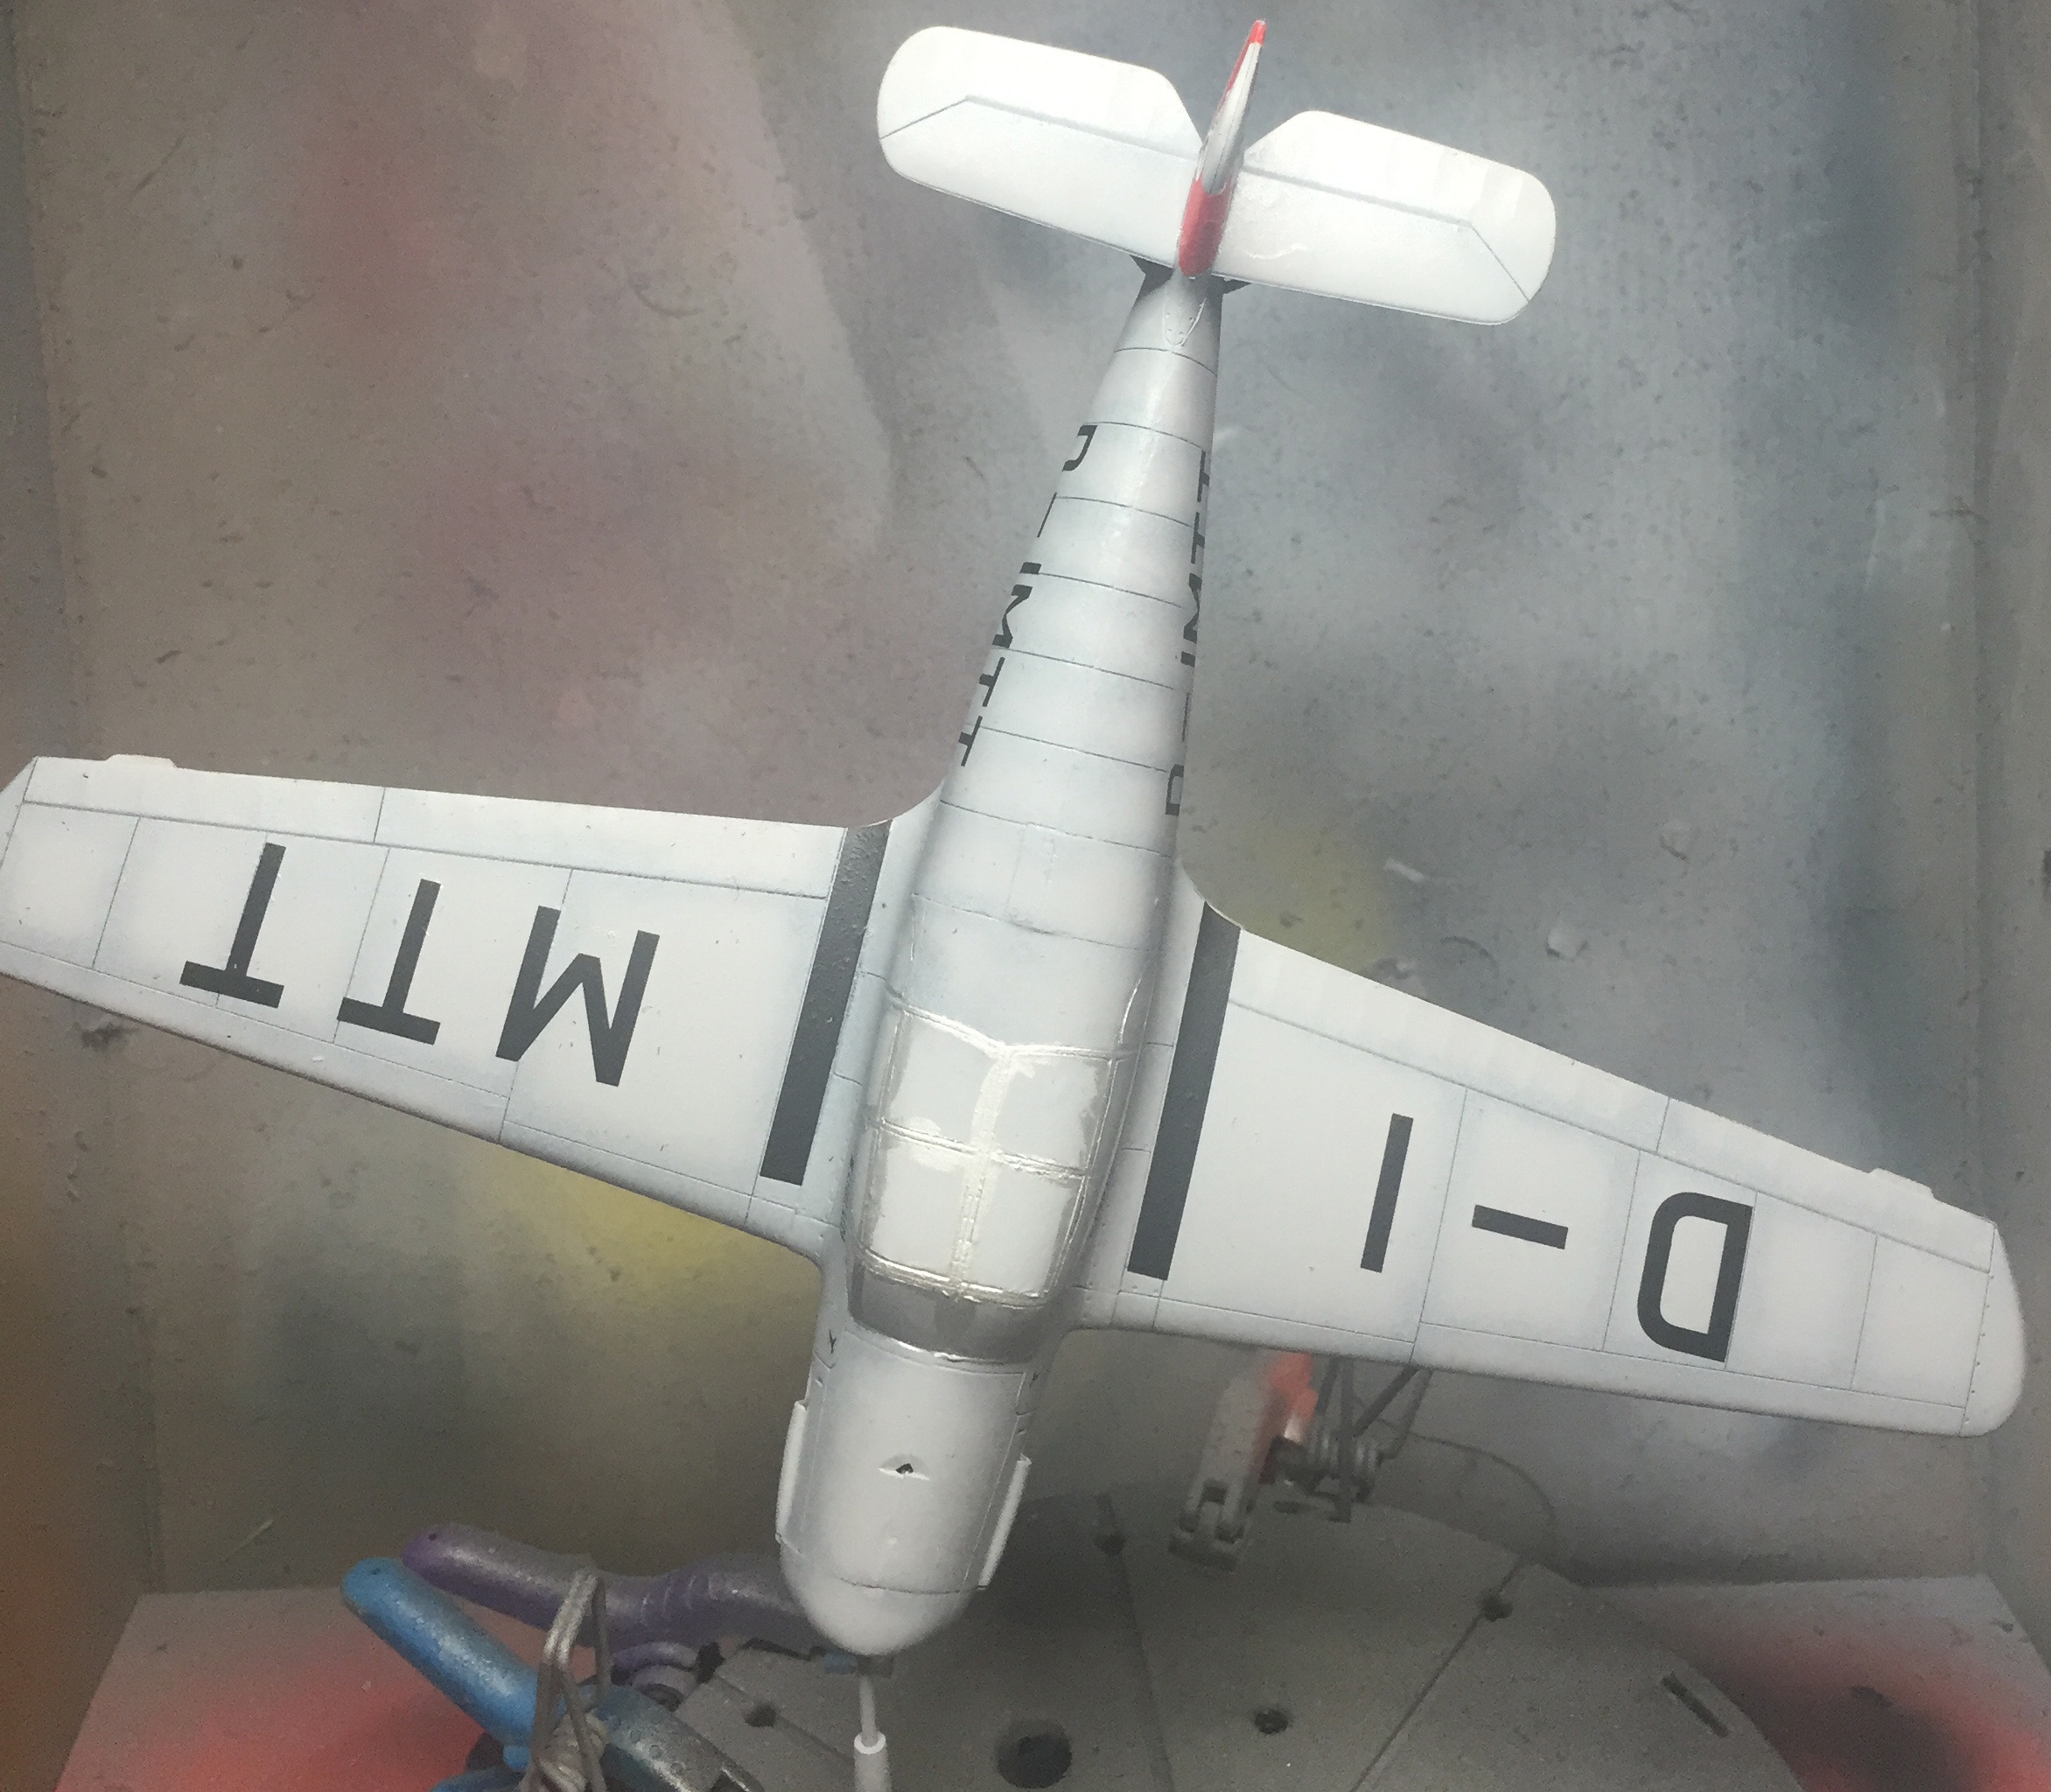
The kit was then ready for the decals. They turned out to be so delicate that almost no decal solvent or such was needed but instead a lot of delicate handling was needed. One of the tail fin decals broke with two holes in it but fortunately the decal sheet had an extra set (for another version) so that saved the day. The swastikas on the tail fin came in two parts as it seems like the Americans a anxious that we will go out an murder people if we depict history accurately. I selected the historically correct version in spite of the risk. When the decals was in place I sealed them with a cote of Vallejo's Matt Varnish (70.520) for the right finish.
 |
 |
 |
 |
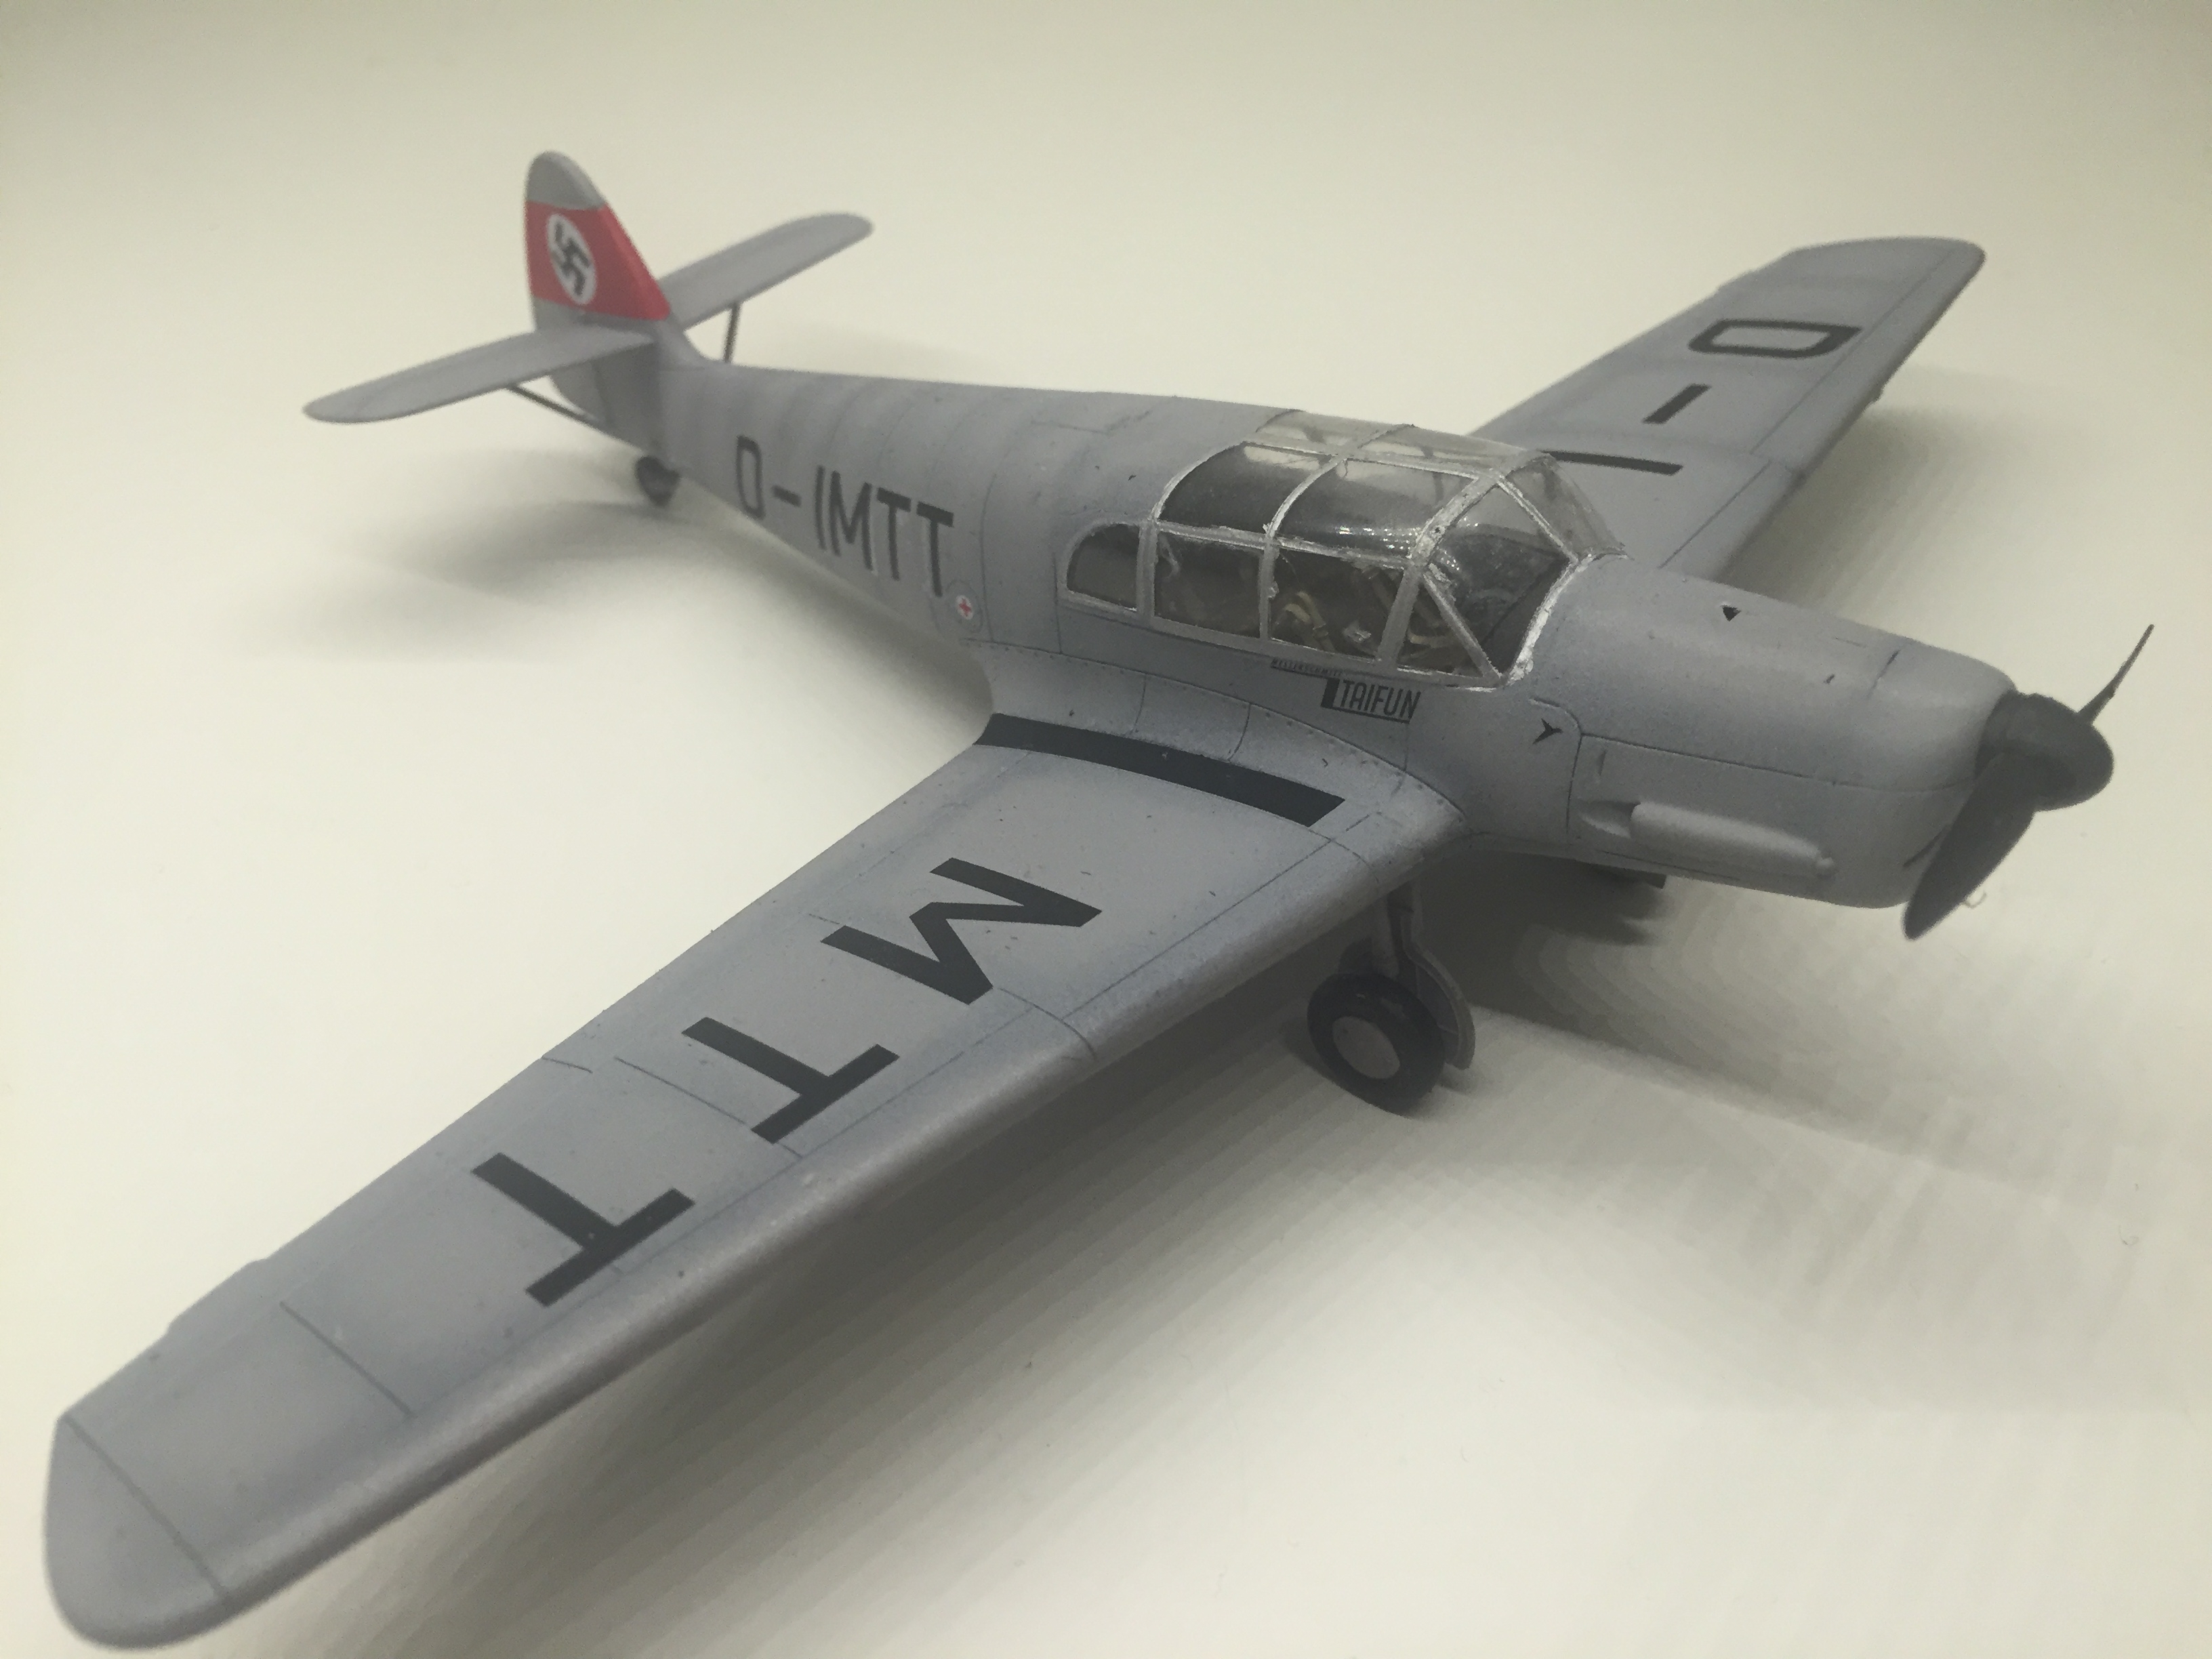
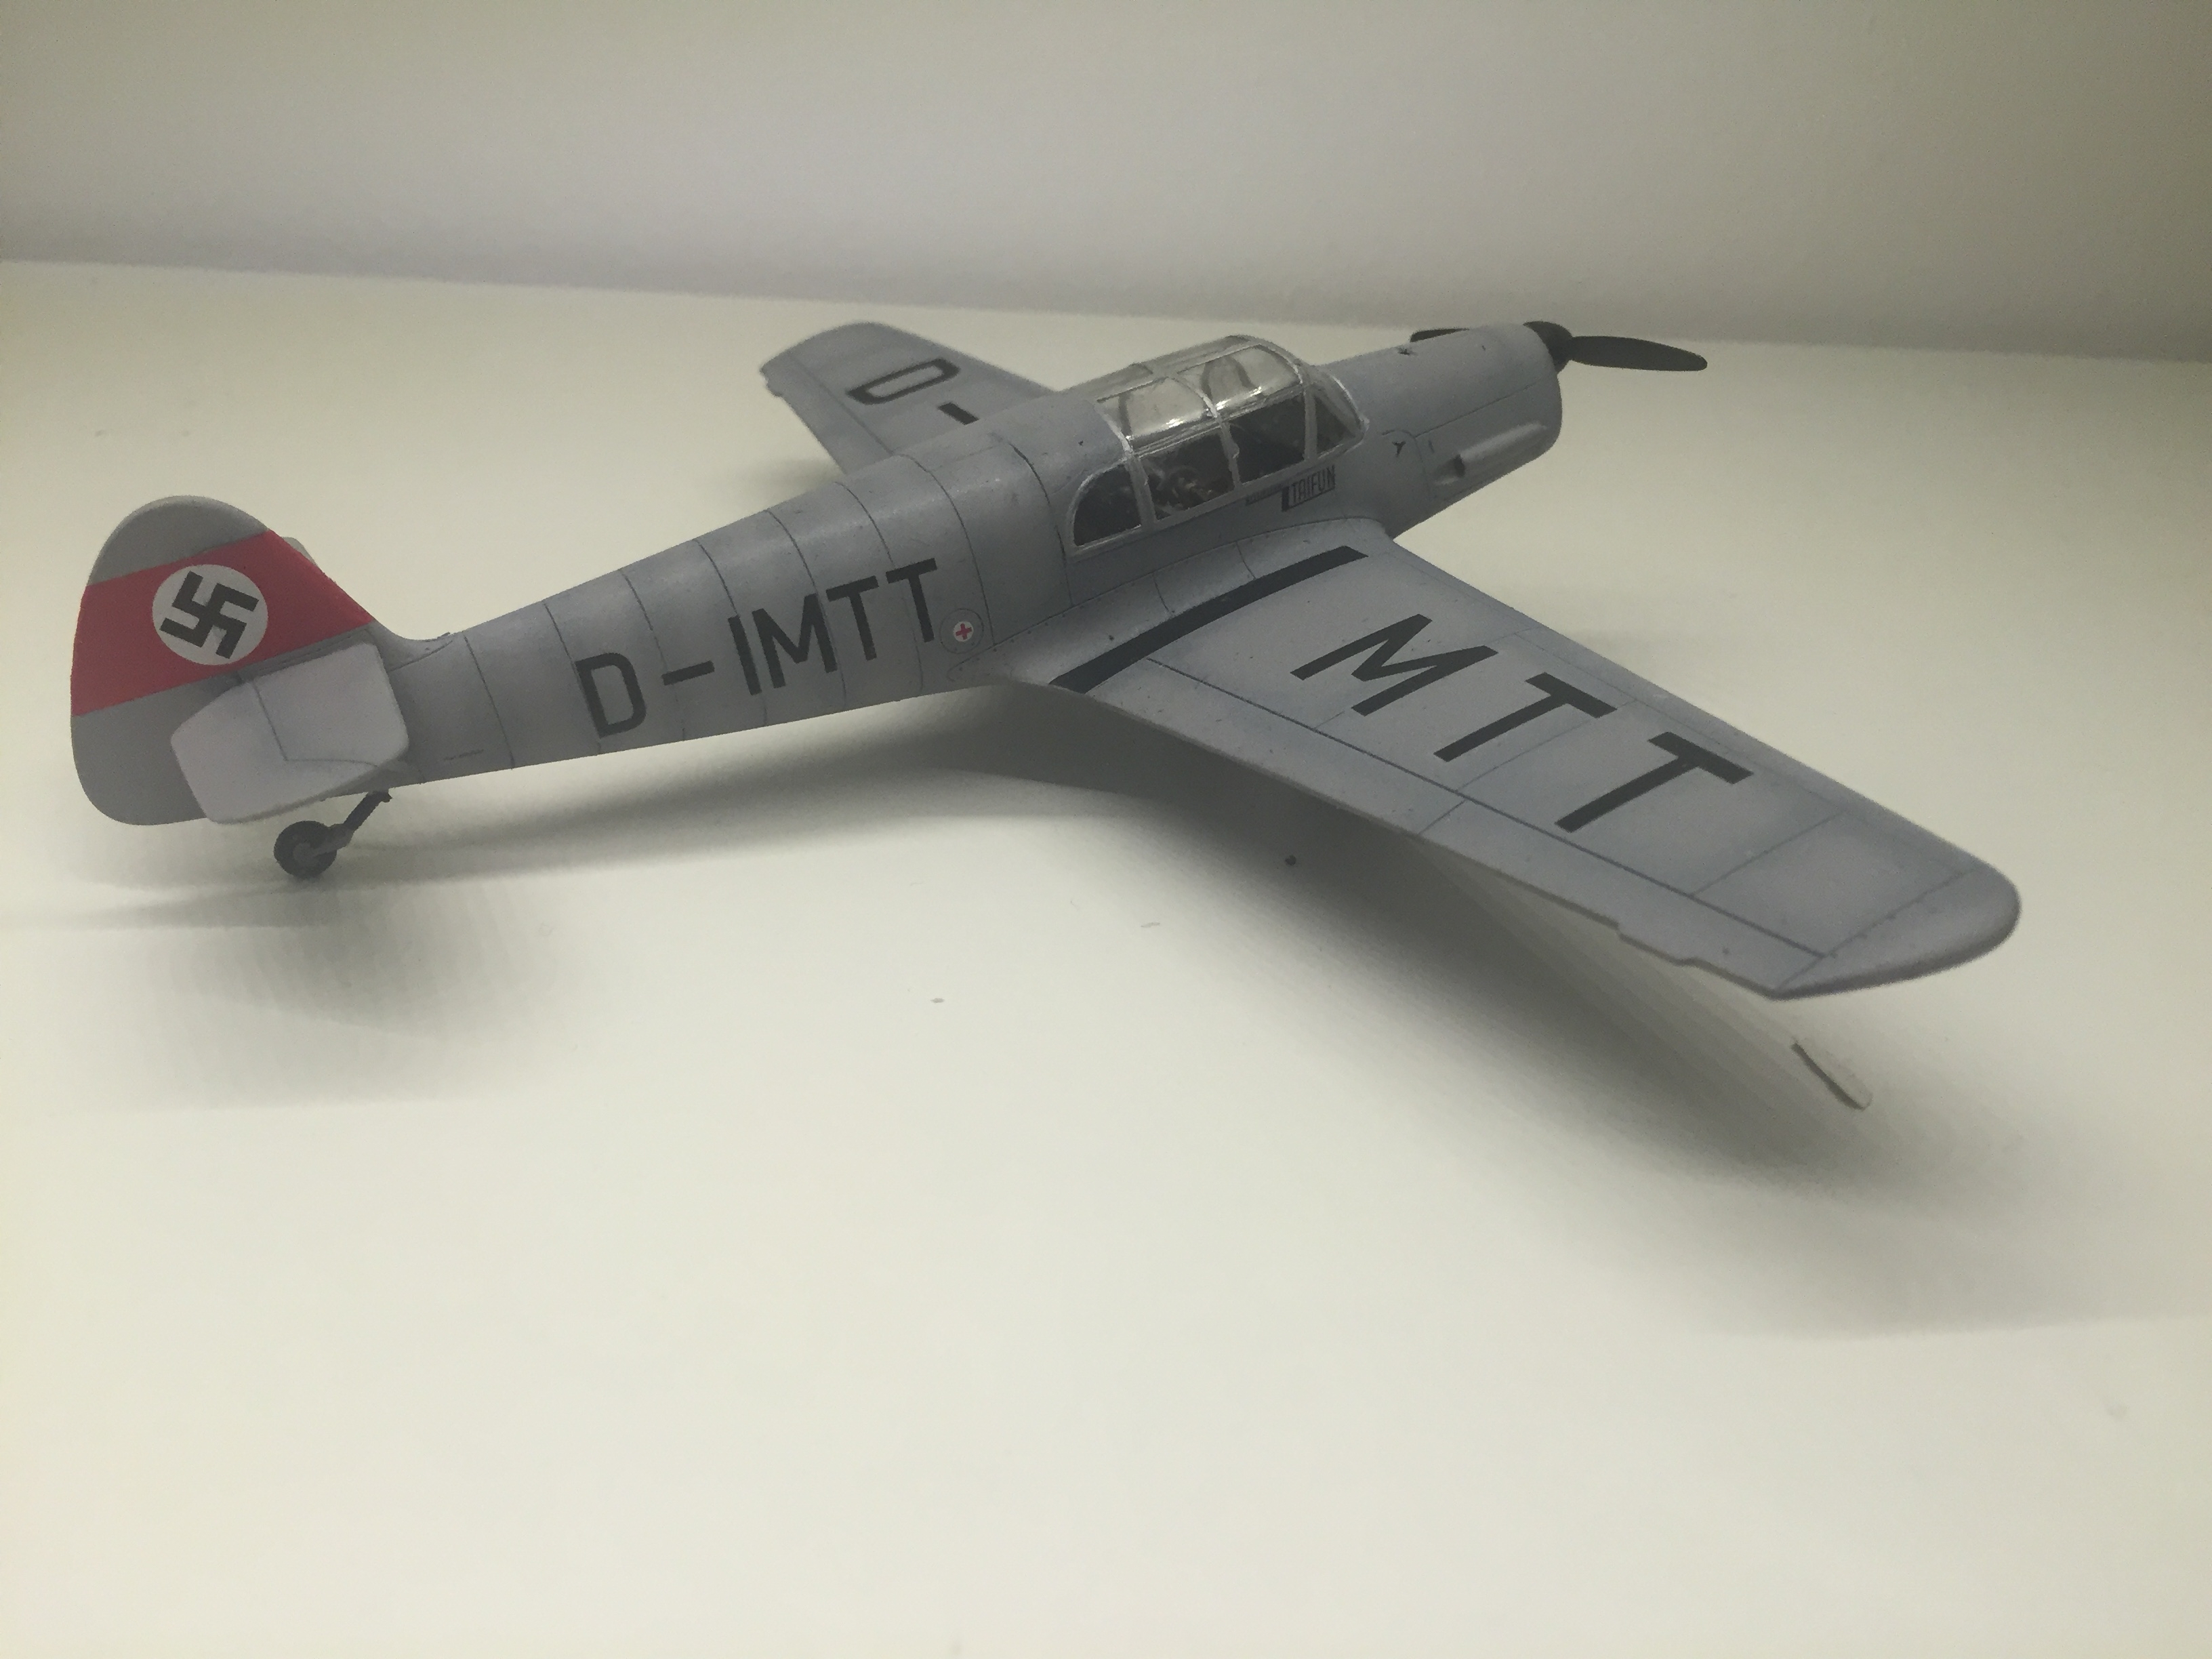
For the last part it was the landing gears, propeller and some small details. Again I opted to not use some of the really small etched parts as they really was too small. And here is the finished result.
 |
 |
 |
 |
The Eduard 1/48 kit of the Messerschmitt Bf-108 Taifun is the only available in this scale but it's been released in different boxes from Eduard with different marking options (decals). The supplied detailing with pre painted photo etched metal parts adds greatly to the kit even if some of the parts are too small for my fingers and sight and it's questionable if they would be noticeable on the finished kit. I took some of them as optional. The fit was reasonably good but there was a substitutional gap at the wing root in my kit and I had to do some sanding on the canopy to make it fit. On the whole I'd say it's a good kit and as it's the only one around that's fortunate.