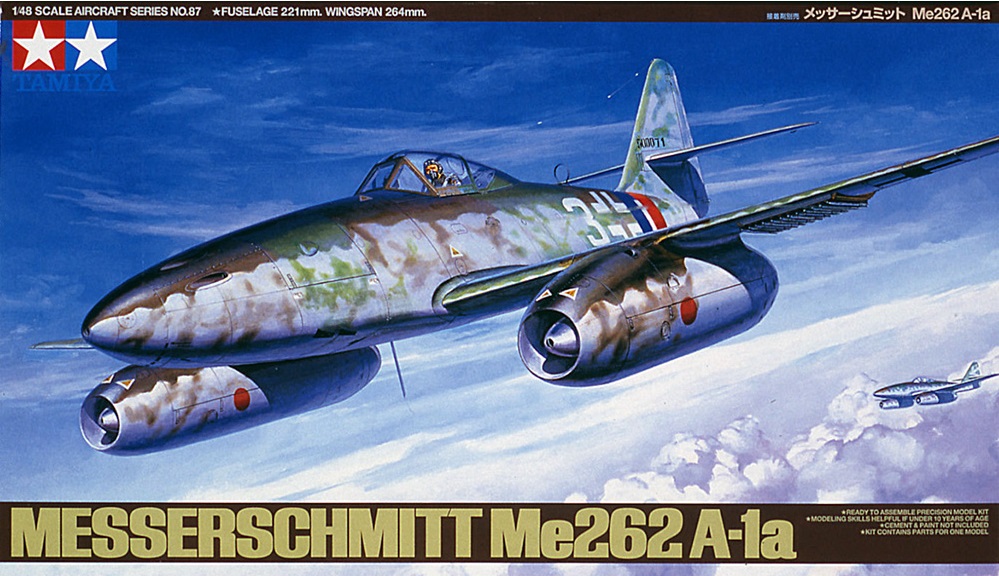
| Manufacturer | Tamiya |
|---|---|
| Scale | 1/48 |
| Manufacturers page | http://www.tamiya.com/english/products/61087me262a1a/index.htm |
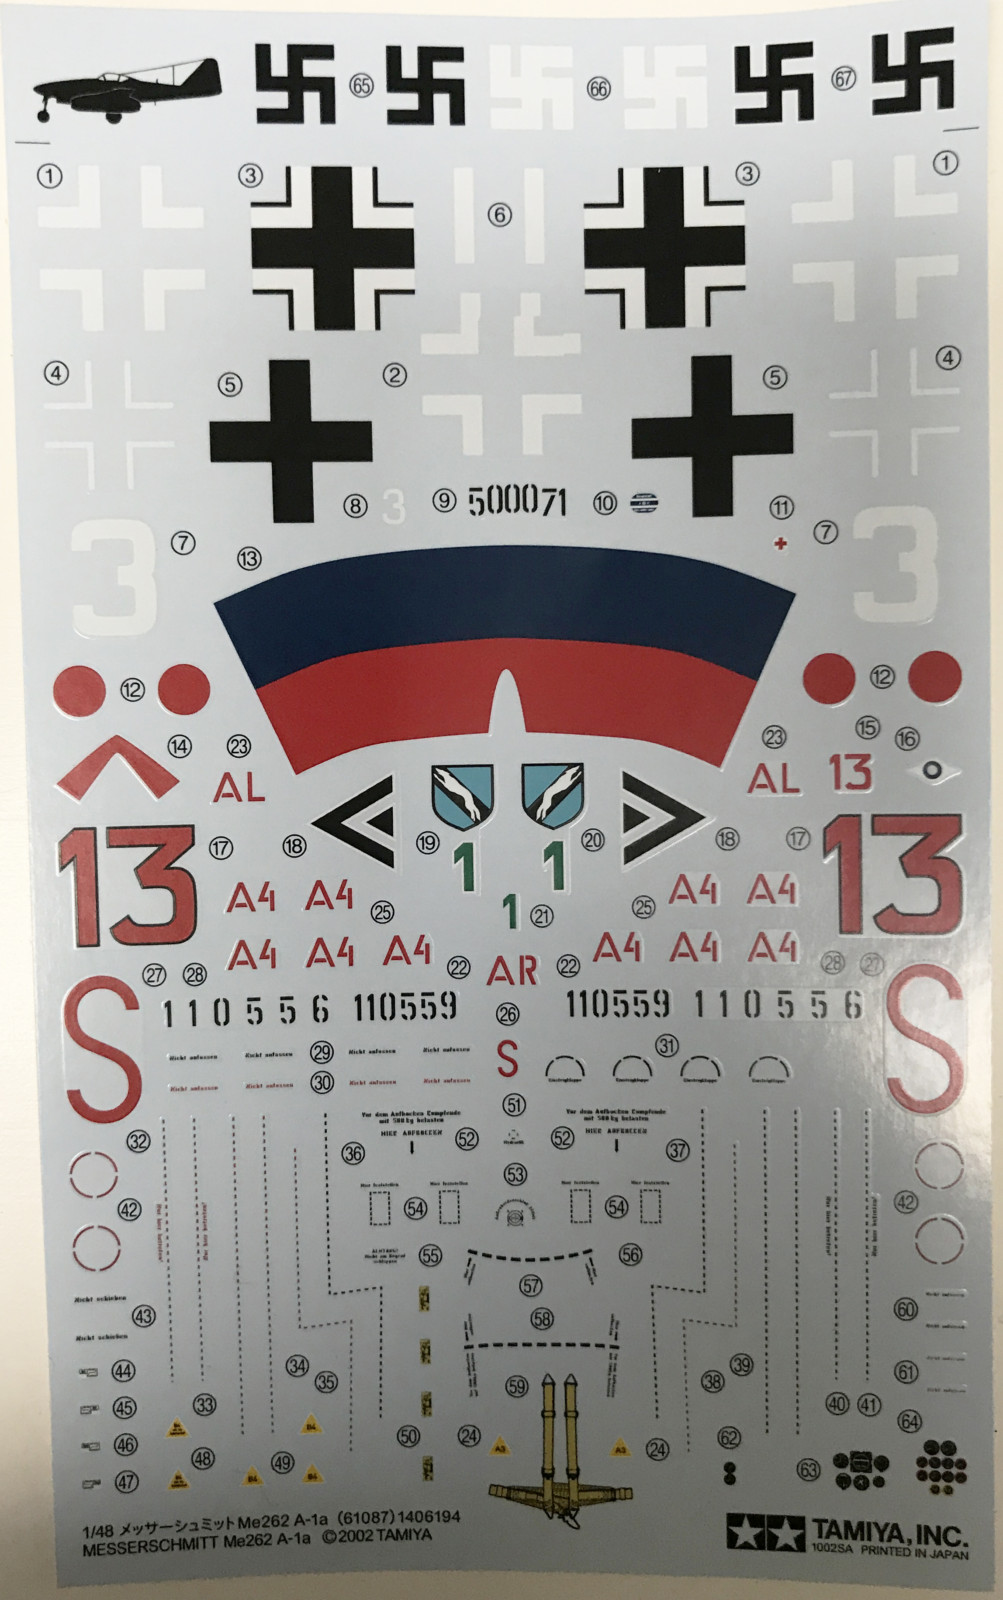
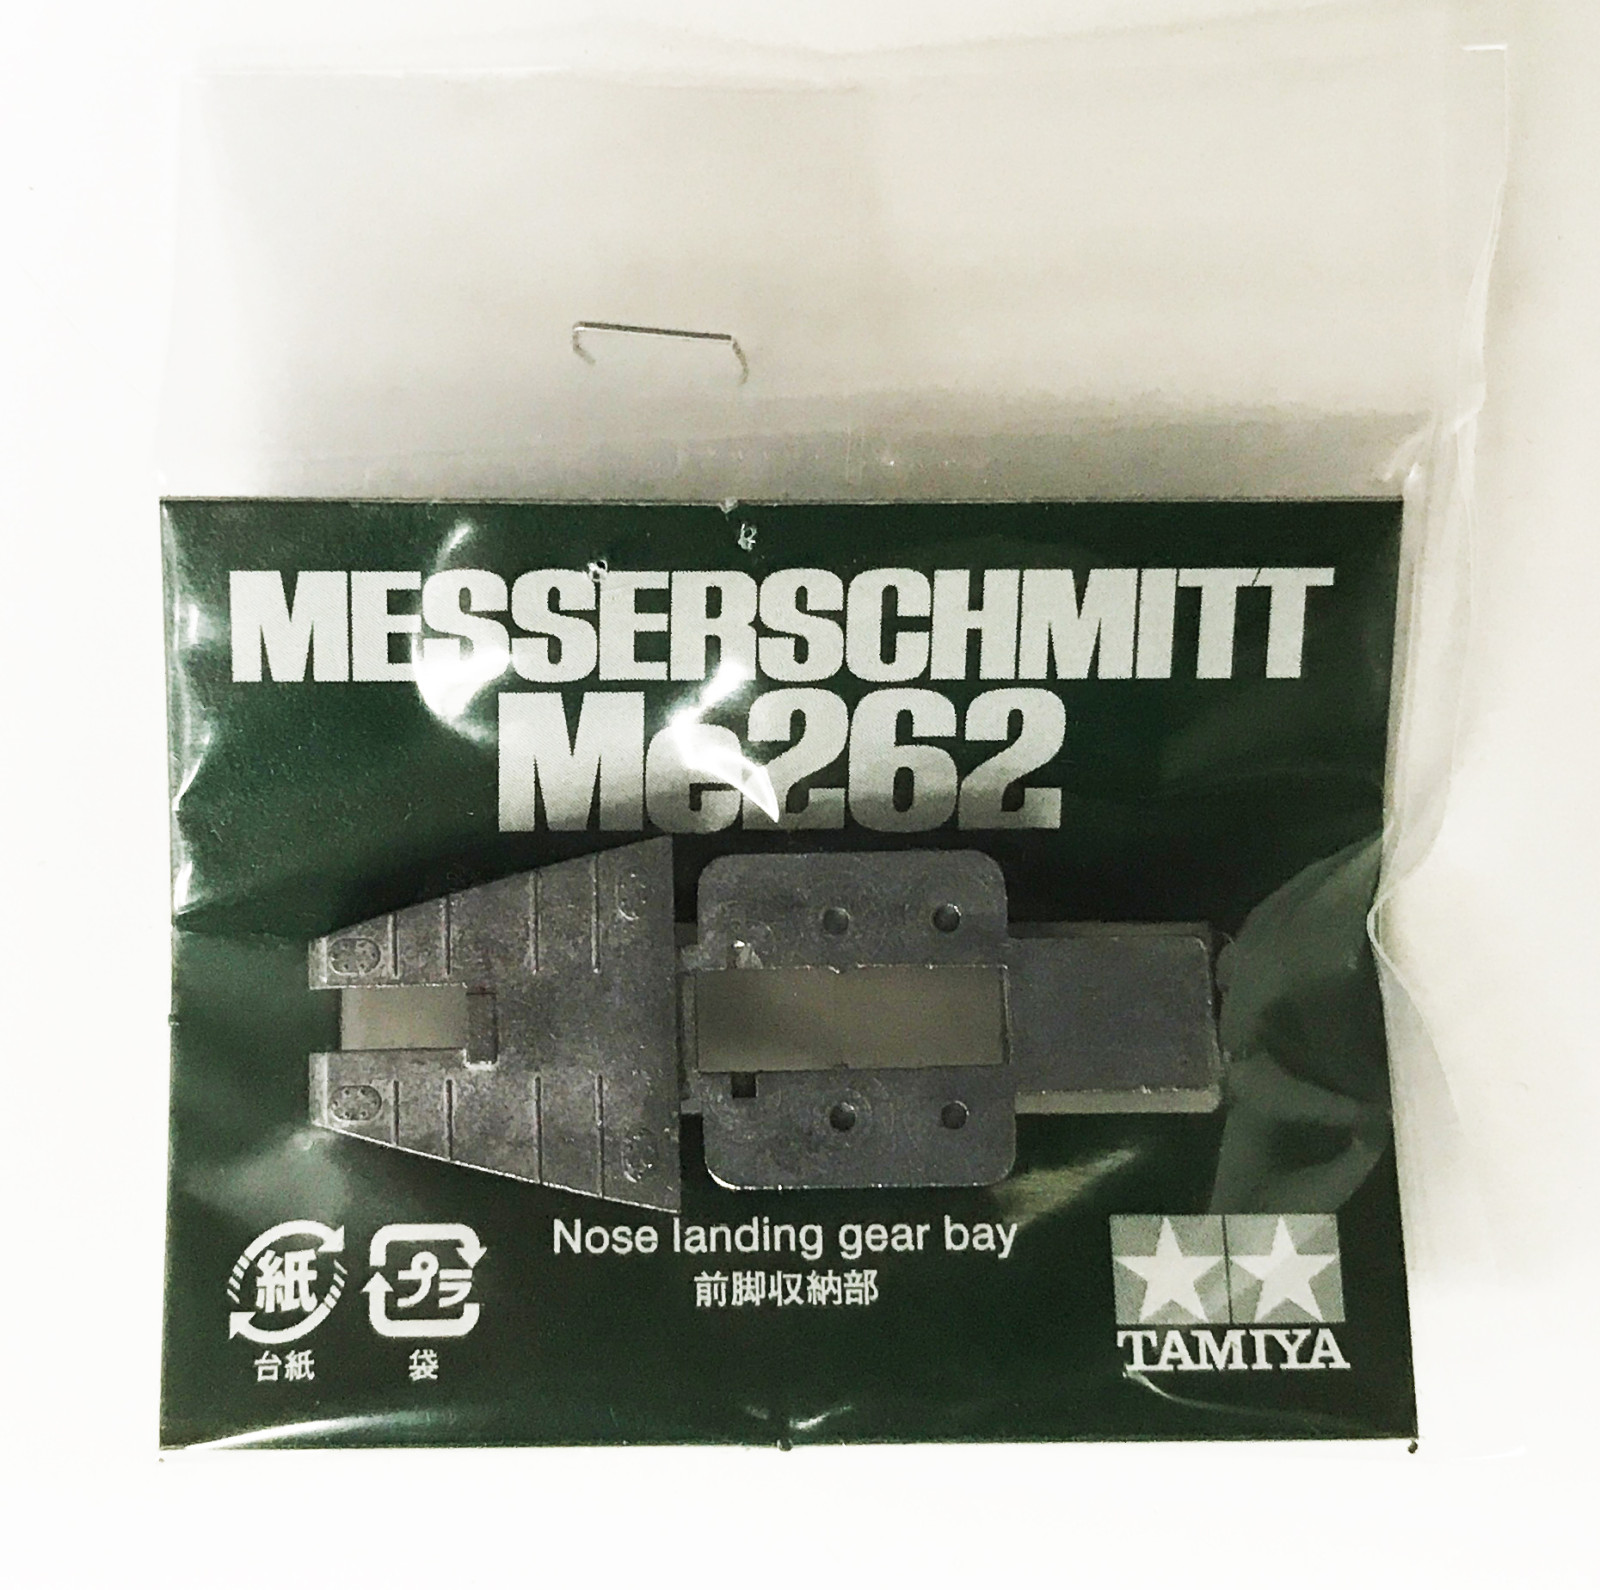
| Content in box | Instruction sheet, plastic kit, decals for four different individuals and a die-cast weight (to have it stand on the nose wheel) |
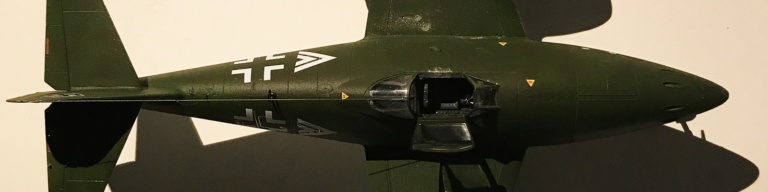
The Messerschmitt Me-262A, nicknamed Schwalbe (Swallow) was the worlds first operational jet engined aircraft. It was ground breaking German research that paved the way for the jet era to come. Some 1,400 are estimated to have been built during the war. Most of them was destroyed on the ground. During their short service they achieved somr 300 to 400 air victories. After the war captured planes was minutely studied and techniques copied in constructions of the first wave of jet engined planes.
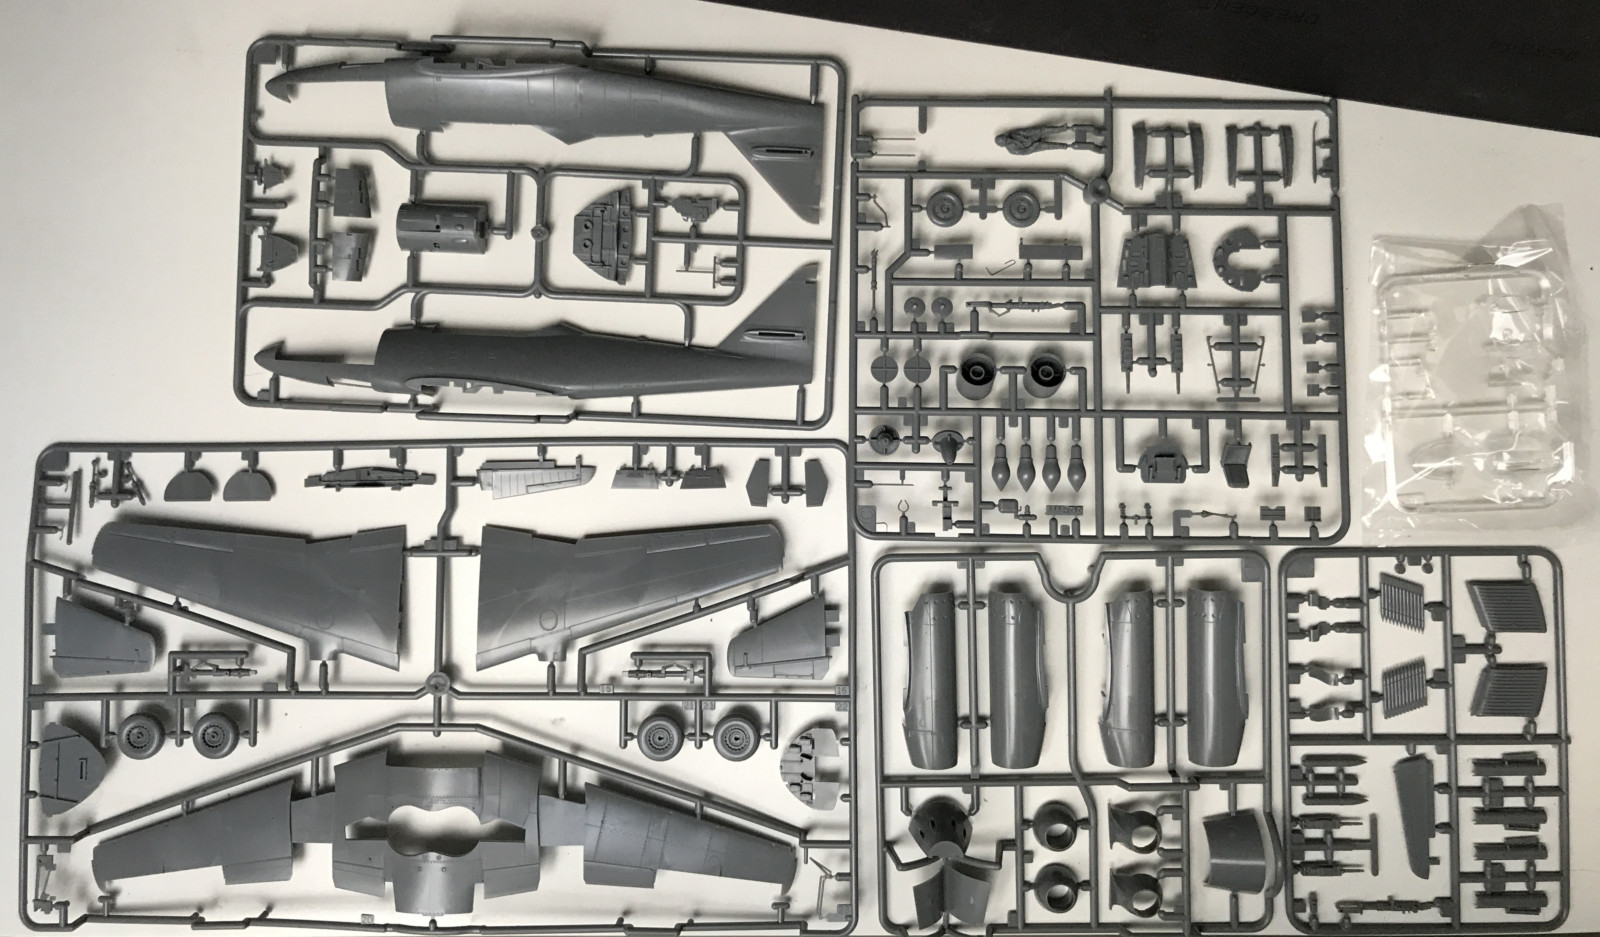
This kit from Tamiya in scale 1/48 is a good representative of this classical air frame. You can build it with access panels open to display the canons in the nose. The included die-cast weight to enable the kit to stand on it's nose wheel is a appreciated feature. Weighing down the nose can otherwise be a hazzle.
 |
 |
 |
 |
 |
As always I like to add some extra to my kits. Not much available at Hannants this time. Only interesting I found and ordered was:
Allthough the kit contains decals for four individual planes I chose to order other decals too. The included versions are fine, one version is of the Me-262 which defected to Switzerland and now stands in a museum in Munich. But I wanted to build the Me262 that Adolf Galland's flew on his last mission in WWII. The decals I ordered was:
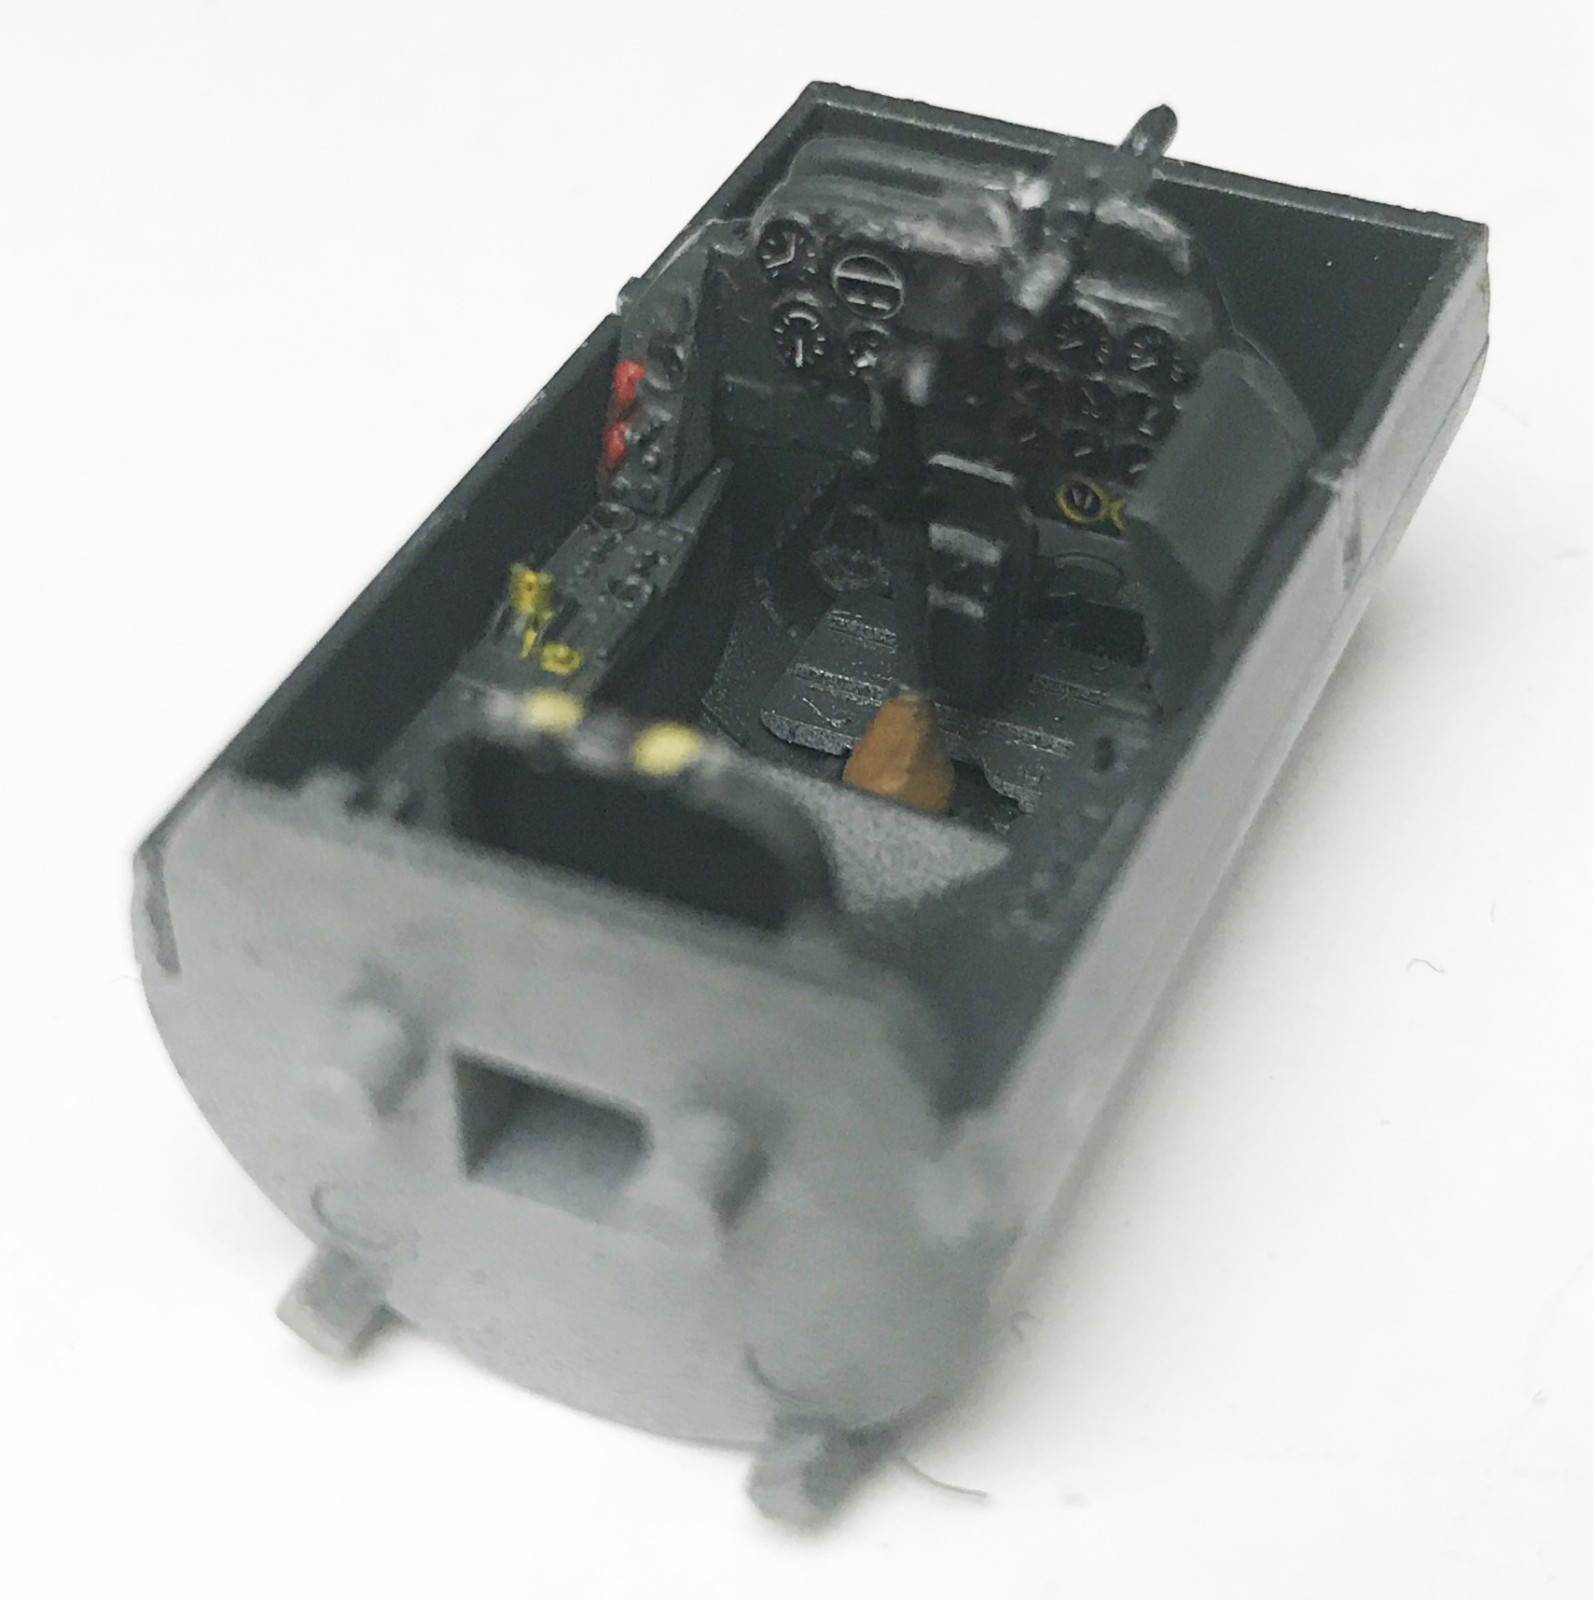
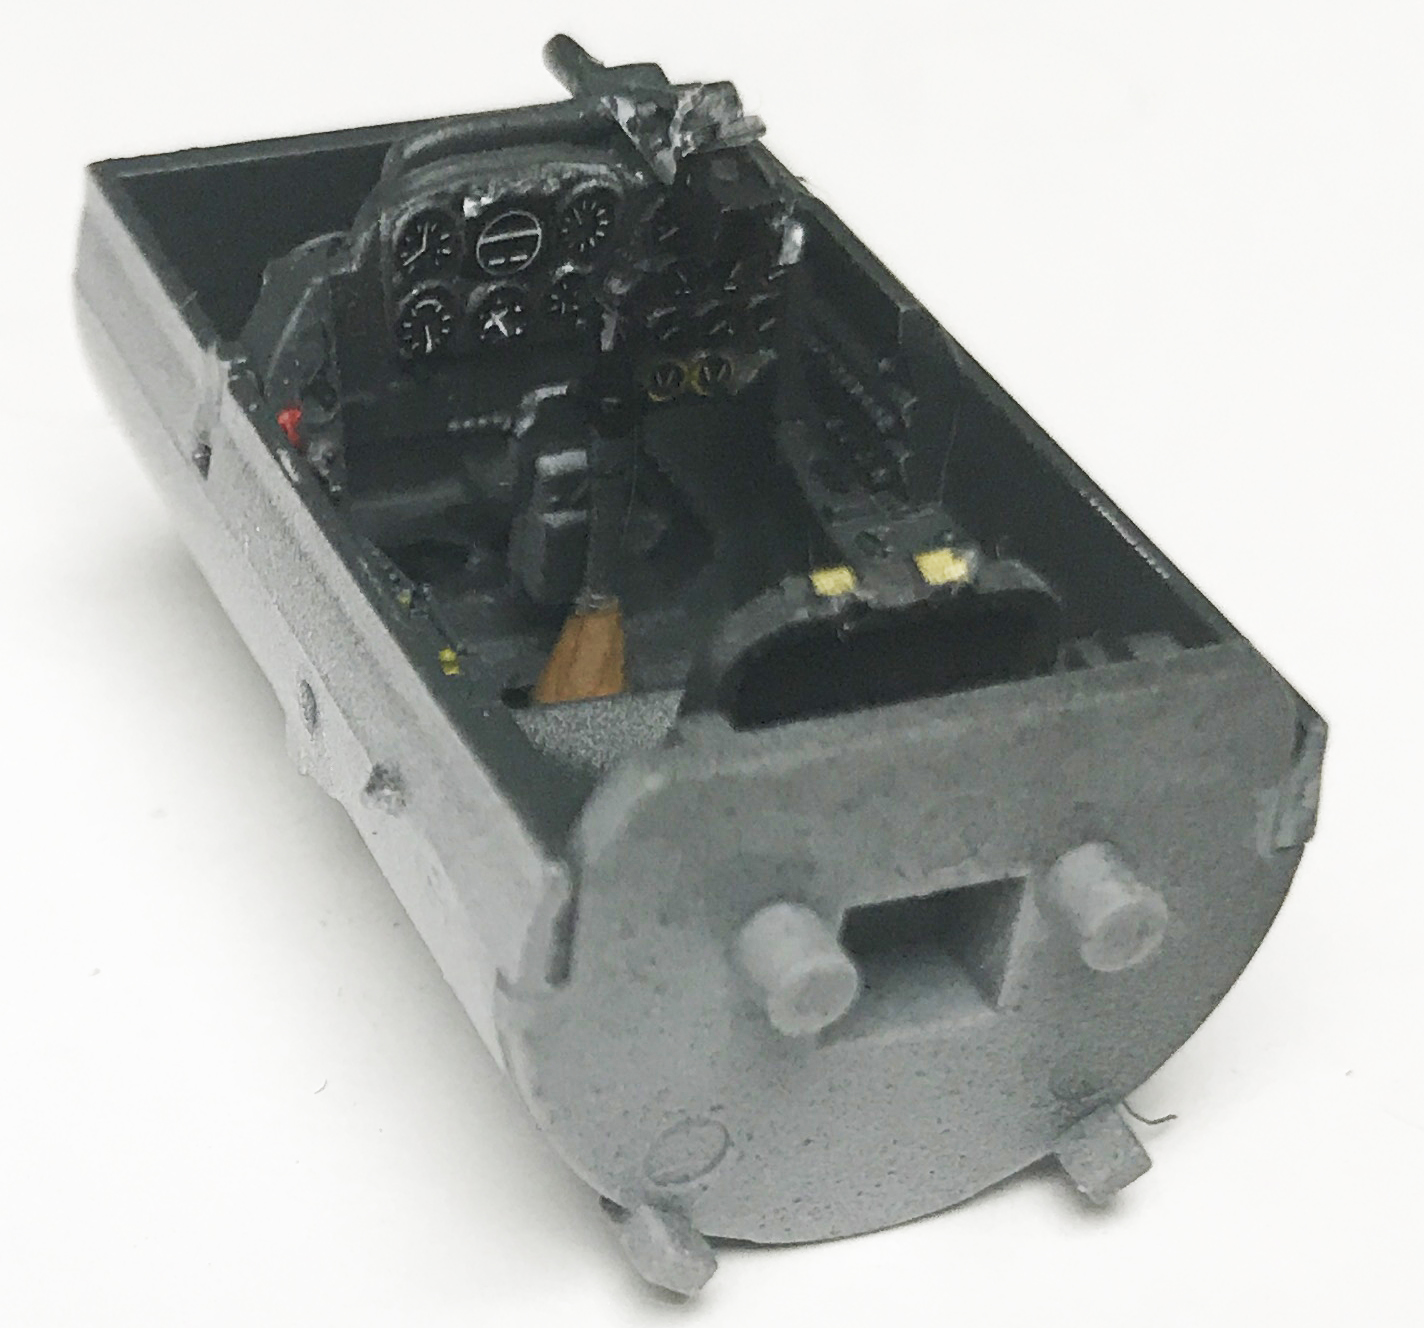
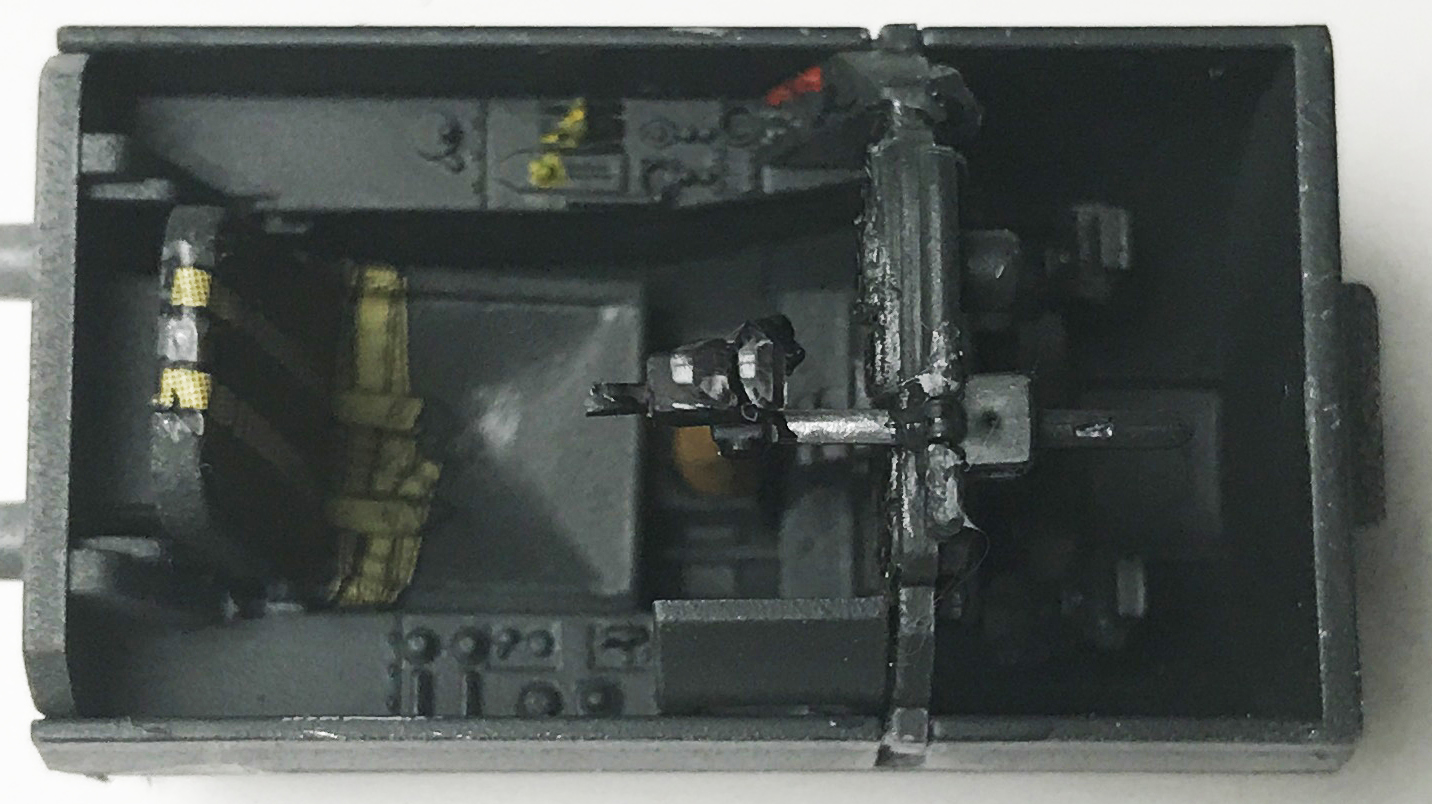
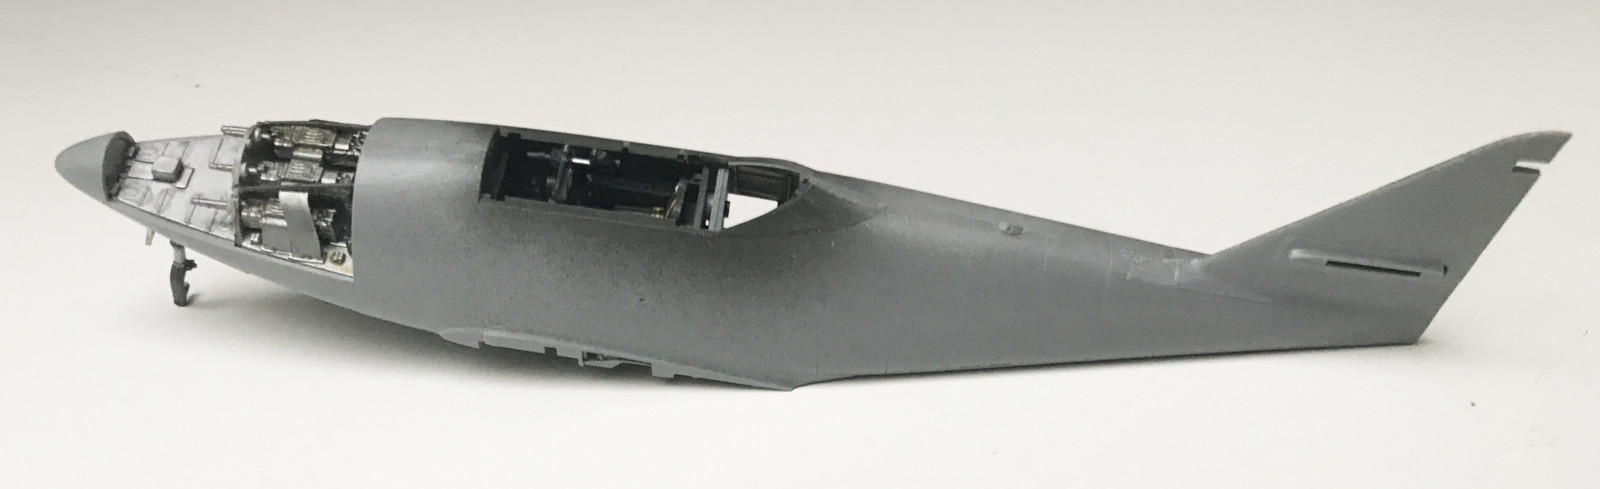
Not very surprisingly this kit starts out with the cockpit. In this case it's literally a contained story. It's built into a tub which will fit into the fuselage. Lacking any detailing kit for the cockpit I had to do with what was supplied in the kit which is OK. There is decals for the instruments on the instrument panel, a lot better than one decal for the entire panel. The outlines of the instruments on the panel are raised so you have a choice of either file them down or use some decal solution like MicroSol to have them conform to the contours. I chosen the latter which came out OK.
There's also decals for the seat belts which is not as good as photo etched or texture belts but certainly better than none. The colour references in the instruction sheets are quite good, even down to the colour on individual levers.
 |
 |
 |
 |
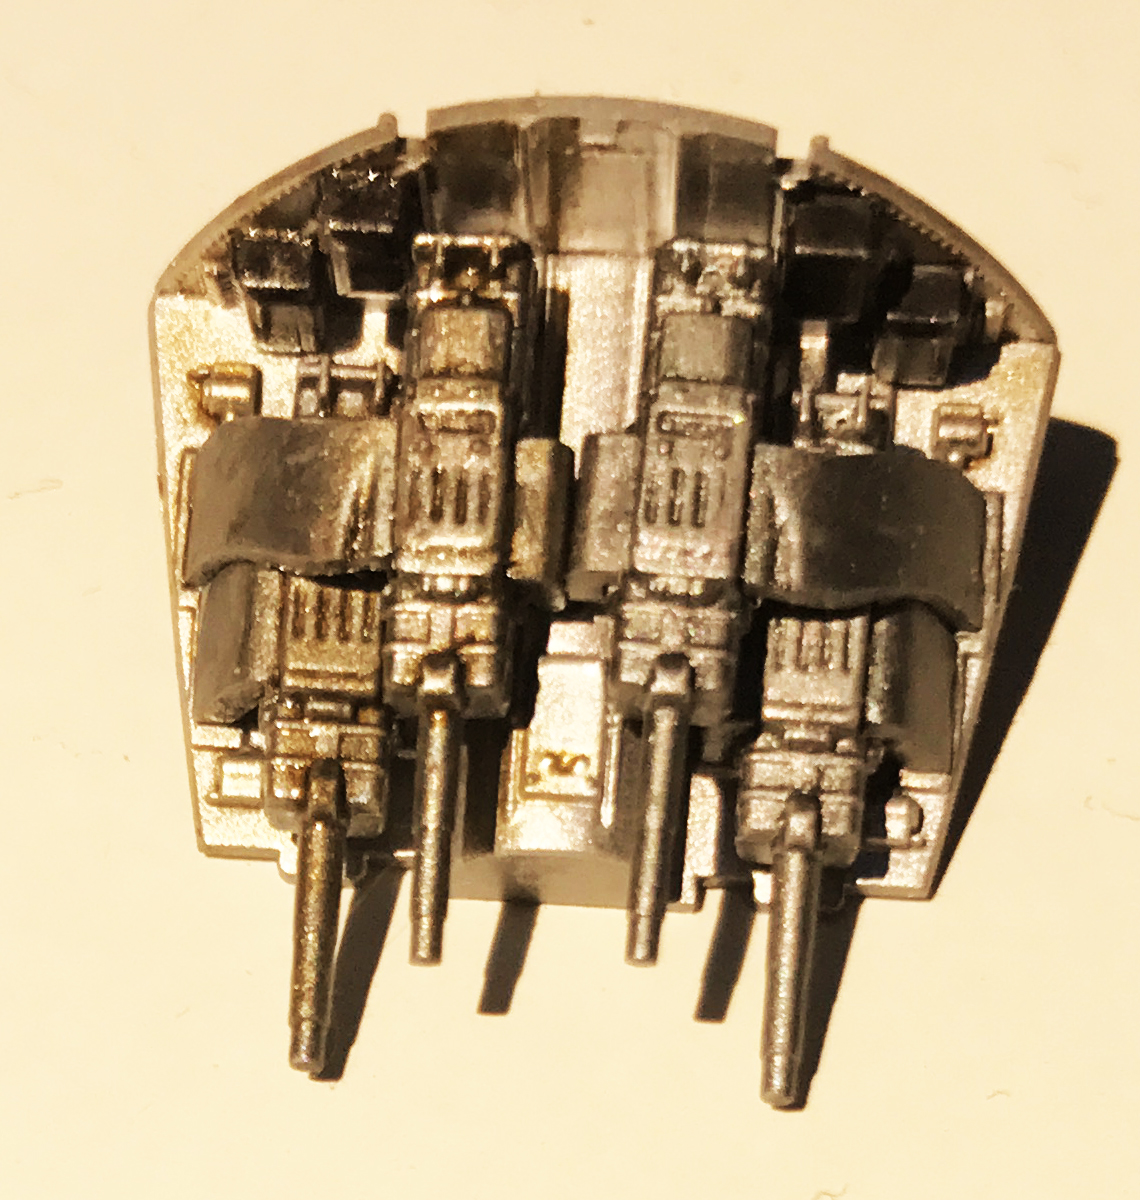
Next is the gun bay that is also put together into it's own entity. Put together it looks good and it's a hard choice if you should leave the hatches in an open or closed position (closed would be the best way to show of the sleek design but then you'd miss out on the guns).
Now it's time for the included nose weight. This is a brilliant solution that I have to commend Tamiya for. The weight is made as a part of the nose wheels housing and the gun bay fits on top of it. Very nicely constructed. The fit of the parts are excellent and everything sits perfectly in place without the need to glue anything to the metal.
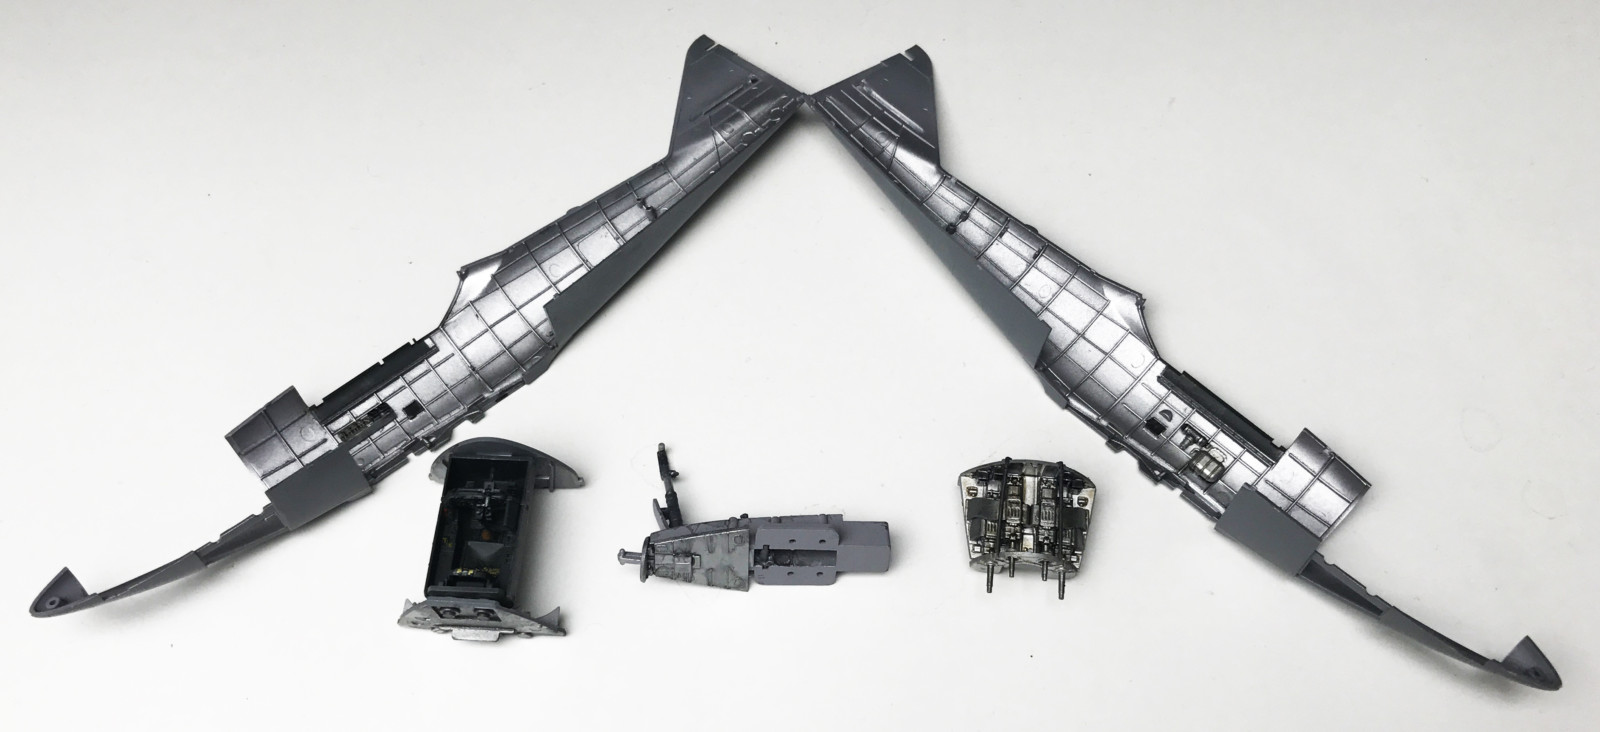
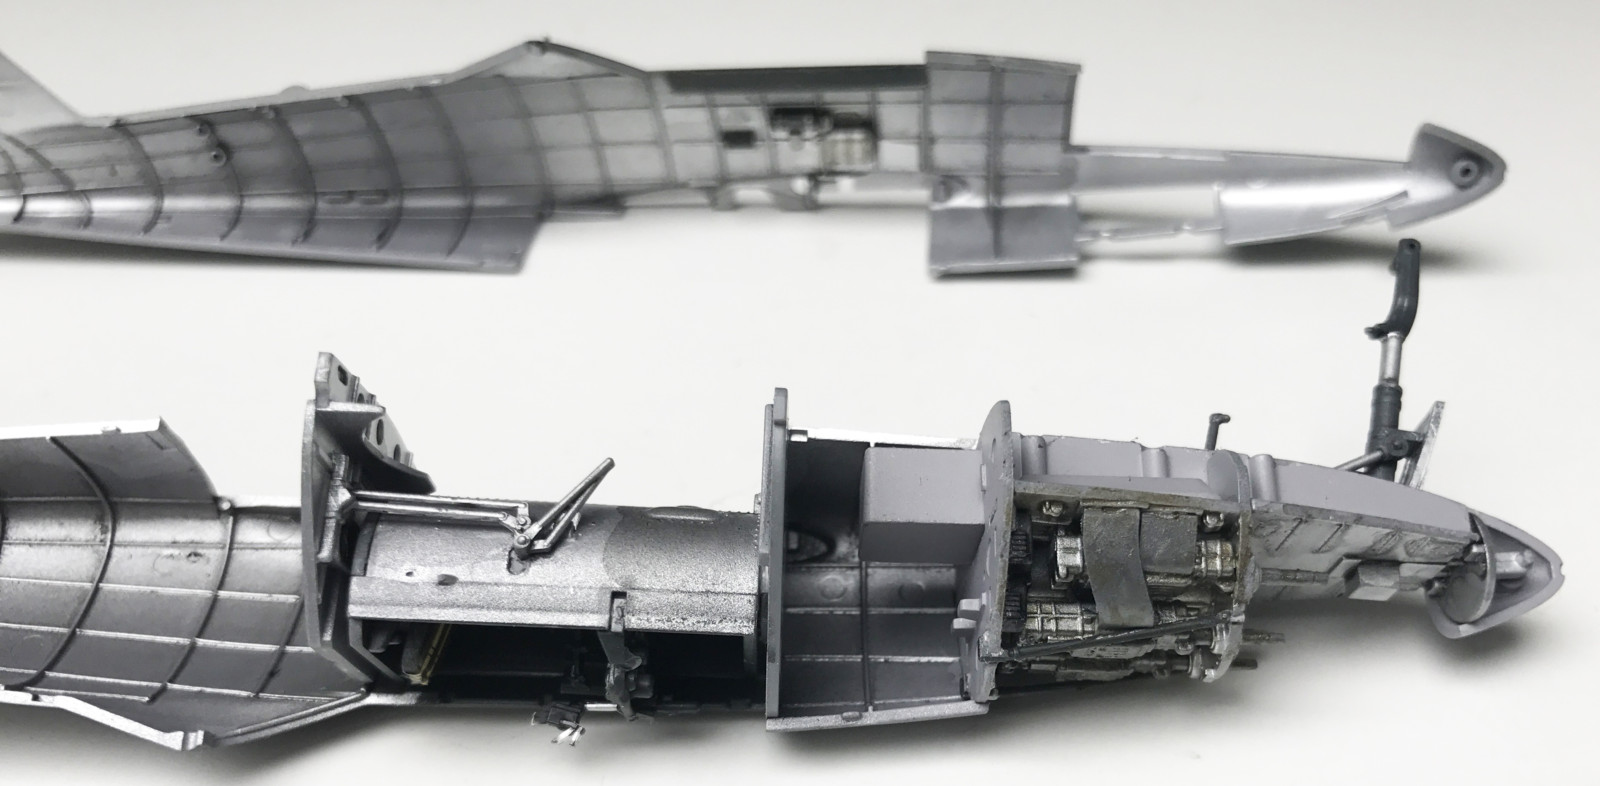
Having completed these internal parts it's time to close the fuselage around them. The fit is still very good and the need for post fixing of the joints is minimal. It's interesting to notice that there's no internal wheel housing on the Me262 but the underside of the cockpit tub is fully visible.
 |
 |
 |
 |
 |
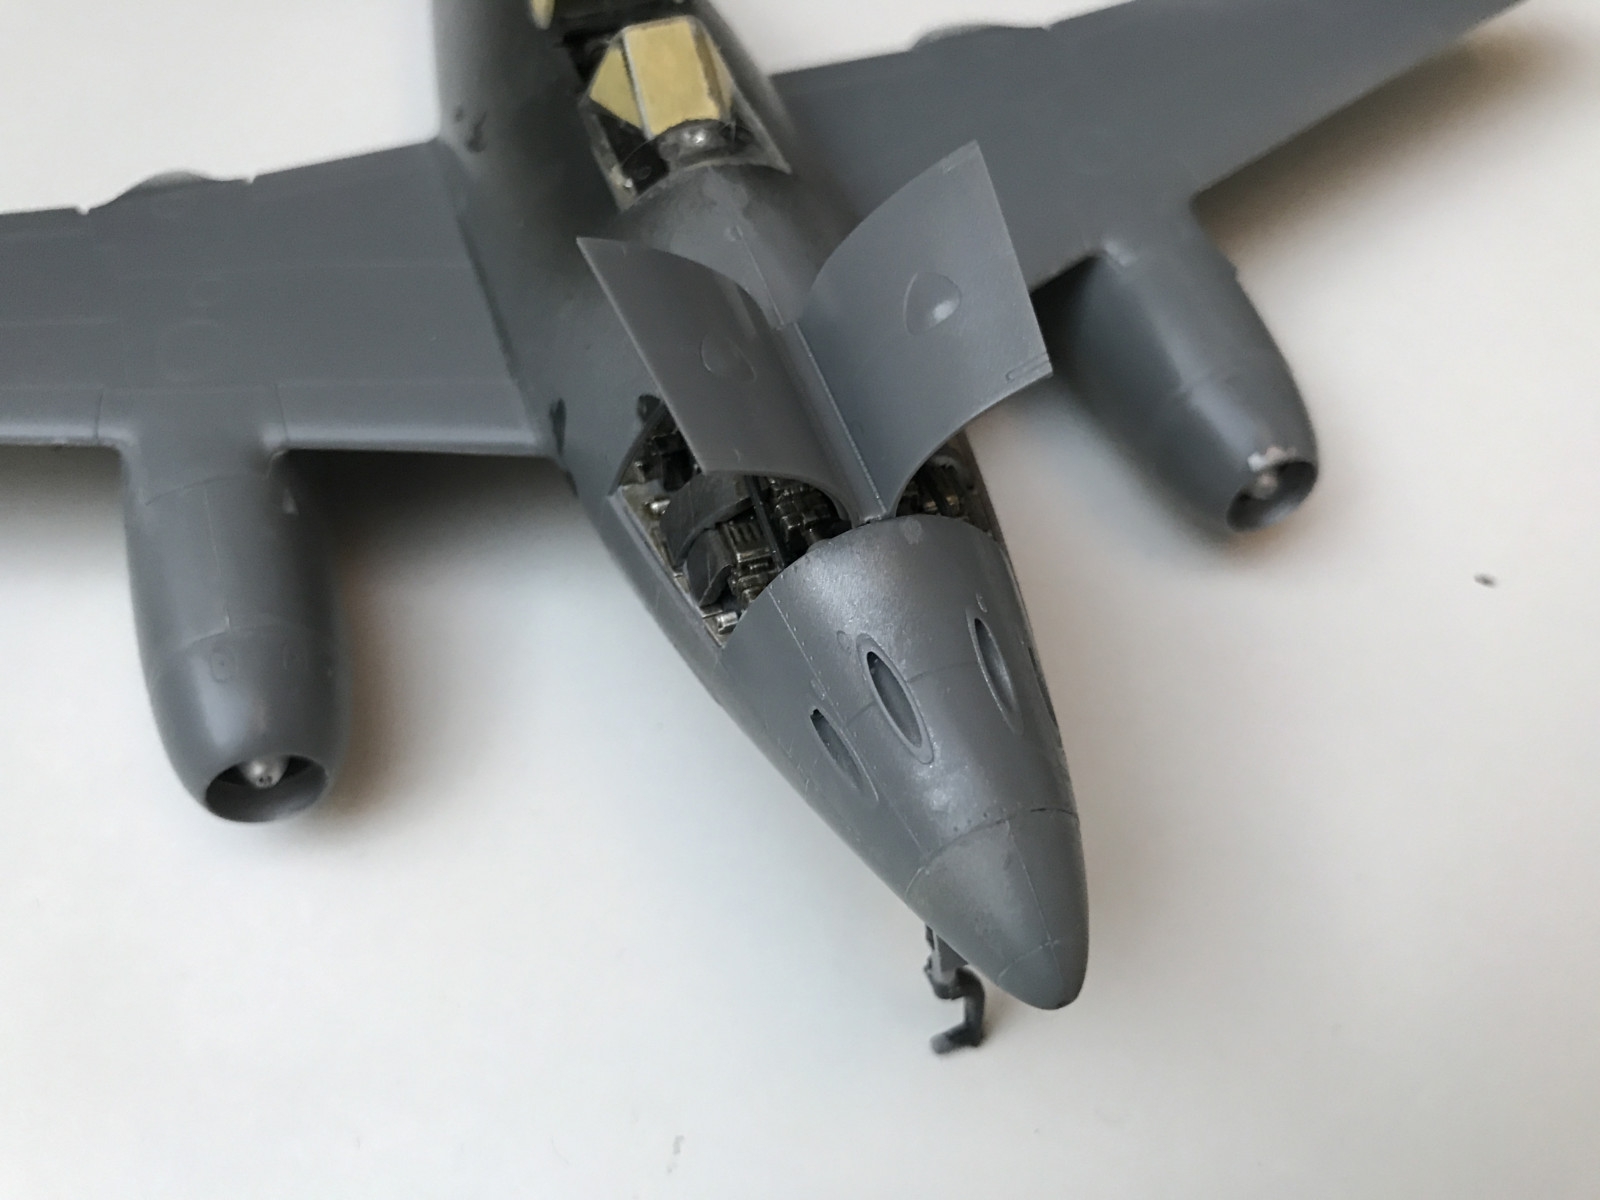
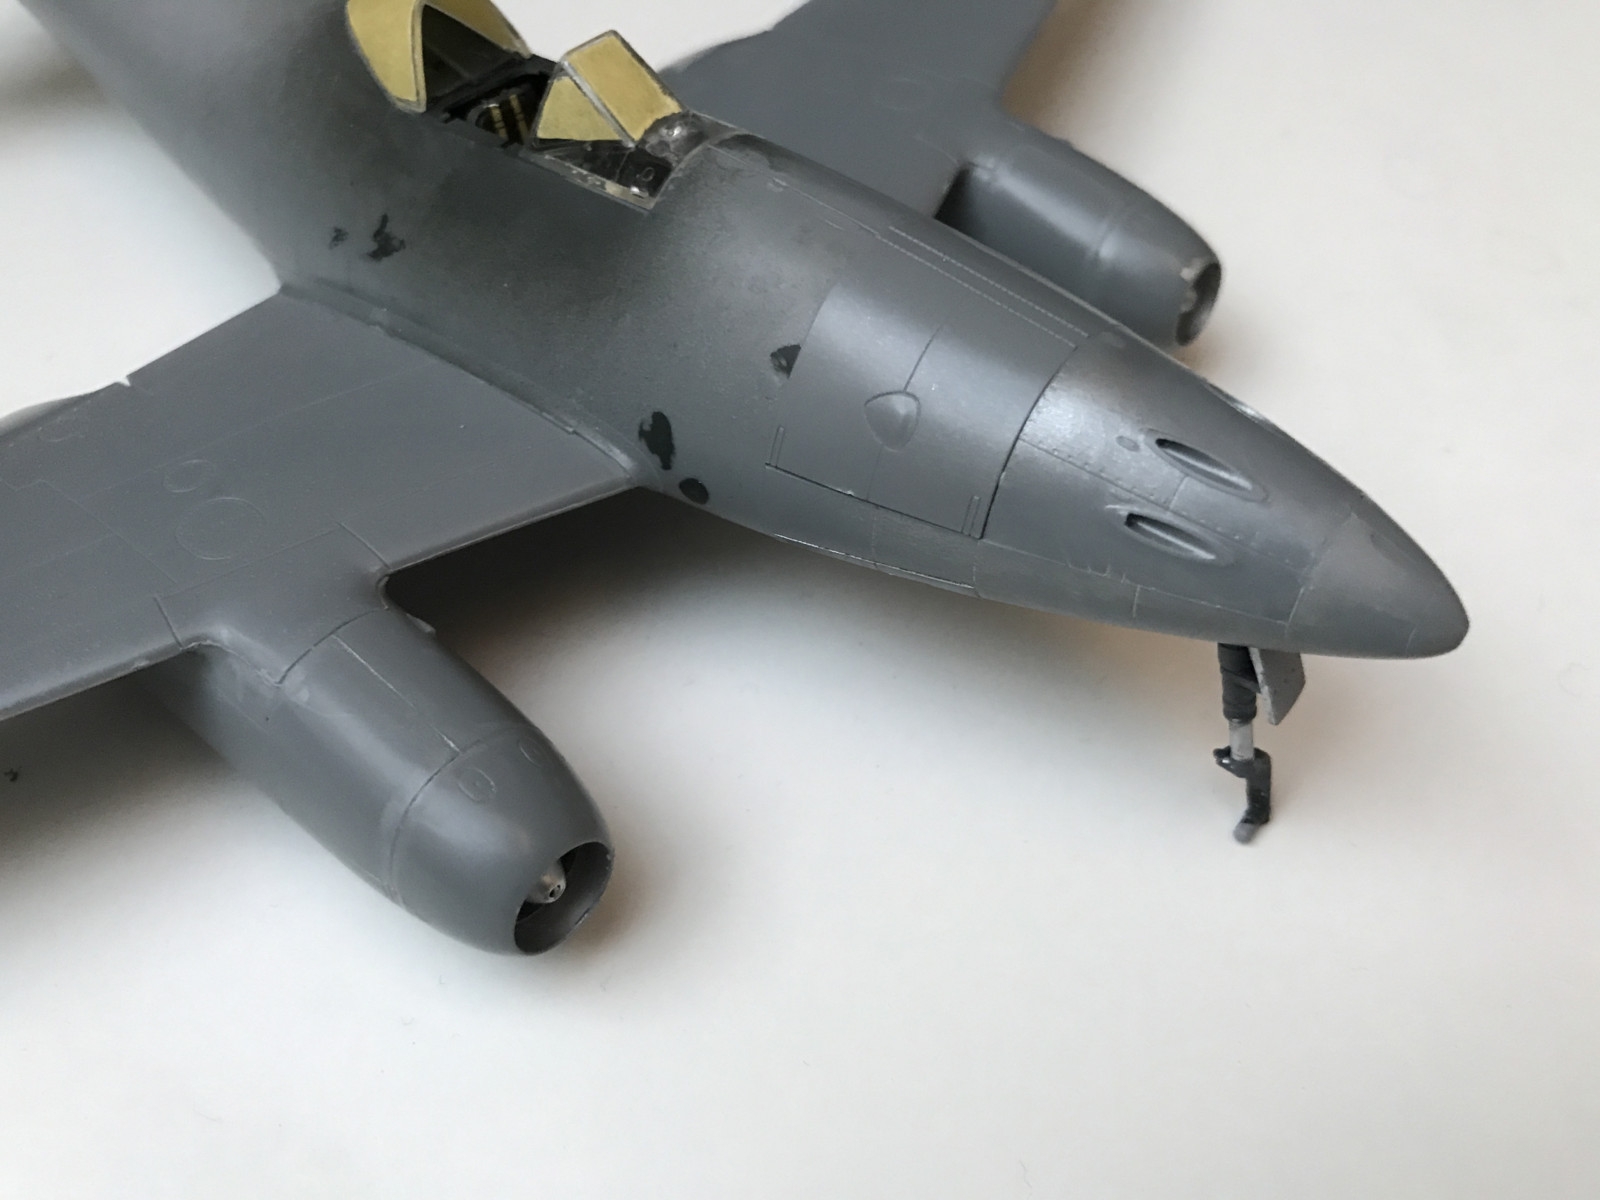
Next steps are quite uneventful. The wings and engine gondolas fits as good as the rest of the kits and with some care and some clamps the filling and sanding becomes minimal. This is where you have to decide on the gun bay hatches. I didn't. I just placed the closed hatchets on for painting purposes but left it unglued, hope to be able to switch as I like later. Only drawback is that the closed hatchets leaves some minimal open joints when unglued.
 |
 |
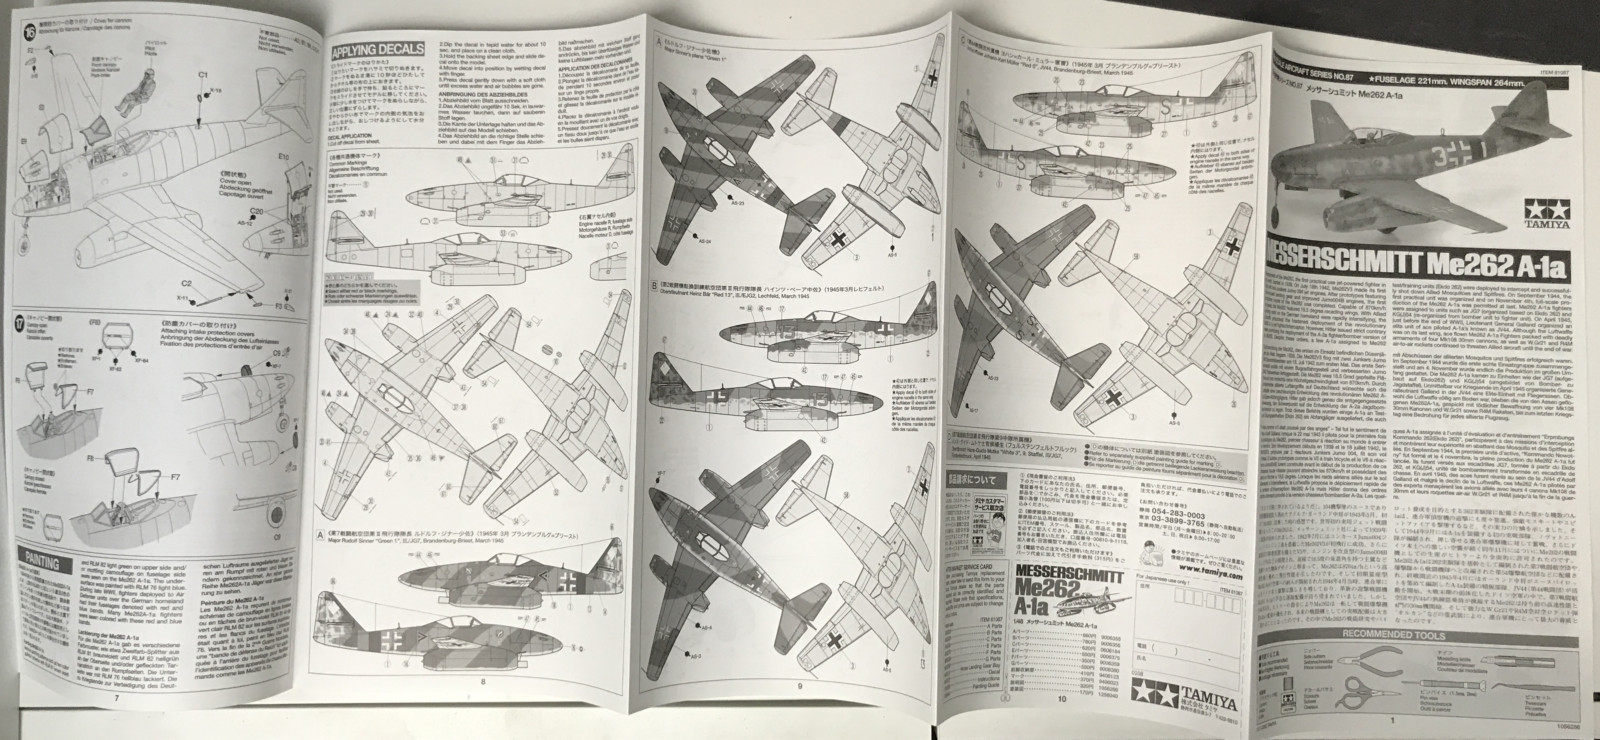
Before doing the final things like landing gears and other external detail I always paint. So first a layer of primer, grey is best as a general. The instructions included in Eagle Cals decal set is quite clear, up to a point. Which colours to use is given in RLM (ReichsLuftfahrtMinisterium) numbers and as I'm using Vallejo's Model Air it makes it easy as they even print the RLM numbers on their bottles.
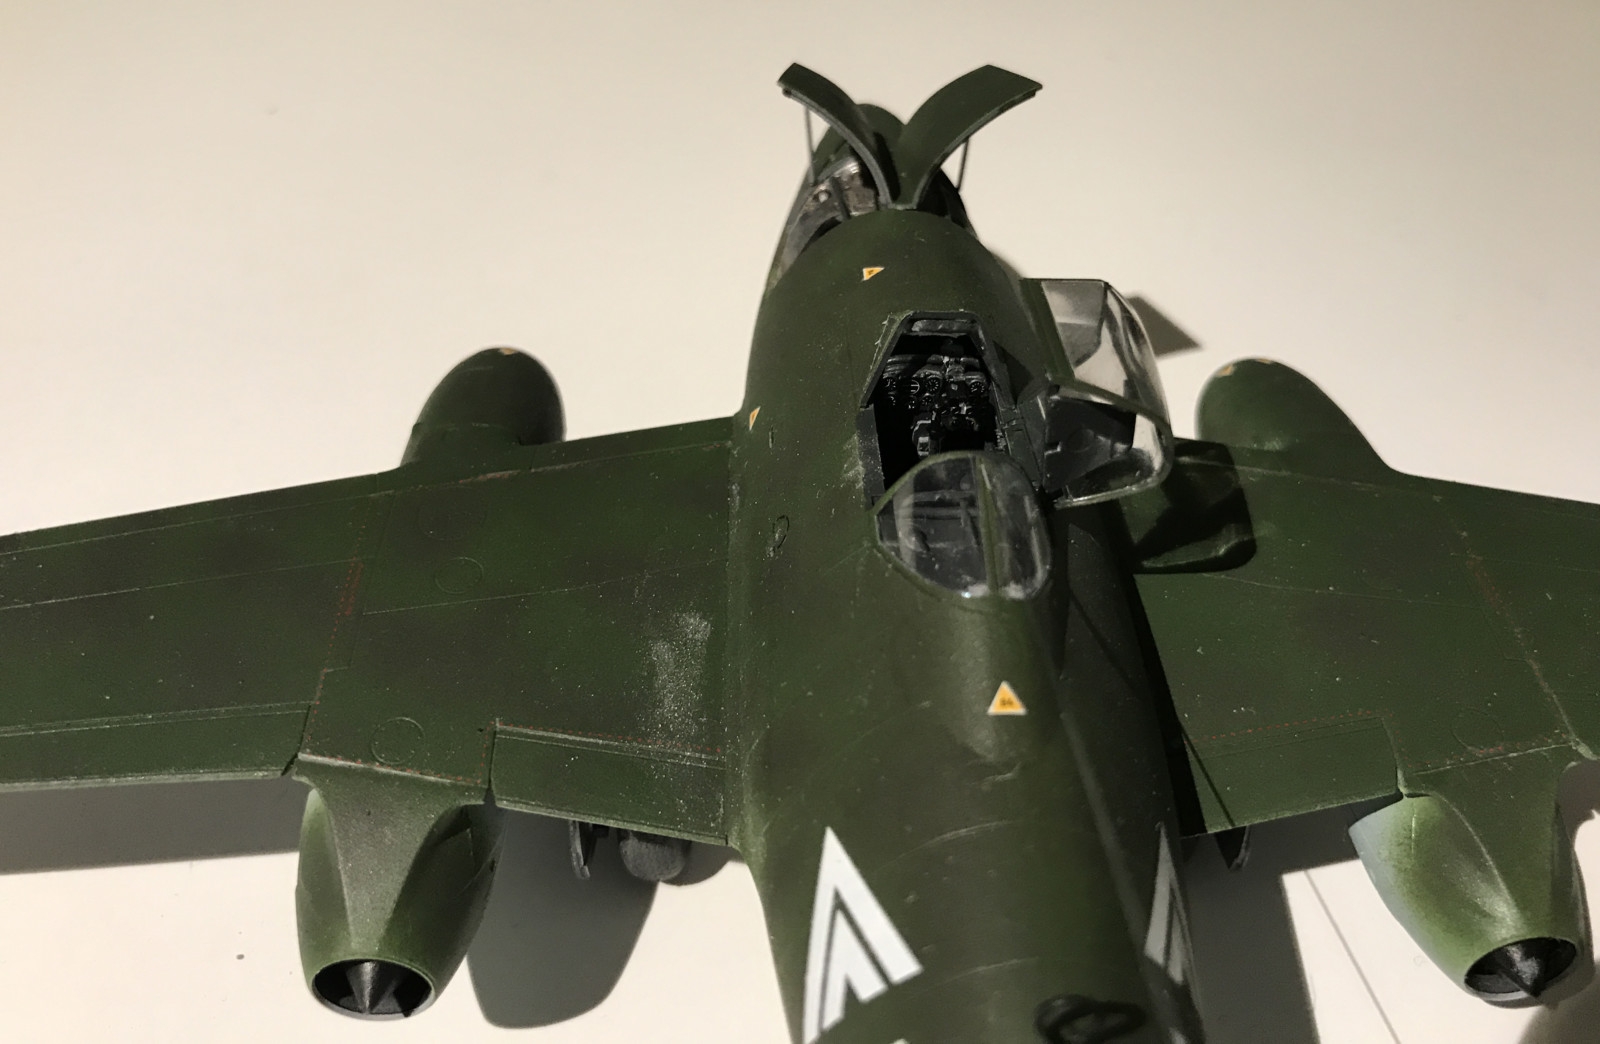
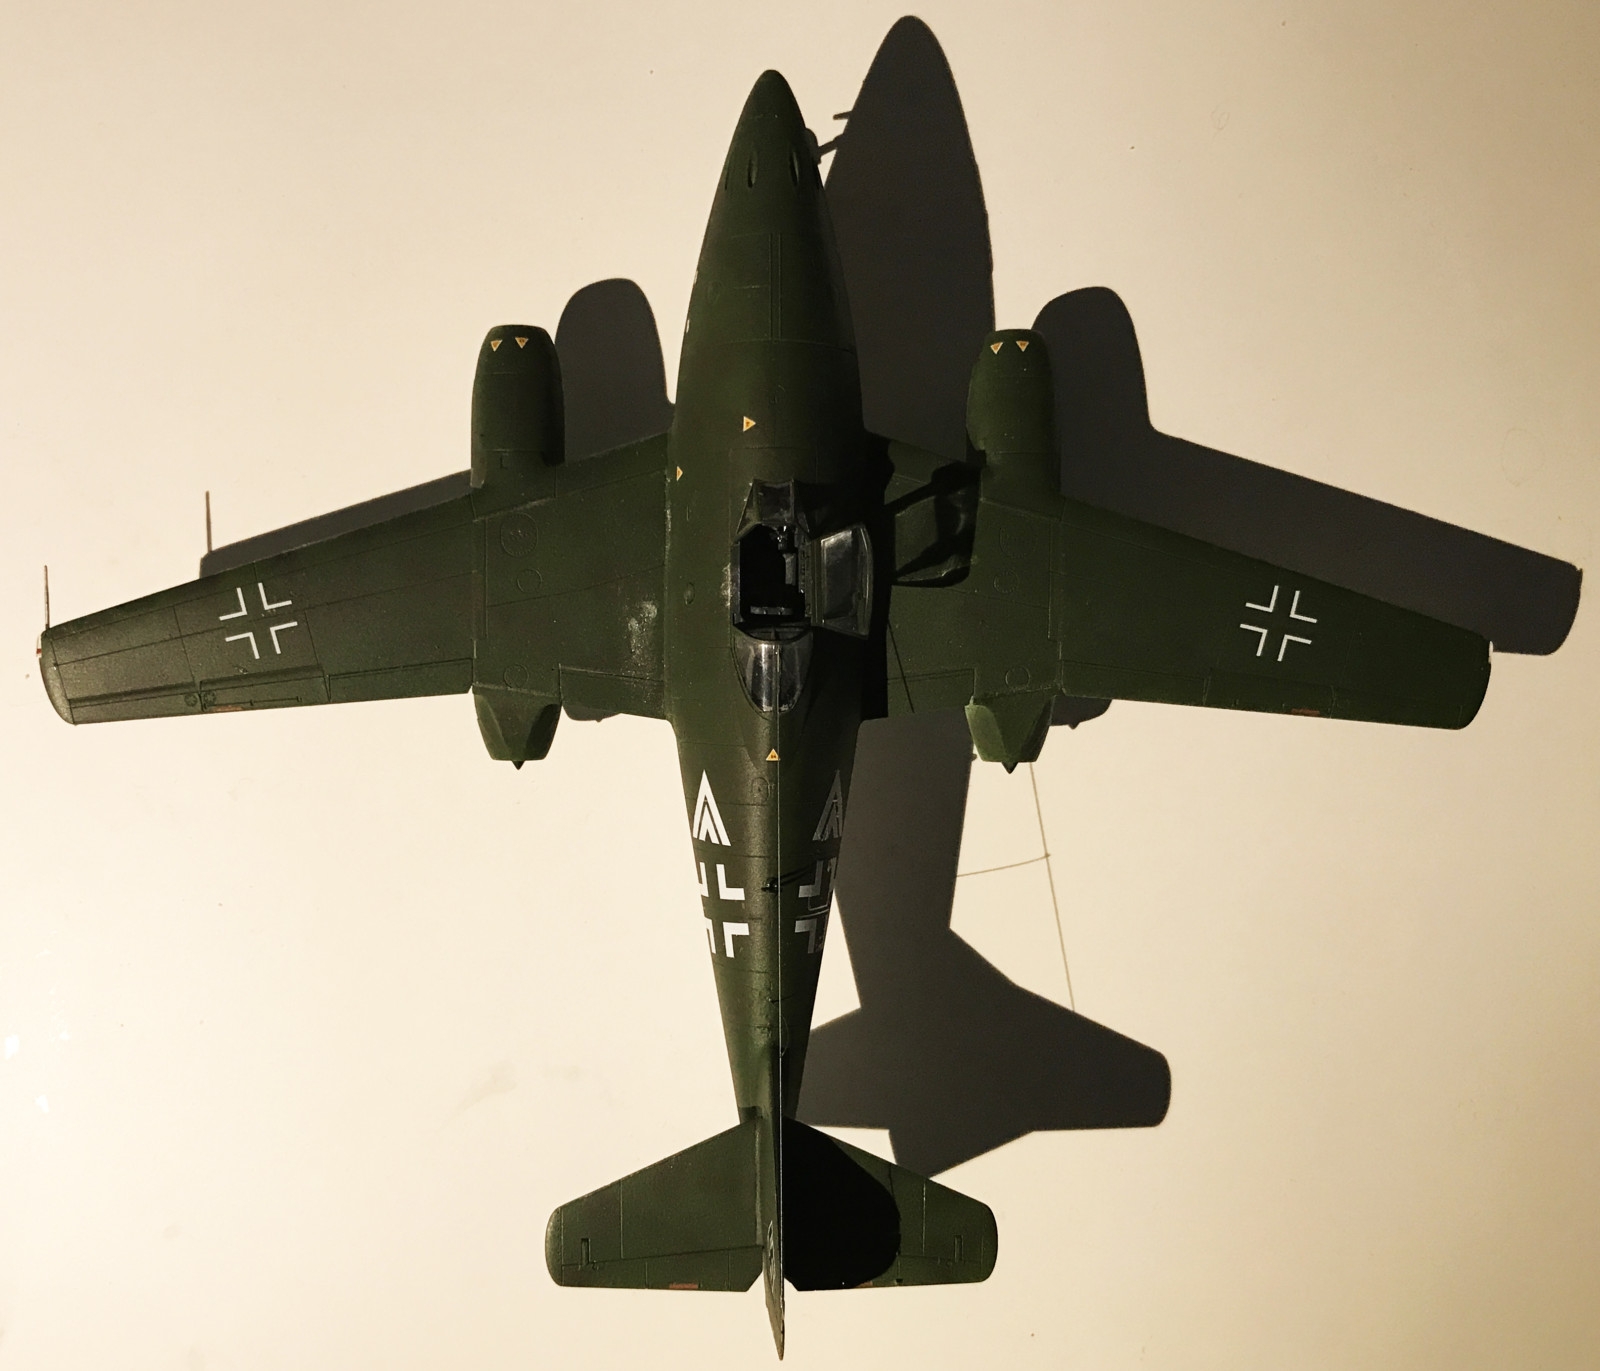
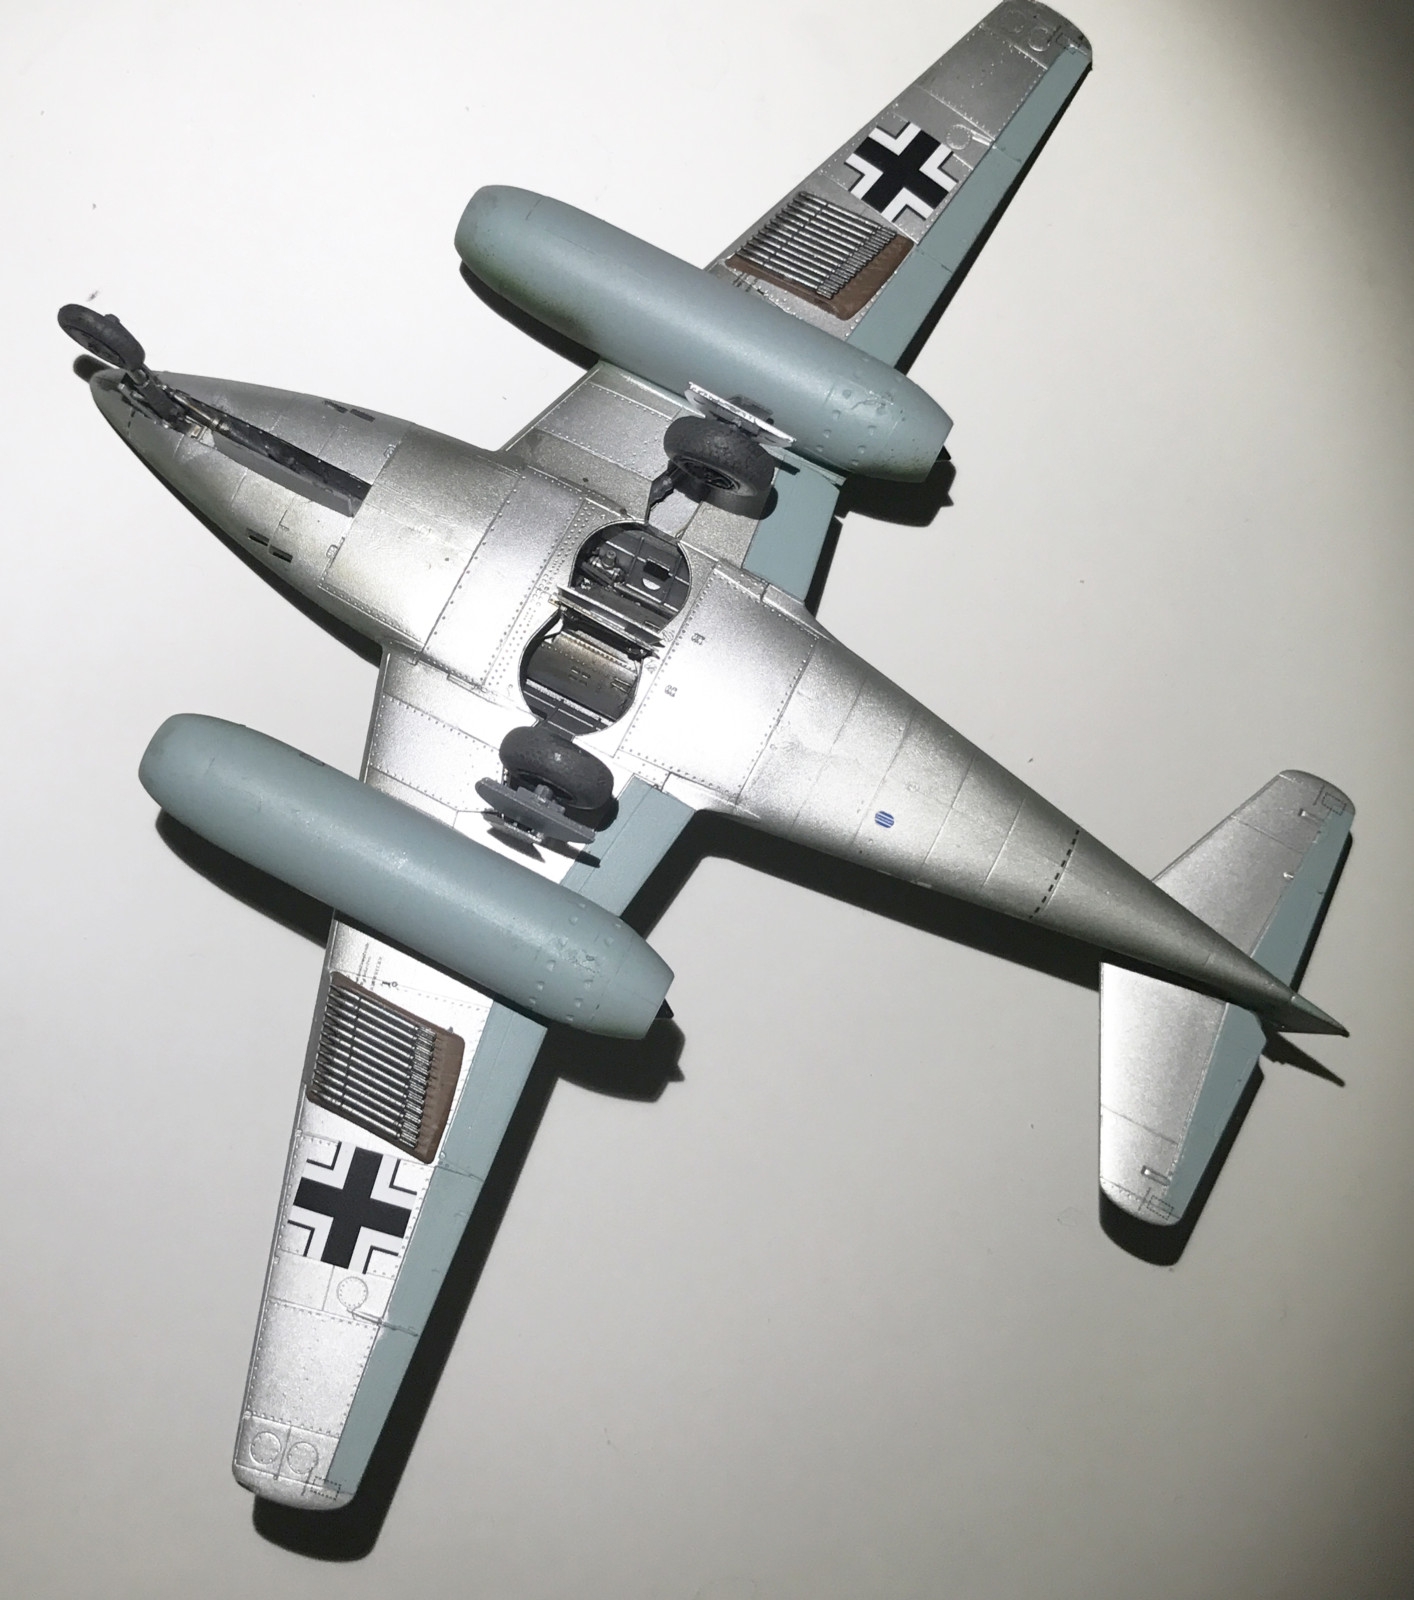
The colour scheme is a bit unusual as the under surface on this individual plane was partly unpainted. Only the control surfaces and engine gondolas was painted blue the rest was bare metal. These are the Vallejo Model Air paints I used:
Now here's the point in the Eagle Cals instructions: It's depiction of the upper surface looks just light green but from the side views you can see that at least the fuselage is mottled. I can only assume that that the entire upper surface was mottled.
The decals from Eagle Cals are OK, but it's sometimes hard to get them to settle proper in some areas even considering that I have a gloss coat on and use MicoSol. Also the "No walking" lines on top of the wings are much better taken from the original Tamiya set than the ones from EagleCals.
Setting the main gear involves a tricky support strut but is still quite easy. The resin wheels I bought extra is really better than the kit's. Specially the main gear's. And its always nice to avoid the joint along the tyre in a two part assembly. For the areal wire I used a sprue that I heated and drew out.
All in all it's a good kit and the instructions are clear and contain several good practical tips for the build. Here is the end result:
 |
 |
 |
 |
 |
Tamiya's Messerschmitt Me262A-1a is a nice kit to build. I really like the included nose weight that came as a part of the kit. The panel lines are well depicted and not exaggerated. A good kit on the whole, even better with some extras.
| Difficulty* | 2 |
|---|---|
| The good | An over all very good kit that fits together well and is finely detailed. The included nose weight that becomes an integrated part in the plane. |
| The bad | The fact that you have to fit nose wheel strut before painting. |
*) On a scale 1-5 where 1 is easy and 5 is really hard.