| Manufacturer | Airfix |
|---|---|
| Product # | A05131 |
| Scale | 1/48 |
| Scale Mates model info | https://www.scalemates.com/kits/airfix-a05131-north-american-p-51d-mustang--1015635 |
| Content in box |
|
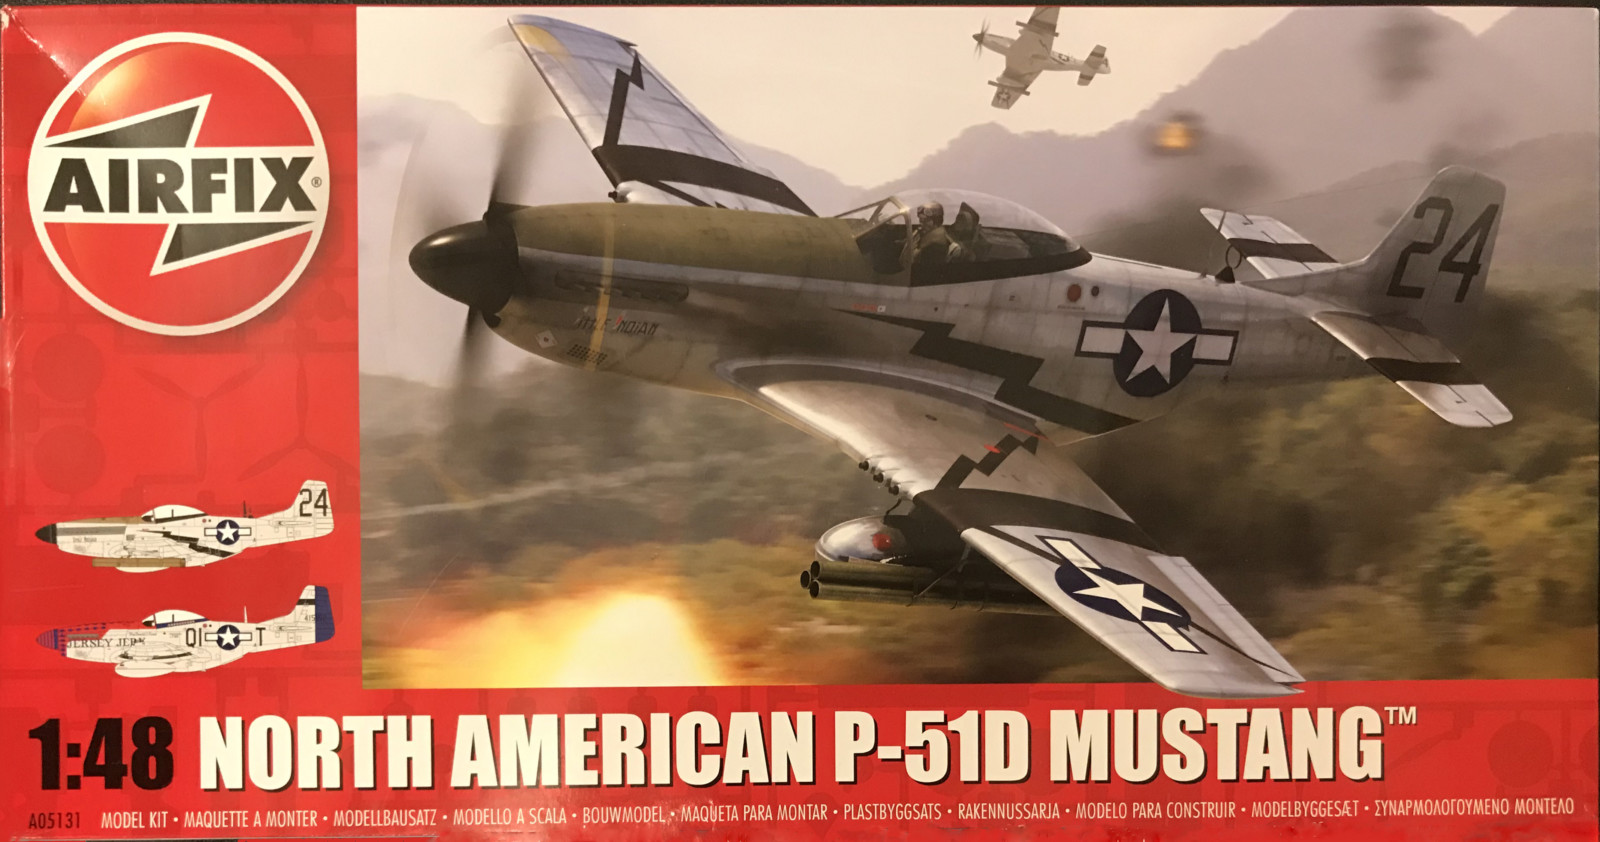
Released in 2017 from new tooling this is one of Airfix later kits (when I'm writing this). It's very apparent from the kits design that it's meant to be re-released as new versions. And, yes, the year after, 2018, it was released in a F-51D version and again in 2019 as the British version Mk.IV or P-51K and they've announced another P-51D without the dorsal fin fillet. It's a pity that they don't include all version in one box. It's a bit frustrating when the first release is off the market and you really wanted that one.
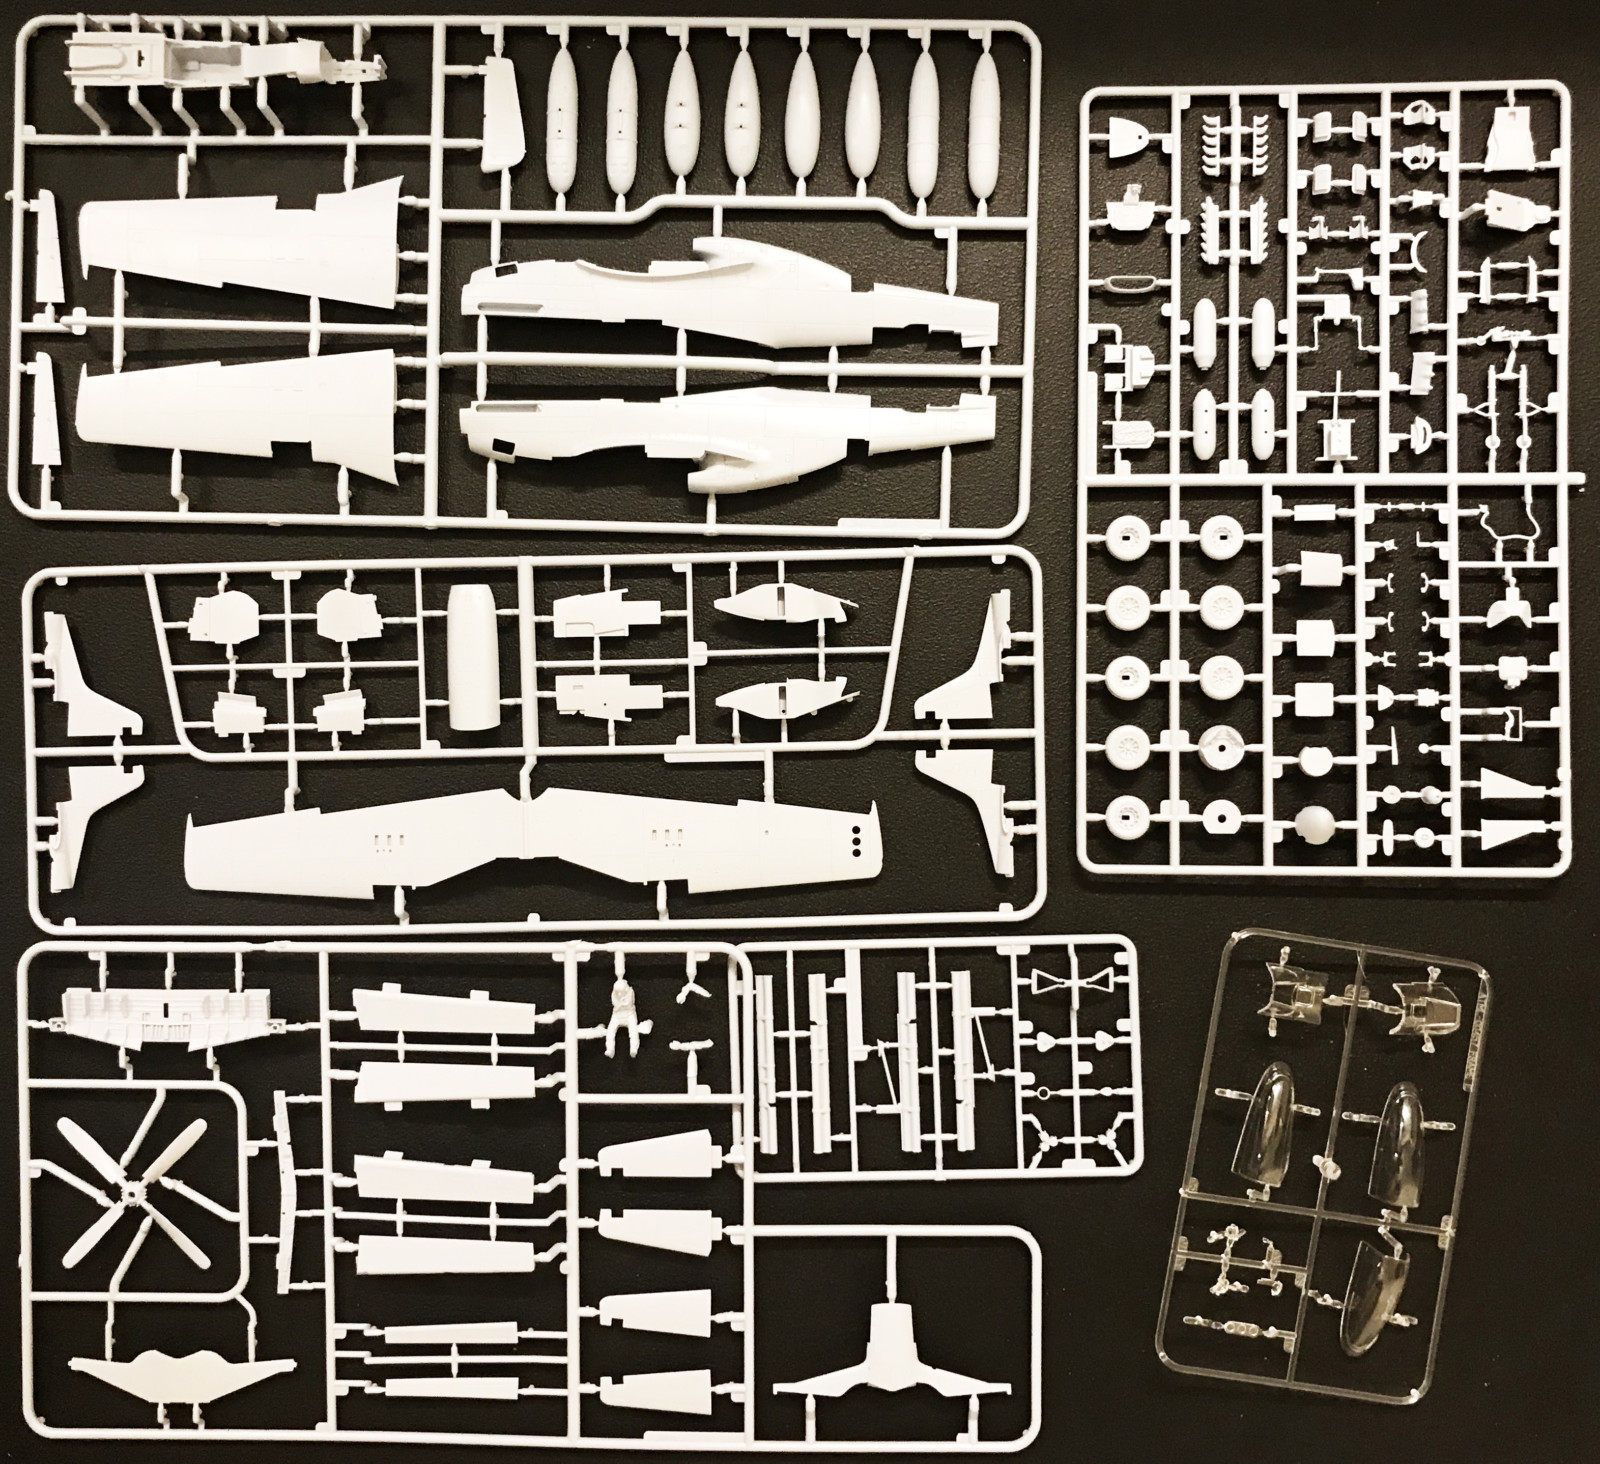
The kit is up to modern standards with finely moulded parts that fits gallantly. There is also some sound construction choices that puts the joints where the real joints of the aircraft was. The plastic itself is a bit soft, this makes it easier to fix blemishes etc. but also makes easier to unintentionally create them.
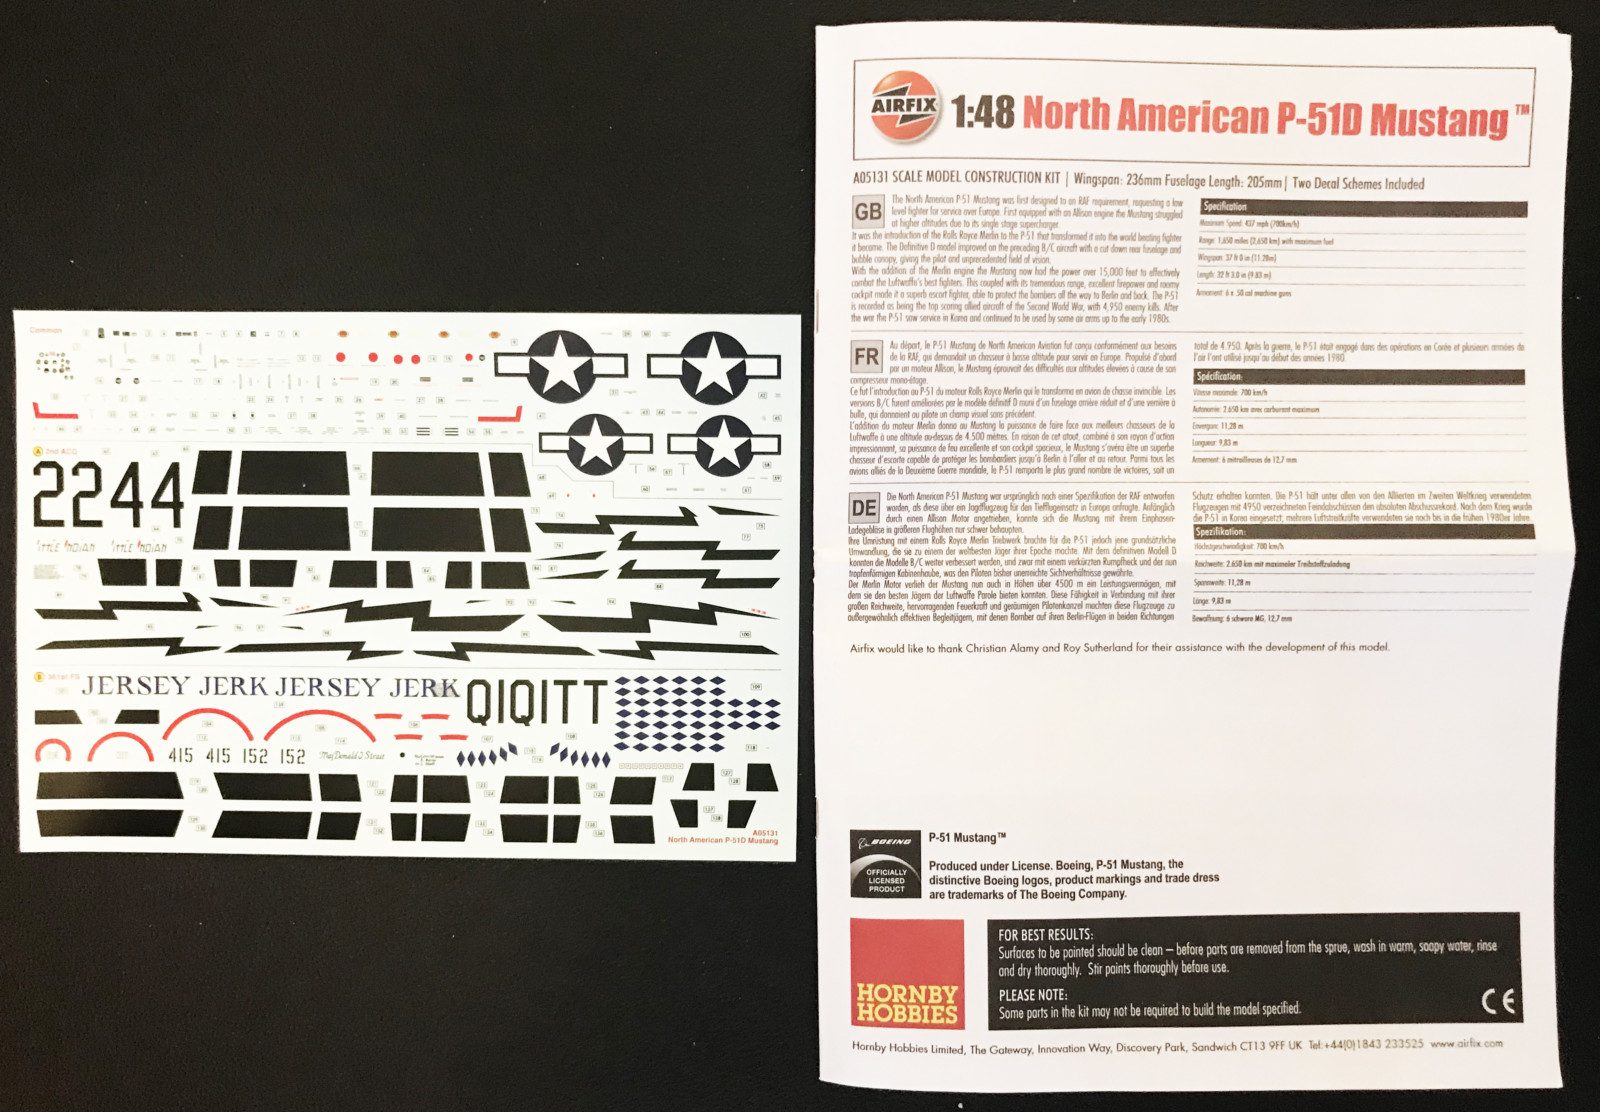
The instructions are pedagogical and step by step. It's hard to miscomprehend how things should fit. The painting instructions at the end is in colour.
The decal sheet has decals for two different markings:

This is my second modern Airfix in a short while (just finished their new Hawker Hunter F.6) and I must say I'm starting to revise my view of the company. The recent kits are very well made. Almost per automatic I bought a few after market extras to this kit, Eduard's P-51D interior 1/48 (Cat.No. 49853), their resin P-51D wheels 1/48 (Cat.No. 648335) and their paint mask P-51D 1/48 (Cat.No. EX560). As it turns out the wheels was totally unnecessary (more about that later).
It can be argued that the Eduard cockpit detailing extras I bought was unnecessary. The kit is quite well detailed as it is and with some patience and paint you would be able to create a very fine result with what's in the original kit. To be fair I have to be clear that I've used the extras in this build though. Airfix has moulded the pilot seat with safety belts and this time they have made a good job of it, you only need a steady hand when your paint them. Maybe this is the reason Eduard didn't include any belts in their detailing kit. The instructions are very obvious and in every step they also makes it clear where the previous parts went.
After the cockpit it's the interior of the P-51's classical belly and the wheel house for the tail wheel. The latter has the wheel house covers moulded in an open position. Ingenious. How many times have you not used fowl language trying to make these hatches stick to the kit only to lose them later? If you want to build the kit with with the covers closed you simply cut the away and the kit supply a closed version. Almost the only issue I had with this kit was to close the fuselage. The interior cockpit and belly content made it necessary to glue the fuselage in stages from the tail and forwards with Tamiya's Extra Thin Cement using clamps to push the parts together.
The wings are a classical one lower part and two top parts. But not quite. First you do the interior of the wheel wells, which are reasonable detailed. I remember a time when the wheel wells on a kit was an empty space. When that is glued to the lower wing part you add the top halves but still the lower front part of the centre wings is missing. First you add the front panels with the gun muzzles and when you've added the wings to the fuselage you add the last front part which is moulded together with the second half of the fuselage chin. Smart. I must add that I was surprised on how perfect the wings fitted to the fuselage! Here's another issue I usually spend bad language on. I must have consumed a fortune in filling material on this issue. But this time I experienced the best fit between wings and fuselage I've ever experienced. And I've seen a few.
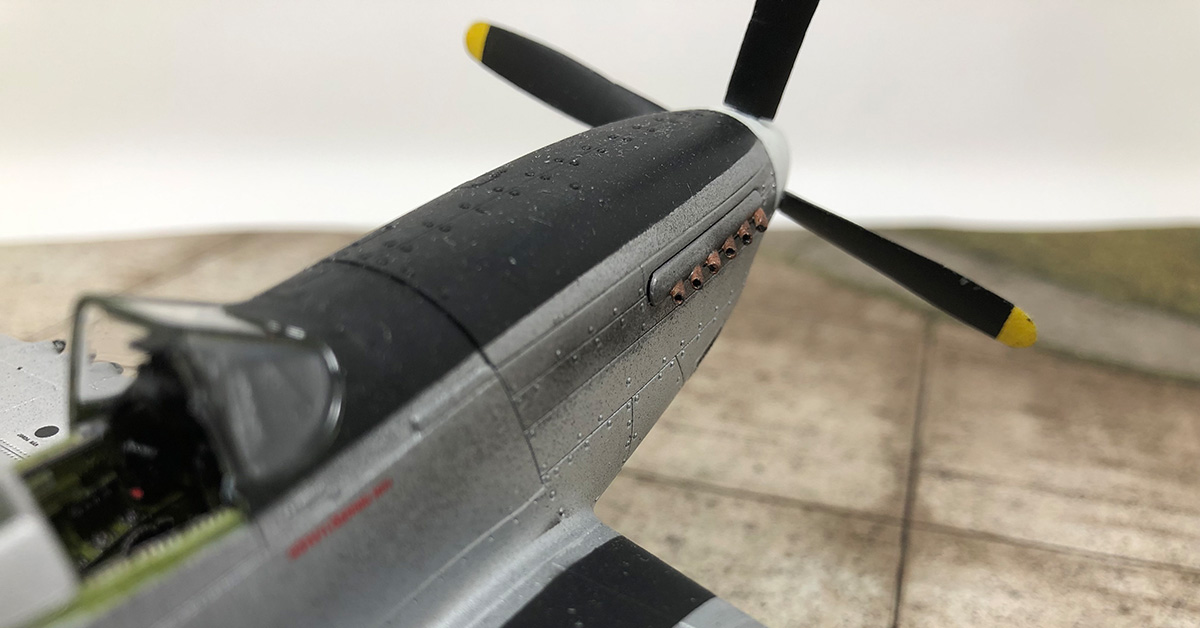
Before the paint job I also fitted the wind shield part of the cockpit hood. Here's another smart solution. They're moulded the front part of the cockpit hood together with a good part of the fuselage in clear plastic. Here's otherwise another issue with Mustang kits. The side panes on the wind shield connects directly to the fuselage without edges. This makes the operation of glueing this part to the fuselage a harrowing experience. By constructing it this way Airfix keeps the cement far away from the clear parts. And again the fit is perfect.
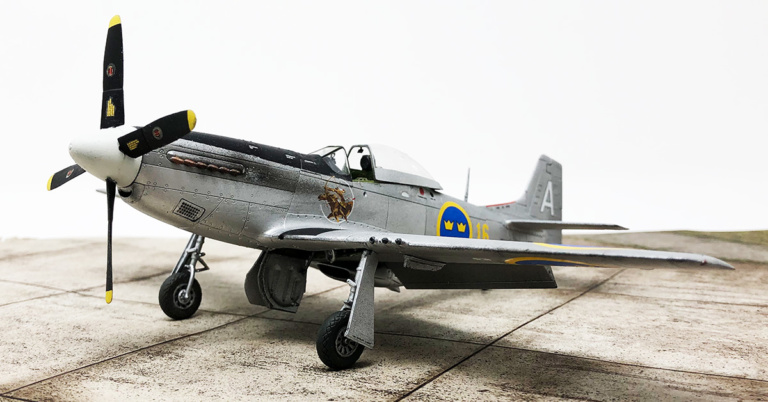
Well the painting scheme is not very exciting. As always I use Vallejo's air brush colours:
But not quite that easy. The rudders on the tail I then painted in 77.717 Dull Aluminium as these were painted on the real thing and then I used 77.712 Steel on the plates around the exhausts as these were a bit darker than the rest. And then 17.057 Black for the anti-glare part in front of the cockpit and the walk boards. The on with the decals.
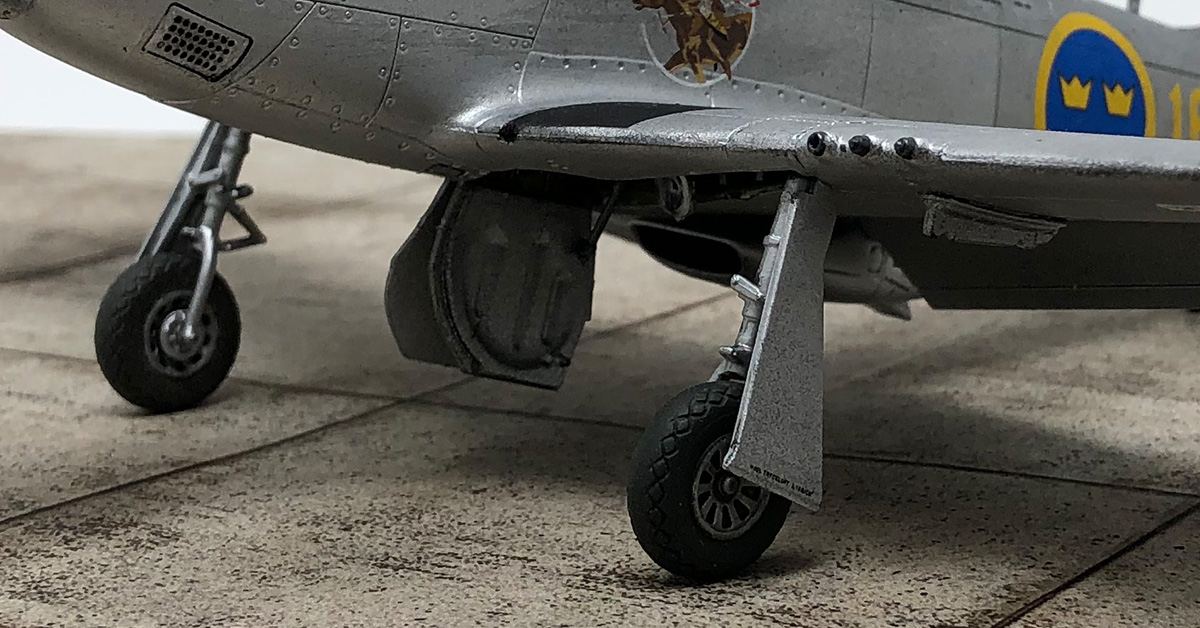
Lastly it was time for the landing gears. It was here I decided against using the after market resin parts I bought. Even though they were for the Airfix kit the main wheels are not compatible with the kits gear attachment. They need you to cut away the attachment part of the gear and then glue the wheel directly on it. That would make the construction very fragile in comparison. Also the tail wheel had it's own gear included but, although probably very to scale, it was very thin and fragile. In the end I used the kit parts which actually were almost as good as the resin versions.
I really enjoyed this kit! It's well constructed and unambiguous. The fit is good and it almost slips together. I think this must be the best P-51 kit I've built so far. Now I've just to find an excuse to build more of them.
This is a modern kit design. Smart solutions and the parts fits very well.
No biggies really, maybe the panel lines are a bit to accentuated.
 finished 001")
 finished 009")
 finished 012")
 finished 010")
 finished 005")
 finished 004")
 finished 003")
 finished 011")
 finished 002")
 finished 013")
 finished 006")
 finished 008")
 finished 007")