
| Manufacturer | FineMolds |
|---|---|
| Scale | 1/48 |
| Scale Mates model info | https://www.scalemates.com/kits/151668-finemolds-fb1-kugisho-d4y1-d4y2-judy |
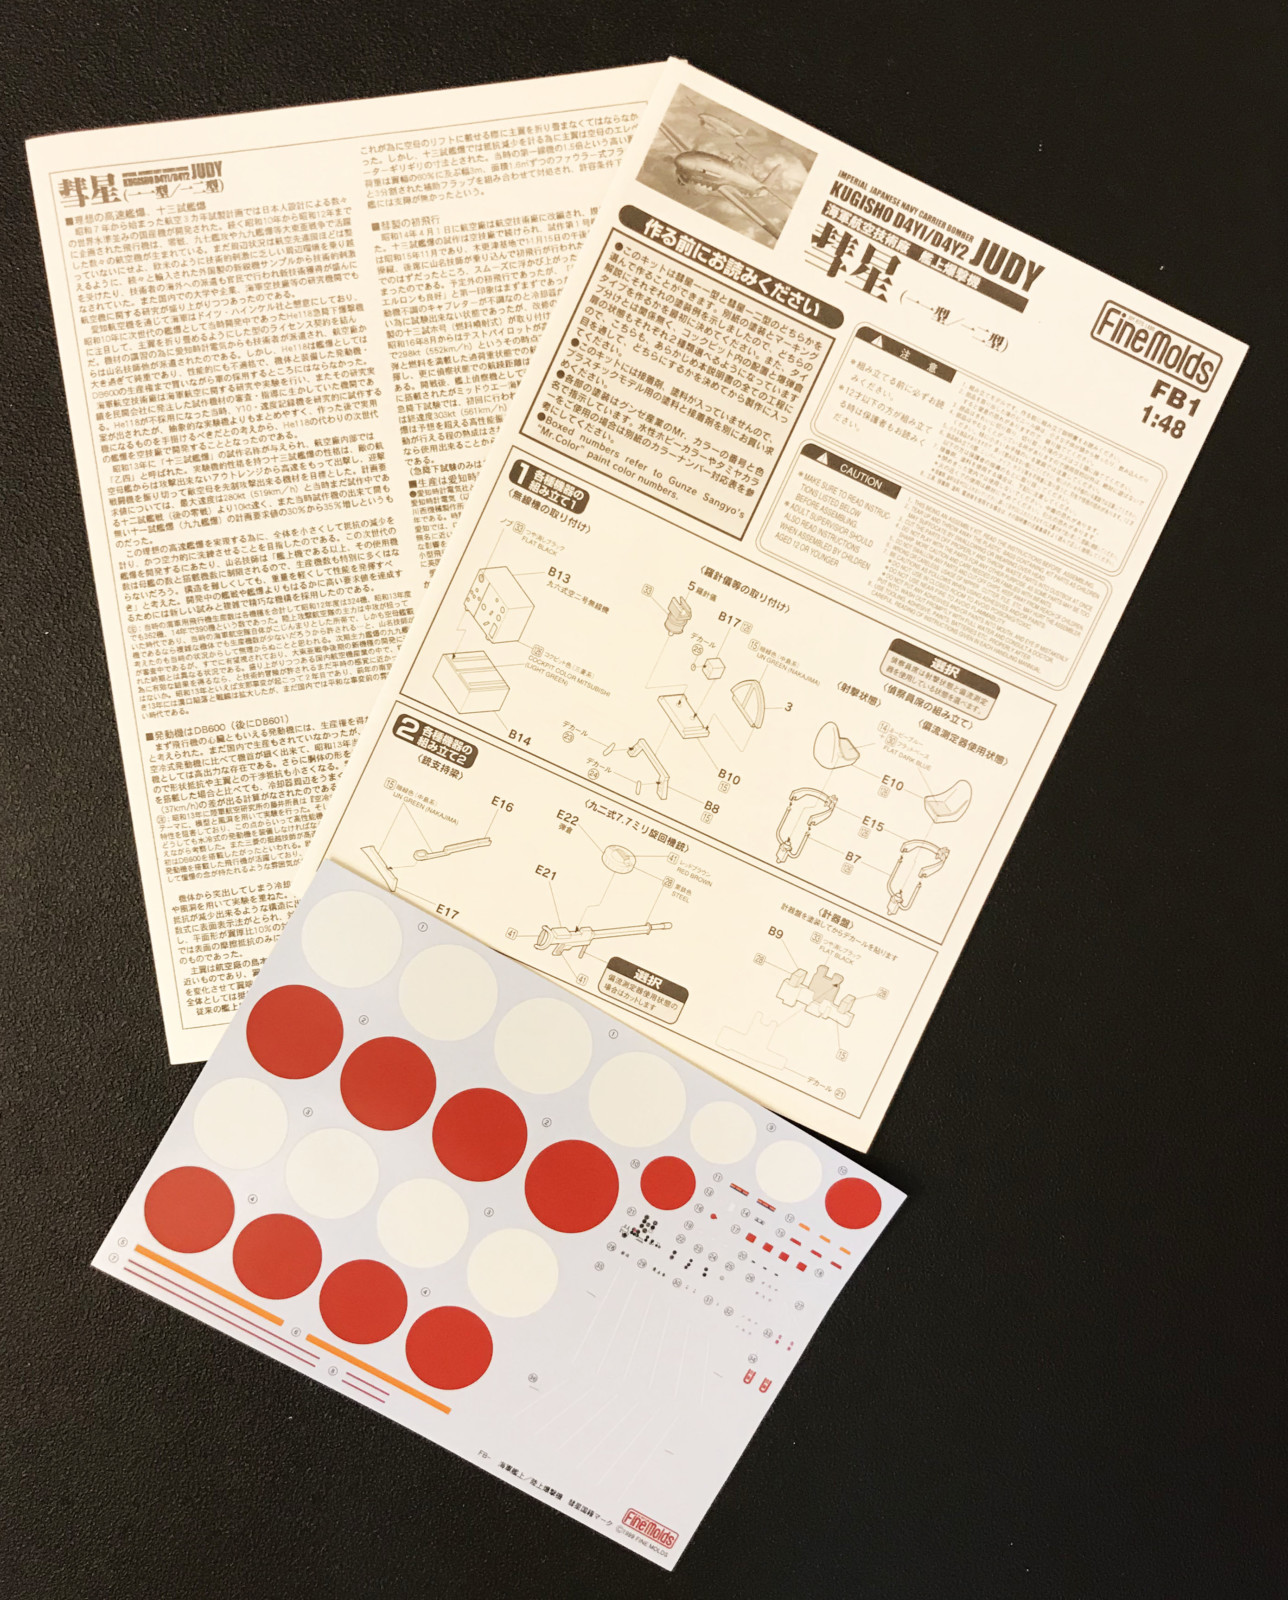
| Content in box | Instruction sheet, plastic kit and decals for five individuals |
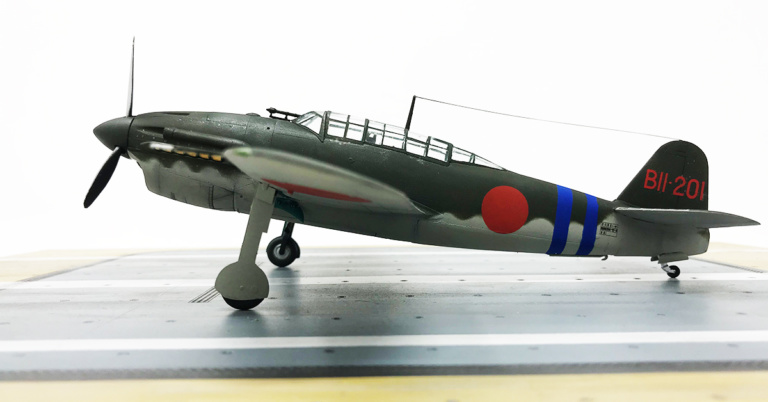
The Yokosuka D4Y Suisei (Comet) was developed as a replacement of the Aichi D3A dive bomber. The prototype first flew in December 1940. Soon they found that the prototypes fluttered, a serious problem for a dive bomber. Until that problem was resolved early production planes, the D4Y1-C, was used as reconnaissance aircraft as it had long range and good a speed capacity. Two of the prototypes was posted as reconnaissance planes on the carrier Sōryū during the Battle Of Midway. Once the fluttering problem was fixed it was put into service as dive bombers replacing the ageing D3As at the Japanese carriers. Later models, the D4Y3 and D4Y4, featured featured radial engines instead of the Atsuta engine that proved unreliable in field operations. In 1944 the D4Y's was relegated to land based service as their American counterparts had become to strong. The planes was taken into Kamikaze operations at the end of the war. There was also a D4Y5 Model 54 developed as a night fighter.
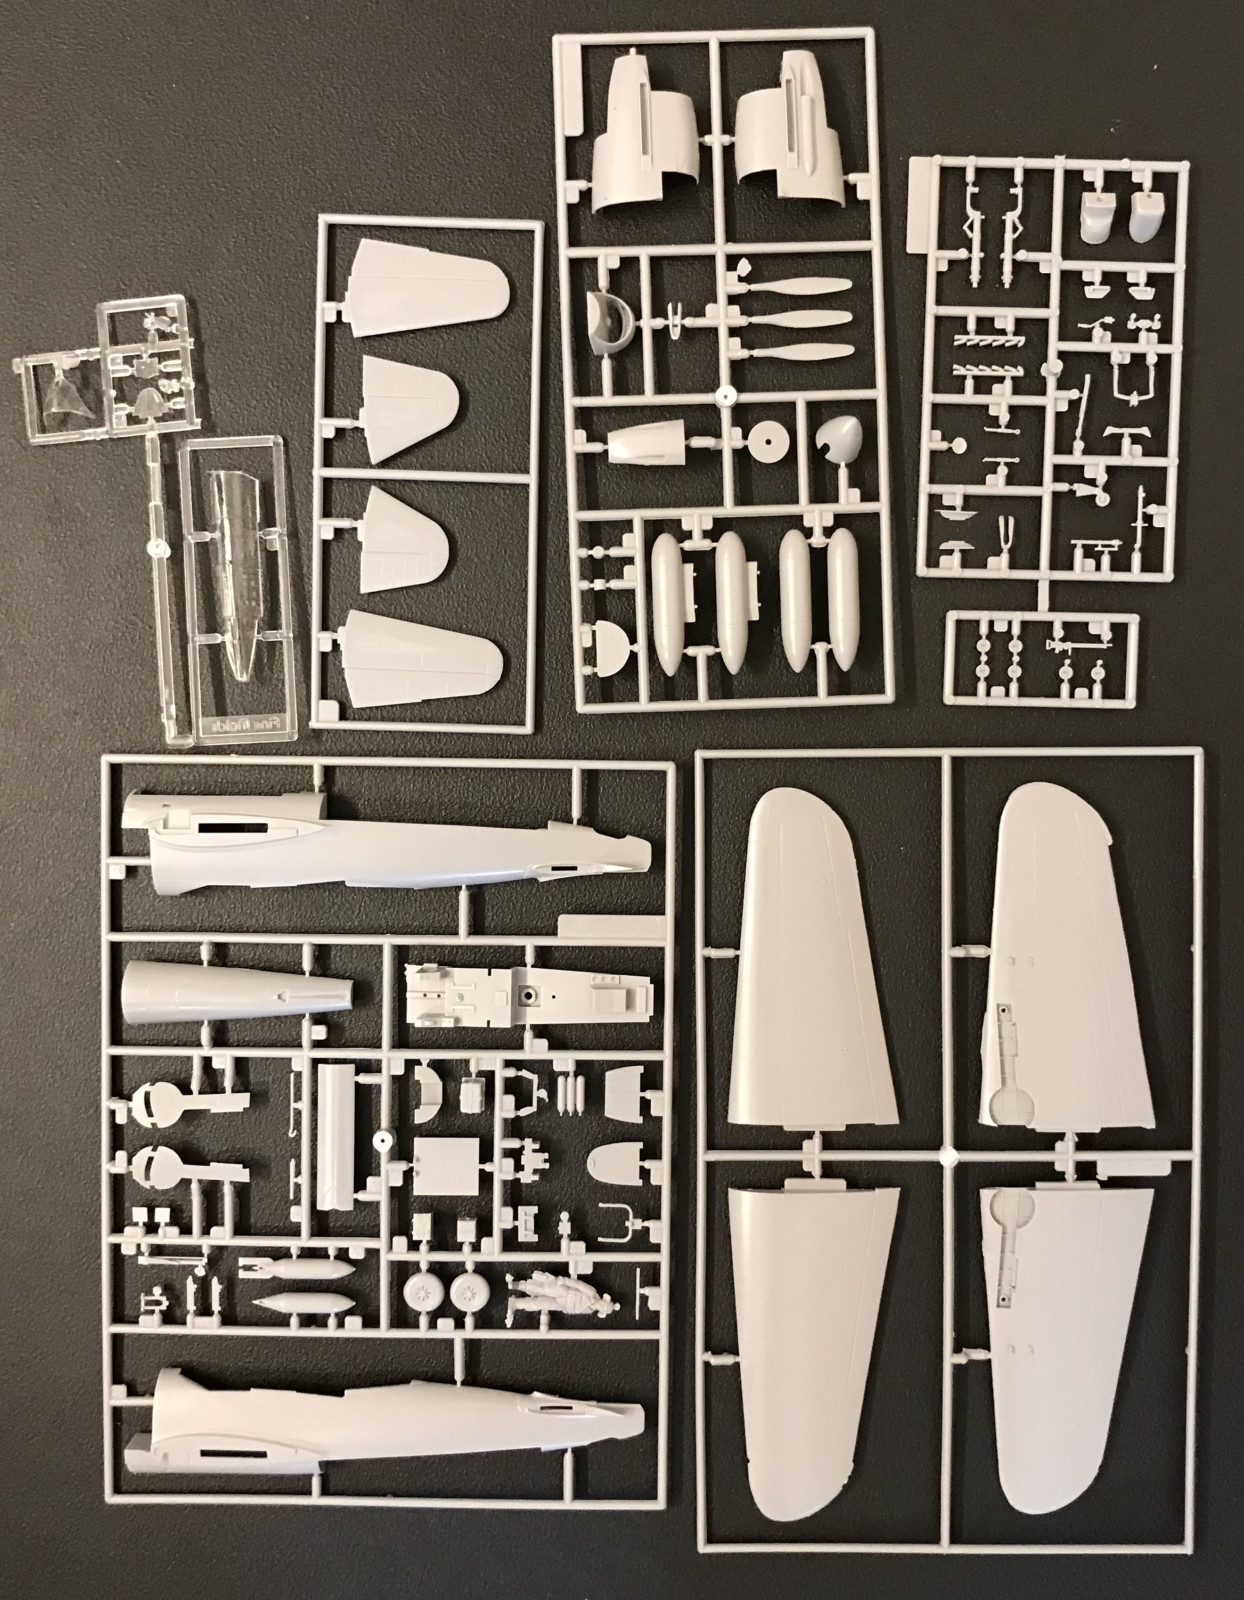
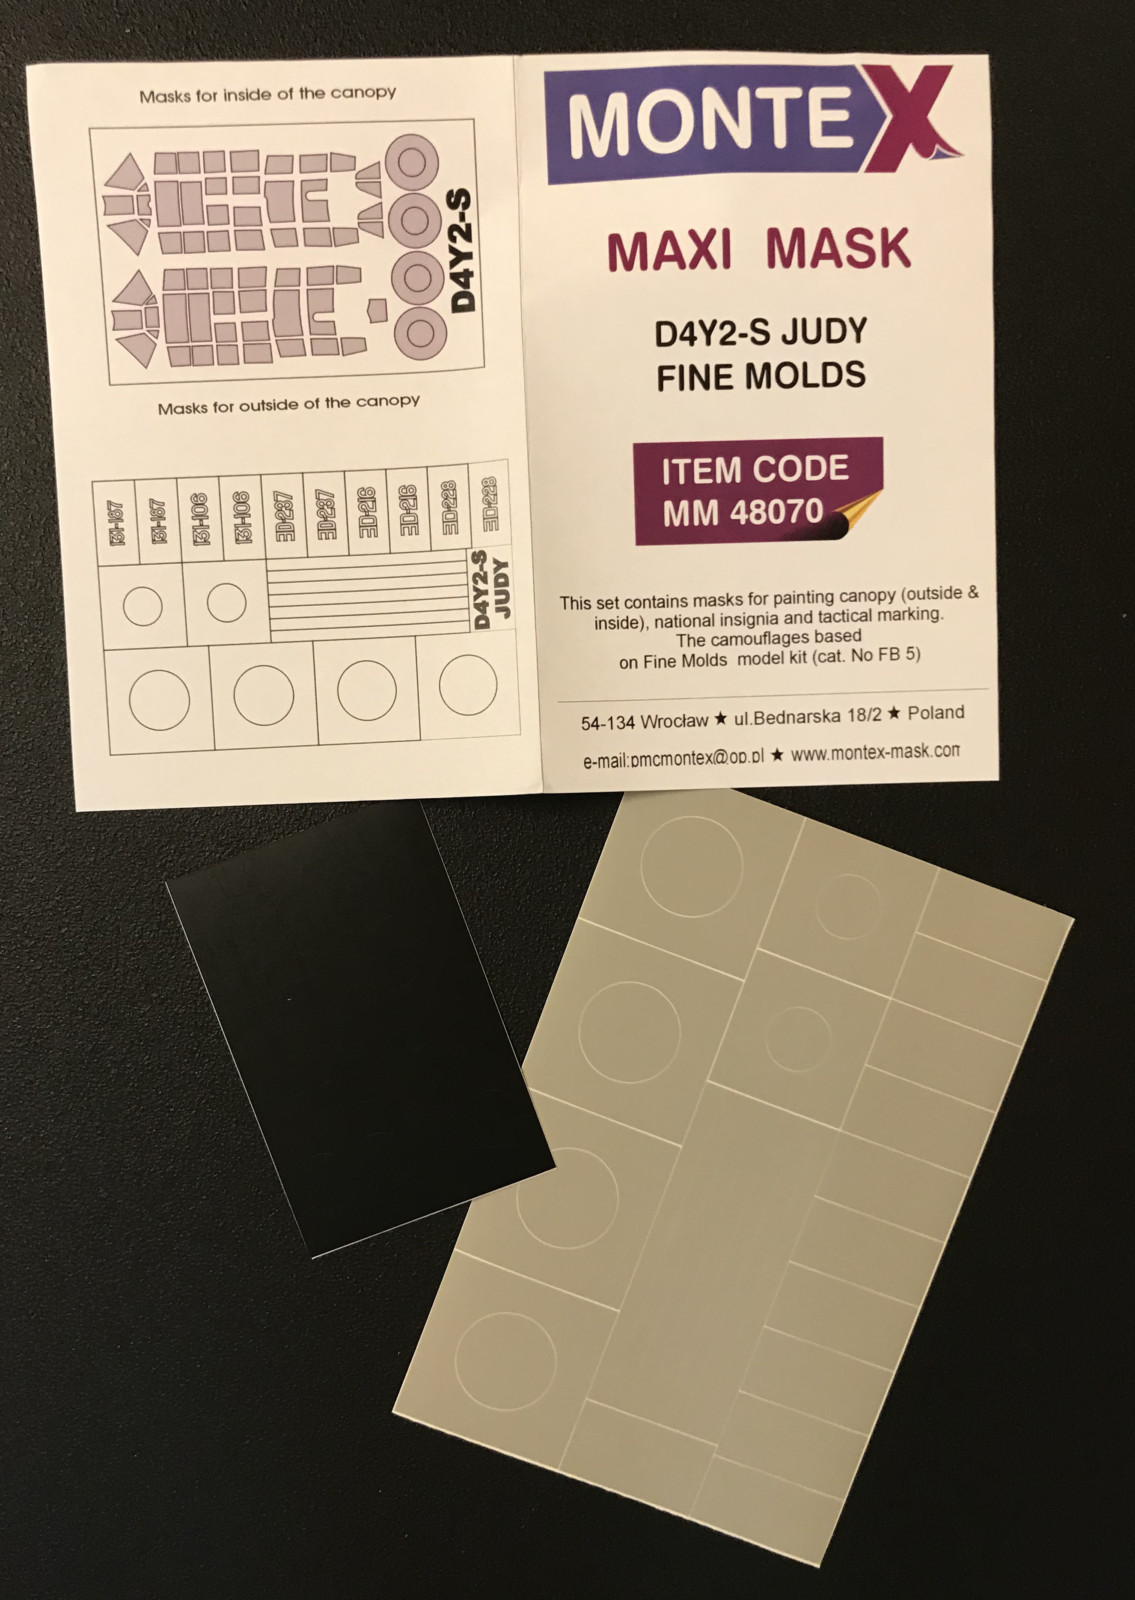
This kit from FineMolds is the only one available in scale 1/48. It has been released in several versions, both with the original Atsuta angine (as this is) and with the later radial engines. This edition is with the early engine and has the possibility to do either a D4Y1 or a D4Y2. The kit is reasonably good for being issued in 1993. The kit I managed to pick up on Ebay unfortunately has the instructions all in Japanese. A few things as colours etc. are also in English but for the rest I had to do a lot of deduction. As I'm trying to do one of the prototypes that flew in the Battle Of Midway I'm heading for the D4Y1. This time I added paint masks, really for a D4Y2-S but most of it was usable:
 |
 |
 |
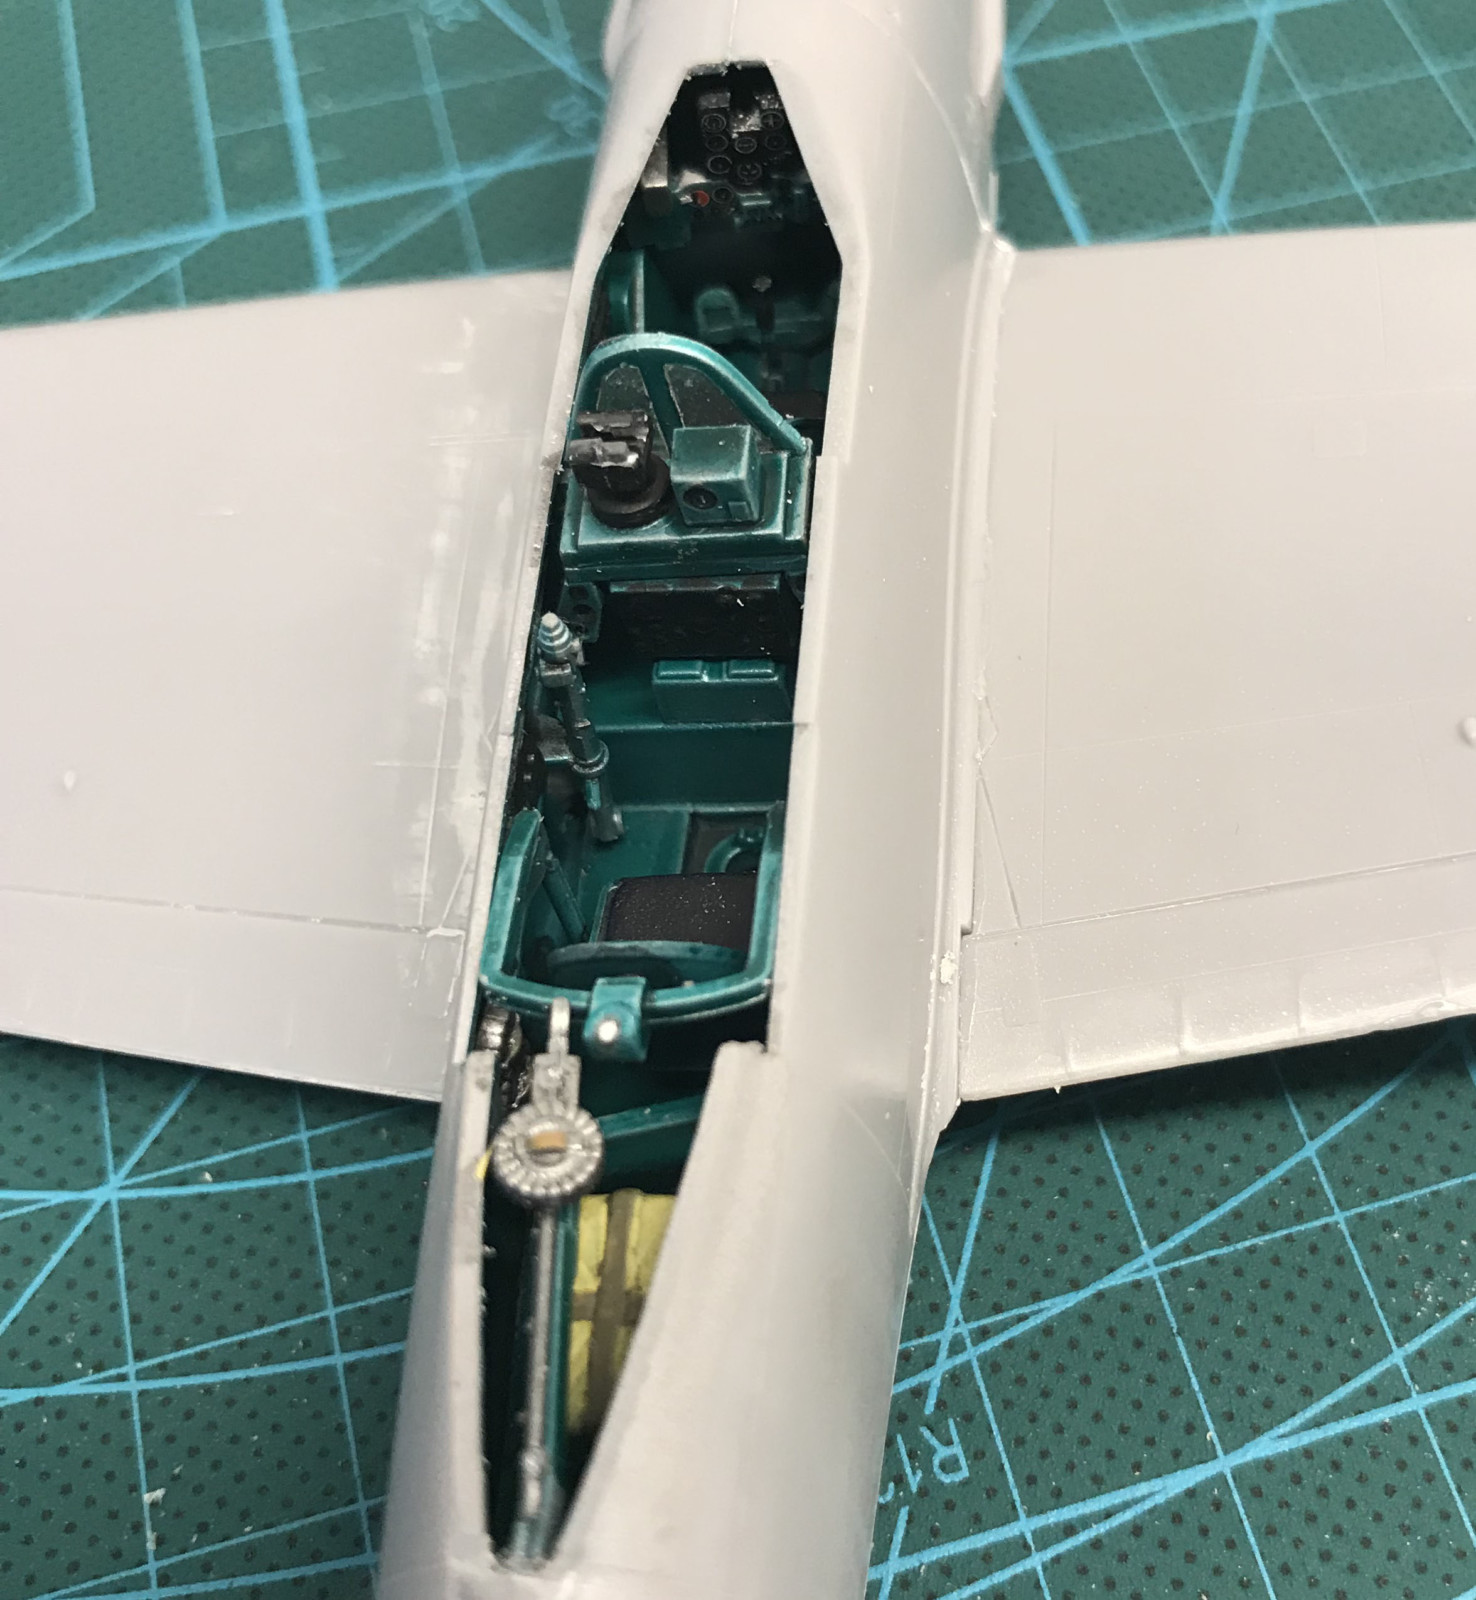
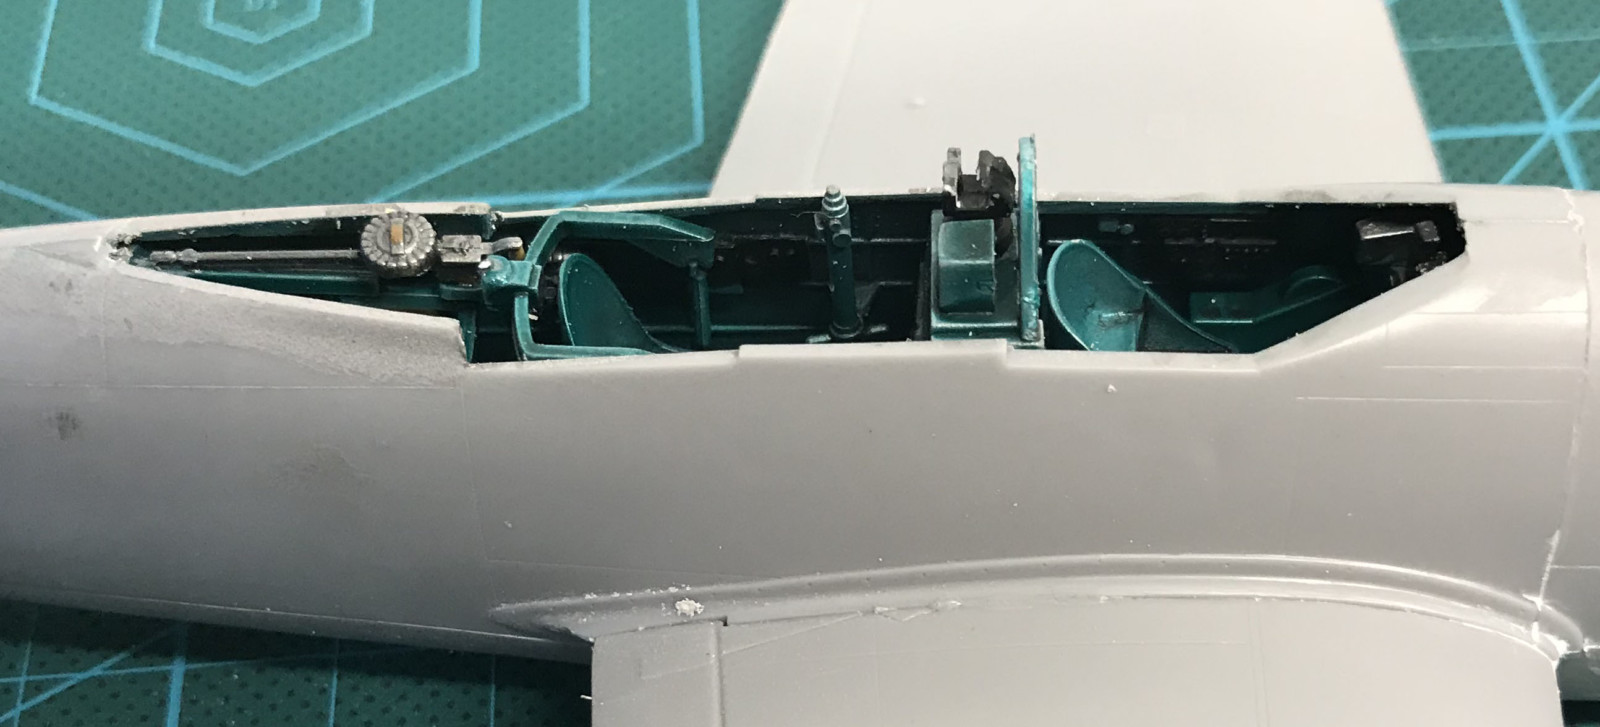
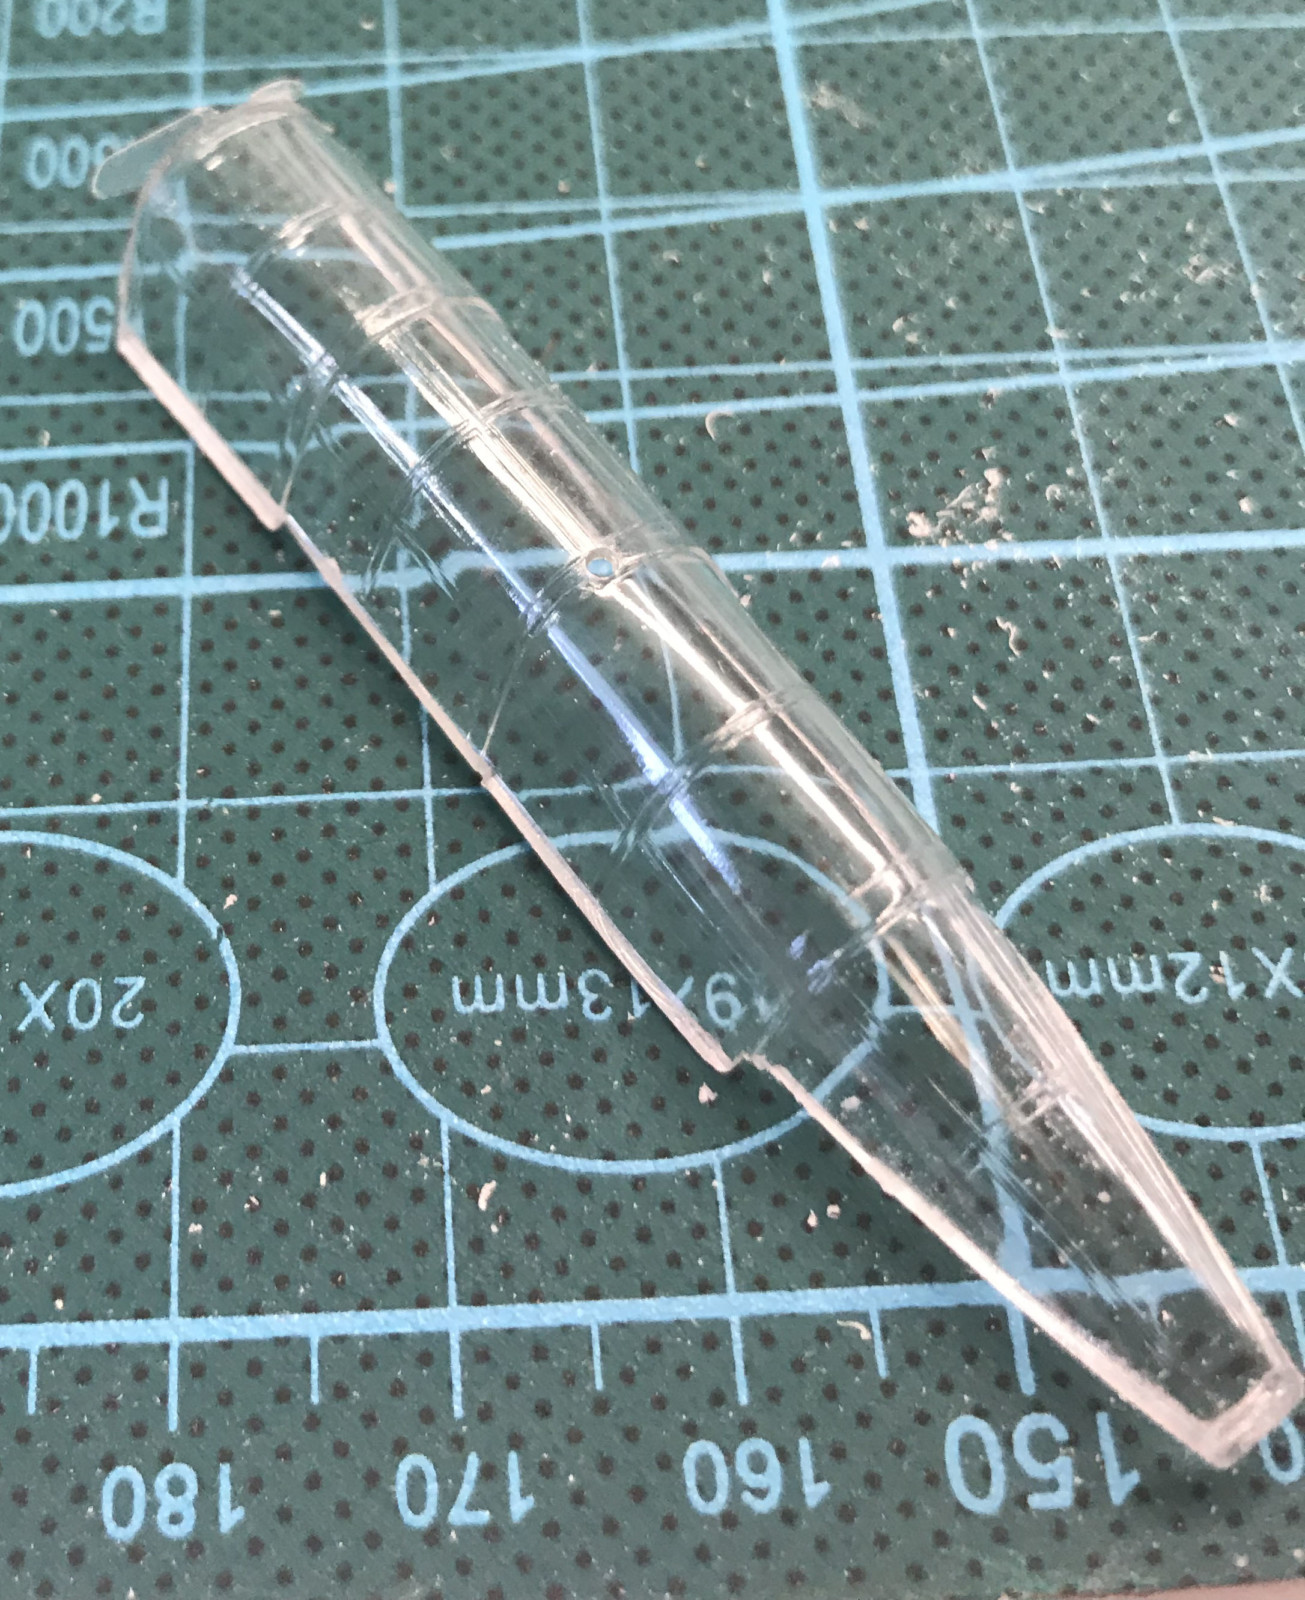
The cockpit is a fairly detailed one. Specially considering the age of the kit. There is no less than 30 parts to the cockpit. Considering this it's a shame that the cockpit canopy is moulded in a closed only option. Nowadays you usually get the option to do the cockpit open or closed. The instrument panel comes with decals and it's not hard to get a good result. The only thing missing is the seat belts.
Closing up the fuselage works okay, the fit is good. You can easily note that they had the different D4Y versions in mind when they constructed the kit. The engine part is a separate affair on it's own sprue. So when issuing the same kit with a radial engine would be easy. Just include another sprue. I suppose this is the reason why the rear part of the lower fuselage also is a separate part. Here is an issue though. The belly part of the fuselage (the part aft the wing) is a bad fit. Here some filling is required.
 |
 |
 |
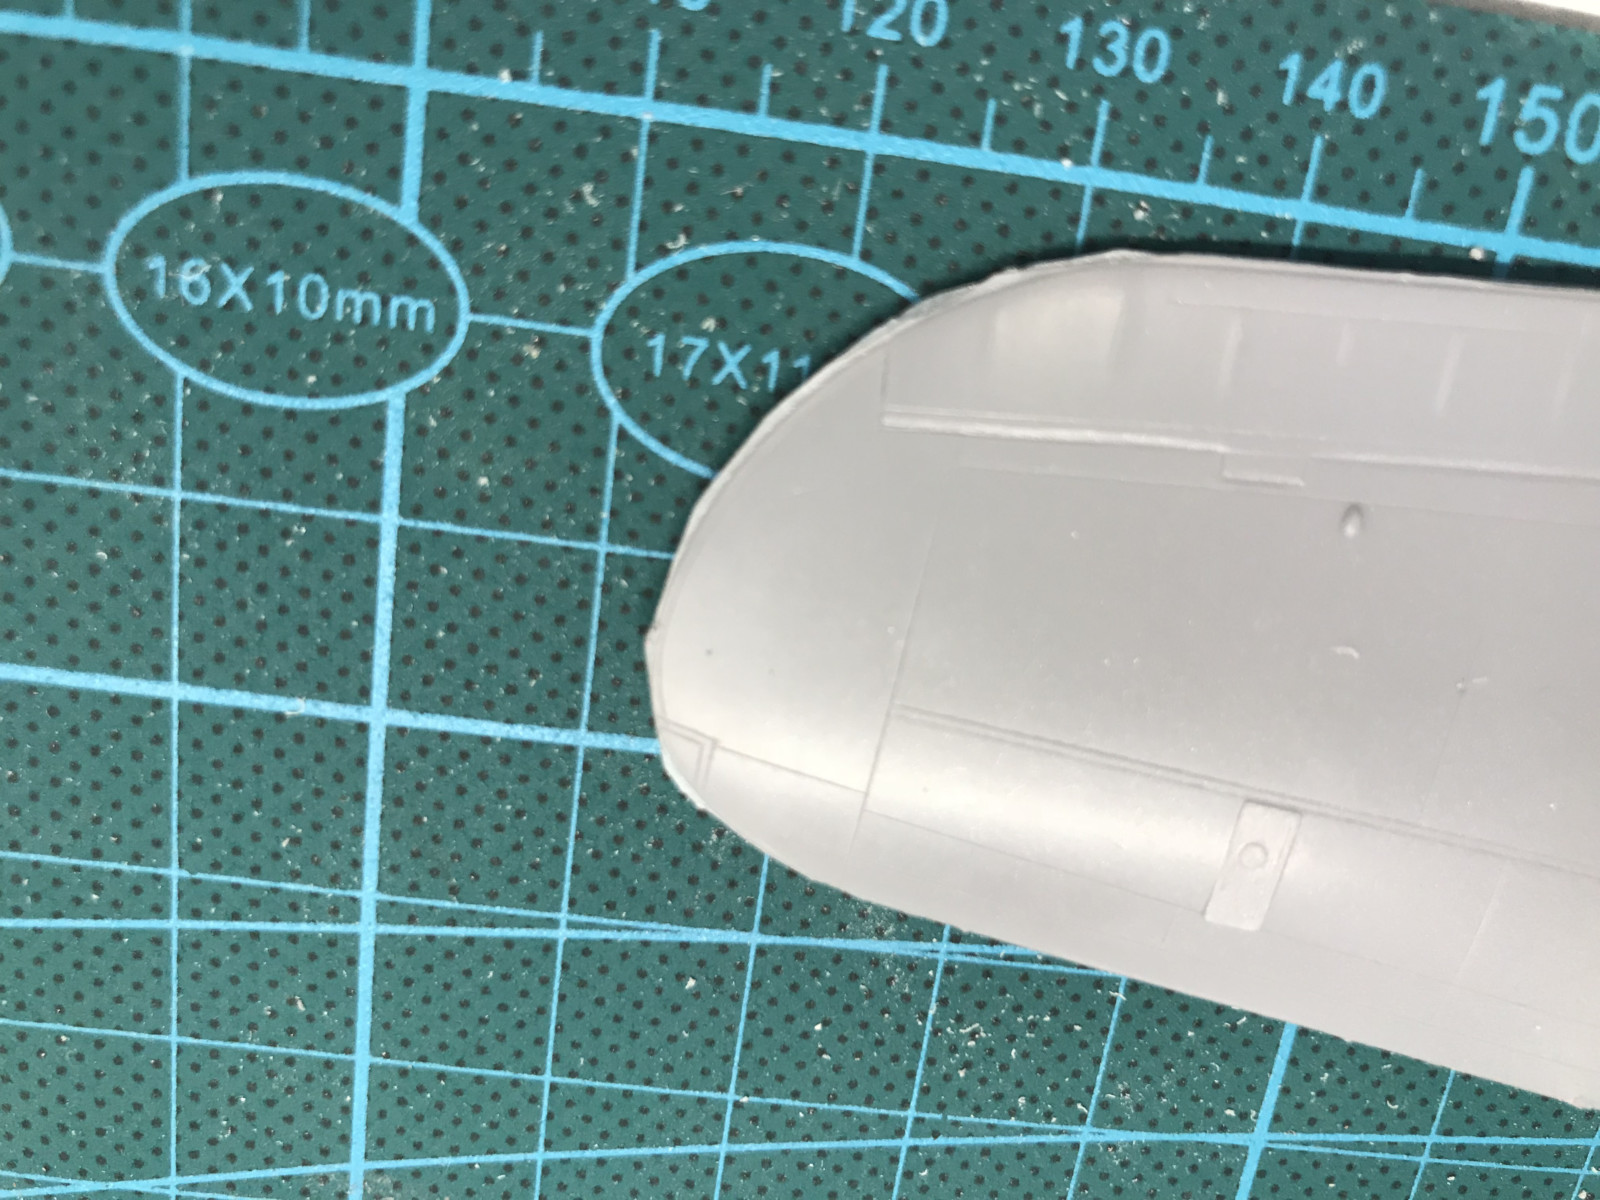
My copy of this kit had more moulding flash than I've seen for a long time. Another sign of the real age of this kit. Well they're easy to get rid of. The fit of the wings is another matter. Even though I took special care when fitting the upper and lower parts of the wings together it was impossible to get them to fit to the fuselage without gaps that needed filling. This is also true for the fin and stabilisers. The fin is a separate part from the fuselage. This kit contains two different versions (one to be used for one of the five painting schemes. I suppose they might differ in other issues of this kit too (the fins and stabilisers are on a separate sprue too).
 |
 |
 |
I made my kit without the bomb and with the bomb bay doors closed as my original only were used for reconnaissance. Leaving the landing gear and propeller till later it was time to paint.
Choosing the colours this time I went straight with Vallejo's recommendations as I had a set of Imperial Japanese Navy (IJN) Colors from them and one of their examples was an D4Y. These are the Vallejo Model Air colours I used:
Now doing the markings was the next challenge. I've not been able to find any pictures of the original plane. There is a shortage of pictures of Japanese planes during the Battle Of Midway in general. Any films was lost with the carriers sunk. So some guessing had to be done. However, with the help of the book "Shattered Sword" I had some help as they describe the marking system and also have the number on the plane. I did the national insignias and fuselage stripes with paint masks. The letters and numbers I had in my left over stash. And general markings I used from the kit.
Then there is just the propeller, landing gears and details like antennas etc. left. The propeller is unconventionally placed on a fixed pin on the fuselage. I managed to break that off when trying to dry fit the propeller so I gave up and glued it to the fuselage.
As often is the case with the planes out of the main stream this is the only kit available of the D4Y in scale 1/48. It's also has some years to it. There are issues with moulding flashes and a few bad fits giving gaps that needs filling. From the fuselage it is also obvious that this kit has been constructed to be able to reissue it in different versions. But still giving it some care and attention it can turn out okay.
| Difficulty* | 3 |
|---|---|
| The good | The panel lines are fine and feels "to scale". It's surprisingly well detailed in the cockpit given it's age. |
| The bad | Mould flashes and some gaps that needs handling. Also the canopy is done in two pieces and is not possible to build in an open position. |
*) On a scale 1-5 where 1 is easy and 5 is really hard.


