Now the Americans knew the Japanese where coming. At 4:30 in the morning of 4 June General Nagumo launched his attack on Midway. 36 Aichi D3A1 Type 99 'Val' dive bombers, 36 Nakajima B5N2 Type 97 'Kate' torpedo bombers. They were escorted escorted by 36 Mitsubishi A6M Zero fighters. They flew towards Midway. At the same time some 11 Catalinas were launched from Midway to search for the Japanese. At 5:35 one Catalina reported in the position of the Japanese Carrier fleet and ten minutes later another called in that they've sighted the inbound air-strike. The US radar could also pick up the oncoming aircraft from miles away. Now a hectic activity started to empty the air base from aircraft.
First off from the runway was Midway's fighter defence, the US Marine Fighting Squadron 221 (VMF-221). They were equipped with older planes retired from carrier service. Twenty Brewster F2A-3 Buffalo and six Grumman F4F-3 Wildcat. At 6:00 when the fighter scrambled two of the Wildcats were out on patrol and another soon returned with engine trouble. So in all there was twenty-three fighters up against the oncoming 108 enemies.
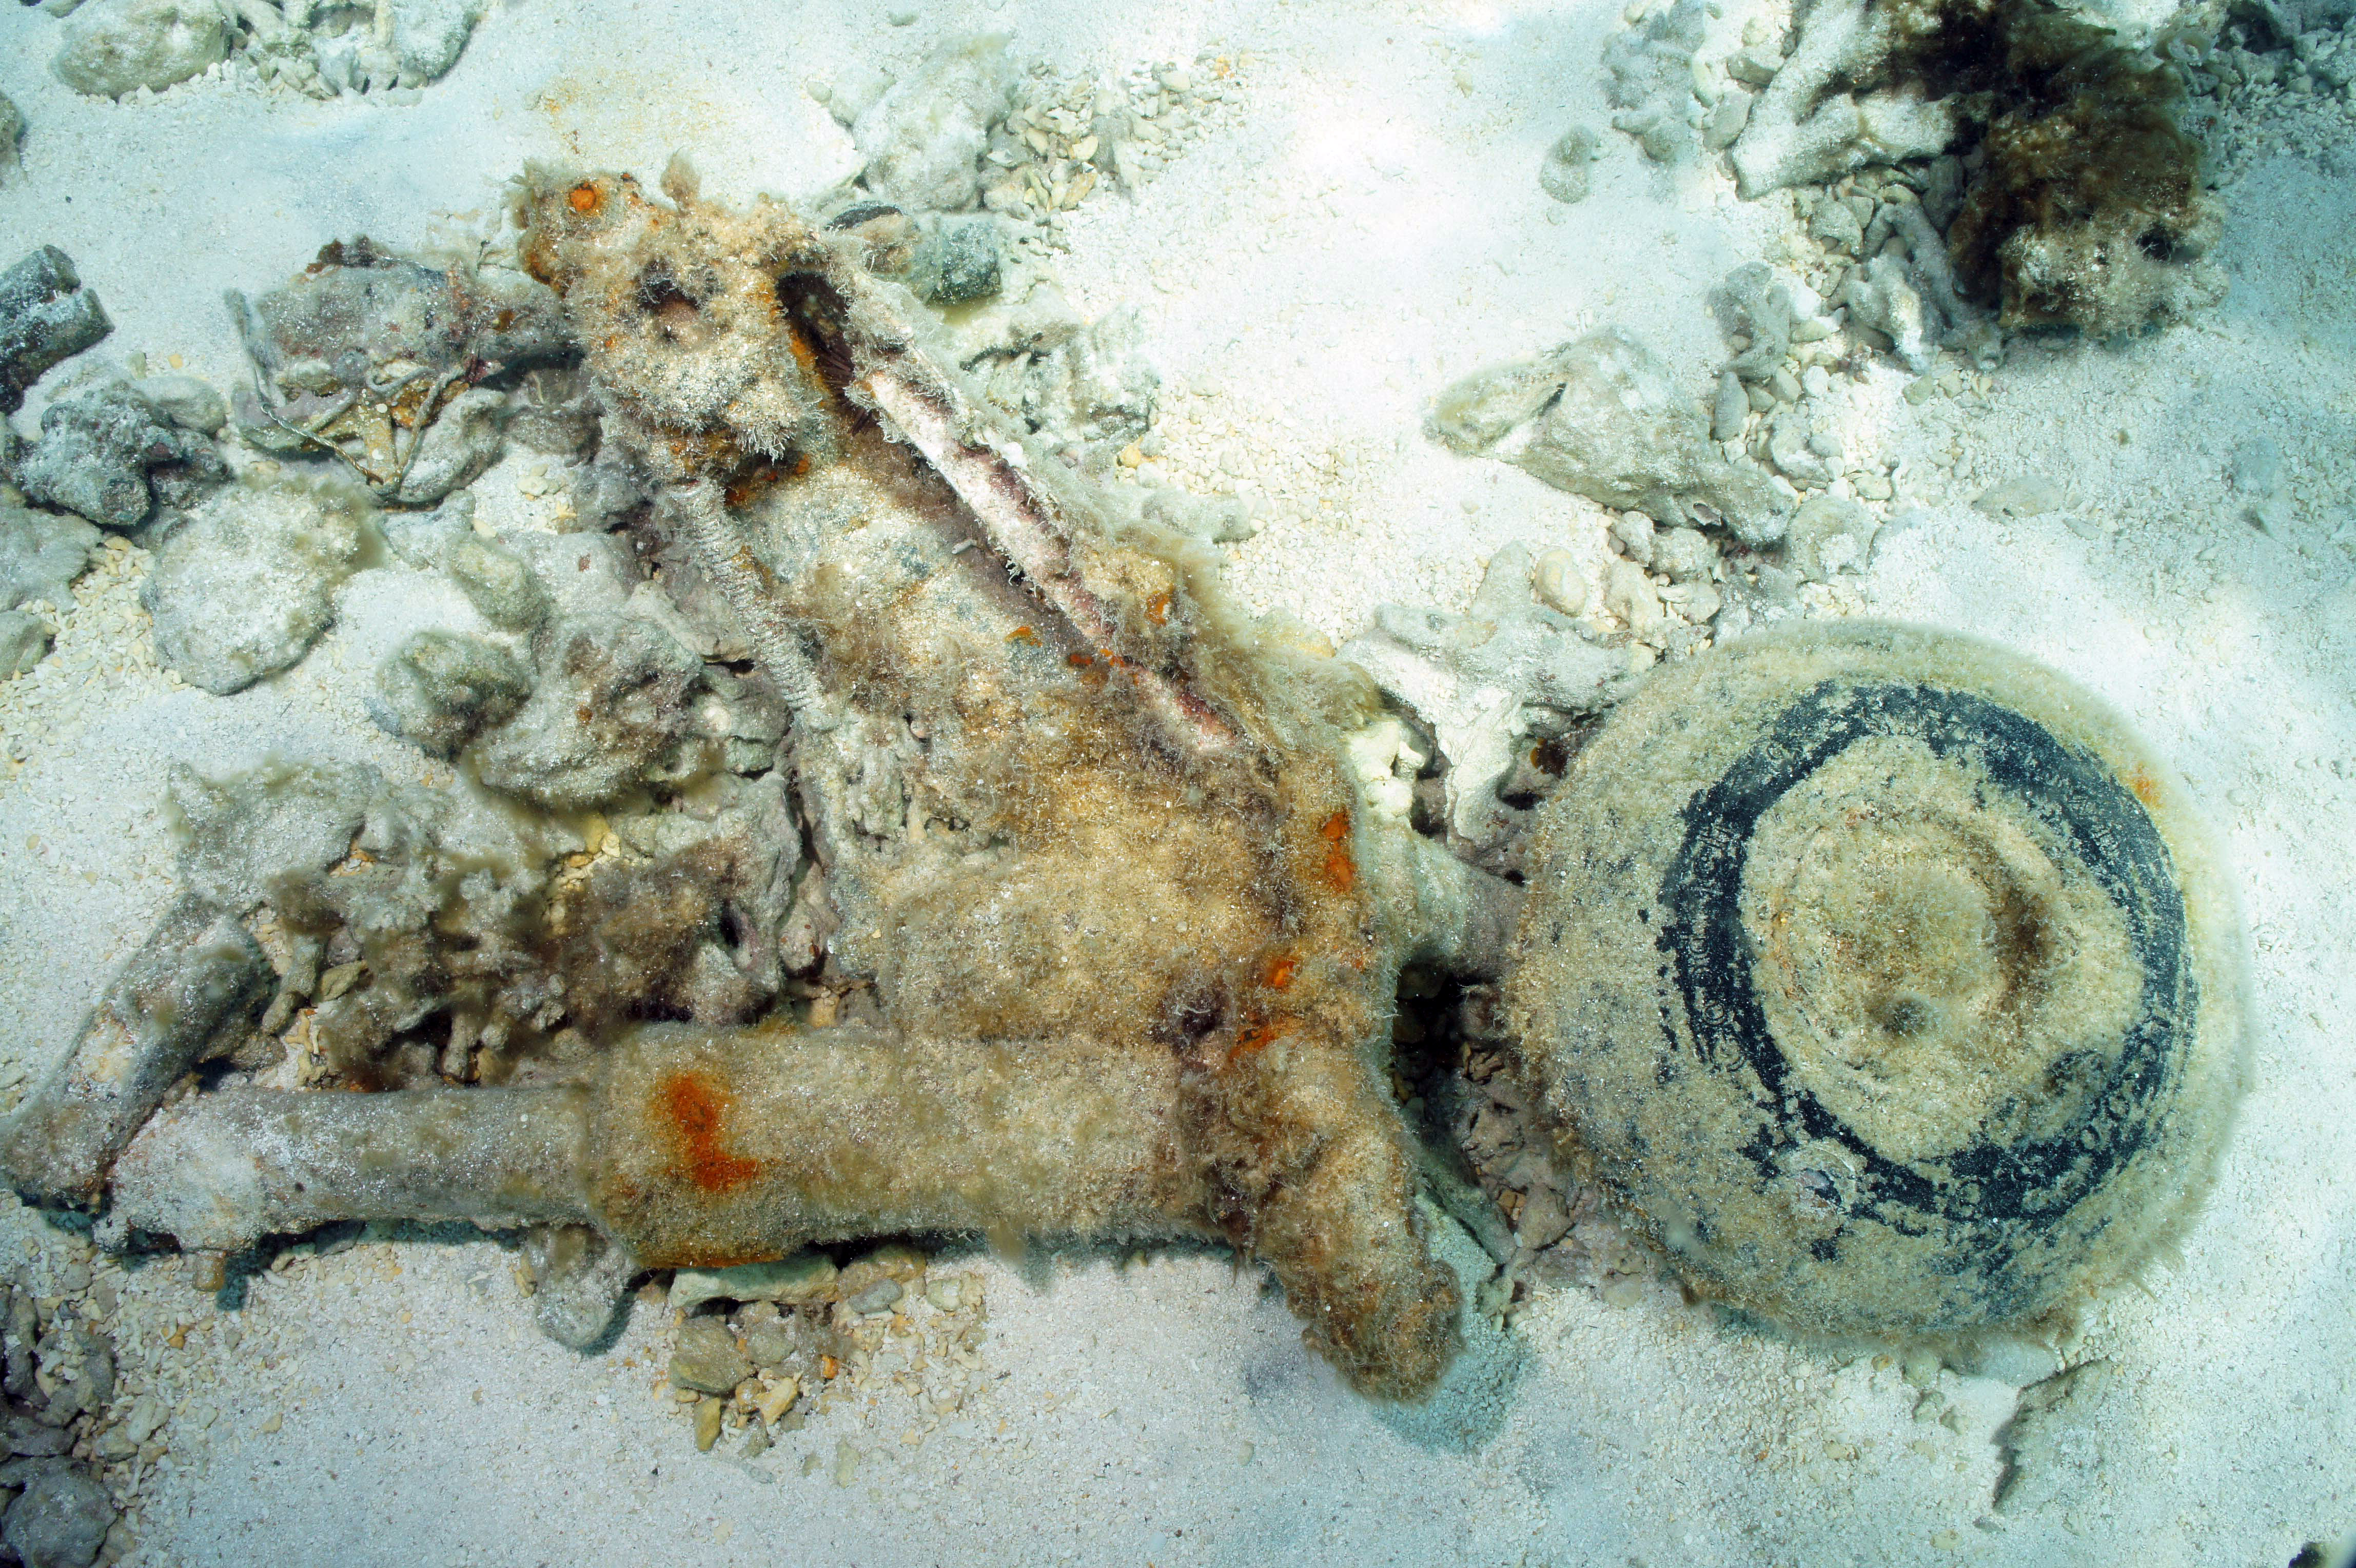
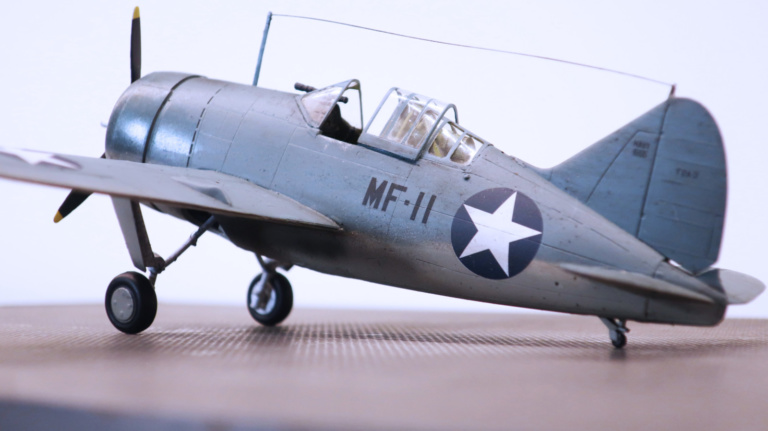
One of the pilots was Captain Philip R. White in his F2A-3 Buffalo MF-11 (Bu. No. 01568). The attack formation was lead by Captain Daniel J. Hennessy. At 6:20 Captain John F Carey spotted the enemy and called out "Tally-ho! Hawks at Angels twelve supported by fighters" on the radio. They attacked the first wave which consisted of B5N2 'Kate' bombers. In the first pass White lost track of his wingman and the rest of the division. Going in for a third time he was suddenly attacked by a A6M Zero. Pushing his stick forward and entering a steep dive he managed to avoid the Japanese fighter.
Regaining hight he found a D3A1 'Val' which he made a long pass on and saw it waver and make an easy left turn into the water. (Here are diverging accounts, White is said to have shot down a Val but only one Val was lost in the raid and it was shot down by AA-fire. The citation for the Navy Cross he received states a Navy Aichi Type Dive Bomber. Can it be that it was a 'Kate' he shot down?). He found another 'Val' but on his second pass on it he had ran out of ammunition. Meanwhile the Japanese easily broke through the defences and attacked Midway, see 4. The attack on Midway - The 'Val'
After the attack White returned to Midway to rearm and took off again but by then the Japanese planes had returned to their carriers and he was called back down again. White was one of the lucky ones. Of the twenty-three planes that took off sixteen were shot down (with two pilots surviving), the rest made it back to Midway either to land or crash land. After the mission only two planes were fit to fly again, one of these were White's. In his report he wrote: "It is my belief that any commander that orders pilots out for combat in a F2A-3 should consider the pilot as lost before leaving the ground." White was awarded the Navy Cross for his actions on this day.
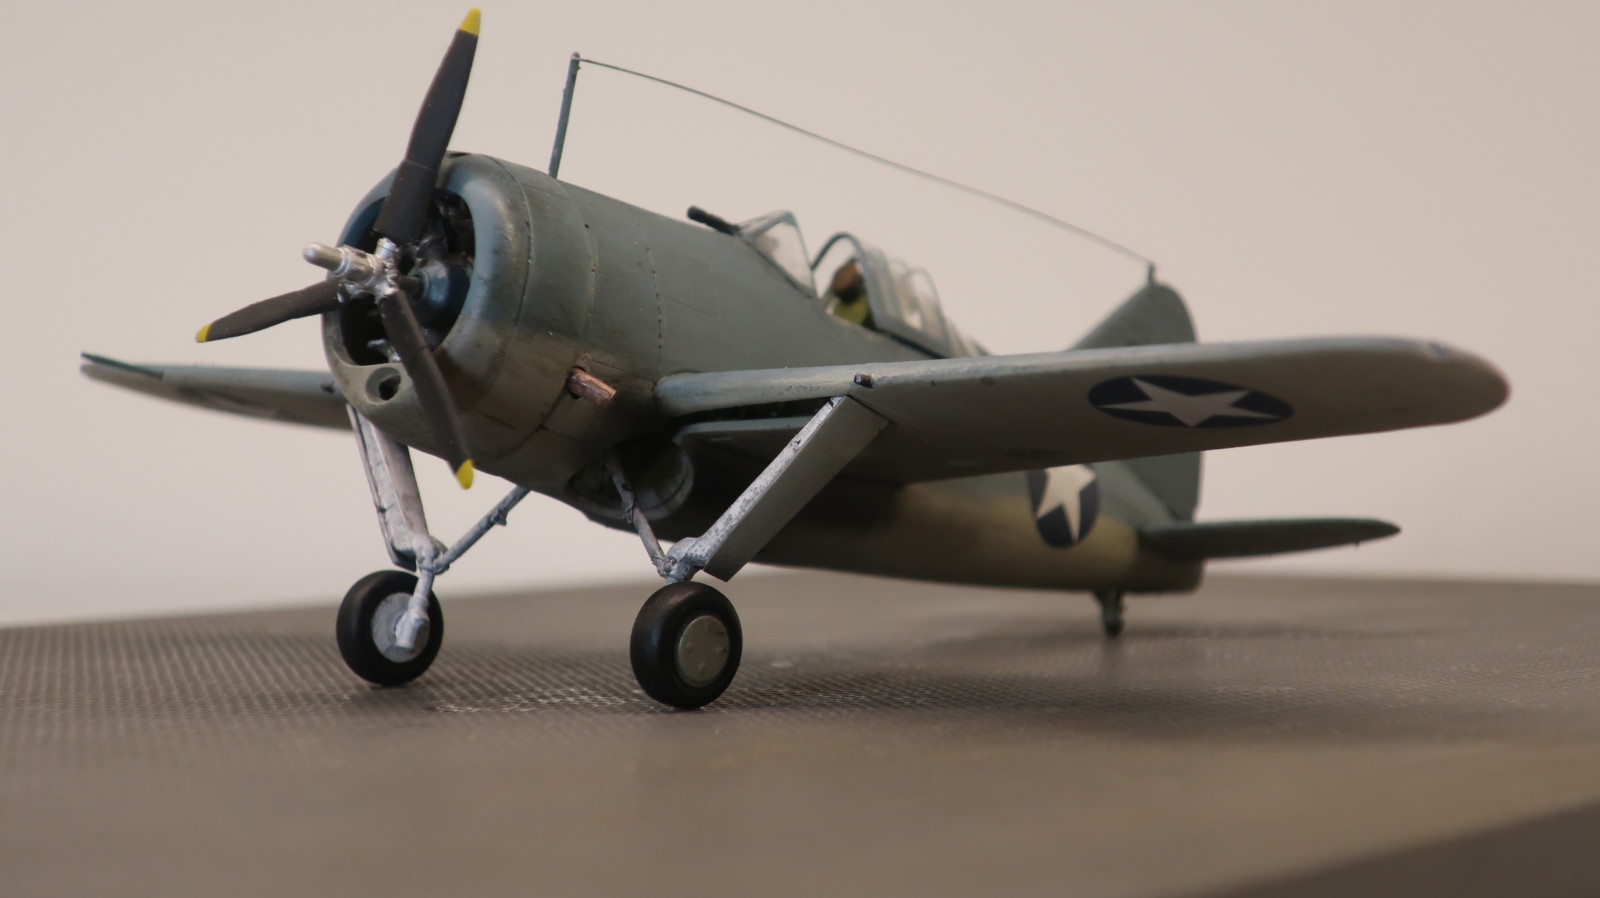
This kit in scale 1/48 is from Special Hobby you can read more facts about the kit here. The decals are original from the kit. I've written a review of the kit here.