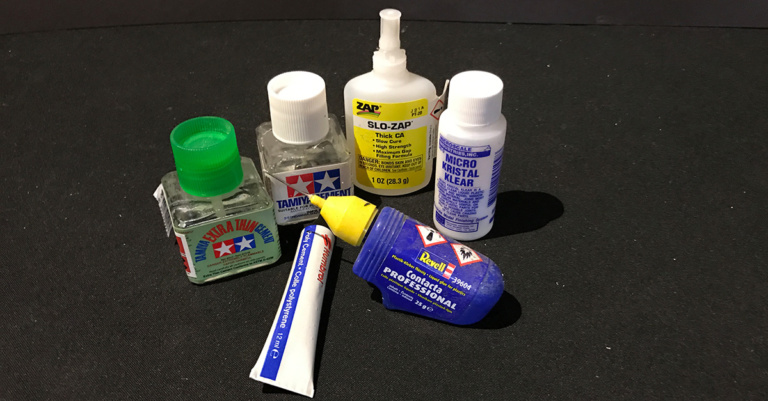
The trick is to chose the right cement for plastic modelling for the right situation. I always thought that glueing was a straight forward affair. A tube of poly cement and you were set. Over time I've realized that this is not the case. Specially if you start to use extra detailing stuff as etched metal parts or resin material, more about that in this article.
The poly cement
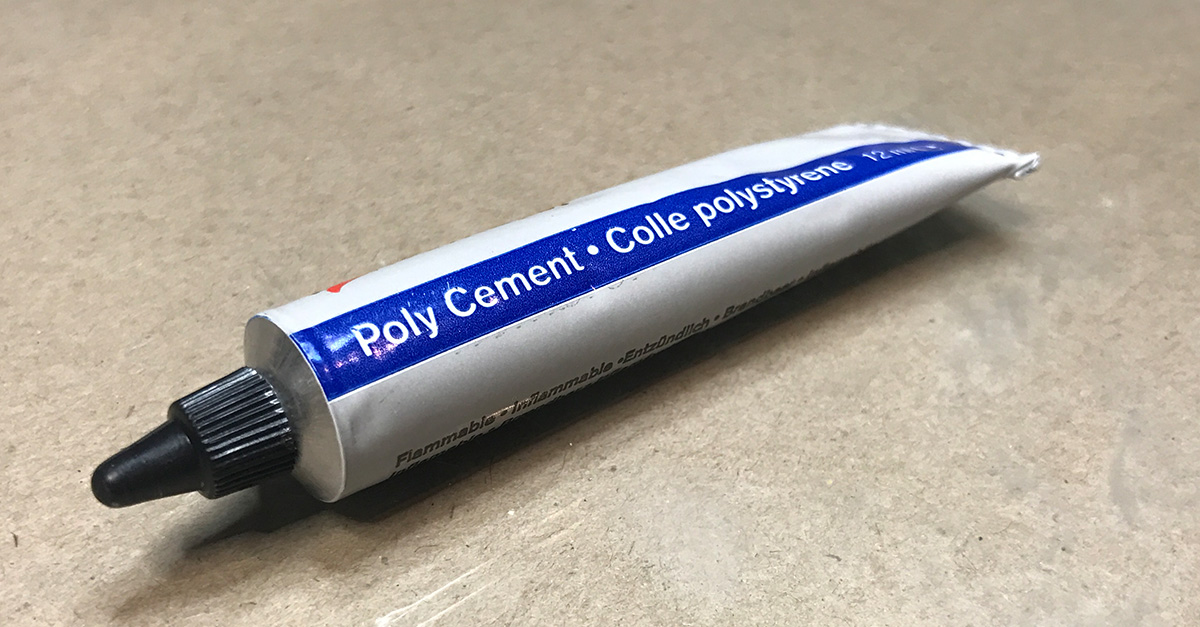
The most common glue for plastic models are based on Butanone, also known as methyl ethyl ketone (MEK) and it goes under names as Poly Cement or just cement. This glue works as a welding compound that melts part of the plastic (polystyrene) and hardens the joints together. It works well on plastic model kits but from a tube it has it's draw backs. The first disadvantage is that the tube lets out too much of it. Too much glue melts too much of the plastic it self and the parts can get dis formed and the joints can take forever so harden. Some manufacturers have remedied this buy selling flasks with a fine tube to let out the glue which is a lot better. If you want to use a tube or flask this is certainly to prefer. Be careful when using the cement and take care to apply just enough. Any excess in the wrong place will leave marks that could be very difficult to get rid of. Stroking off a drop with your fingers can leave drag marks and unwanted finger prints.
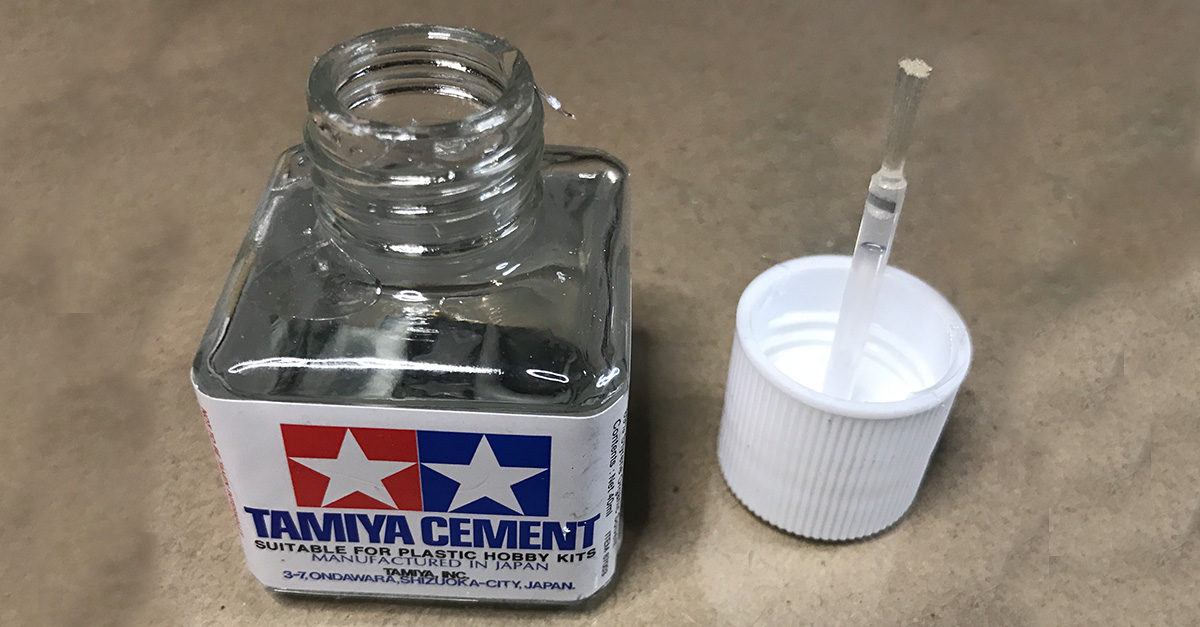
There are better alternatives though. Some manufacturers like Humbrol and Tamyia sells cement bottles with a brush built into the cap. This makes it easier to apply the stuff with more precision. Be sure to remove any excess cement against the bottle edge first and then stroke the cement onto the joints. Best is if you let the joints rest a few seconds before pressing them together. If the joints are soften up a bit before joining the together they adhere better.
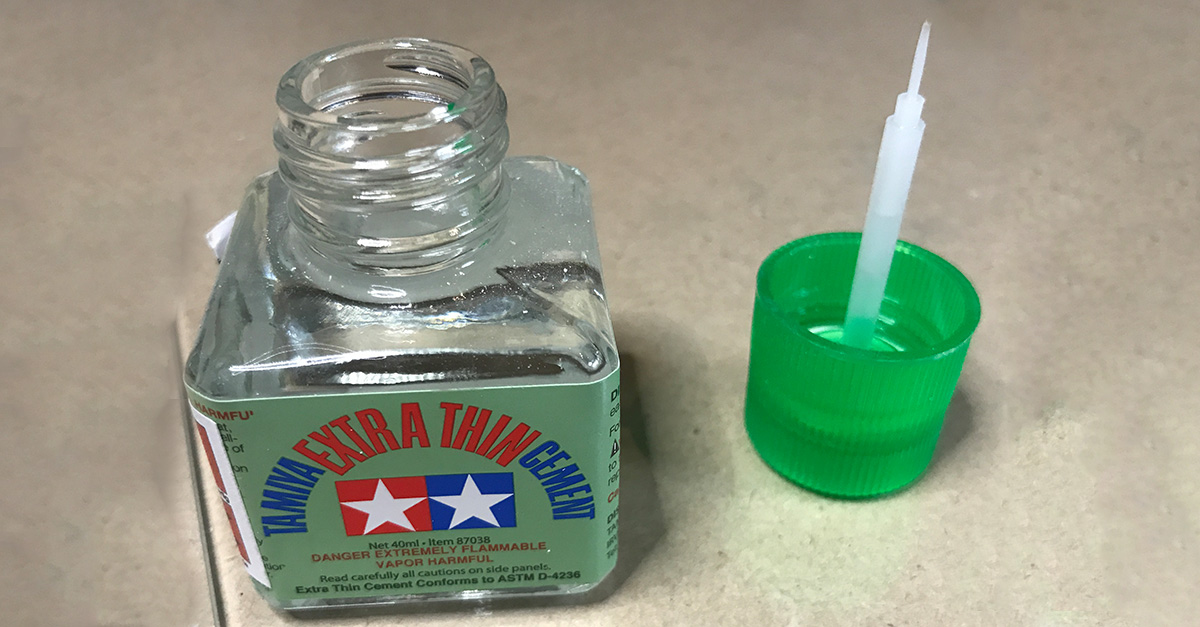
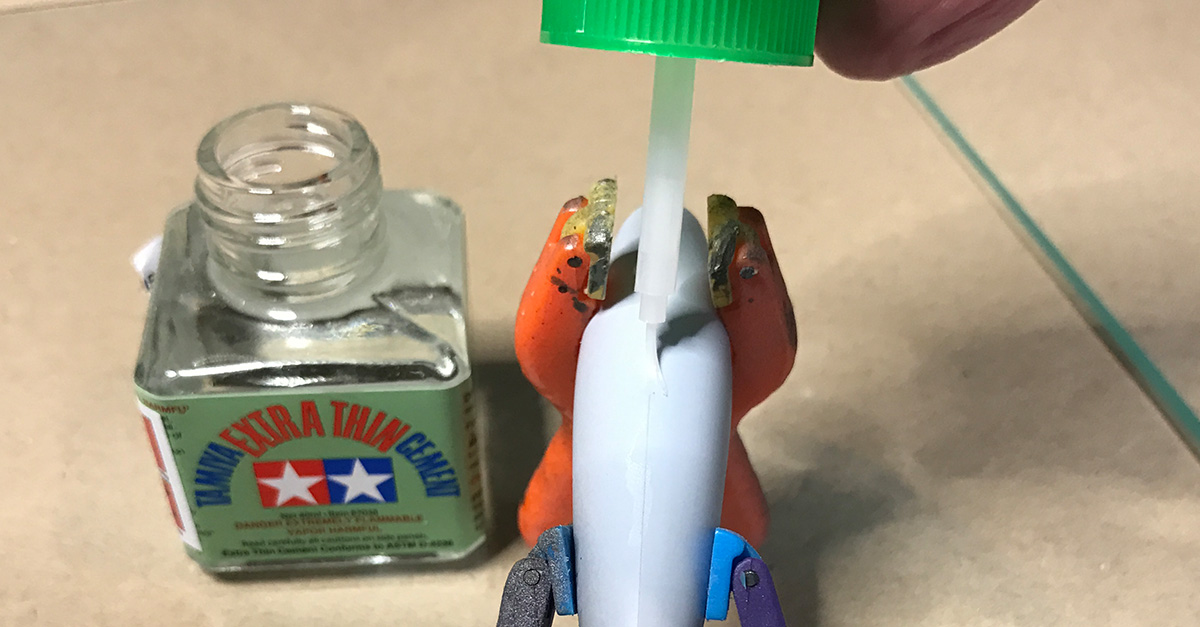
Extra Thin Cement
But the real revolutioniser in this area must be Extra Thin Cement. When I got this from my local hobby shop for the first time I couldn't get the hang of it. I applied it as usual on the joint but it always dried before I could put the parts together. This was because I hadn't understood how it works which really is the brilliant thing about this cement. The right way to use it is to first press the parts together and then paint the cement on the joints. The capillary action then sucks the extra thin cement into the joints and weld them together. As it is so thin it wont leave any marks on the outside either. I found this to be particularly useful for clear parts as windows and canopies. Place the part in place and carefully use the brush to apply the cement on the joints and it will stick with a minimal risk of muddling the clear part. But take care that there's no risk for capillary action on the visible parts of these clear parts!
Now I try to use Extra Thin Cement whenever it is practical but I still use normal the normal stuff for details and situations where its hard to press things together in the right position while applying the cement.
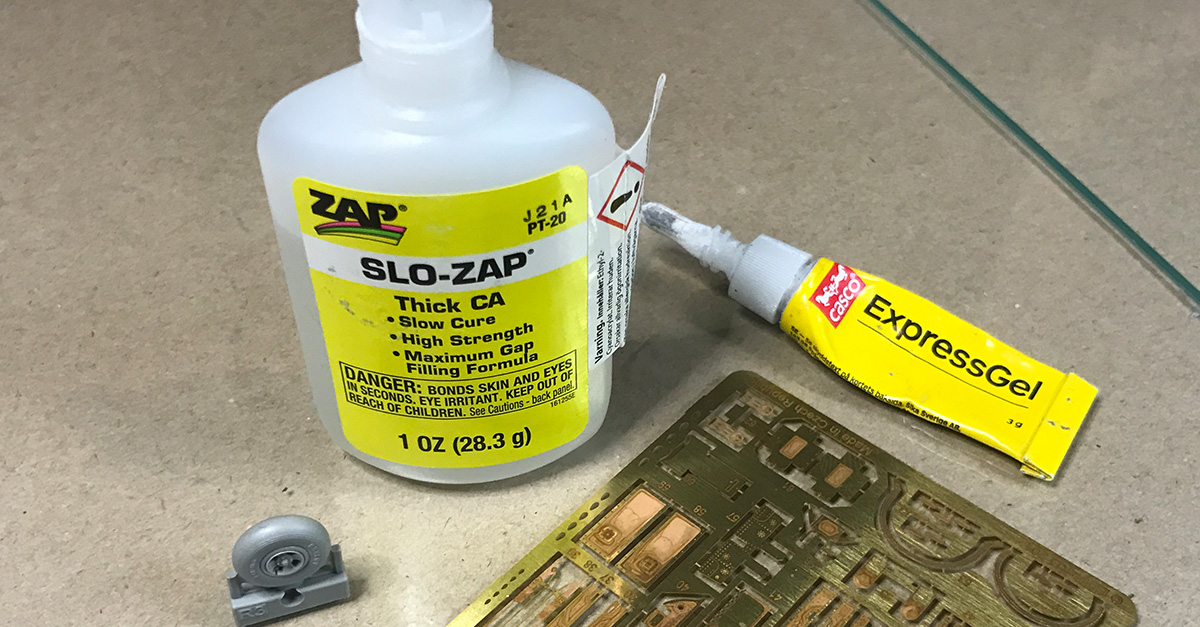
The CA glue
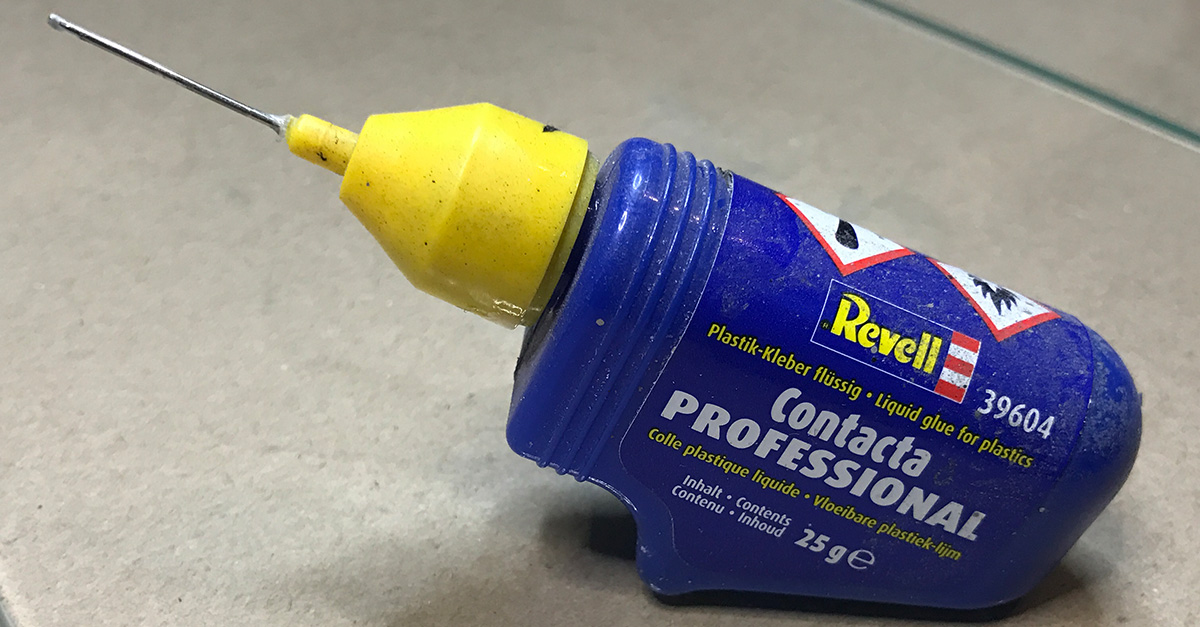
There is a lot of detailing stuff to be bought to your plastic model kits, some kits even includes these parts. These detailing parts are usually made of metal or resin. The poly cement described above won't work on these parts, so if you want your detailing to stick to your kit then you need something else. This is where the CA glue comes in. CA is short for cyanoacrylates which is used in what is commonly named Super Glue. There is a lot of different types and brands but if you buy a CA glue you are on the safe side.
There is different viscosities of CA glues where the thin viscosities dries very fast while the thicker variants gives you a few more seconds to adjust the parts before they hardens. But watch out they dry quickly. Don't try to pick your nose with glue on your finger or you could end up with a very awkward visit to the doctor.
The Micro Kristal Klear
Now that would basically be it if I hadn't stumbled on a new product a little while ago, the Micro Kristal Klear from Micro Scale. This glue is a bit different. It's flexible clear liquid plastic adhesive that is specially kind to clear parts. When you apply it out of the bottle the first time it's easy to panic as it has a milky form but when it dries its becomes brilliantly clear. It does not adhere very well though and as stated above the best method for clear parts are Tamiya's Extra Thin Cement. BUT you can build up an entire window on your kit with the stuff, if you for example shot away your original window with your tweezers to a place god only knows. Use the stuff to build up a new one. Mostly you need to do it in stages. Given time to harden it clears up and saves your day.