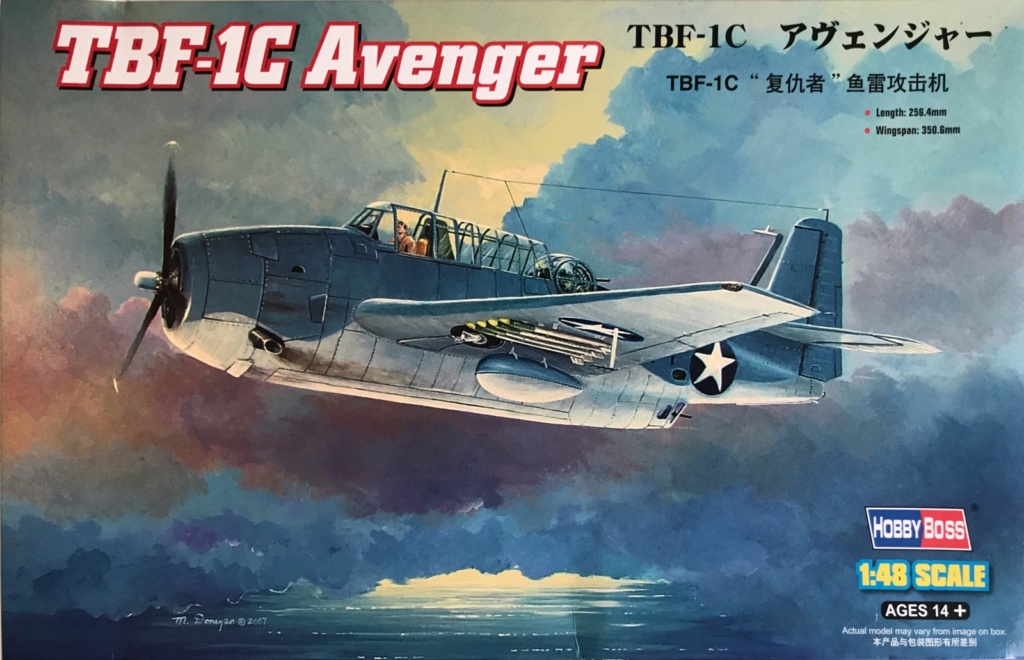
| Manufacturer | Hobby Boss |
|---|---|
| Scale | 1/48 |
| Manufacturers page | http://www.hobbyboss.com/index.php?g=home&m=product&a=show&id=788&l=en |
| Content in box | Instruction sheet, plastic kit, resin parts, etched metal parts and decals for seven individuals |
The Grumman TBF Avenger first flew in 1941 and first saw action at the Battle Of Midway in 1942 with a horrible result. Only one out of a total of six Avengers returned from their attack on the Japanese fleet. However these losses was a result of inexperienced crews and lack of fighter support. The Avenger went on and became a mainstay torpedo bomber in the Pacific but also elsewhere. It became one of the most successful submarine hunters during WWII. Both former president George W H Bush and actor Paul Newman flew in Avengers during the war. Another more dubious claim to fame is the five Avengers that disappeared on the 5th of December in 1945 becoming the most famous incident in the so called Bermuda Triangle. The Avenger also saw service in the air forces in Brazil, Canada, Cuba, France, Japan, Netherlands, New Zeeland, United Kingdom and Uruguay.
Having had a horrible experience with Hobby Boss and their kit of the SAAB J29 Tunnan my expectations on this kit was not high. Opening the box then came as a pleasant surprise. The kit is rich with parts and the instructions et al looked promising.
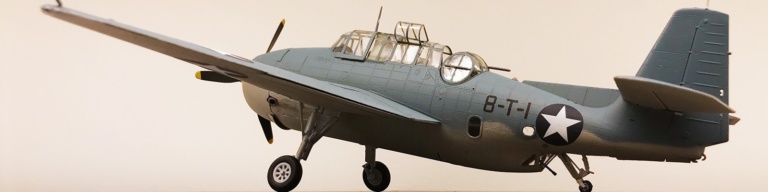
But Hobby Boss would not be Hobby Boss if they weren't sloppy with the facts. The box art is clearly depicting the only Avenger that came back from the fateful Battle Of Midway mission as is the main Markings & Painting sheet. But the kit is a Grumman TBD-1C Avenger when the plane at Midway was a TBD-1. The difference is not big but there is a few details that needs fixing. The TBD-1 had no wing mounted guns so these needs to be cut off and the shell discarding holes under the wing needs filling. Also the Midway Avenger certainly did not carry any rockets, not in june 1942. Had rockets been available then the attack on the Japanese carriers might been more successful. There is also no evidence of the Midway planes carrying any extra fuel tanks under the wings. So more details to be filed away and holes to be filled. But Hobby Boss gives you no hints of this but gladly instructs you to build the 8-T-1 from Midway with rockets and everything.
The only extra I bought this time was:
 |
 |
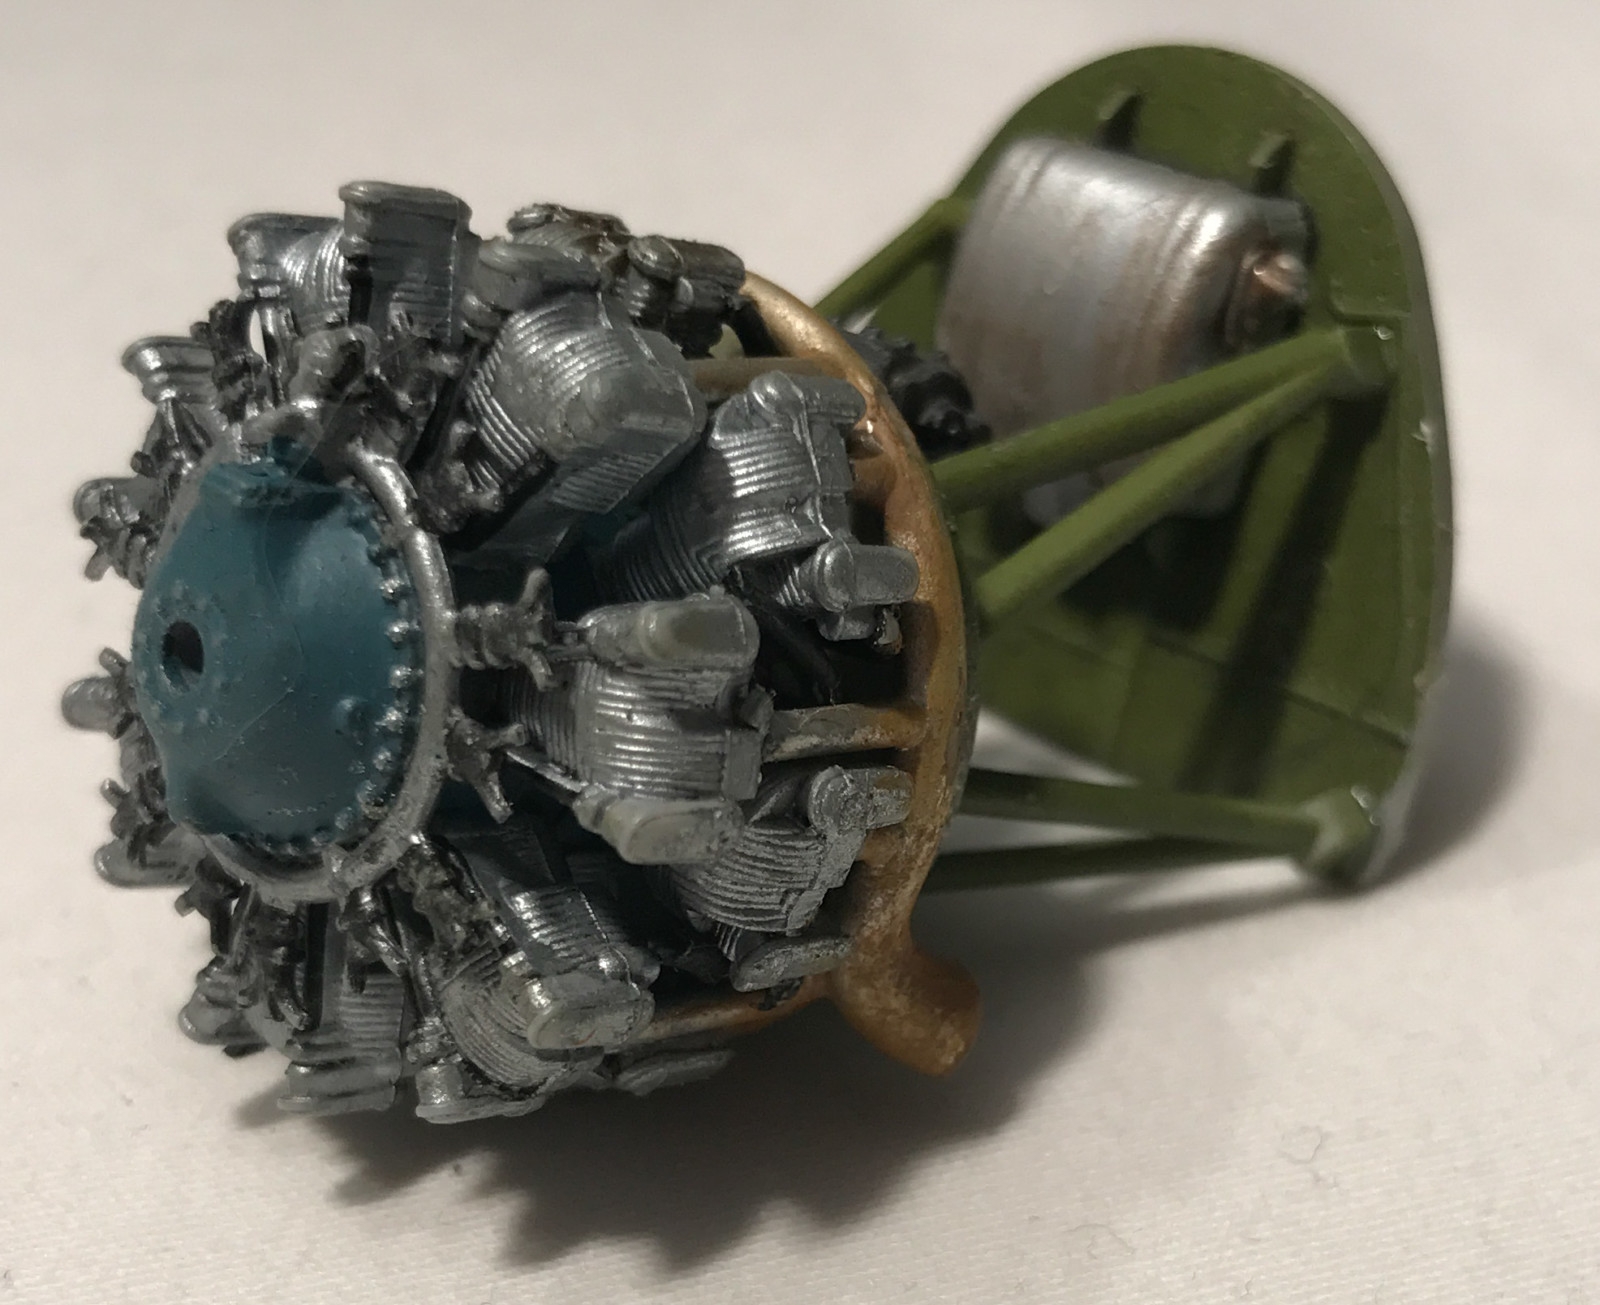
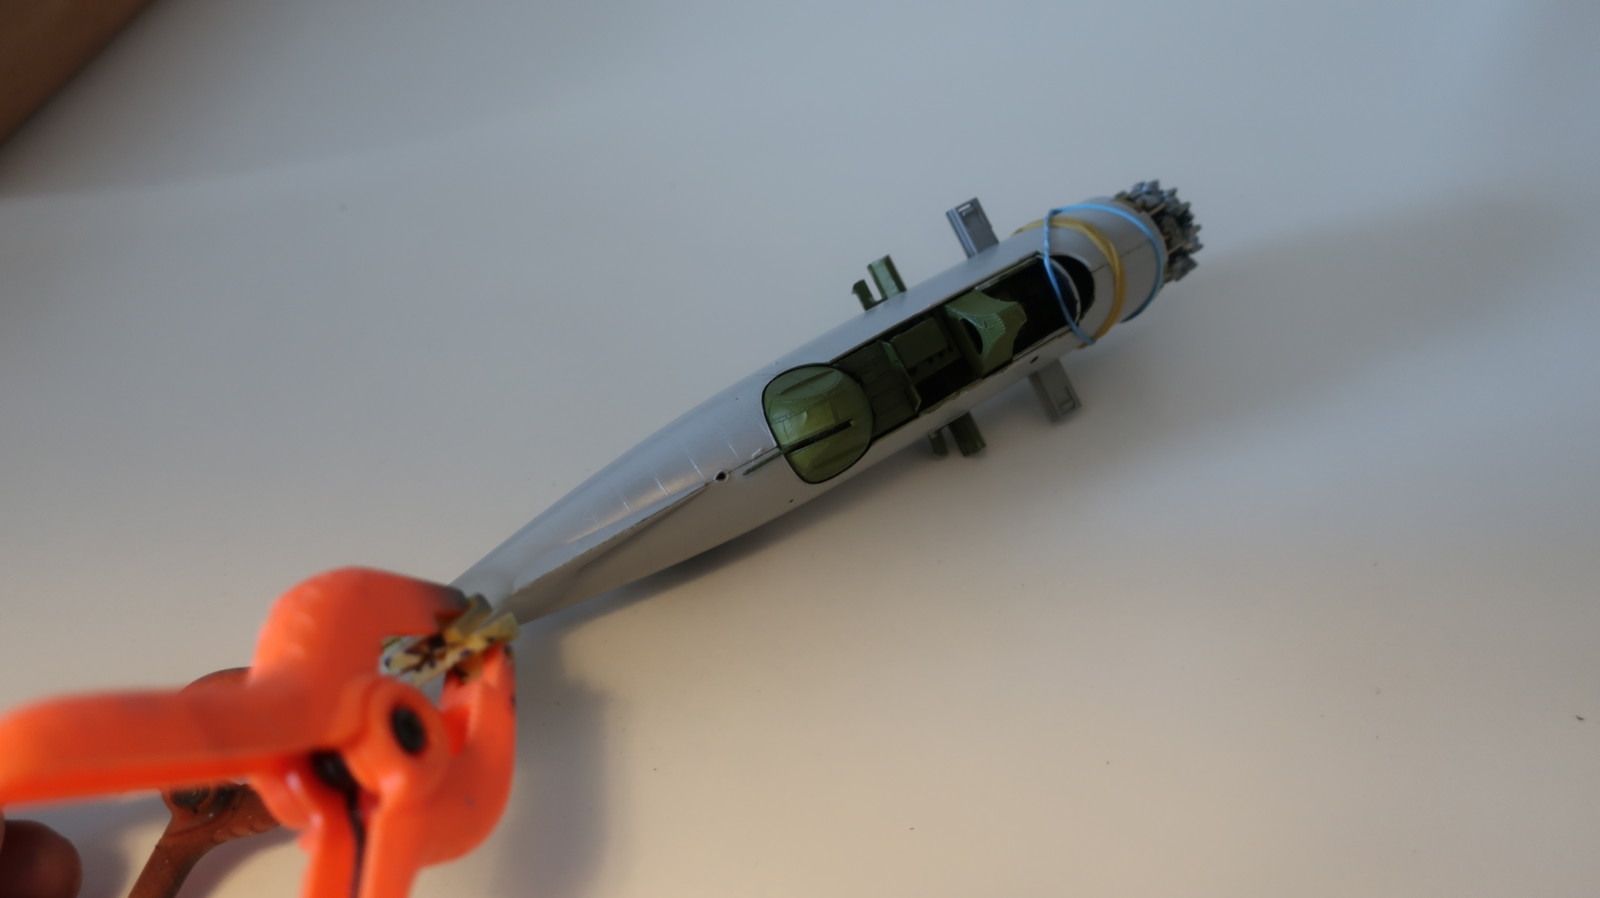
The instructions start off with the engine. Just the engine room is a 13 piece thing with good detailing. The instructions are clear and the parts fits well. This also goes for the cockpit and gun turret. I chose to do the plane with the bomb bay door closed so I skipped the interior, but here you have the choice of bombs, a torpedo or an extra fuel tank. In my case it would have been a torpedo as this was what 8-T-1 was carrying but the bomb bay doors were seldom open so... Strangely enough the instructions have you cutting off the bomb bay door supports for the closed position instead of leaving them out entirely which I found a lot easier.
 |
 |
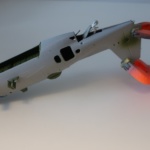
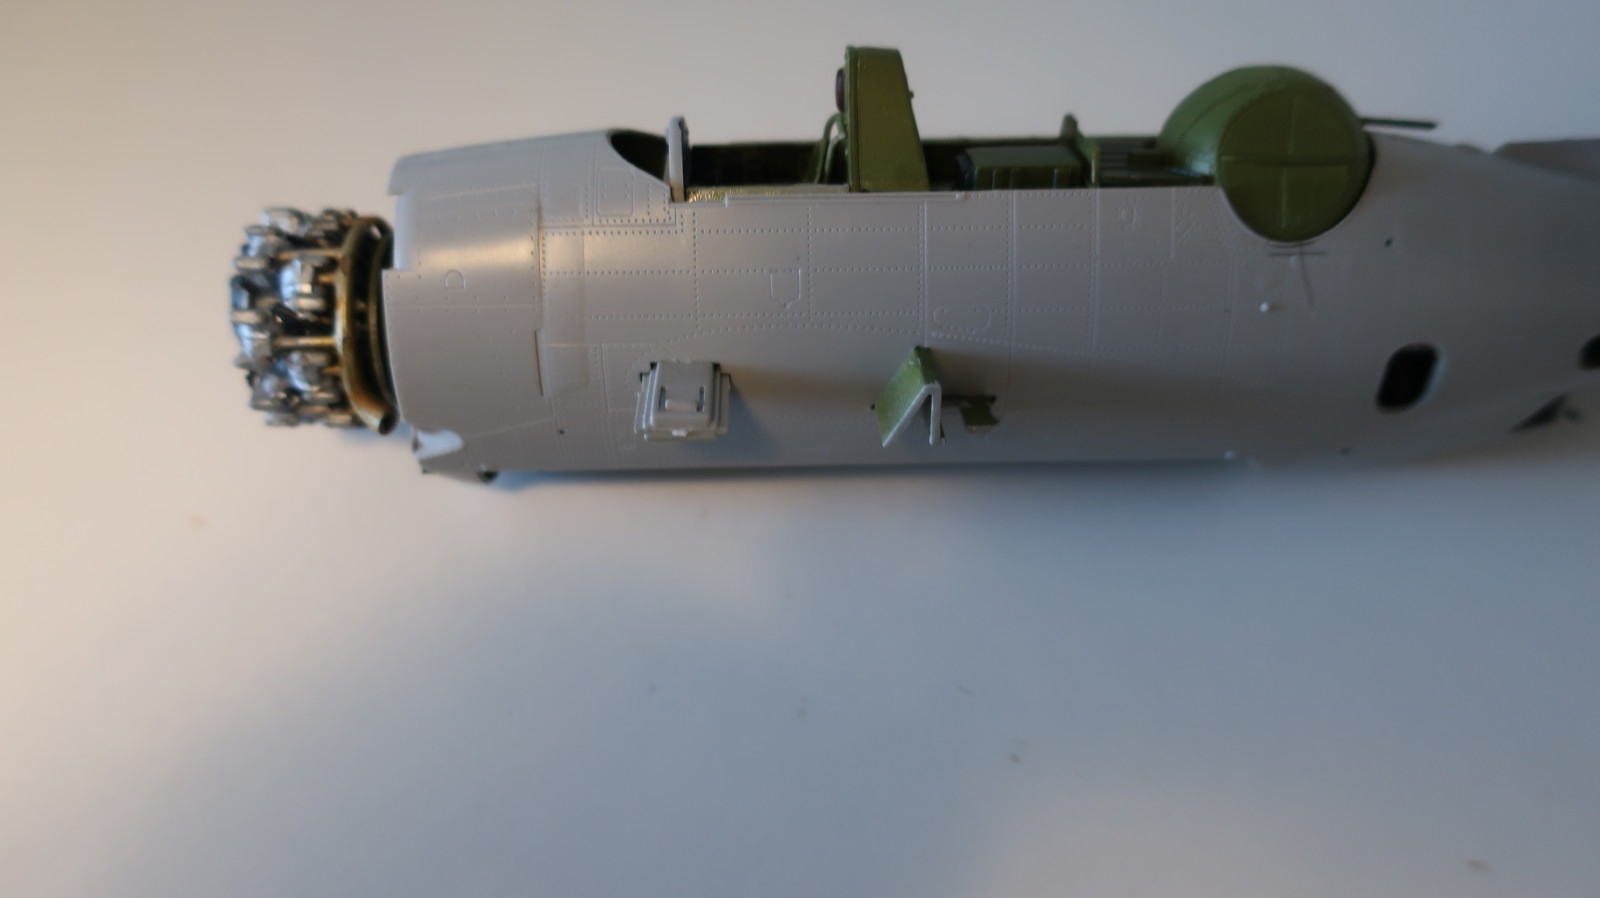
Generally all the parts fits well, this also goes for the main fuselage in spite of all interior stuff contained therein. You still need to use rubber bands and clamps but that's OK. A minimum of sanding is needed. The main cockpit floor has spars sticking out of the fuselage to guide and support the wings. This is good and works well. Unfortunately these supports only the wing roots as this aircraft has folding wings and the kit lets you chose between building it with them folded or extended. And here is one of the kits weaknesses. If you want to build it with the wings extended there are no supports and the surfaces to apply the glue to are minimal. Some patience is required and a lot of tape to keep them in place as the glue hardens.
 |
 |
 |
I'm glad I had the pre made maskings for the window panes. Very much so for the gun turret. Also at this stage it's time to remove all signs of wing guns and rocket mounts on the wings.
Doing a Battle of Midway Avenger they had the standard U.S. Navy colours of 1942 so I used the following colours from Vallejo's Model Air series:
I'm soon running out of theses two as I've been doing quite a few of the American Midway planes by now.
It's hard to seat the landing gear without a bit of a wide spread angle. I did my best but I still think it looks like its very heavy loaded. There is some spread on the real thing but I think Hobby Boss has exaggerated it.
All the small stuff sits nicely with some care. Studying photos the windows on the fuselage seems to be different between the TBF-1 and the TBF-1C but I had to let this slip. There is a landing light on the under side of the right wing that is placed exactly where the national insignia goes. I can not spot any such landing light on the photos so I simply placed the insignia over it.
The end result is in the gallery at the bottom of this page.
This is a fun kit to build. There's only a few simple changes you have to do to correct Hobby Boss sloppy mistake of issuing a TBF-1C with rockets as a 1942 TBF-1.
| Difficulty* | 4 |
|---|---|
| The good | This is a kit with the right kind of detailing and the parts fit well together. |
| The bad | It's kind of inexcusable to issue a TBF-1C with rockets as a TBF-1 in the Battle Of Midway. |
*) On a scale 1-5 where 1 is easy and 5 is really hard.


