| Manufacturer | Airfix |
|---|---|
| Product # | A06105 |
| Scale | 1/48 |
| Scale Mates model info | https://www.scalemates.com/kits/airfix-a06105-hawker-sea-fury-fb11--1016657 |
| Content in box |
|

This kit was released in 2018 and has since been released again in 2019 as an 'Export Edition'. This review is of the original kit.
Again I'm impressed in the the quality in Airfix' later kits. The construction is well thought through with some smart choices on the division of parts etc. Also the parts go together with astonishing accuracy. The kit is moulded in Airfix softer plastic with it's advantages and drawbacks. Maybe the panel lines are a bit too accentuated. They could have been a bit finer and not quite so deep. But they are accurate in placement.
In short it's a fine kit of the Sea Fury. Unfortunately I can't compare it to other releases in this scale from Trumpeter, Hobbycraft and AMG but I feel confident this must be one of the better.
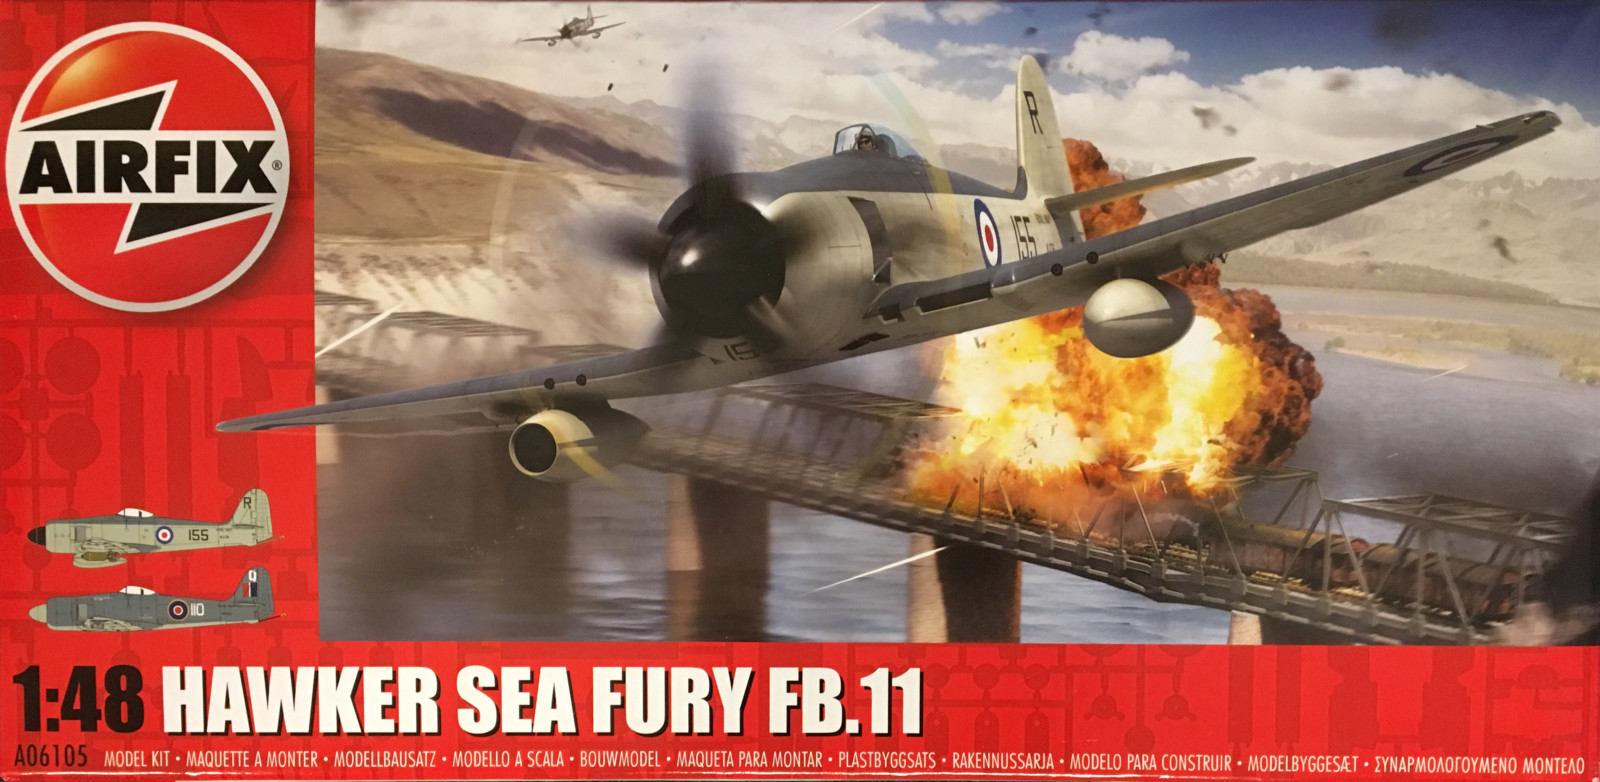
The decal sheet has decals for two different markings:
My third modern Airfix in a short while and their new kits are really good (save a few minor details. I'm really looking forward to their new Tiger Moth in scale 1:48 that is due later this year (2019). This kit, like the Hawker Hunter recently, I built straight out of the box. No after market stuff this time.
The cockpit is not full of details but enough. As many planes at this time it's all black inside. The seat does not have any moulded seatbelts this time. Actually there are no seatbelt what so ever in this kit which is a bit of a disappointment. I didn't bother to do any either. The the entrance to the cockpit is quite small so you can not see much of it once the fuselage is closed. There are decals for the instruments on the instrument board, actually six of them. They are a bit hard to get in the right place but with a pair of magnifying glasses and a needle it's doable. Some reference pictures of a Sea Fury cockpit comes in handy if you want to enhance the interior with some details an colour on the levers and switches. But black is the mail colour. I used some white wash to add some dirt and wear.
The instructions are simple to follow and very pedagogic. The cockpit is made as a bay glued to on half of the fuselage as is the tail wheel house. This always makes me nervous as it often enough means that getting the fuselage halves together afterwards can be a challenge. Not this time though. They go together well and it's quite easy to get rid of any joints, except for the top in front of the cockpit as it has many small access doors and the joint goes straight over them. The rest of the joints runs mostly over areas without panel lines which makes it easy to file them down with a fine nail file.
The wheel house is reasonably well detailed, at least compared to a lot of others I've done in my days. It seems like the manufacturers have finally realized that you actually can turn the kit upside down from time to time. It's also easy to mount the landing gears at a late stage which makes painting a lot easier. There are however to pins that have to be mounted before you close the wings that protrude and they were severely damaged when I went through the masking and painting. But not beyond repair.
You really do not see much of the engine when the kit is done, even it it is a radial engine. The little there is of the engine is easily painted afore hand. The engine cowl is smartly constructed. The front and aft is done as rings without joints. The middle section is done in two parts but with the joints placed where the engine hatchets had their joints so that's fine. The tail is a quite normal construction with separate rudders.
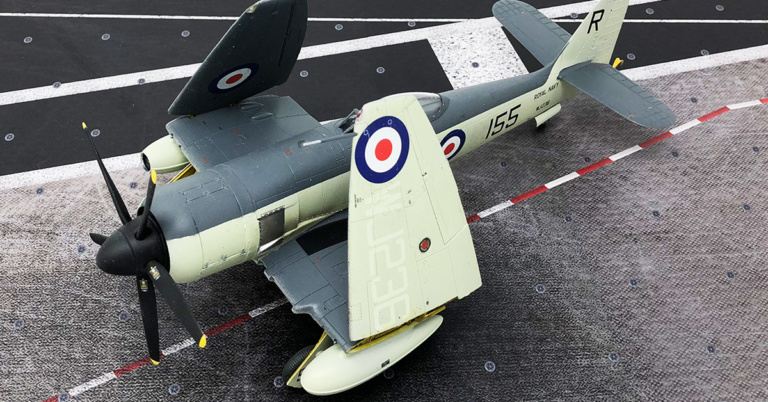
Being a carrier based plane the Sea Fury had fold able wings. This is the stage where you have to chose if you want to do the kit with folded or extended wings. As I'm beginning to have a quite crammed display area for my kits I chose to do them folded. I did the base first and then the outer parts, but I waited to mount the outer parts until after painting the kit.
I opted to do scheme A from the Korean War. As usual I'm using Vallejo's Model Air and after some reference check up on the net using conversion charts etc. I landed in these:
Giving this a glossy coat it was time for the decals. Airfix instructions are quite easy to follow as the panel lines and decals are to scale in their drawings so it's quite easy to find exactly where they should go. A layer of matt varnish and it's time for the final details.
It's quite easy to mount the landing gears in the right position. It really adds to the kit when you mount the massive propeller. It's back construction is also something that they also spent some thought to. Even if you mount it at the end you can still mount it movable. On the whole a pleasant build.
Another of Airfix's later successes. Some can have opinions about the very accentuated panel lines and the quite soft plastic but even they have to admit that they have made some smart design choices and that the parts fits very well together. I'm looking forward to my next new Airfix kit after this one.
This kit has a good fit, smart construction solutions and decent detailing.
No biggies really, again we have to mention the panel lines that could have been finer.
