| Manufacturer | Special Hobby |
|---|---|
| Product # | SH48208 |
| Scale | 1/48 |
| Scale Mates model info | https://www.scalemates.com/kits/special-hobby-sh48208-j-20-heja-i-re-2000-export-birds--1257997 |
| Content in box |
|
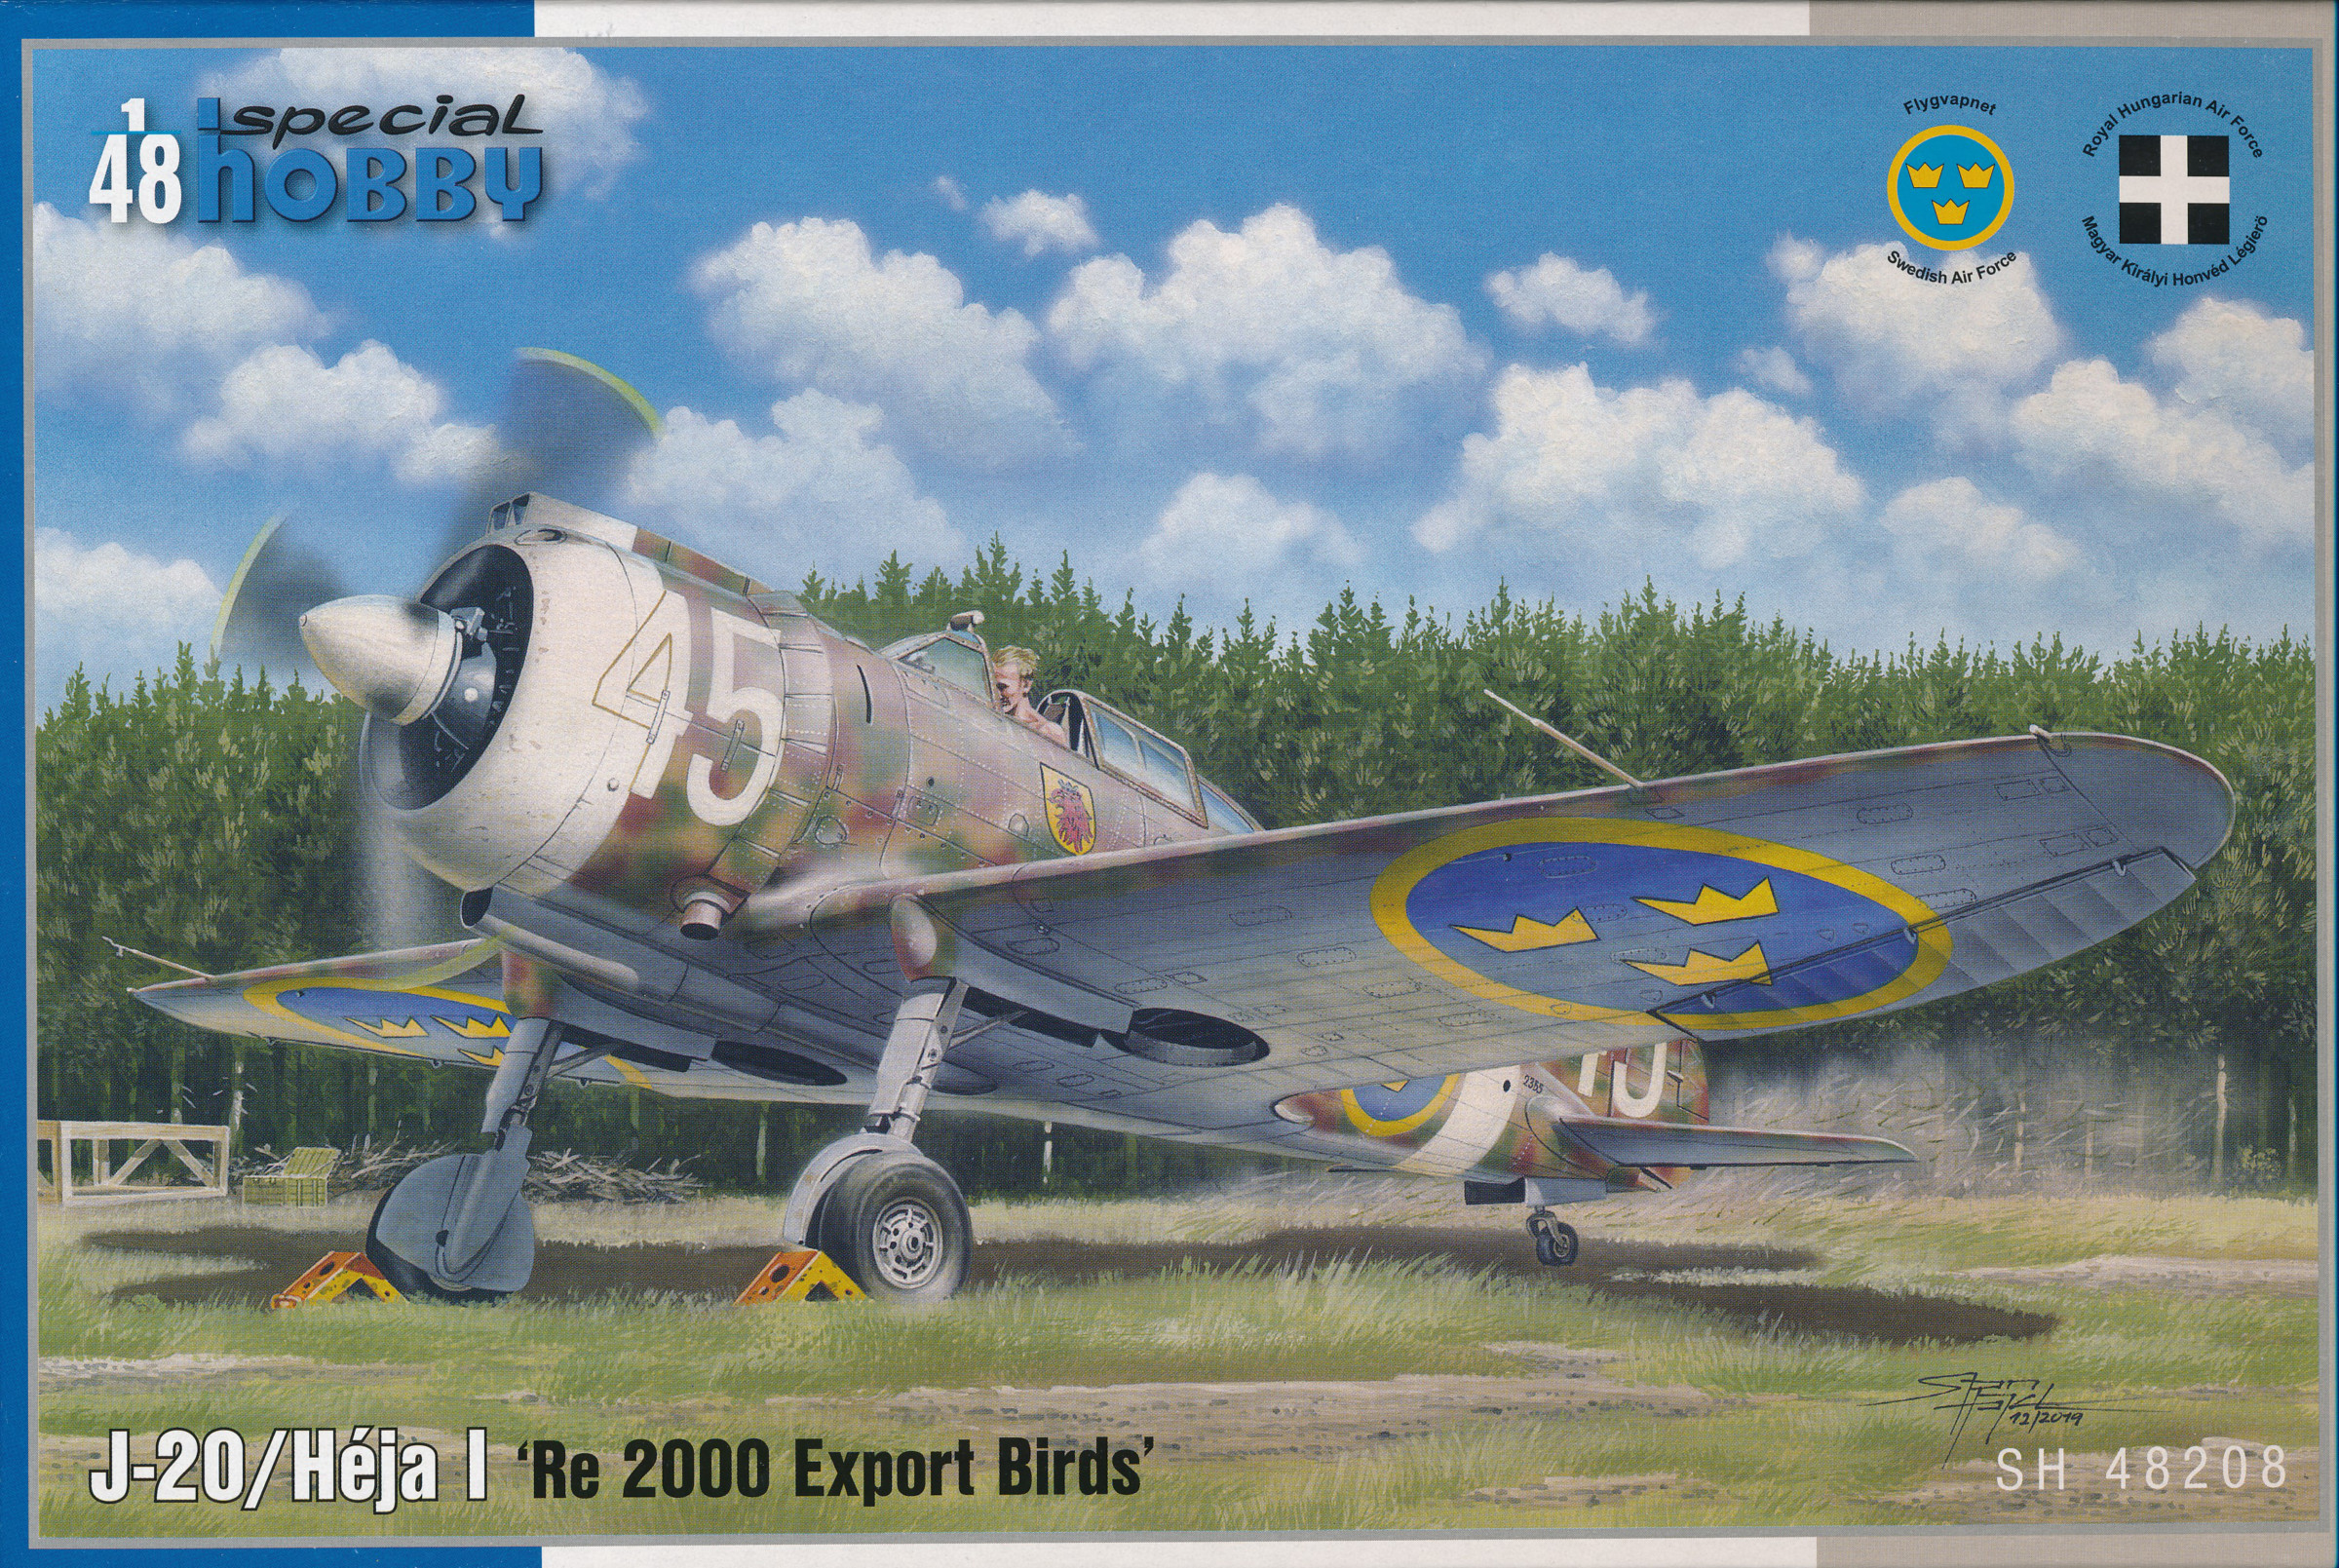
This kit was released in 2020. Excluding a sad kit form Směr it has been hard to find a kit of the Reggiane Re.2000 in 1/48 (the last new kit was released almost 20 years ago). Interestingly it has first been released in an Export Birds release (which is nice for us in Sweden) but it will soon be followed by an Italian version (Reggiane Re 2000 Serie I). It's a new tools release (manufactured with brand new moulding forms) with exception of the main wings which are reused from the older Classic Airframes kit.
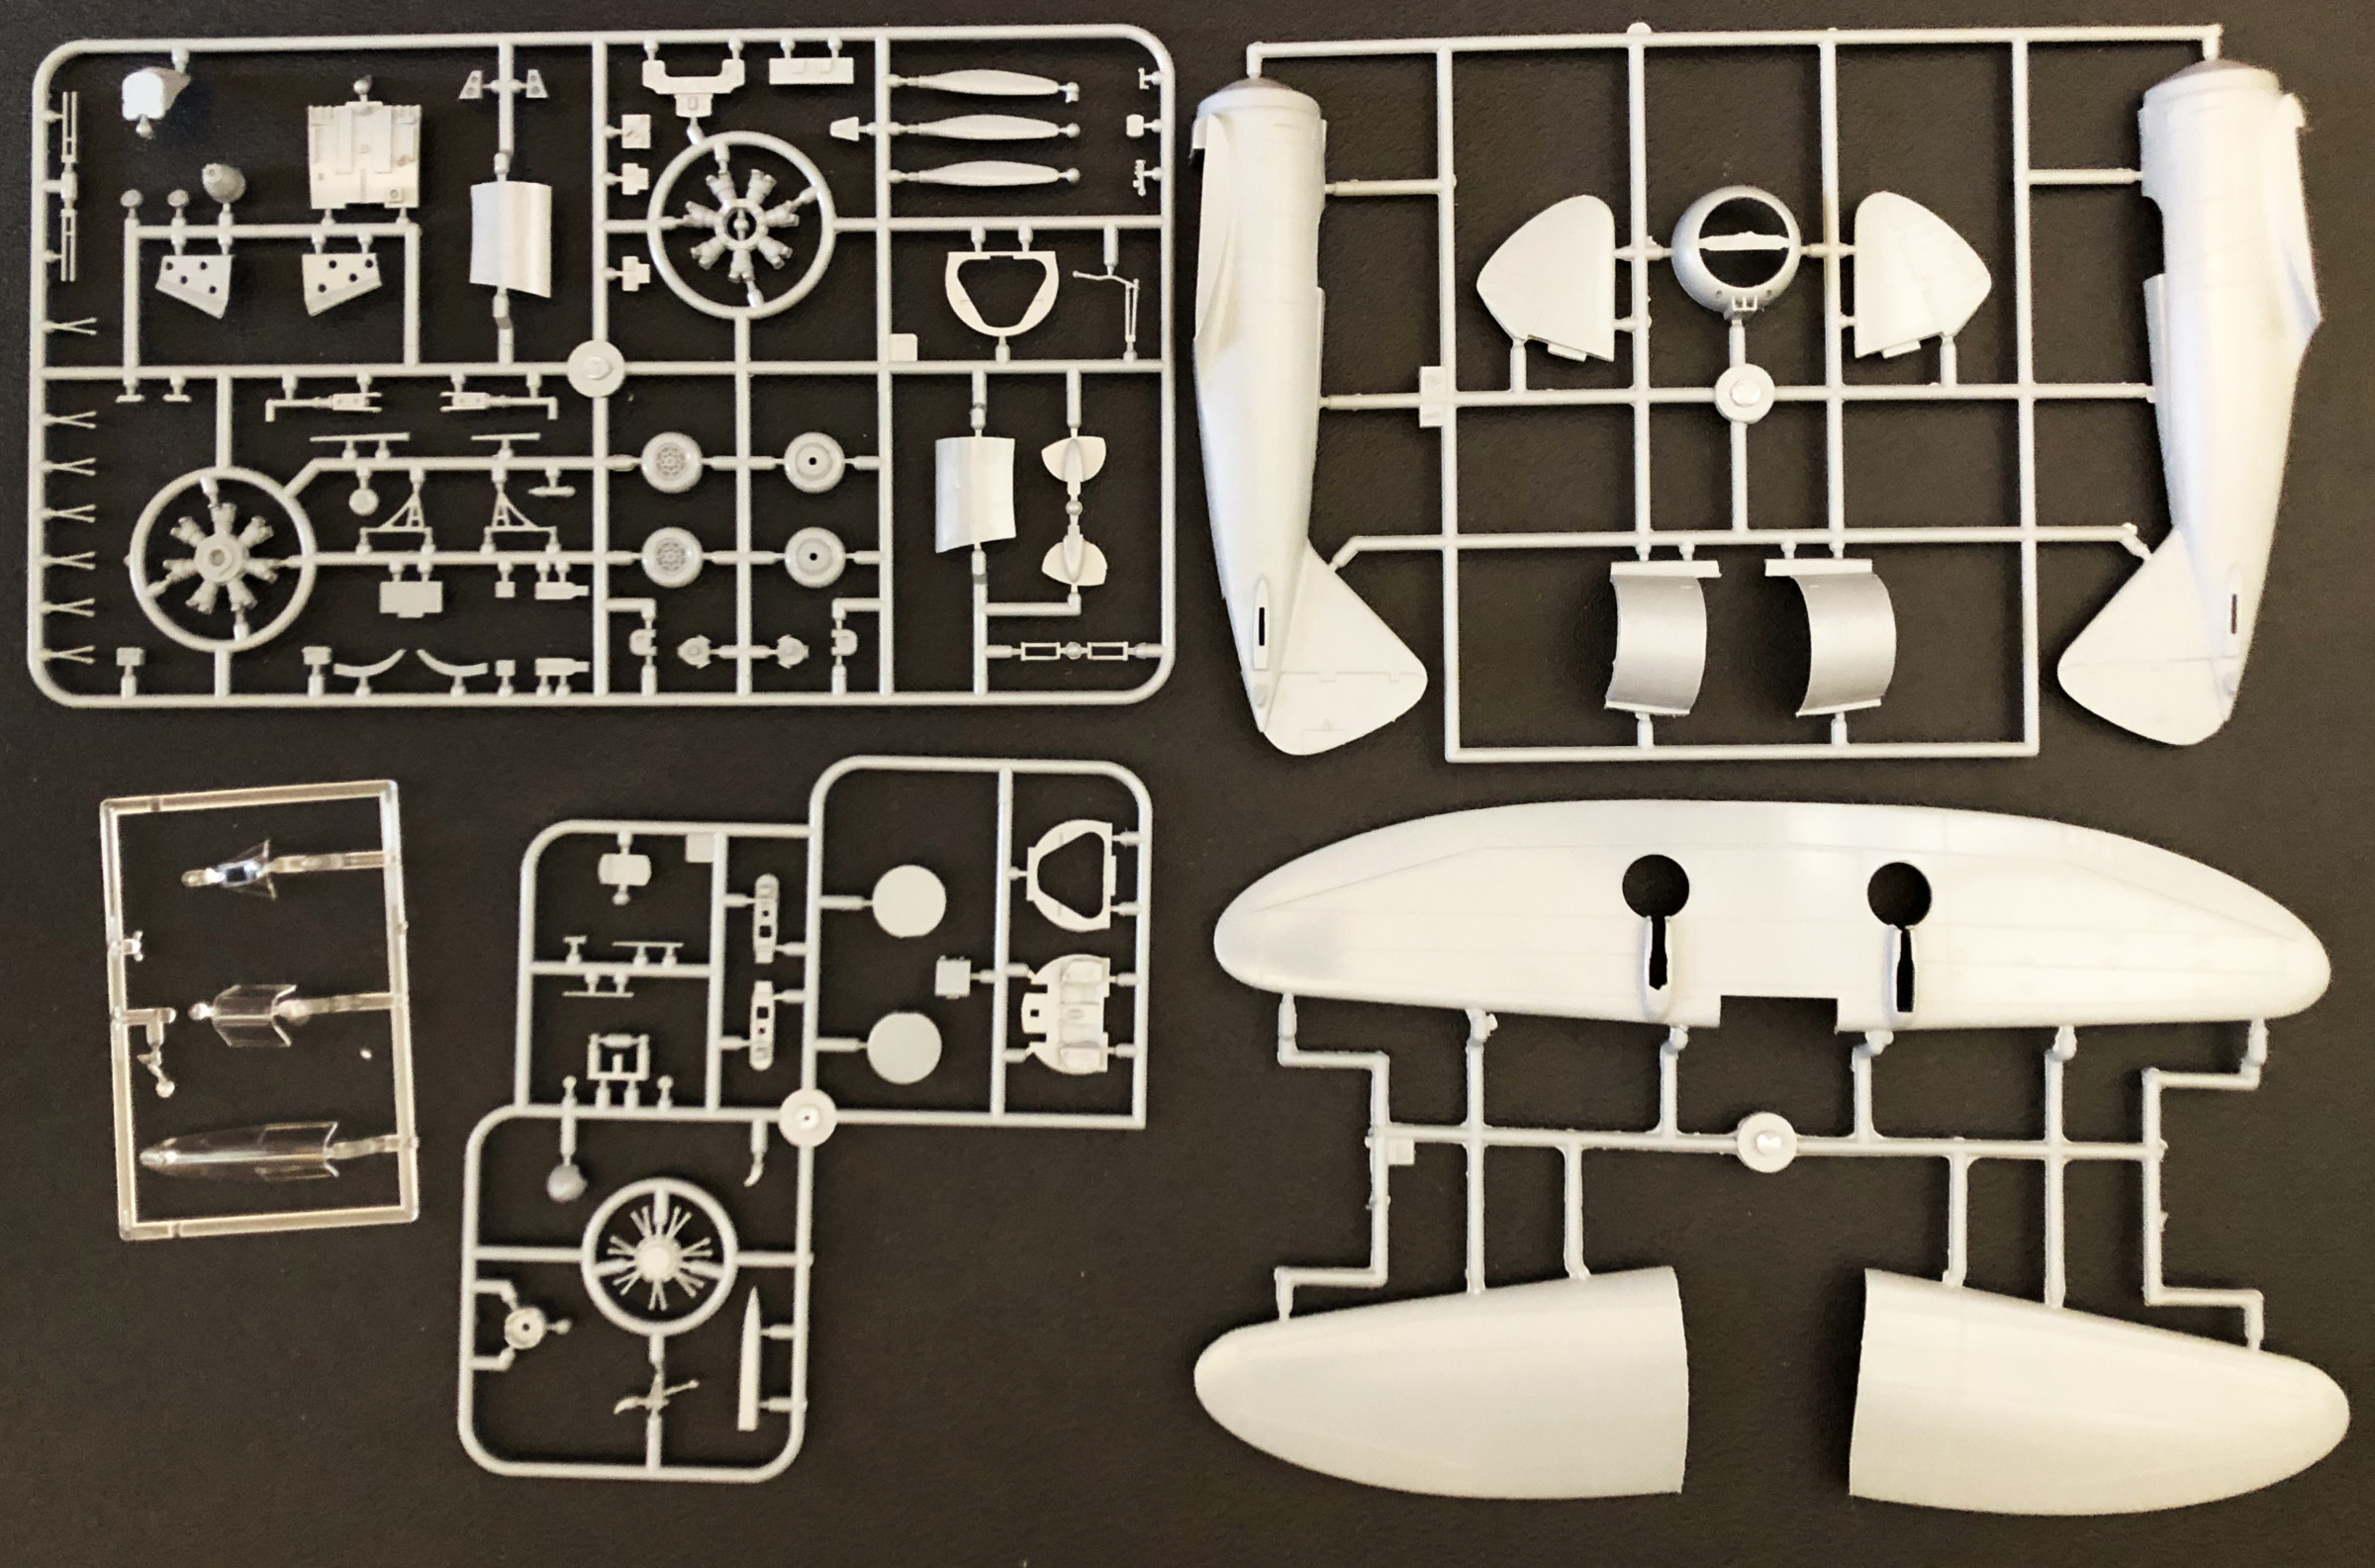
Special Hobby specialises in smaller series of more odd subjects than the mainstream Spitfires, Messerschmitts and what have you. This usually means that the kits are not as advanced as the larger manufacturers bigger series. Considering this I find the new parts in this kit reasonably good. The panel lines are a bit shallow and could do with some extra scribing (but I didn't this time). Some care has to be done when fitting parts together as the guiding holes, notches etc. are few and small.
For a closer look at the content in the box you can read more here: Box review of Special Hobby's 1/48 Reggiane Re.2000 'Re2000 Export Birds
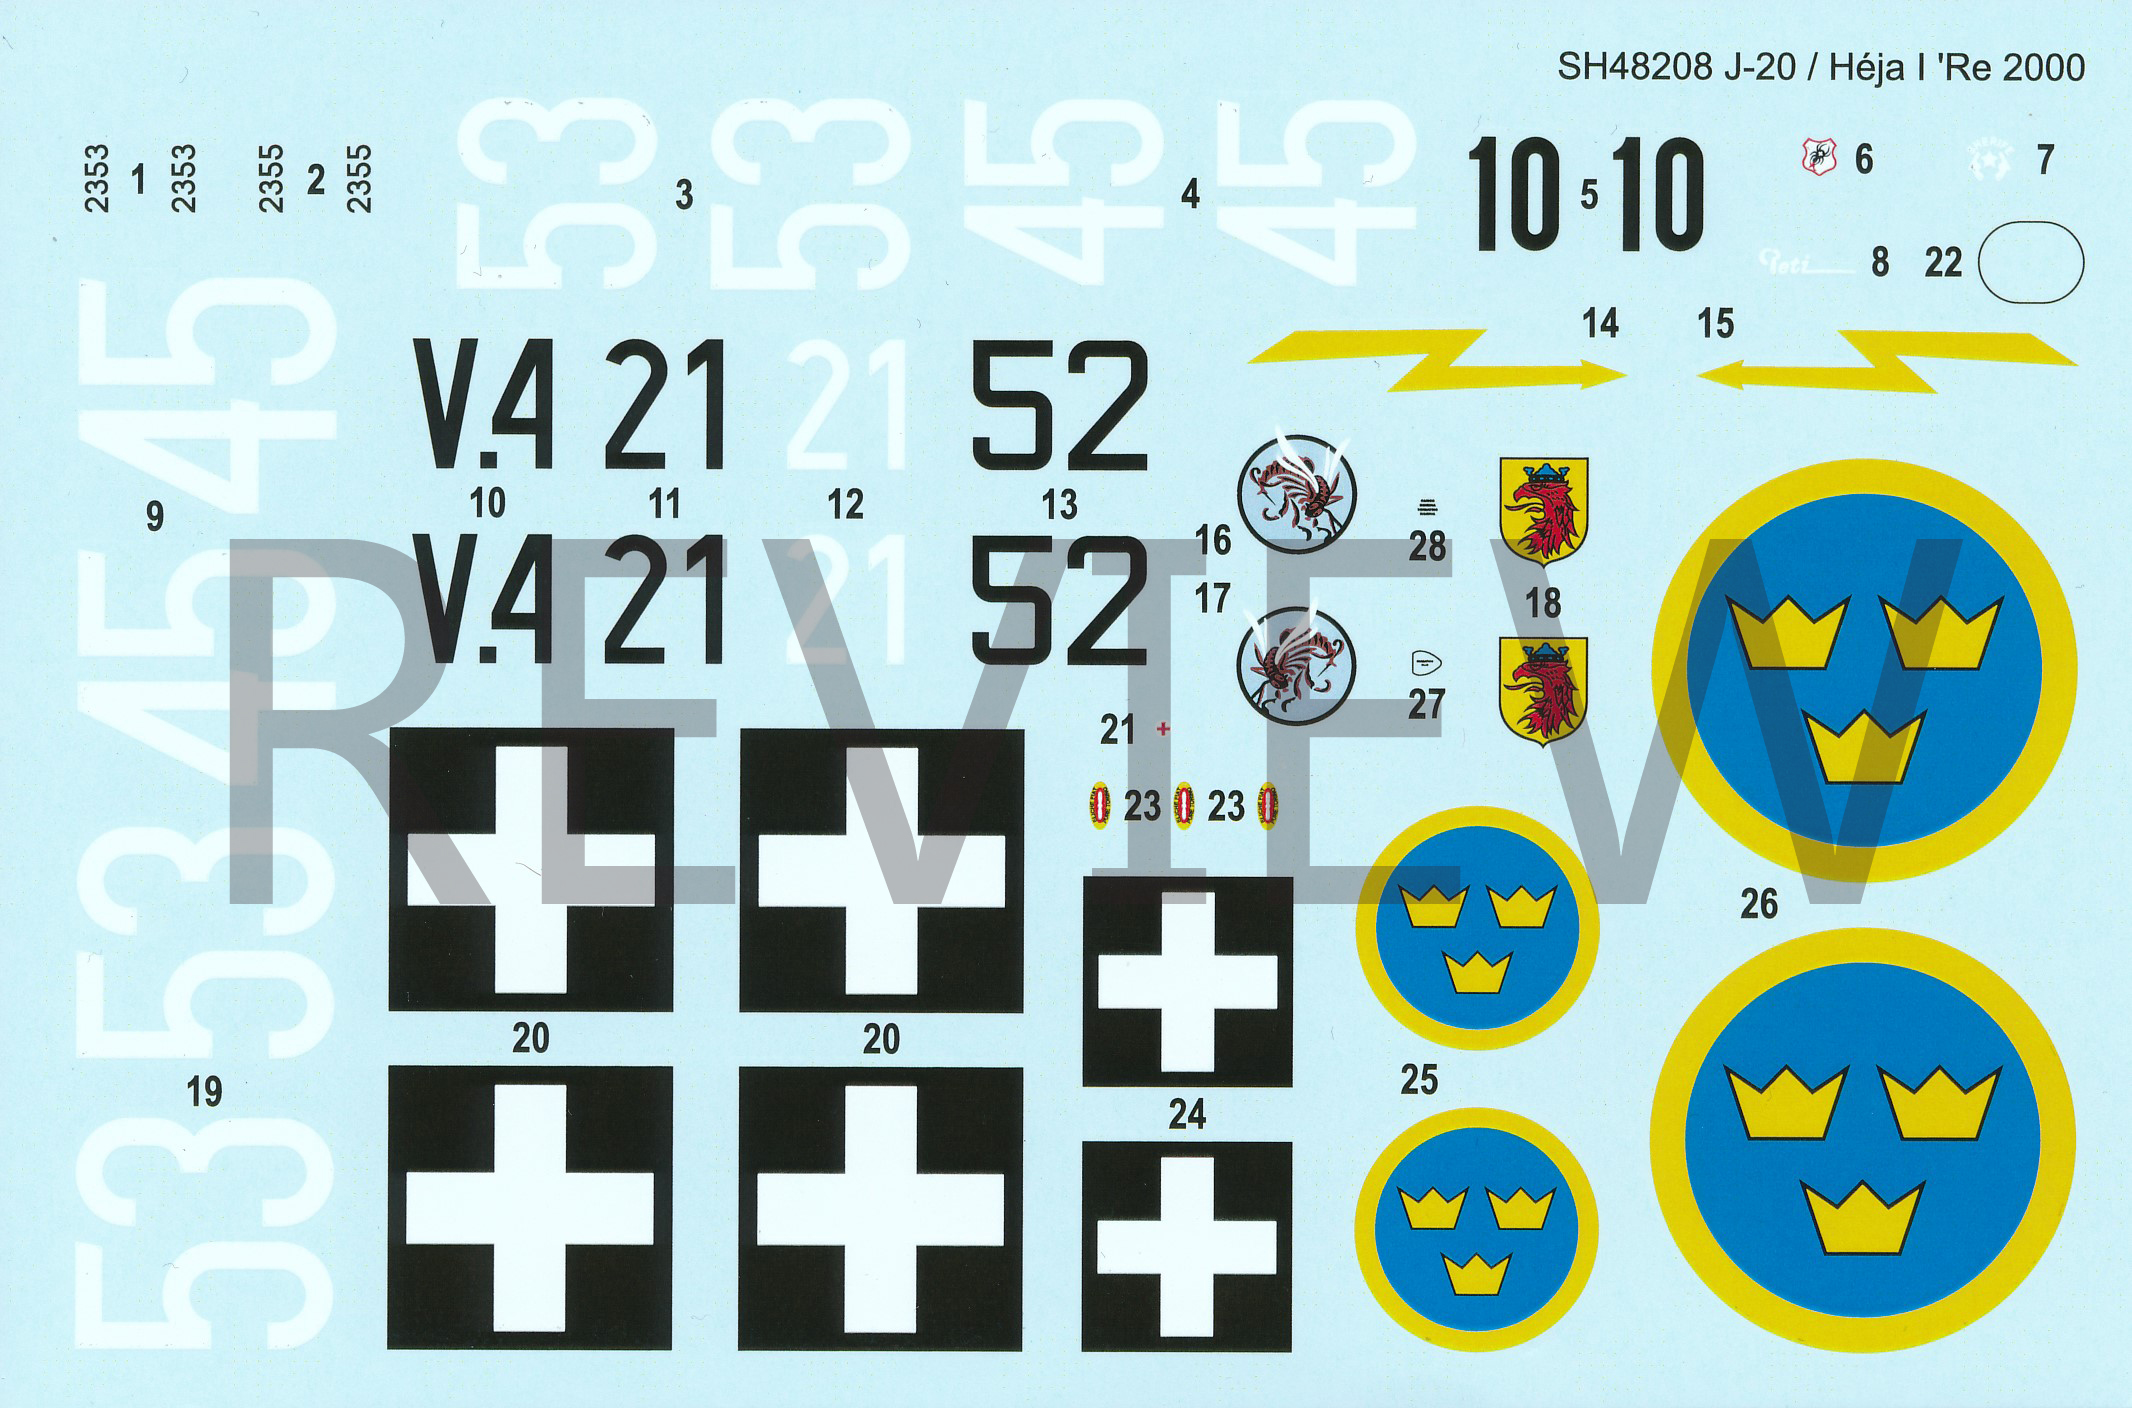
The decal sheet has decals for four different markings:

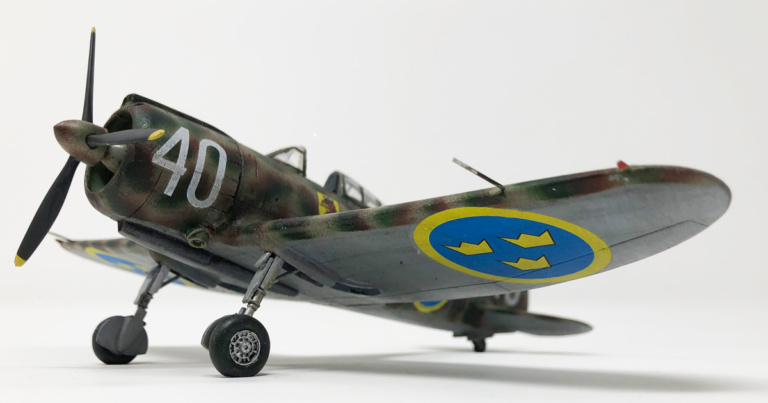
I want to start off with telling you that I'm not happy with the result this time, but that has to do with my lacking painting skills and not the kit itself. This build is done as an OOB ('out of the box'-build), i.e. no aftermarket stuff. Almost any ways as I used some number decals that's not form this kit. The parts are not numbered on the spruces so you have to reference a spruce chart in the instructions to find the parts. That's a bit cumbersome.
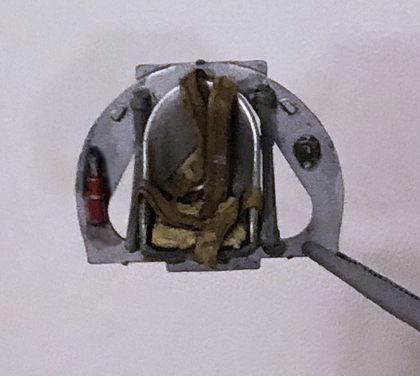
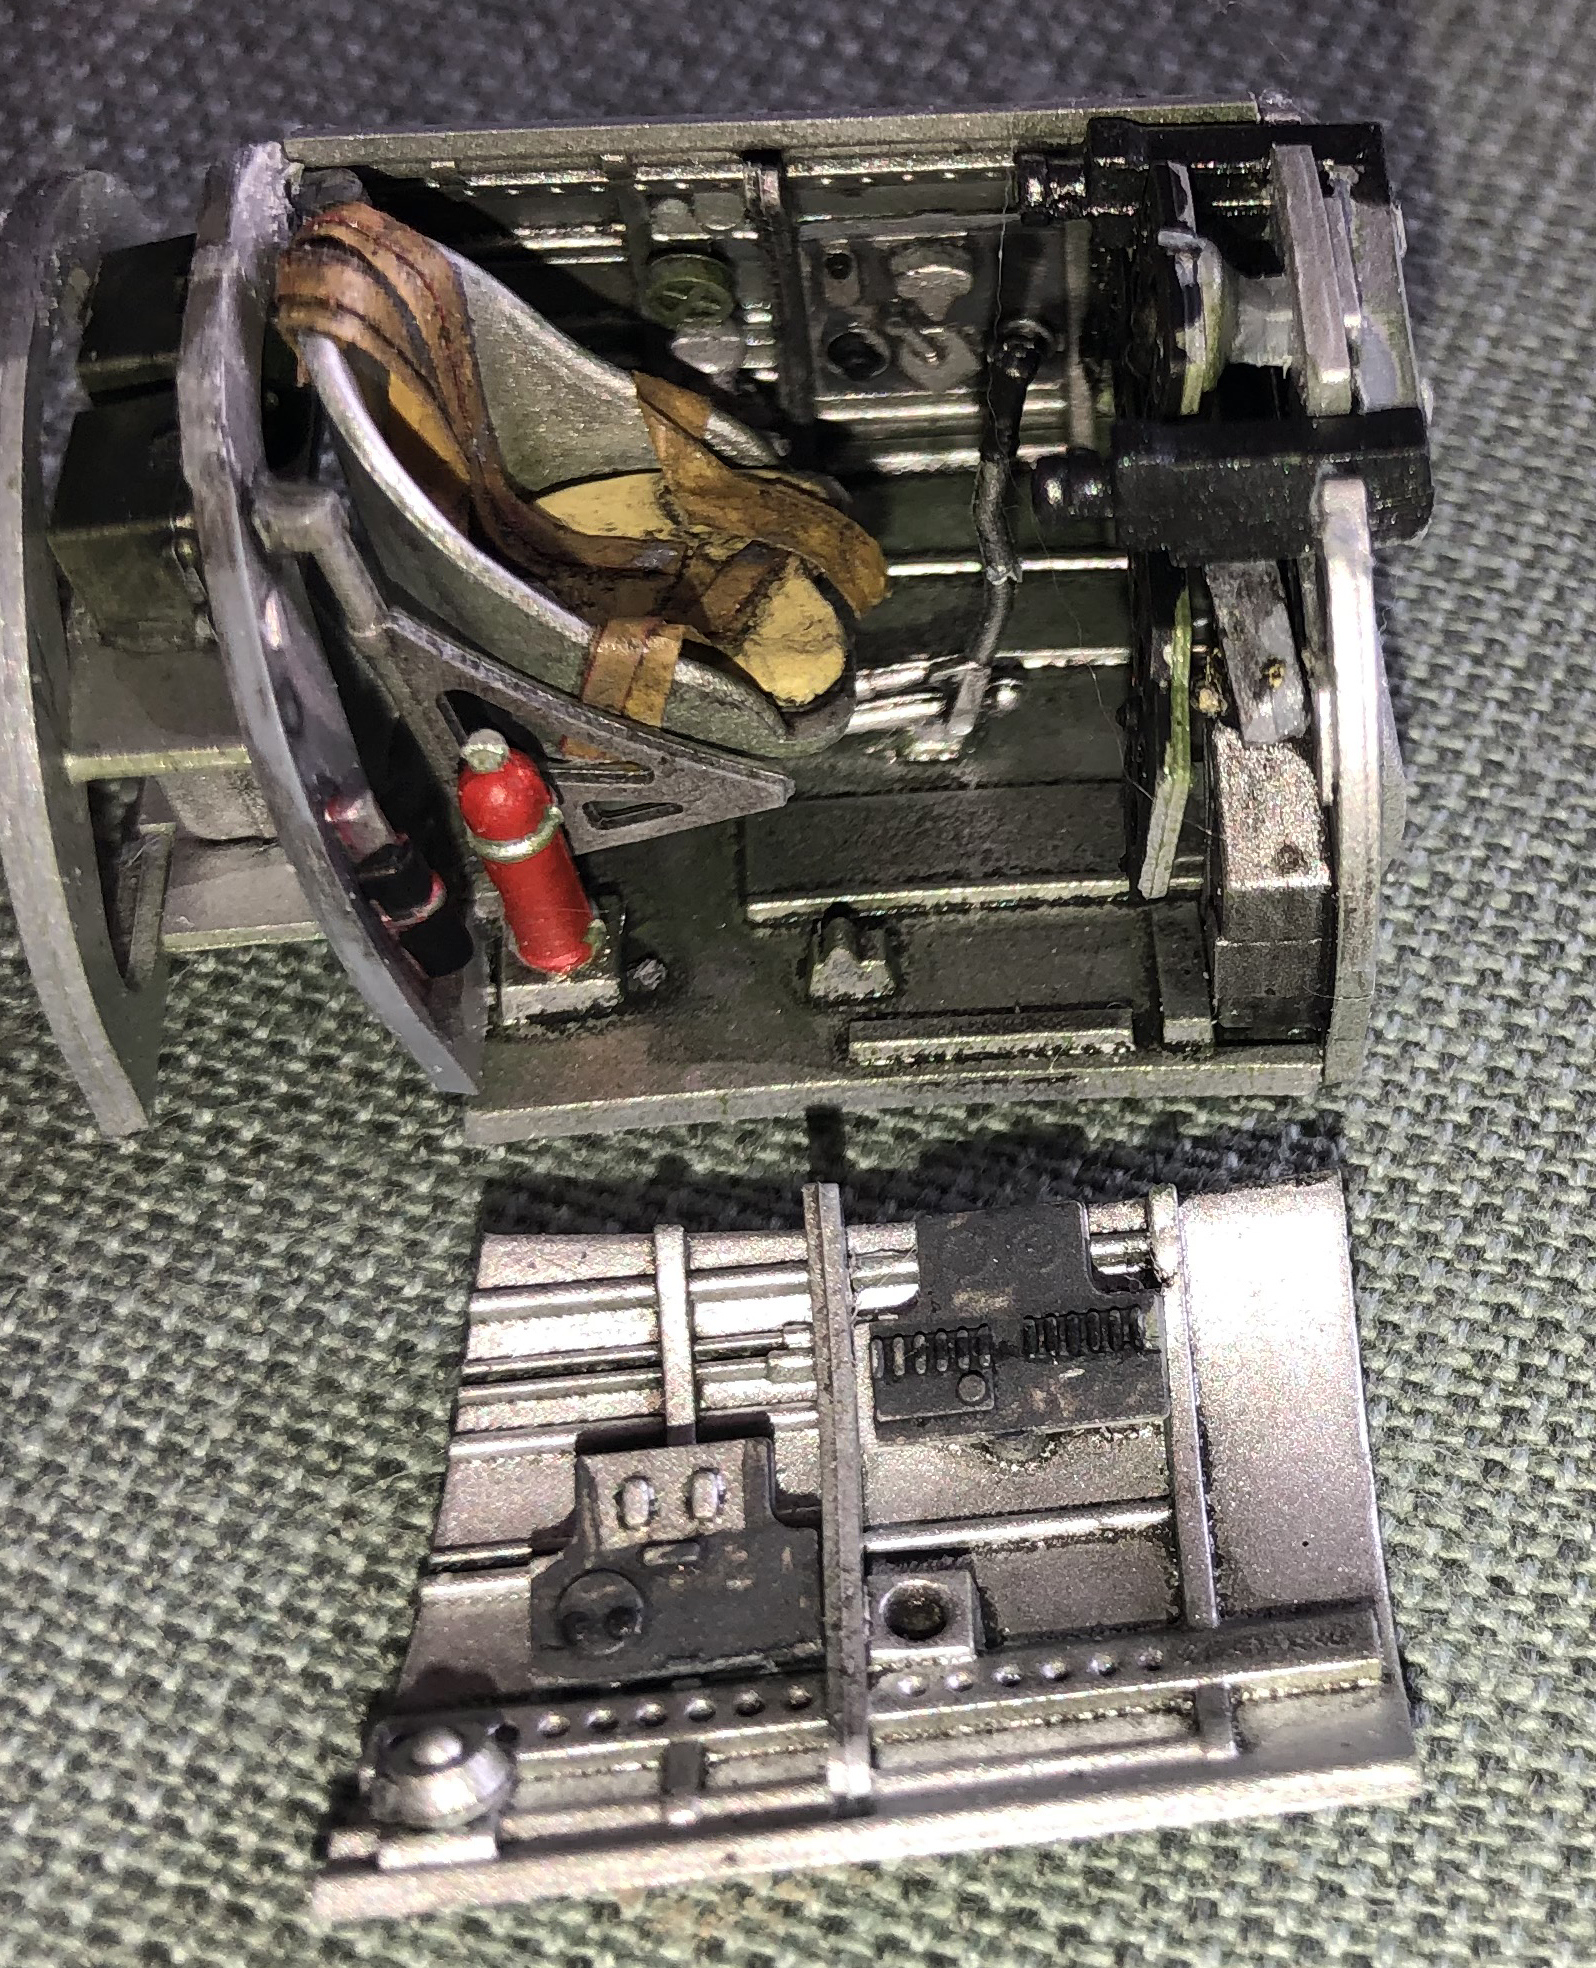
The instructions starts off with the cockpit. This is a fairly detailed affair finished in 12 steps in the instructions. I've been taken part in a discussion online with regards to the colour of the cockpits inside. The instructions wants you to paint it in anti corrosive green but from reference pictures and the only remaining Reggiane Re.2000 in Sweden it seems like the Swedish J 20 was bare metal inside the cockpit. So at least it you're building a J 20 I'd stick with bare metal as in the pictures to the left.
The pilot seat has two indications in bottom halves. These where actually holes so if you don't do a seat cushion as I did you might as well drill these open. This is also true about the head rest on top of the fuselage. There's no seat belts in this kit. I made my own out of masking tape. The straps was quite broad in the J 20.
The engine is also reasonably detailed. The instructions wants you to fix the rods on the engine front before attaching them to the engine. I found it a lot better do fit them in after gluing the engine front to the engine first.
The wings needs some attention. As previously mentioned these are the only parts reused from an earlier kit from Classic Airframes and it's noticeable. They are coarsely attached to the spruce on the leading edge of the wings so be careful when detaching them and be prepared to carefully file away residues. The mould also seems to be damaged by the left wheel house as I (and other builders) was forced to cut this open. The extent of the problem seems to differ and looking at some pictures from other builders I seem to have got a not so bad example. As you can see on the left there is some need to fix them in place too. The top of the wings should be at 90 degrees from the fuselage.
Fortunately the landing gears and propeller is fixed late so a good stage to paint and decal you kit is by step 29. For the Swedish version that I built I used the following colours from Vallejo Model Air series:
Looking at it afterwards I might have gone easier on the 71.023 Hemp (maybe 50-50 instead). I also went a bit too heavy on the Olive Green and Armour Brown. An easier touch had been better. As I opened this section with this is where my kit went south. Due to different reasons I had to redo the paint job three times and in the end I think I mixed the green and brown too thin as the airbrush kept splattering all over the place. By that time I had lost patience and sort of gave up. Hence the result.
Now comes the biggest error in the instructions: the landing gears. If you follow the instructions you should mount the landing gears with the wheels inwards (the landing gear doors facing outwards). Now this is plain wrong. The Reggiane Re.2000 had the wheels outwards! This is the way it's depicted on the box art but not in the instructions. So watch out!
Also when it comes to the antenna. The instructions will have you set the line from the tail fin to the back of the cockpit. After studying reference pictures of the J 20 I could clearly see that it went from the tail fin on to the outer part of the right wing, just above the outer end of the aileron. There is a second line from the side of the fuselage just behind the cockpit that attaches to the other line about midways, between the fin and the wing. In some photos you can see where it attaches to the fuselage as a white dot on the side (it seems to be some porcelain piece holding it)
If you want to do some small fixes there's also small holes on either side of the fuselage just in front of the tail plane. These are small indentations on the kit but should be drilled open. There's actually two even smaller holes that could be drilled open if you want, one on the right side of the cockpit just behind the small black cone and another on the left side just behind the first panel after the engine (have a look at some reference pictures). The exhaust pipes under the fuselage are also moulded quite shallow so I drilled these open too.
Have a look at the result below (but please, not a close look ;-) )
It's good that we finally got a new kit of this aeroplane. It's not the best of kits but for being the release it is I find it OK. To get a good result it needs some work.
The cockpit and engine is detailed. The panel lines etc. are well done, albeit a bit shallow. The general fit is okay.
The mould for the wings (the only spruce that is not a new mould) leaves a lot of moulding flash and the left wheel house needs fixing. The instructions will have you fixing the landing gears facing the wrong way.


